Creating this festive Mardi Gras tablescape sent me back in time. To the year I lived in New Orleans.
It made me nostalgic.
I would take the streetcar to and from work. I would walk down Bourbon Street and through the French Quarter. And I was there for SO MANY Mardi Gras parades. (The parades even prevented me from getting home a few times – haha!)
I remember stepping on coins and beads (you don’t bend over to pick them up, or else someone will step on your fingers!) that were thrown from floats.
Ah, so many great memories!! Mardi Gras is something to experience.
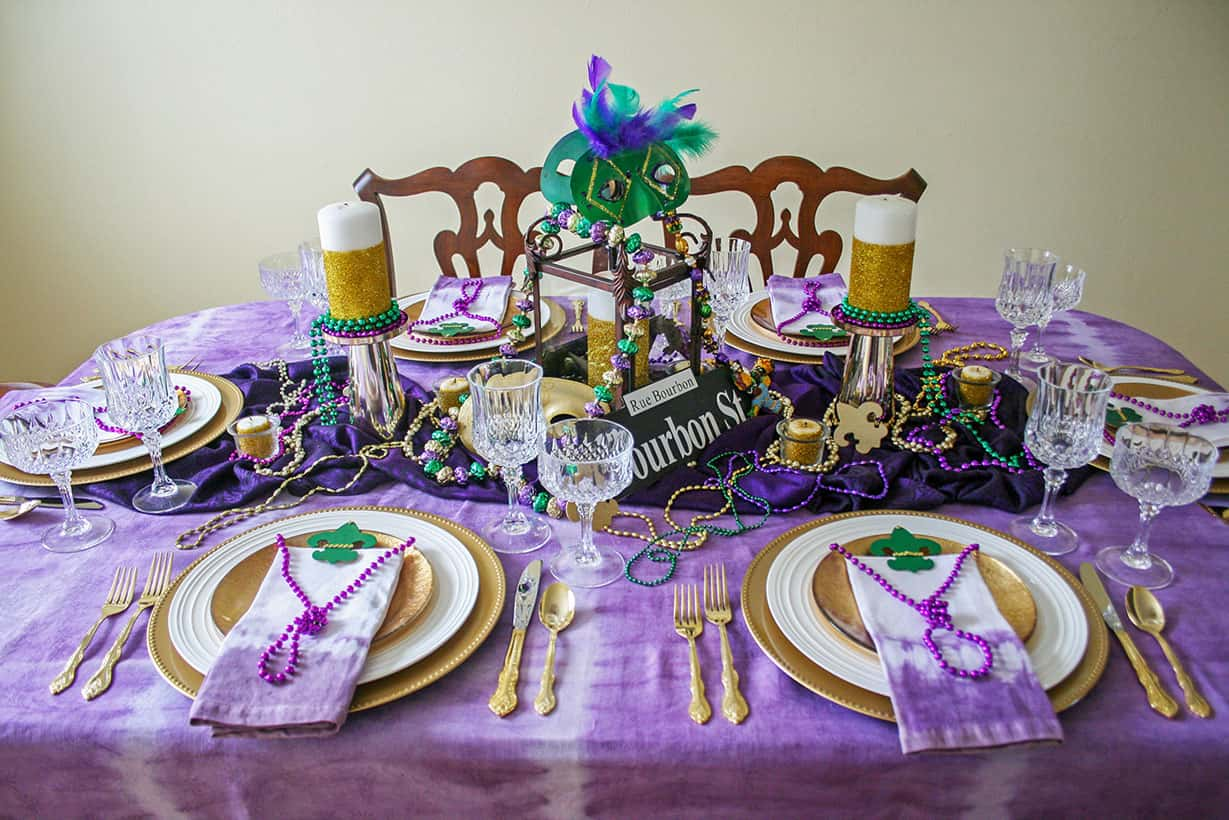
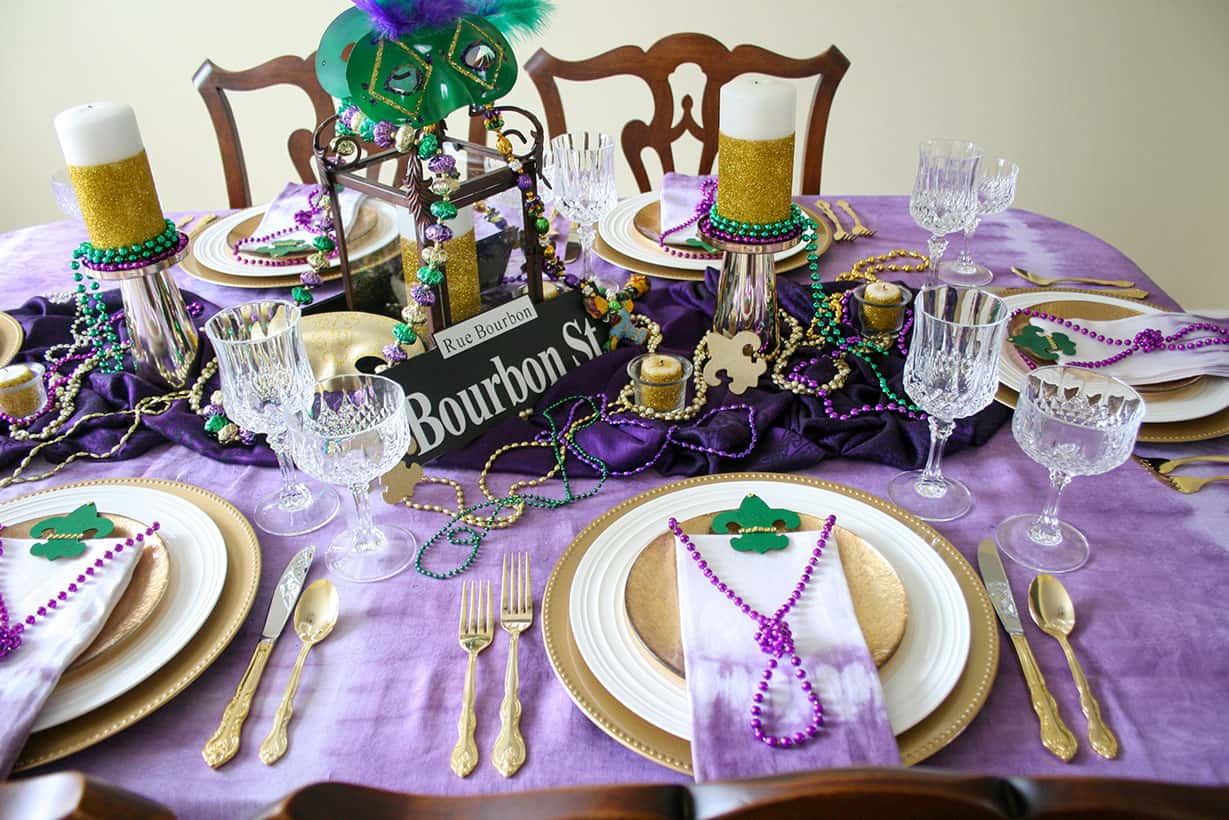
So when I was setting up this Mardi Gras tablescape, I knew that it needed to have beads and masks, and use the colors of Mardi Gras: purple, green, and gold. And that it couldn’t be simple.
It needed to be colorful, fun, and oppulant.
Mardi Gras is one big party, so my table setting had to be fun, not boring.
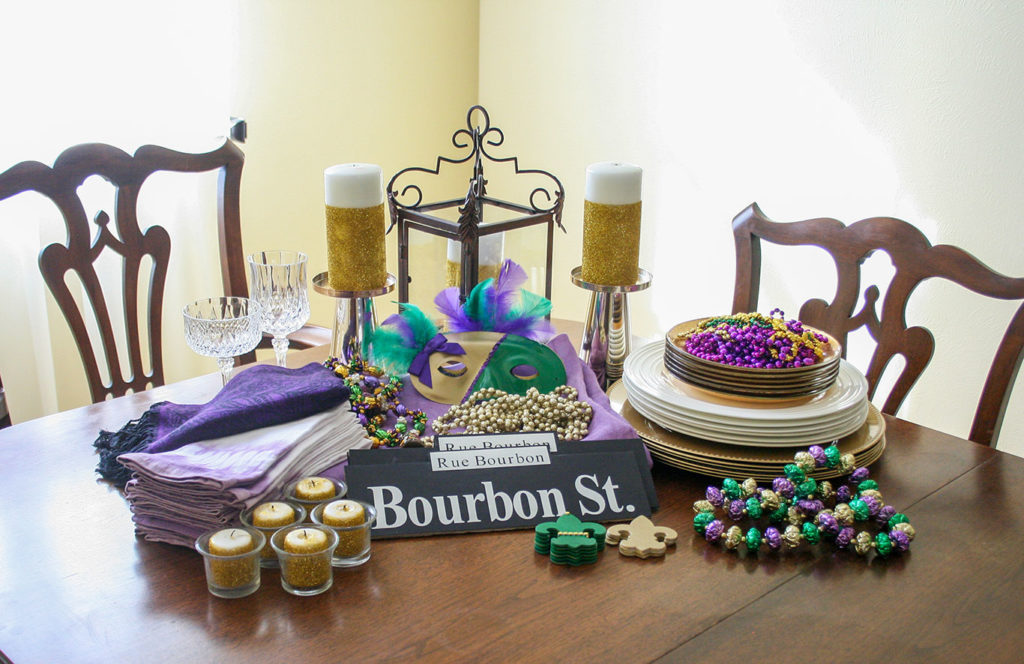
Supplies for Mardi Gras Table Setting
- Purple tablecloth
- Gold charger plates
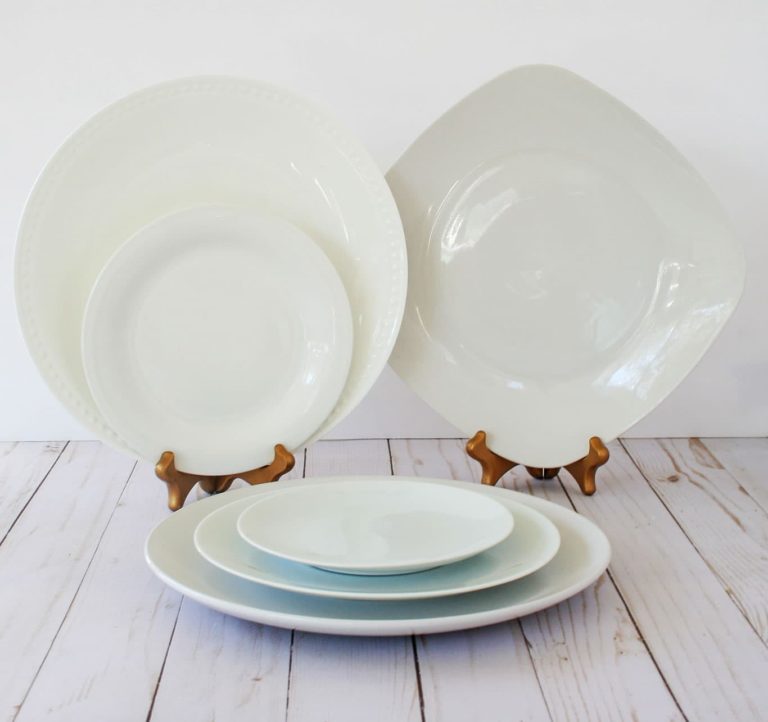
- White dinner plates
- Gold salad plates
- Gold silverware
- Drinking glasses
- Purple napkins
- Lantern
- DIY simple masks
- DIY Bourbon St sign
- Beads
- DIY glitter candles
How to Create a Festive Mardi Gras Tablescape
Step 1: Decide on the base for your festive Mardi Gras table setting
Since the colors that symbolize Mardi Gras are purple, green, and gold, I would suggest using one of these colors for the base of your tablescape.
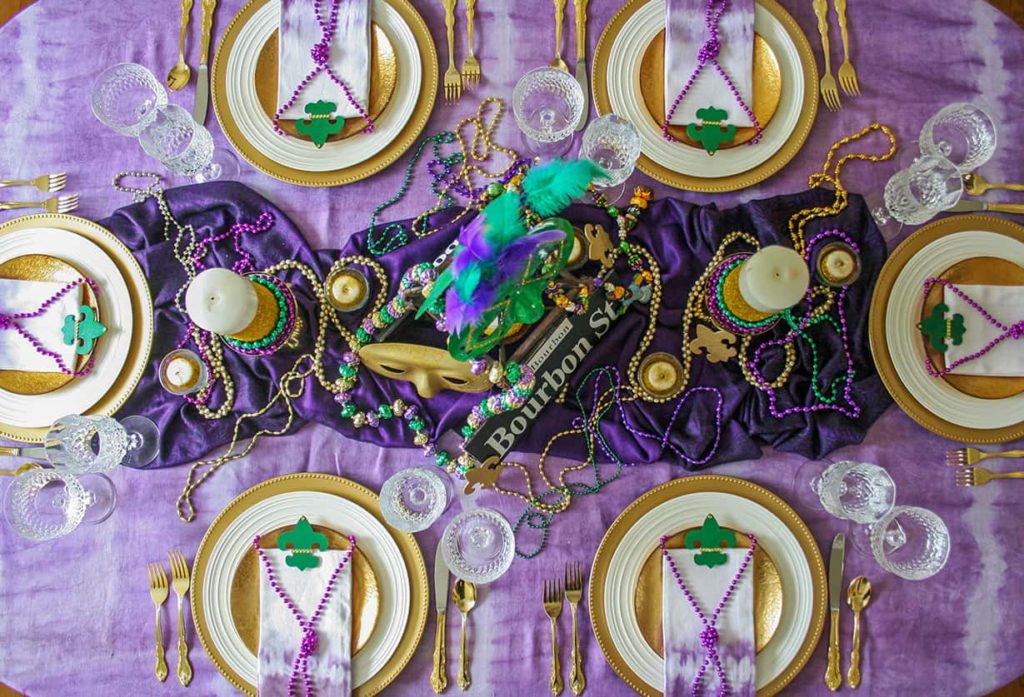
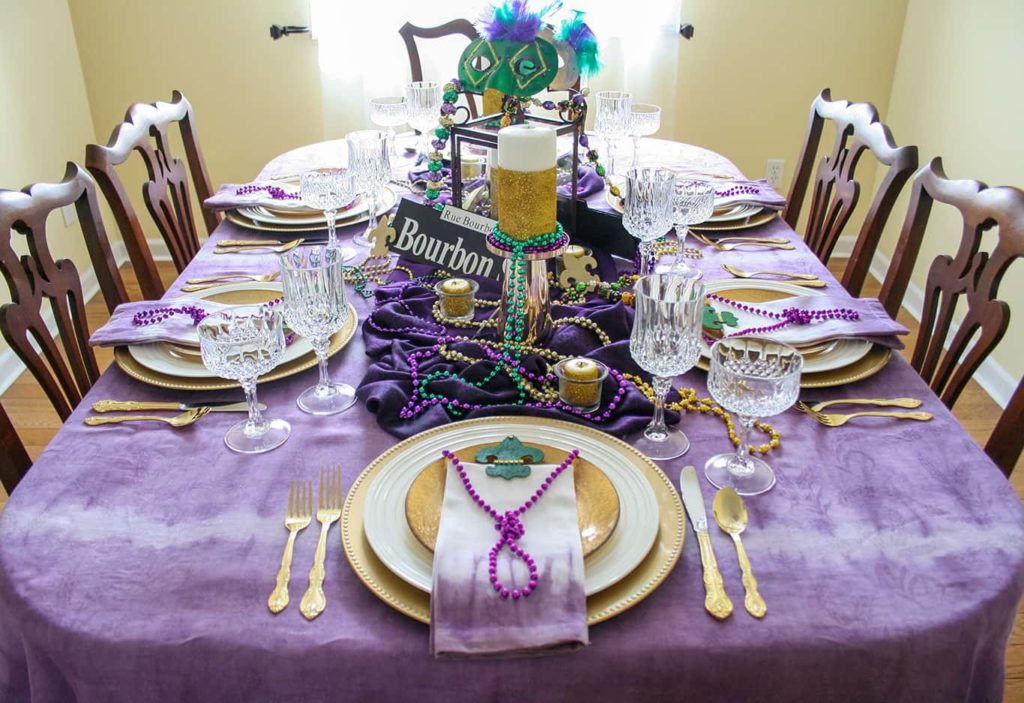
For my Mardi Gras tablescape, I used a purple tablecloth and matching napkins I had tie-dyed last year (the diy link is below). I don’t have the opportunity to use purple very often, so a Mardi Gras dinner party was the perfect reason.
I then used a dark purple scarf I had purchased from a local thrift store and arranged it in the middle of my table. (I also used this same scarf last year for my Mardi Gras buffet table).
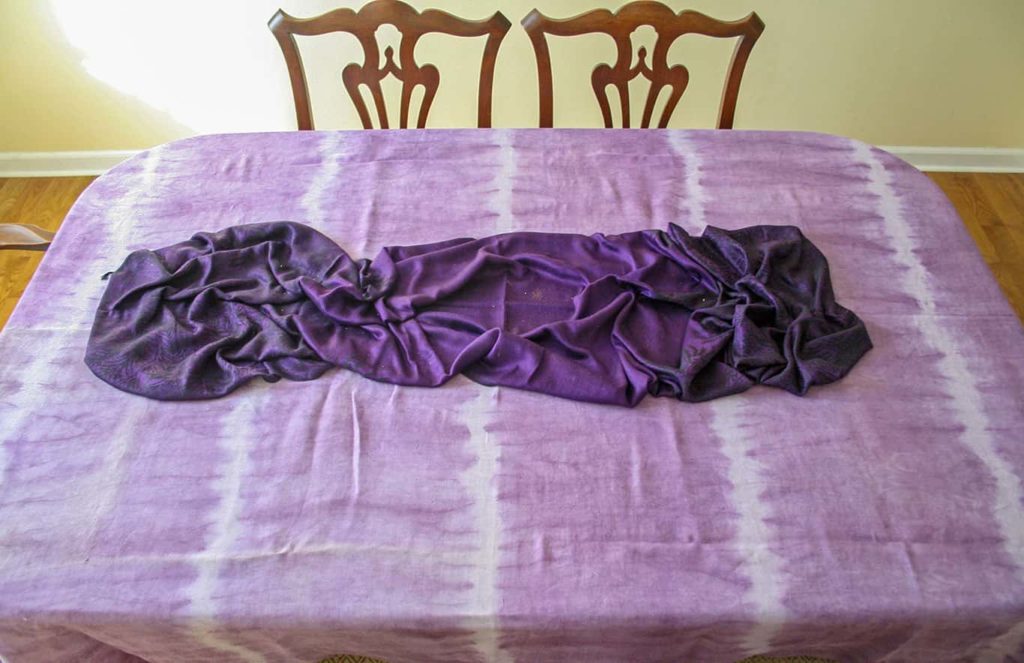
As you can see, I try to reuse items I already own when I am creating a tablescape.
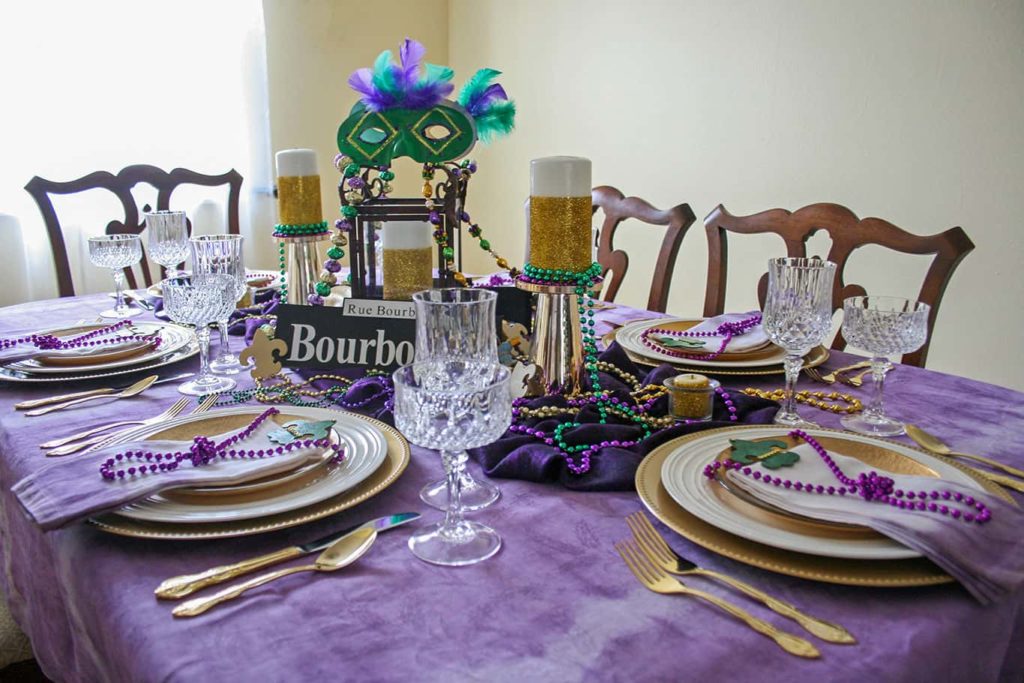
Step 2: Create a Mardi Gras table centerpiece
After you have laid down your tablecloth (and scarf, if you are using one), it’s time to create the centerpiece for your Mardi Gras table.
I suggest first looking around your house to see what you can use and then building off it.
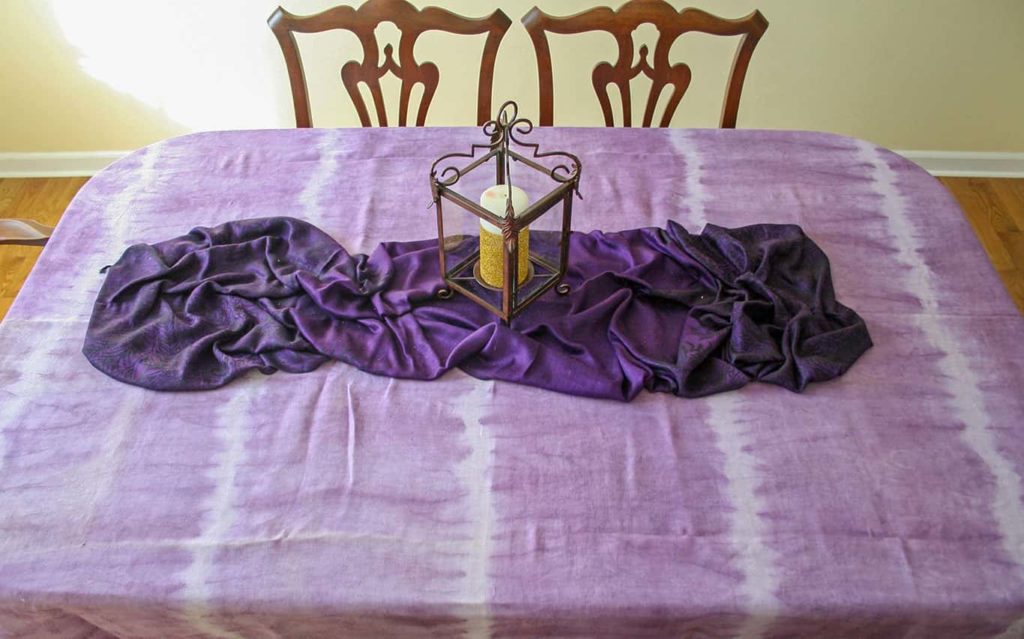
At first, I started with a tall purple vase (not pictured) but decided it would be too high for the middle of the table and would obstruct my guests from seeing each other.
I hate having a centerpiece that gets in the way.
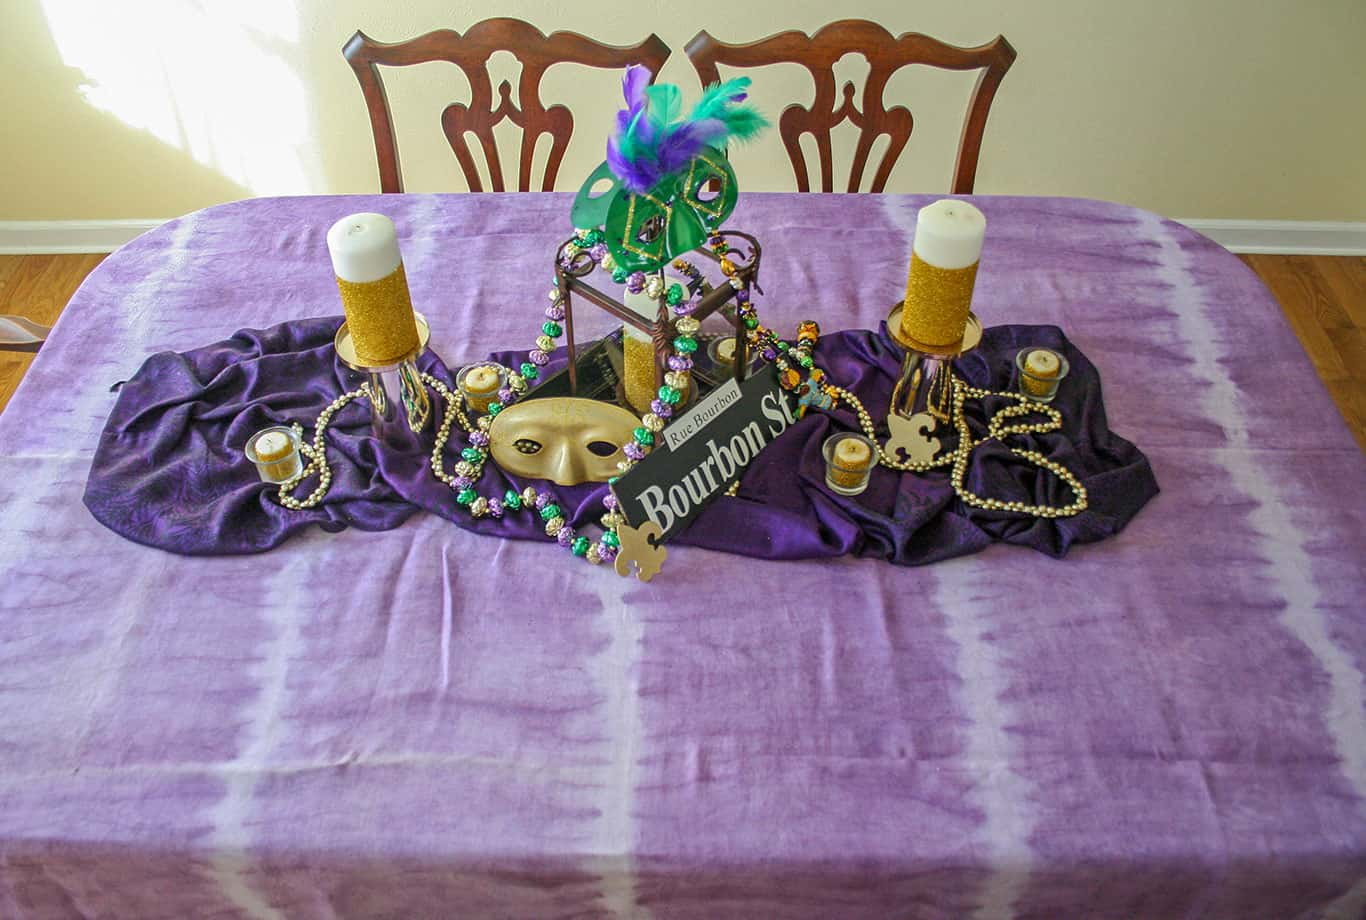
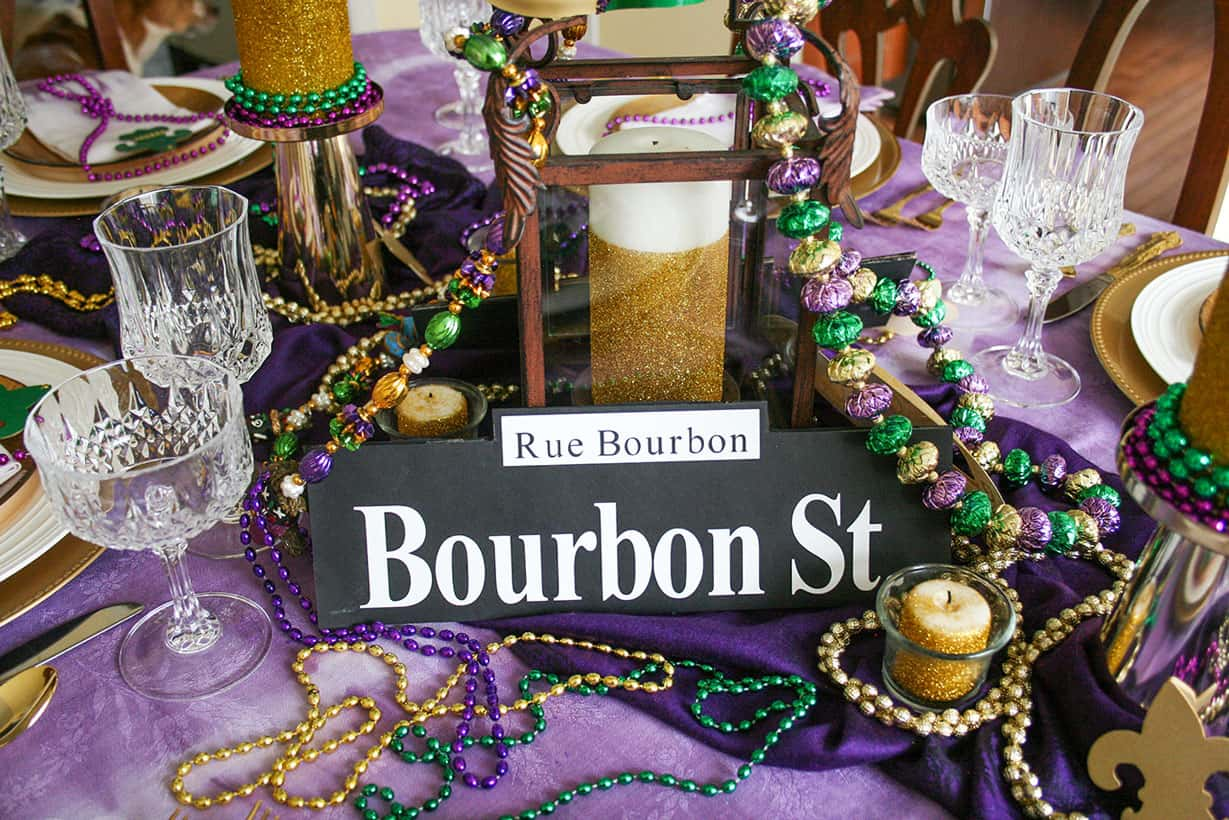
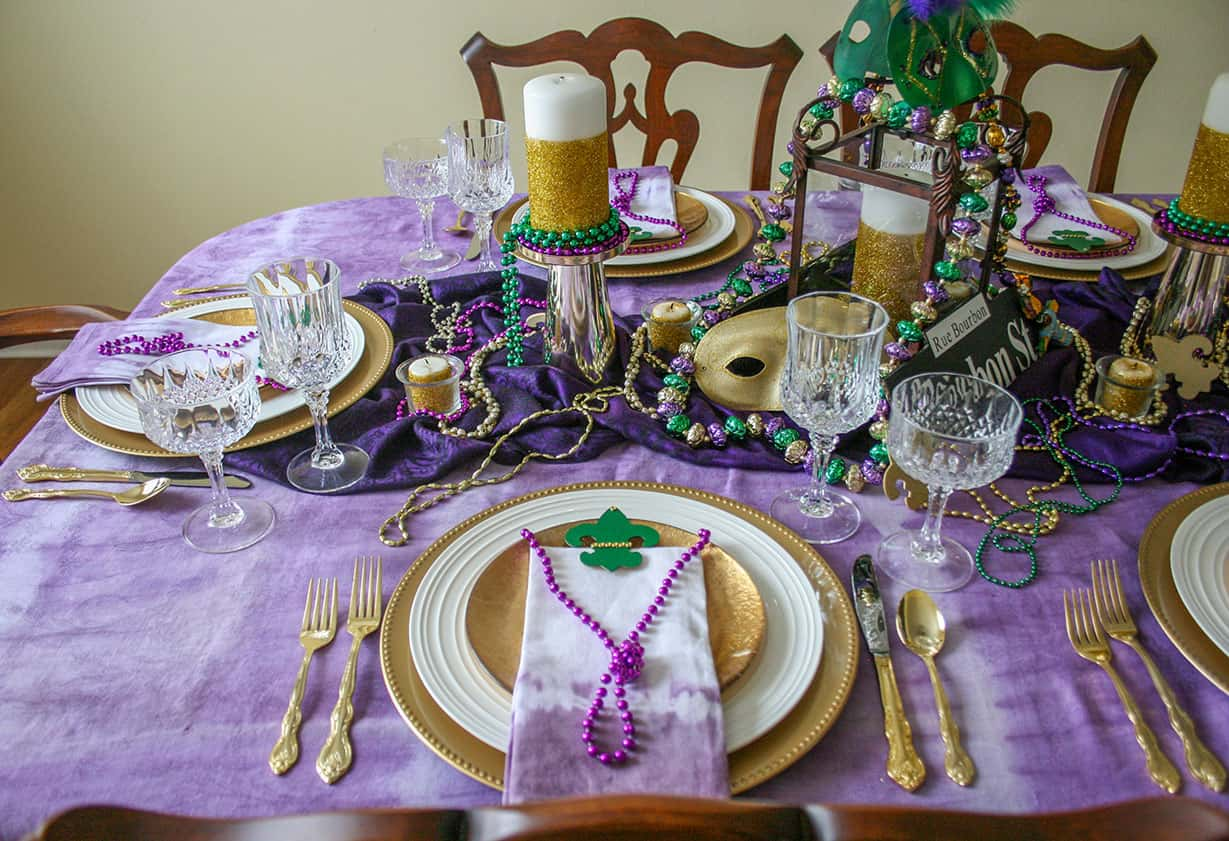
So instead I decided to use a lantern that is part of my home decor. I placed a glitter gold candle I had diy’d inside it, and then set the lantern in the middle of the table.
I had the focal point of my centerpiece started.
Now to build onto it.
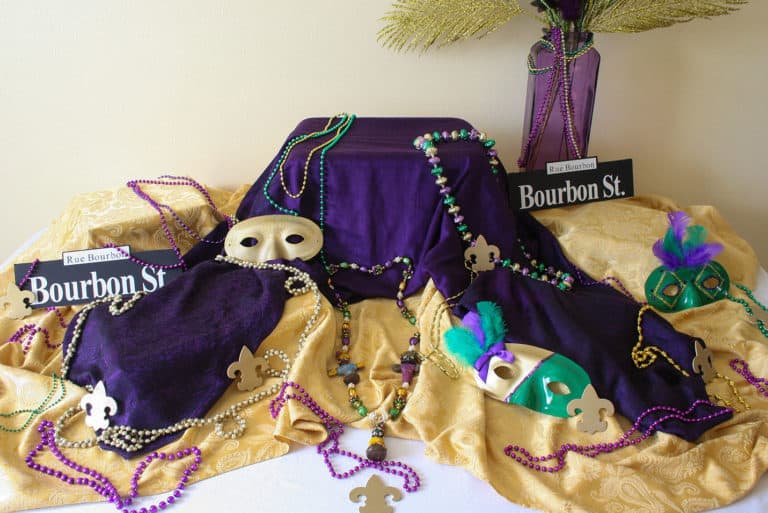
Mardi Gras is all about beads, masks, and the fleur-de-lis.
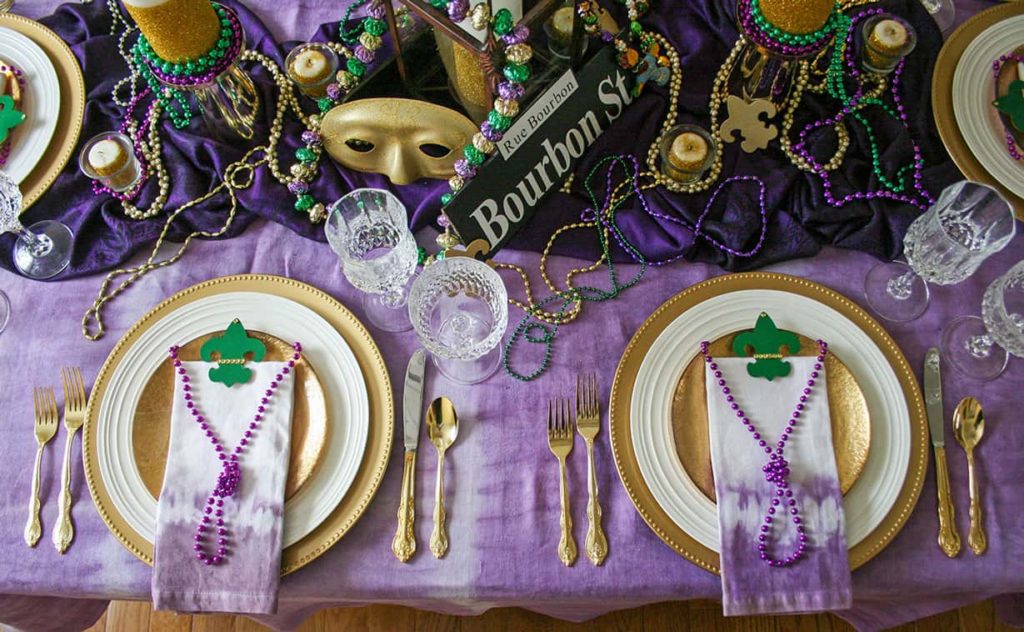
I draped large strands of beads from the top of the lantern and pooled them around the scarf. Then I added DIY masks and Bourbon Street signs on and around the lantern. They’re all super easy to make and the links are at the bottom.
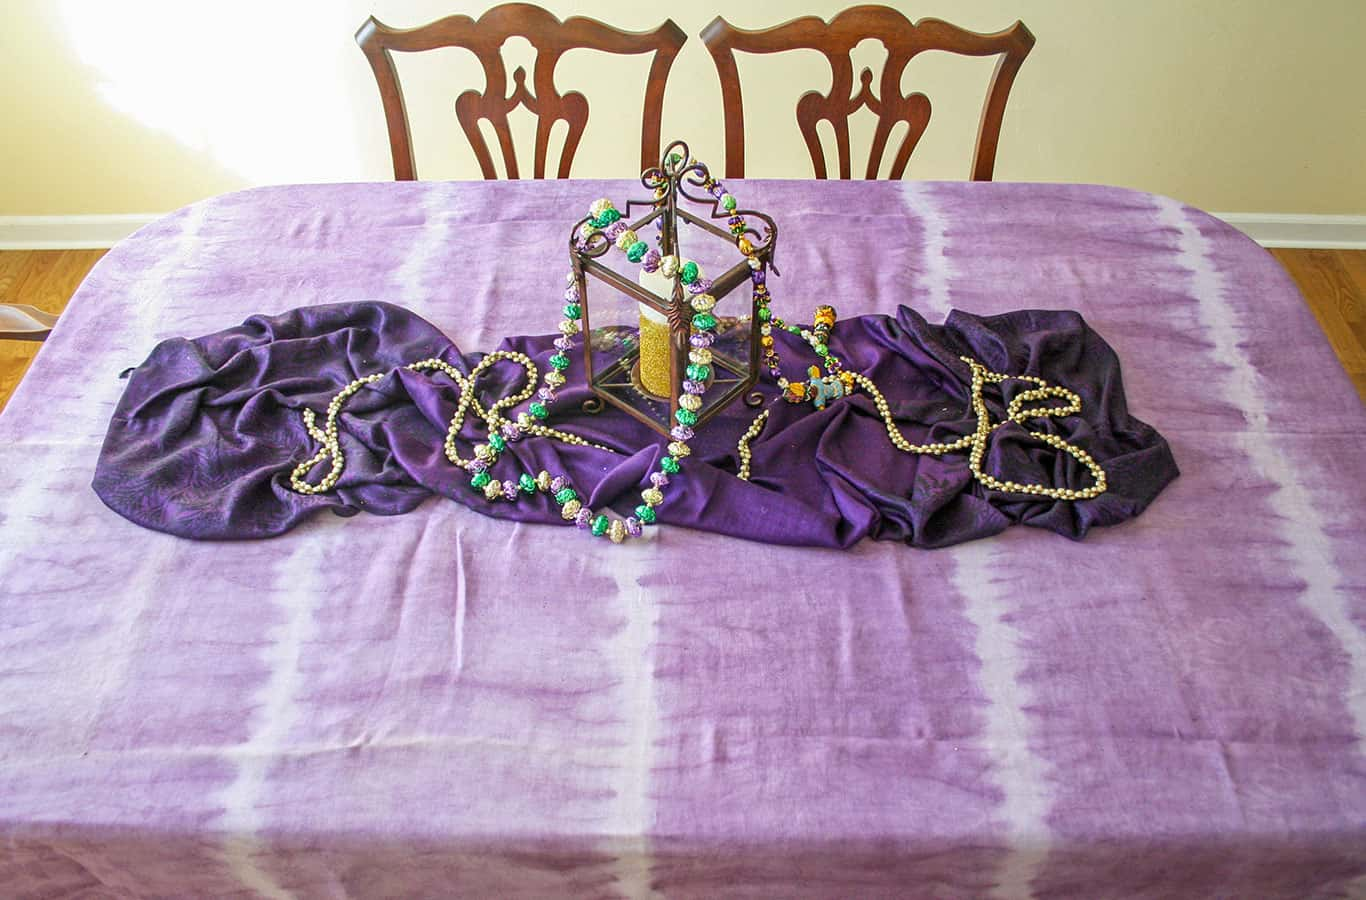
I could have stopped at this point for a simple Mardi Gras centerpiece, but Mardi Gras is really over-the-top, so I added more.
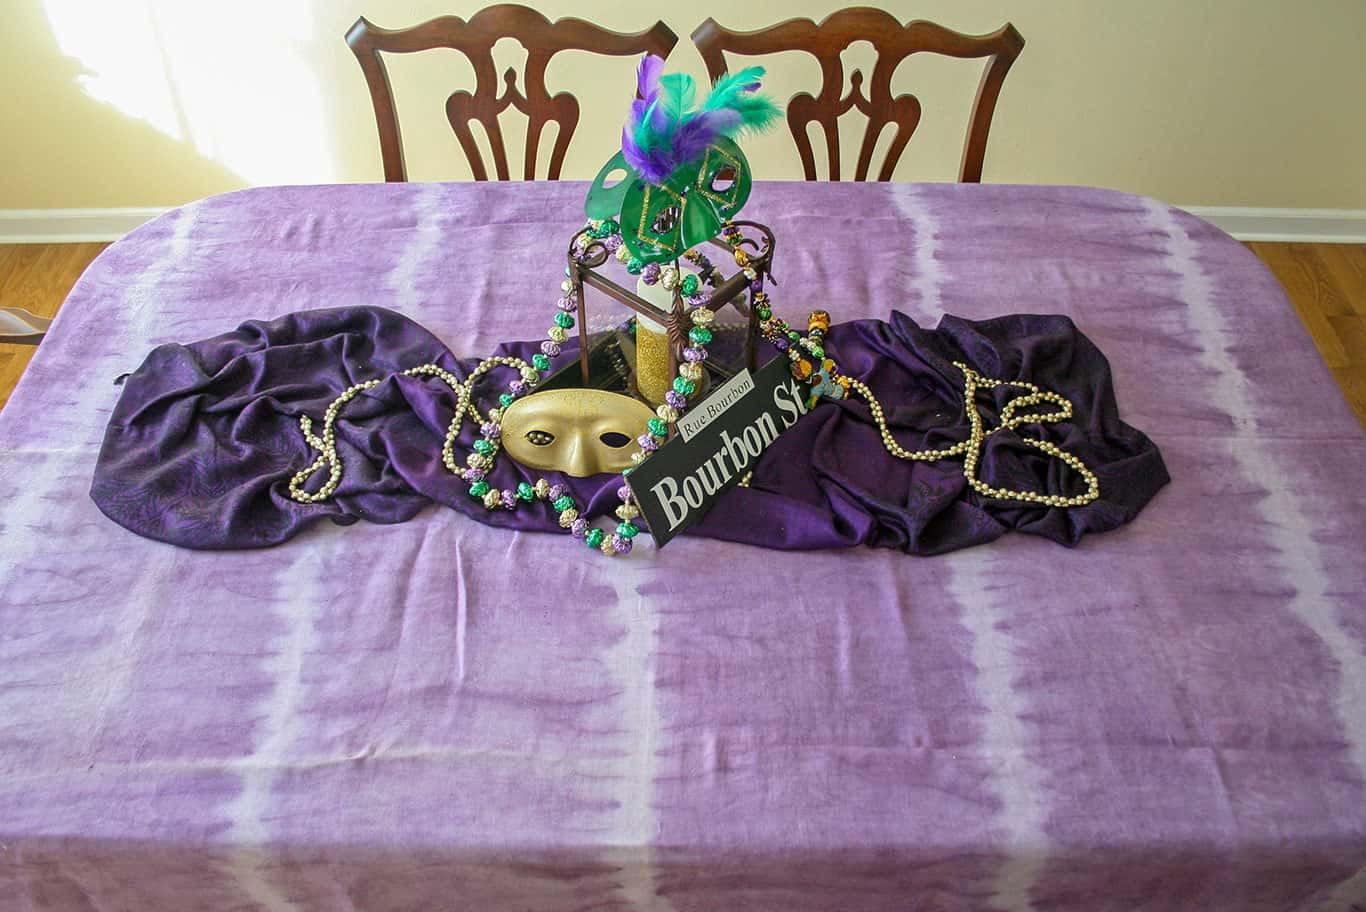
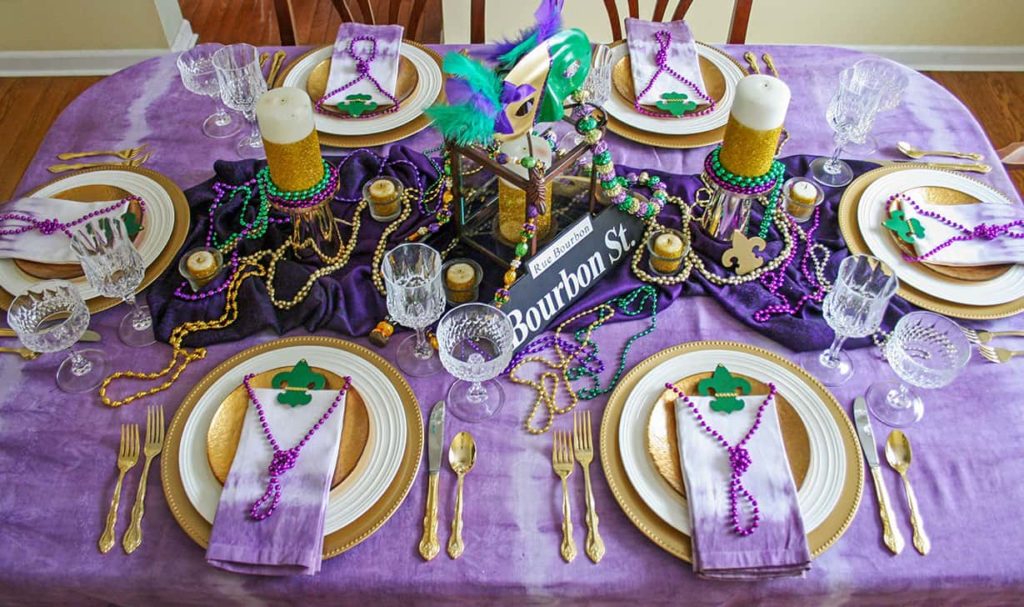
I added two gold candle holders with diy’d glitter candles and 6 votive gold candles. Then to complete the Mardi Gras centerpiece for my table I added more purple, green, and gold beaded necklaces and gold fleur-de-lis.
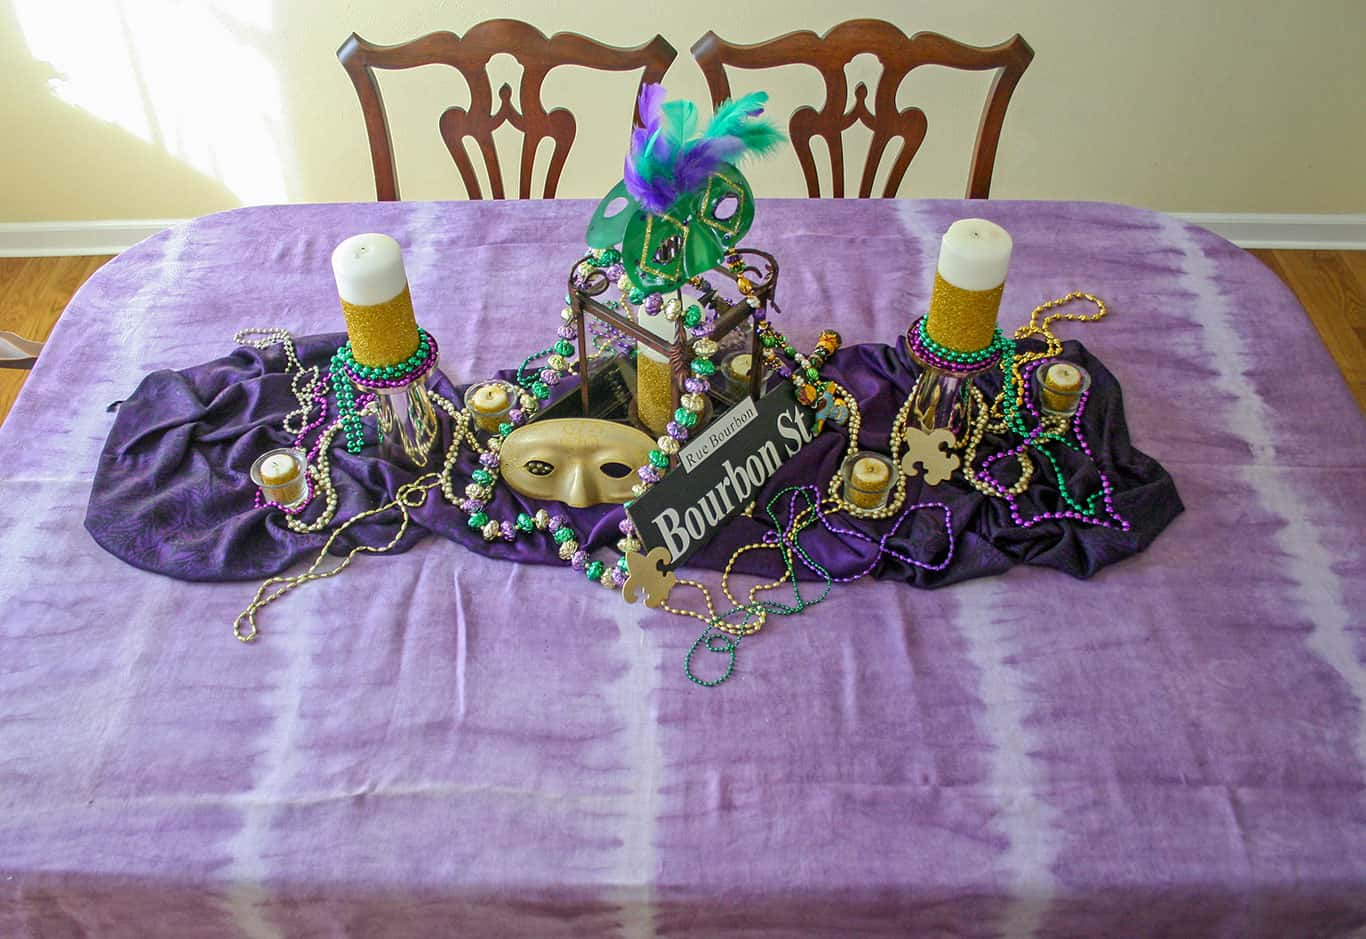
*Tip: when you are creating a centerpiece, look at it from different angles. Sit in different spots. It might look great from one vantage point and lacking from another. Then make any necessary adjustments.
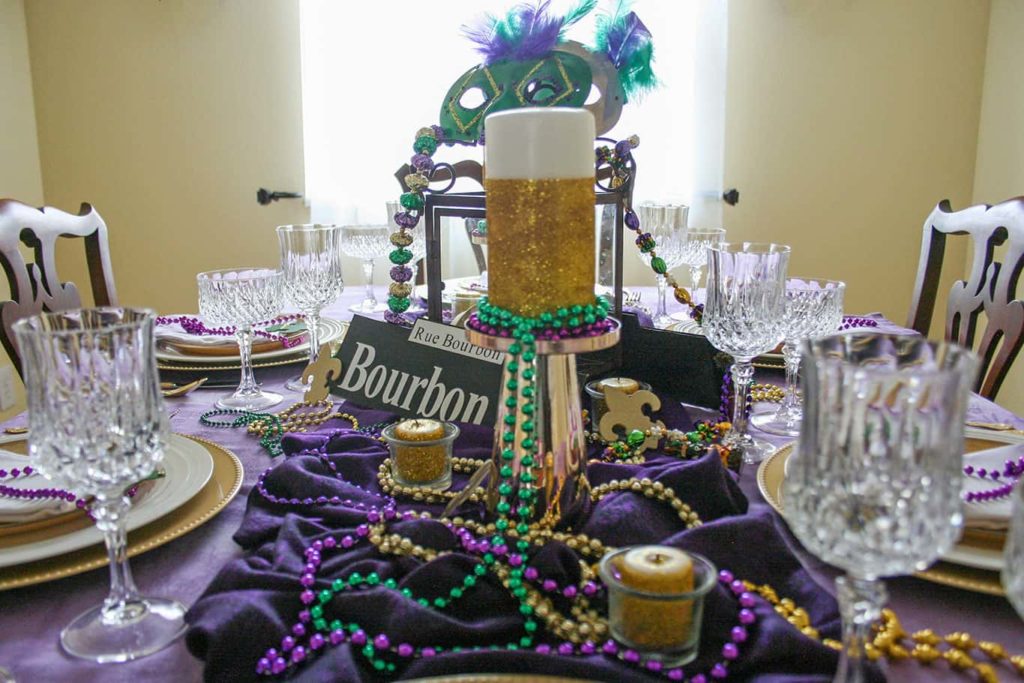
Step 3: Create you Mardi Gras place settings
To create my Mardi Gras place settings, I used pieces I already own. I didn’t purchase anything new. In fact, I used the same plates from my New Year’s Eve tablescape.
I share that, because I want you to see how versatile the items you already own can be in creating tablescapes.
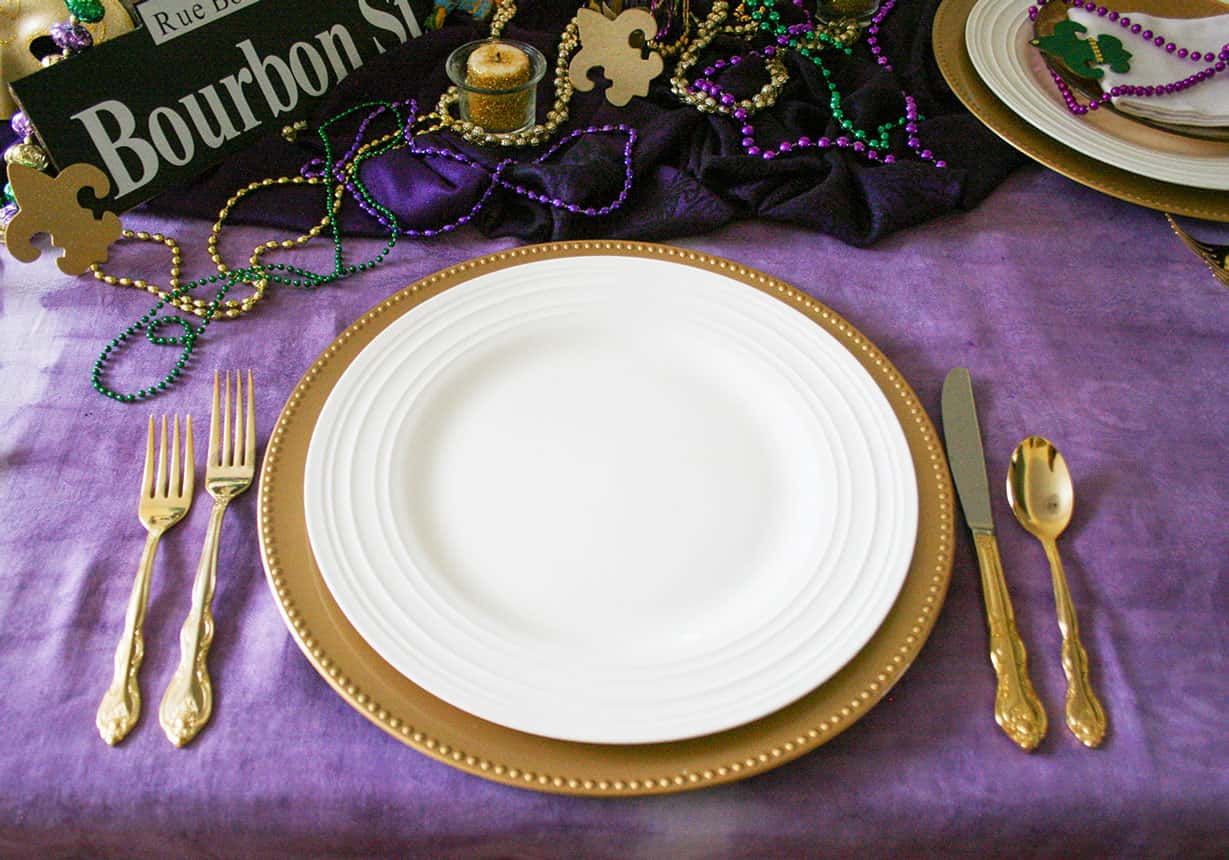
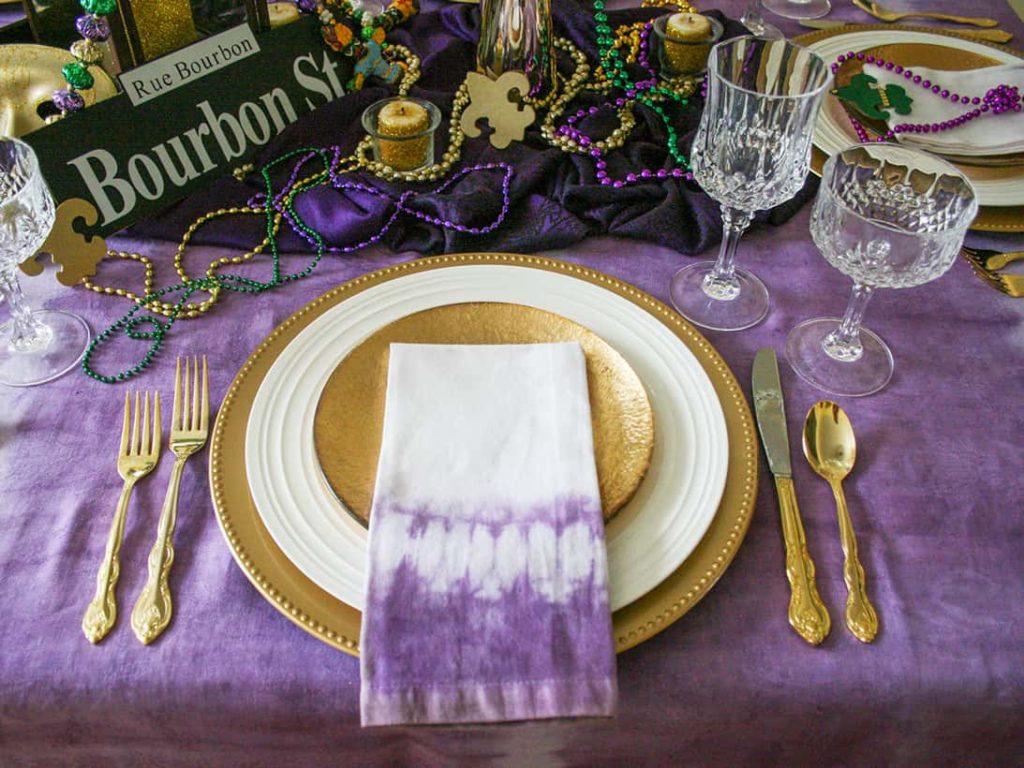
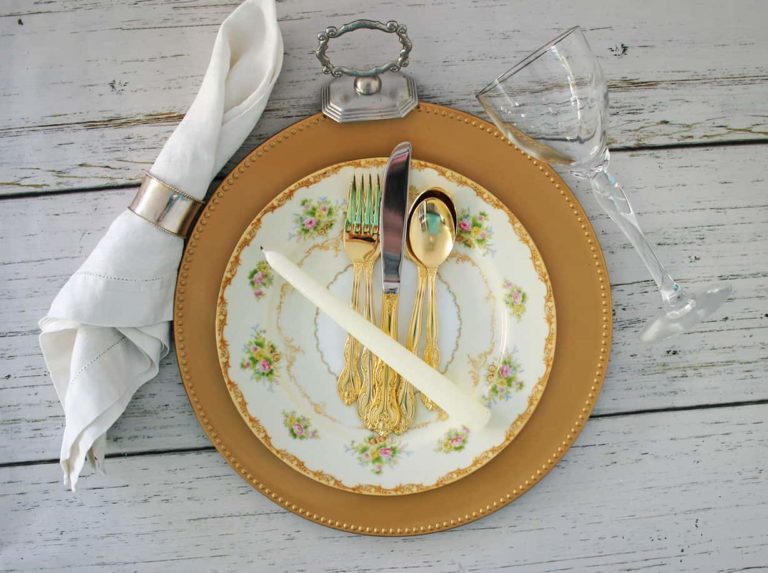
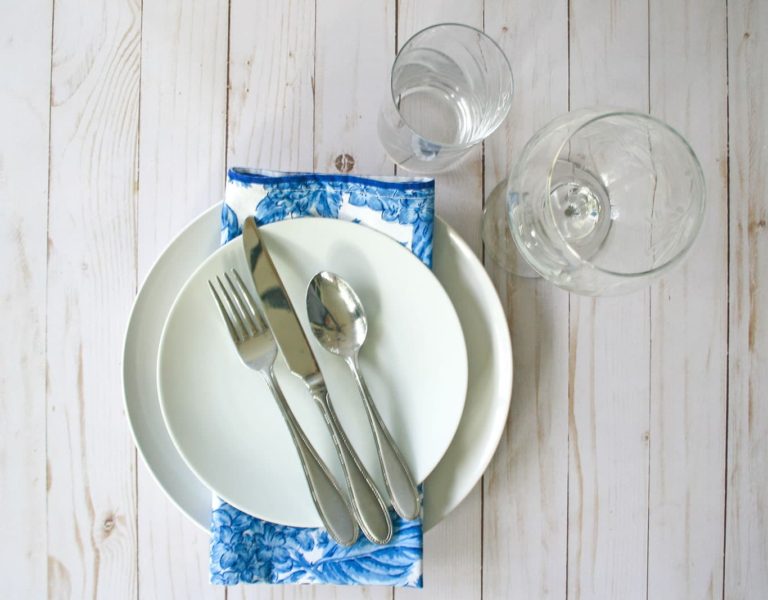
Since one of the colors of Mardi Gras is gold, I started my place setting with a gold charger. I then placed a white plate (gotta love tried and true white plates!) on the charger and topped the white place with a gold salad plate.
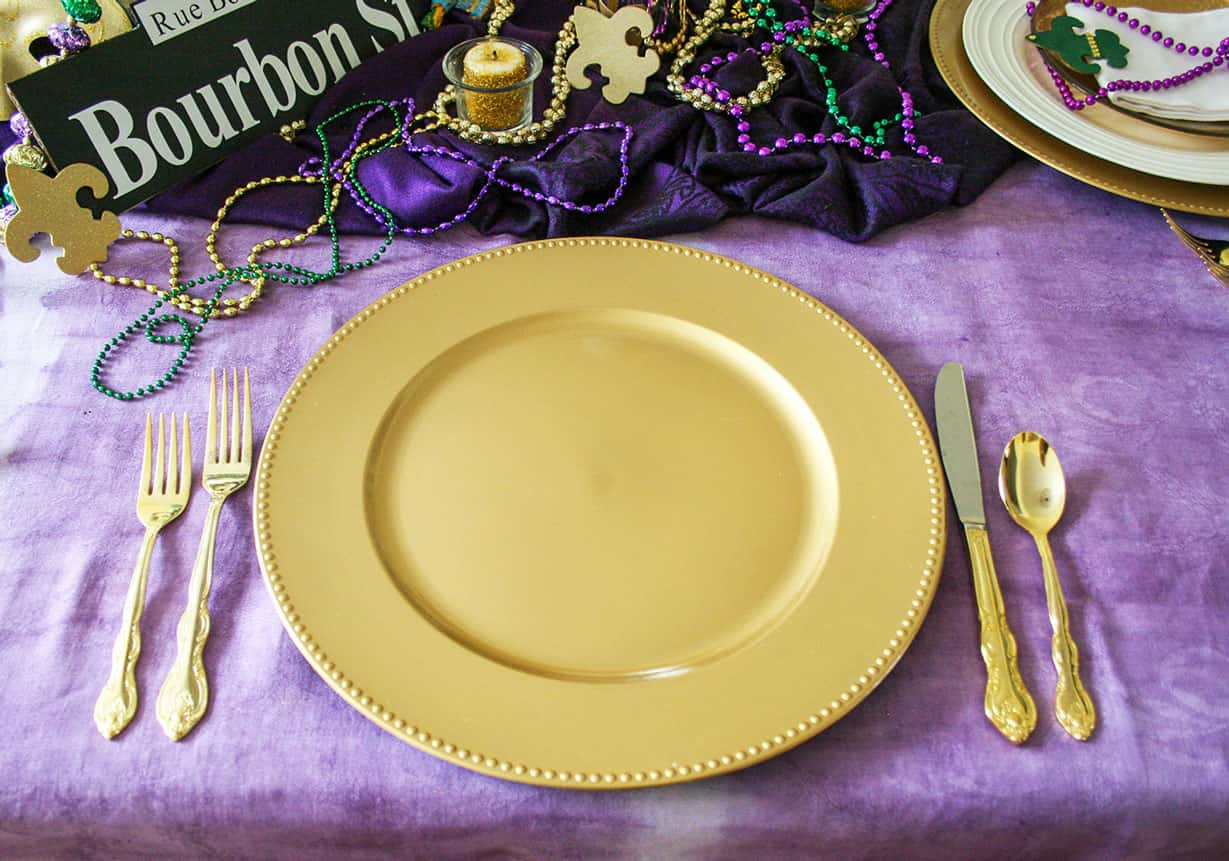
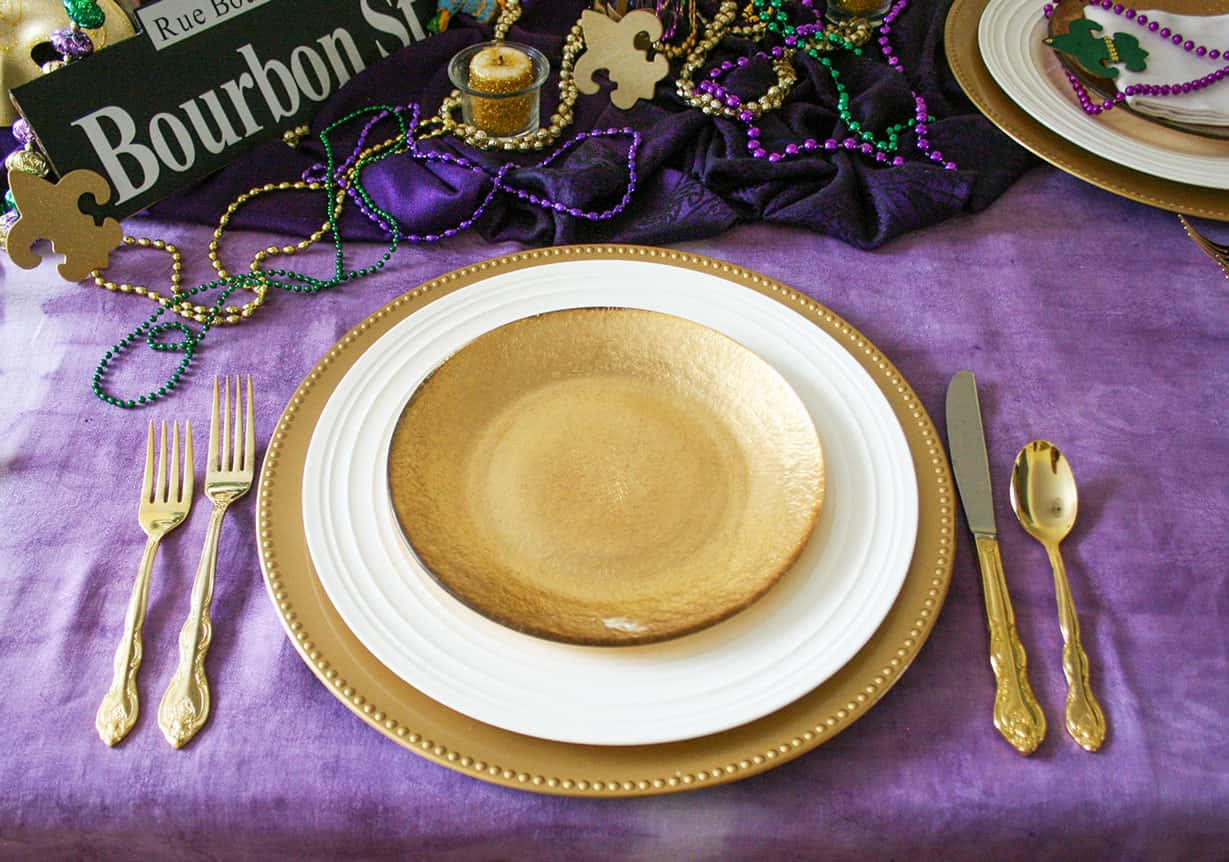
I also used my gold silverware to complement my gold place setting.
To complete my Mardi Gras place setting I added the napkins that matched my tablecloth and crystal wine and champagne glasses.
So pretty!
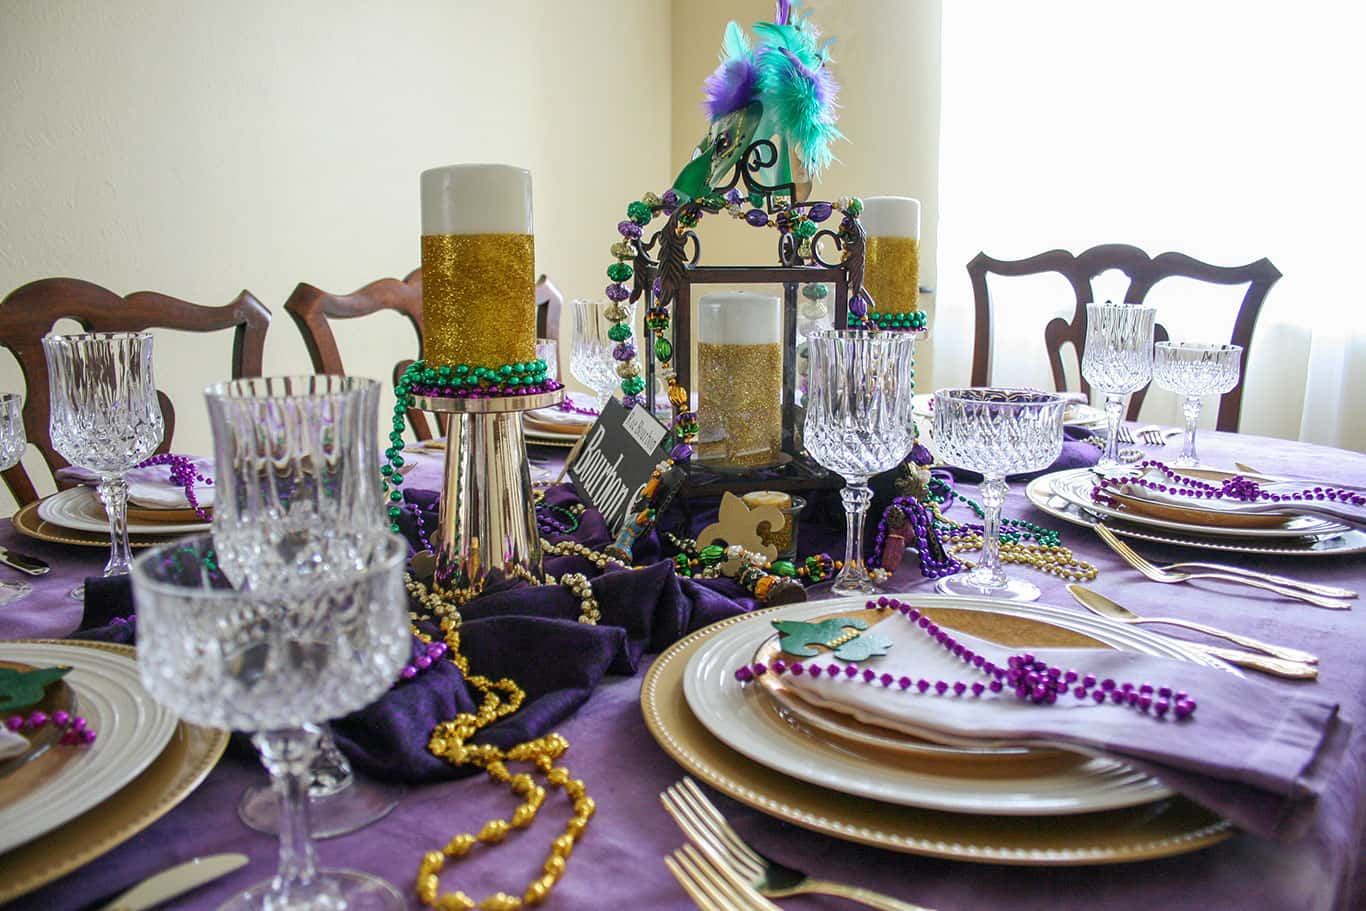
Step 4: Finishing touches to the Mardi Gras table setting
Sometimes when you create a tablescape, it needs more. That it’s lacking a little something. That’s how I felt about my festive Mardi Gras tablescape until I added the finishing touches.
When you go to a Mardi Gras parade, you try to catch as many beads as you can. I thought it would be fun to provide each guest with a string of beads. So I tied a small knot on one end of purple beads and then placed the other end around the salad plate, and on the napkin to appear as if the place setting was wearing a necklace.
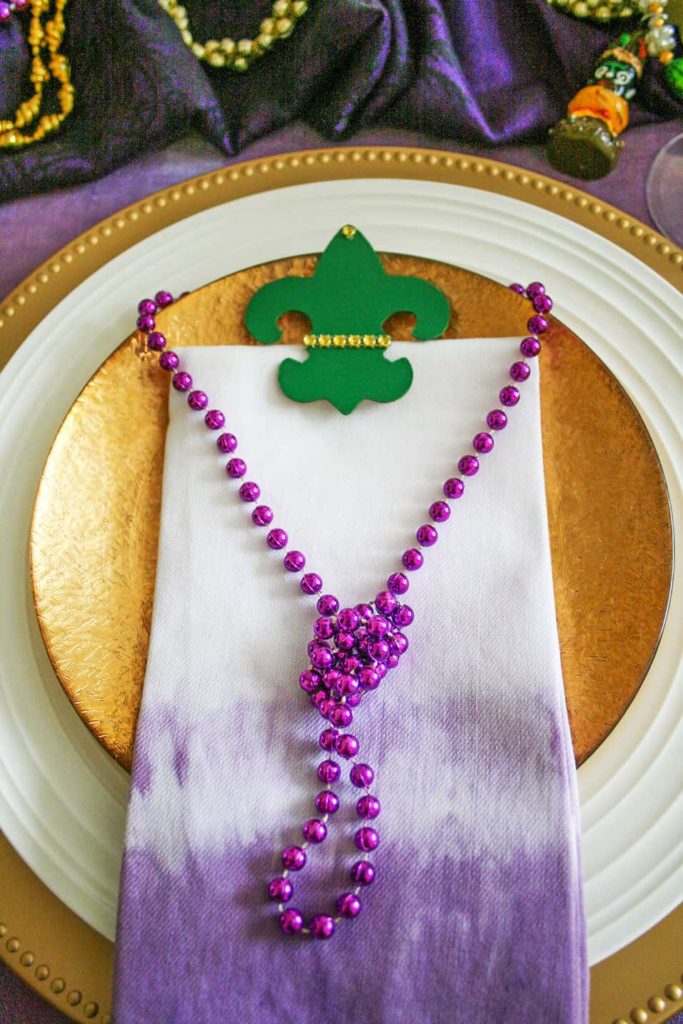
Then I added a green, with gold accent, fleur-de-lis to the top of each salad plate.
Fun!
My guests will have a necklace to wear during dinner and a fleur-de-lis to bring home as a memory of our festive Mardi Gras dinner party.
I love how this Mardi Gras table setting turned out! It really brings back fond memories.
Now I need to plan a trip to New Orleans during Mardi Gras!
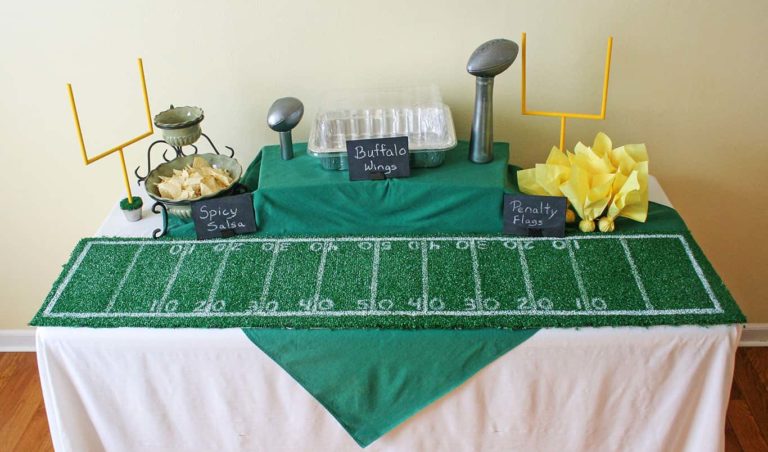
*If you’re planning a buffet party, instead of a sit-down dinner, take a look at my Mardi Gras buffet table. It uses some of the same diy projects. Plus there are tips for setting a buffet table.
Check out the easy DIY projects used to decorate this tablescape:
Check out other table settings:
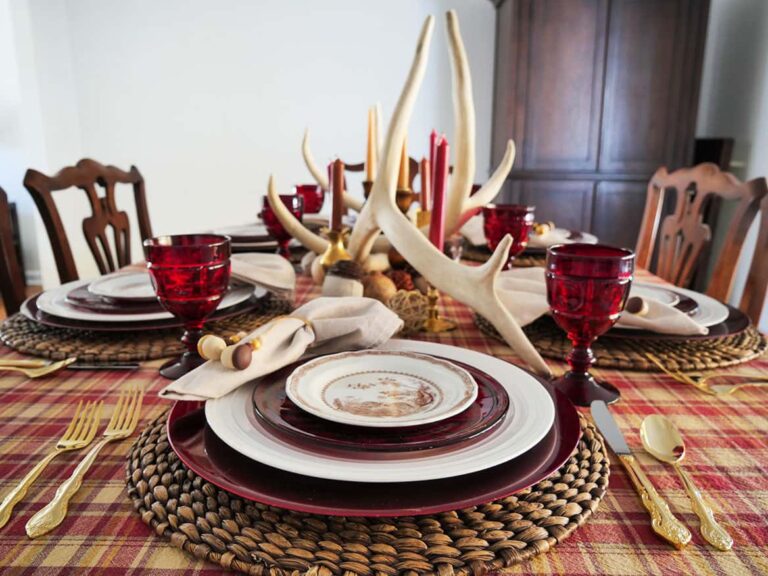
- Simple Modern Thanksgiving Day Tablescape: On a Budget
- Chic Minimalist Thanksgiving Day Buffet
- Simple Fall-Inspired Table Setting
- Cozy Fall Table Setting: Navy & Tan
- Ode to 1970’s Vintage Fall Tablescape
- Create a Uniquely Simple Late Summer Tablescape
- Coastal Grandmother Table Setting
- Setting a Pretty Table for Your Girlfriends: Pink & White
Your Mardi Gras Table Scape is stunningly beautiful – great ideas. Thank you
Thank you! I really enjoyed creating it.
Very attractive. I live in New Orleans and it is a perfect setting!!!
Aww, thank you! That means so much coming from someone living in New Orleans!!