Have you ever wanted to know how to tie-dye a tablecloth and make a matching set of napkins? Then I have a great post for you!
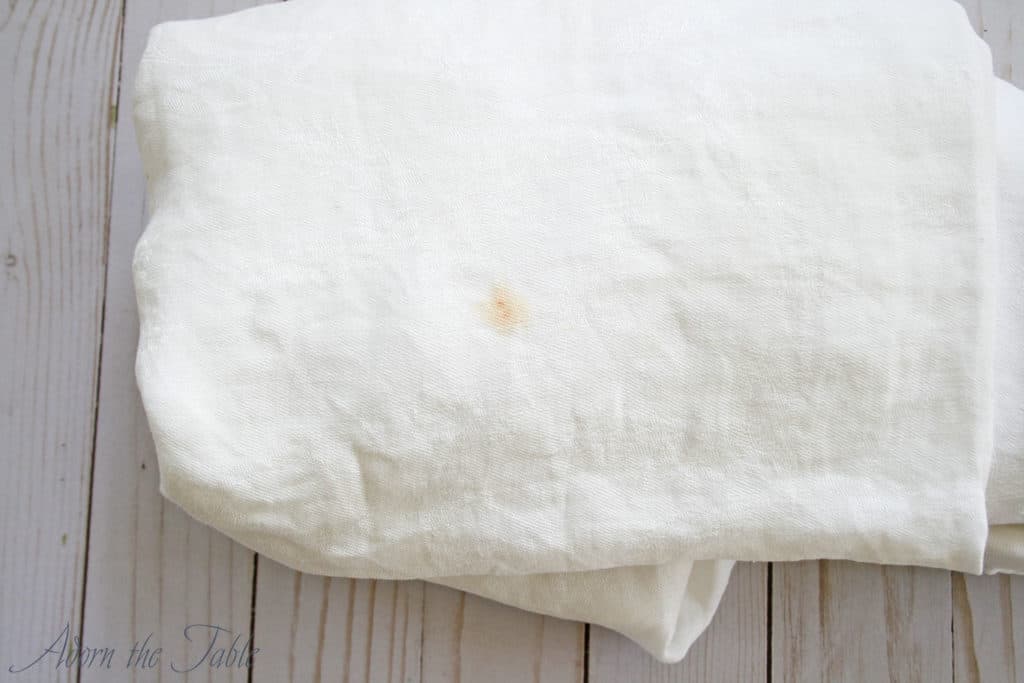
I love tablecloths. Especially cheap white ones from the thrift store, yard sales, or antique stores. It amazes me how many white tablecloths people get rid of. Which makes them SO cheap to buy. A fraction of the original cost. Most are in great condition, but some have a few small stains.
Do you know the best way to hide a stain that won’t come out of a white tablecloth? Change the color by tie-dying it! Yep ~ tie-dying a tablecloth will help hide those small stains (not the crazy big ones).
Since tablecloths are so large, I think many people get intimidated to dye them. Yes, you will need a large container or utility sink to do the actual dying, but the process is the same for tie-dying napkins as it is for tablecloths.
Maybe you have heard of Shibori dying? It is a very similar technique of tie-dying fabric, but with indigo-colored dye.
Since I’m not going to be using indigo dye, I won’t be referring to my dying process as Shibori, but as tie-dying.
Note: since I will be using a tablecloth I found at a second-hand store, this is also a great upcycle project!
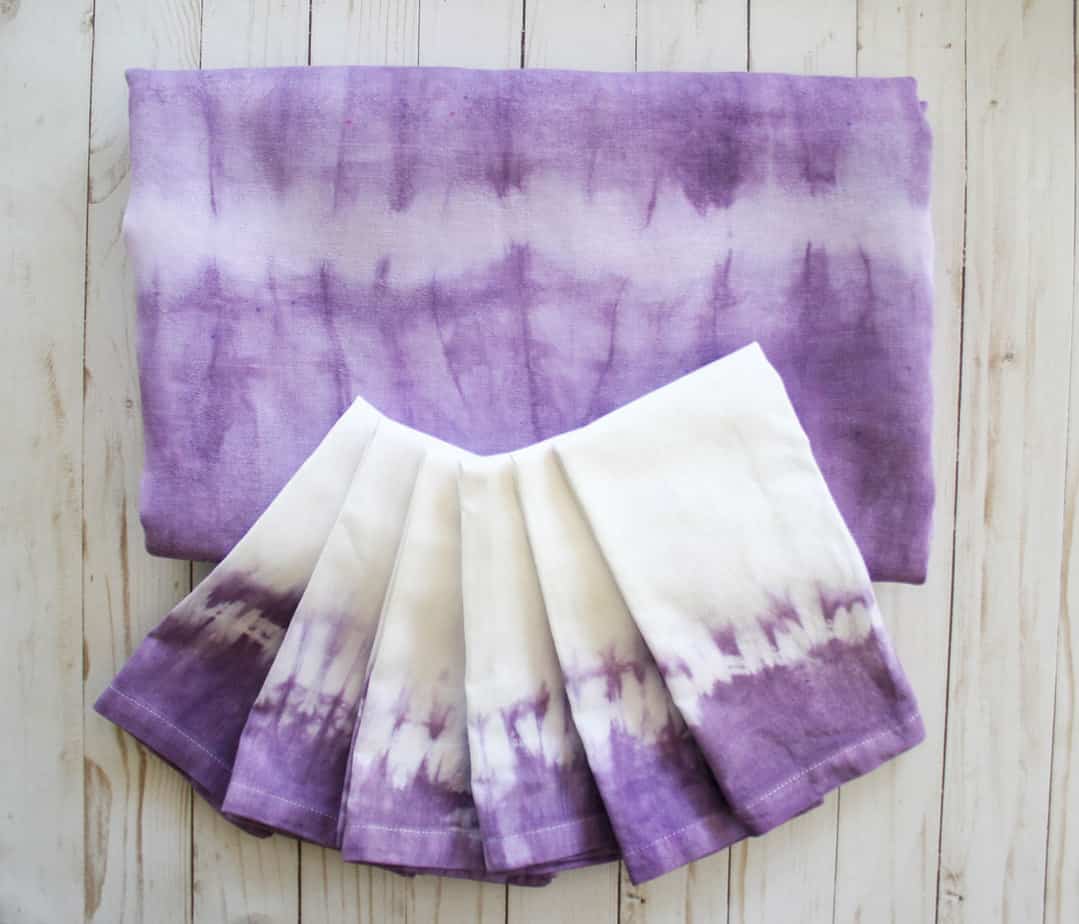
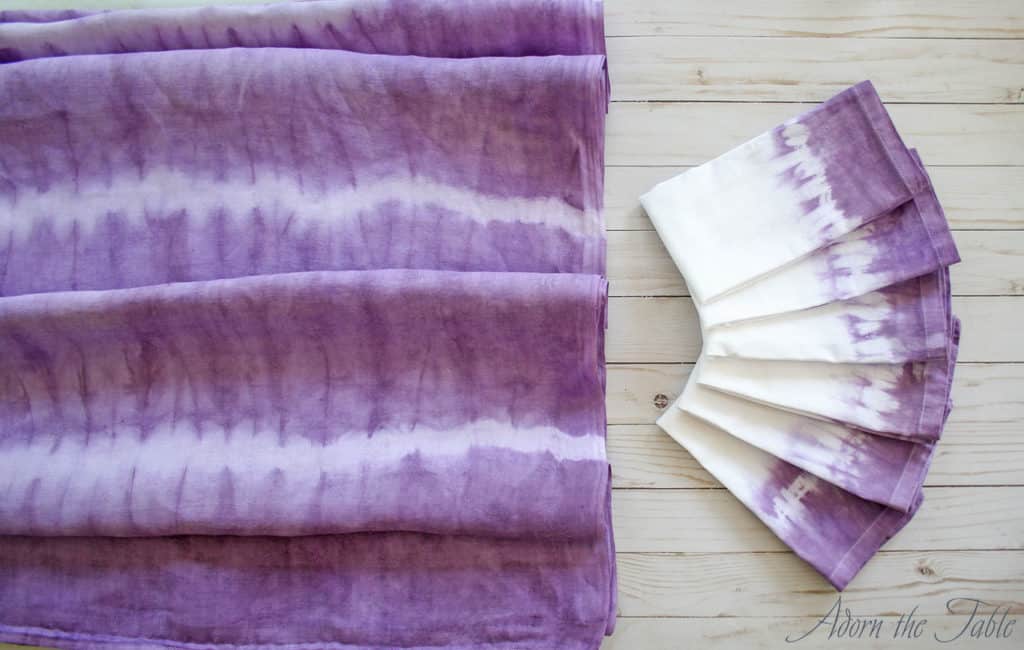
For my tie-dye diy tablecloth, I decided that I wanted most of it dyed and just a little left white. There were small stains in various areas that would be easiest to hide if most of the fabric wasn’t white.
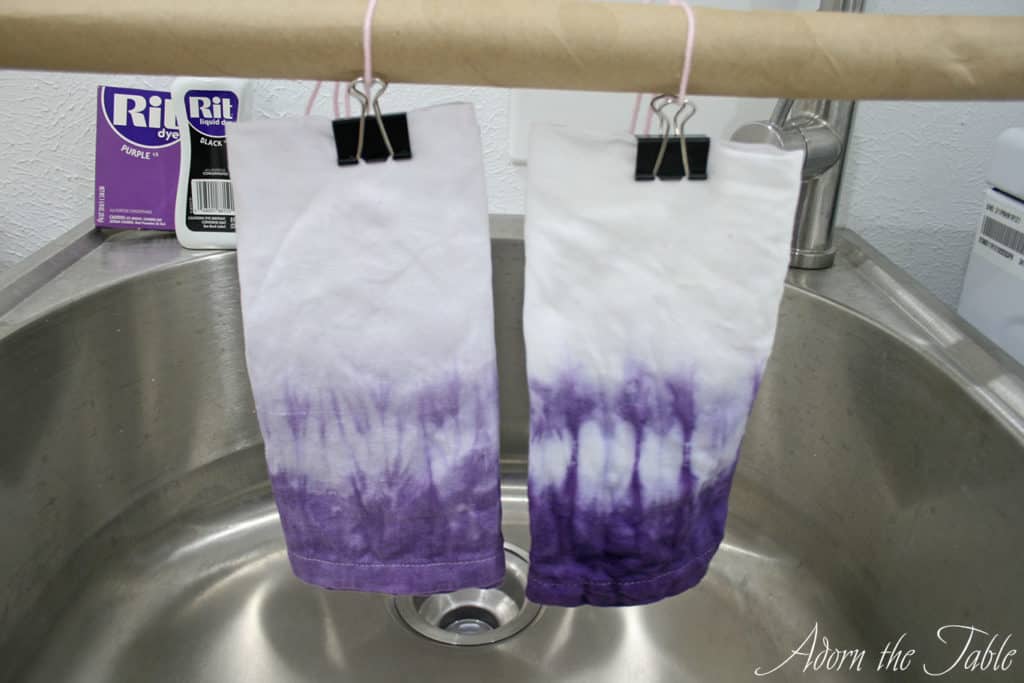
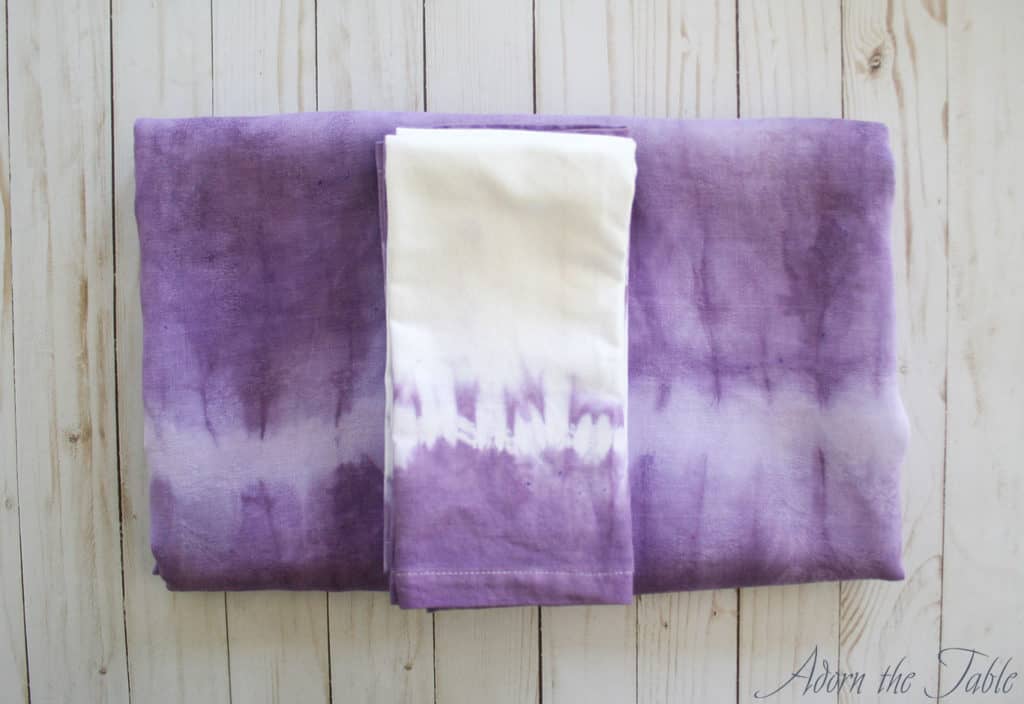
For the tie-dyed napkins, since they didn’t have any stains, and I wanted them to compliment, but not completely match the tablecloth, I decided to tie-dye just the bottom third of the napkins. Thereby leaving the rest white.
Supplies to Tie-Dye a Tablecloth and Napkins
Please note that this article may contain affiliate links. I may get commissions (at no cost to you) for purchases made through these links. You can read my full disclosure for more details.
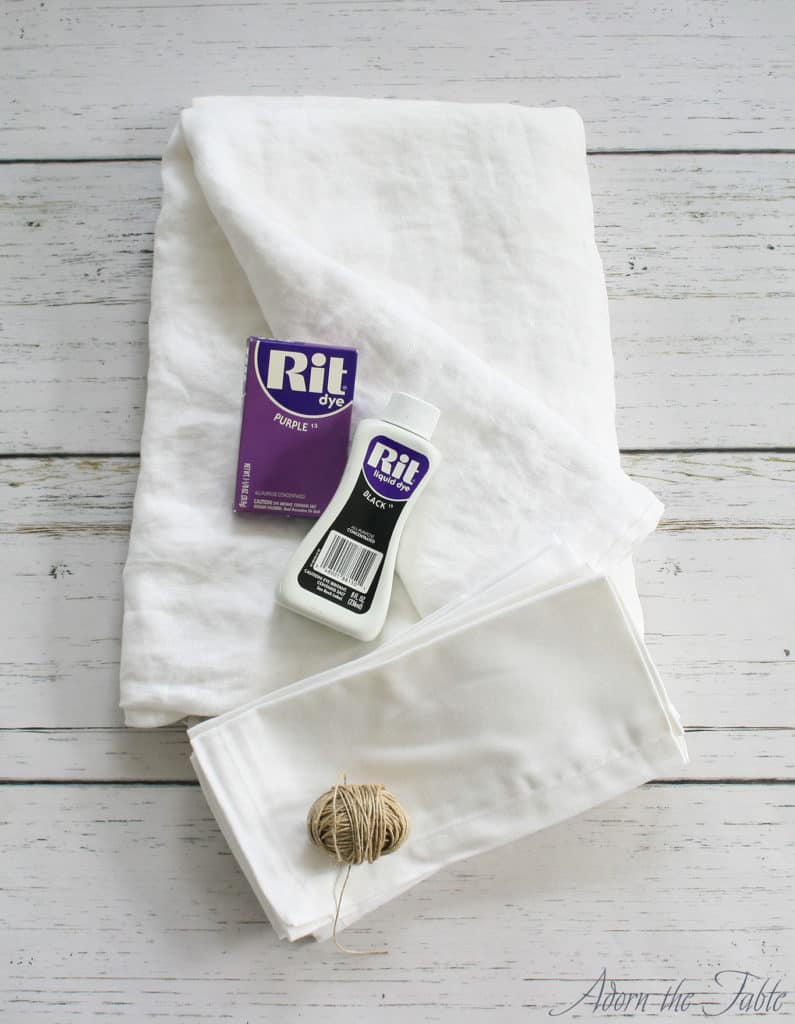
- White tablecloth and napkins (preferably cotton)
- Twine that is colorfast (won’t bleed)
- Dye packets or liquid dye
- Large container for water, or a utility sink
- Rubber gloves (that cover to your elbows)
- Paint stick or metal tongs
- Salt
Easy to follow instructions for creating your own DIY tie-dyed tablecloth and napkins
Step 1: Prewash your tablecloth and napkins.
If you are upcycling them, be sure to treat any possible stains before starting the tie-dying process.
Step 2: Determining the desired pattern for your tie-dyed tablecloth and napkins.
This is probably the hardest part of this tie-dye DIY project. There are SO many different patterns you can create. The white fabric is literally a blank canvas.
You can create circle, spiral and line patterns. I decided I wanted my tablecloth to have white lines.
If you will be creating lines, like I did, you will first want to measure the length of your tablecloth. Then decide if you would like those lines close together or far apart. You also need to decide if you would like a line down the middle of the tablecloth.
Once you have determined roughly how many lines you would like on your tablecloth, you will need to do a little math to space them out evenly. (Urgh! I know!!) If you want 6 lines, you will want to divide the length (in inches) by 7. Not 6!
I know it sounds weird, but if you divide the length by the number of lines you want, then your last line becomes the end of the tablecloth. Not really a line. I know ~ it’s hard to wrap your brain around.
If you know you want a line in the center of the tablecloth (which is the easiest way to go). You will have an odd number of lines, not an even number.
Starting at one end of the tablecloth, measure the distance needed to your first line and mark it with a safety pin. Then measure again from your safety pin. Continue to mark and pin until all your lines are marked.
*If you don’t want to do math, and want evenly spaced lines, with a fold in the middle, you can do this: fold your tablecloth in half lengthwise and mark the center with a safety pin. Then pull one end of the tablecloth to that center safety pin and mark the new fold with a safety pin. Do the same on the other side. By doing this, you will have three equally spaced lines. If you want 7 lines, bring the center of the tablecloth to the other safety pin, and mark the new fold. Continue this process until you have identified the location of all your lines with safety pins.
Tip: it’s a good idea to mark each side of your tablecloth with safety pins so you can easily line up the top and bottom pins when you secure your lines.
Step 3: Securing your fabric
There are many tools you can use to secure your fabric for tie-dying. Often you will see rubber bands used, as they can get really tight on the fabric.
I chose to use twine because it would be easiest to tie the different sections of the tablecloth to control each section’s width. I thought that using rubber bands would be too hard to wind around and get tight enough on the large, thrift store tablecloth.
When working with a tablecloth, it is best to lay out the whole piece, so you don’t (unintentionally) create weird diagonal patterns.
To create the lines, you will want to match the safety pins that are across from each other. It is easiest to slowly gather the fabric, starting at one end and working your way to the other end. Once you have it all bunched together, grab your twine and tie it as tightly as possible. Then wind the twine around the fabric (again as tightly as possible) creating a band. Make the band a little wider than the line width you want, as the dye will seep into the edges of the band.
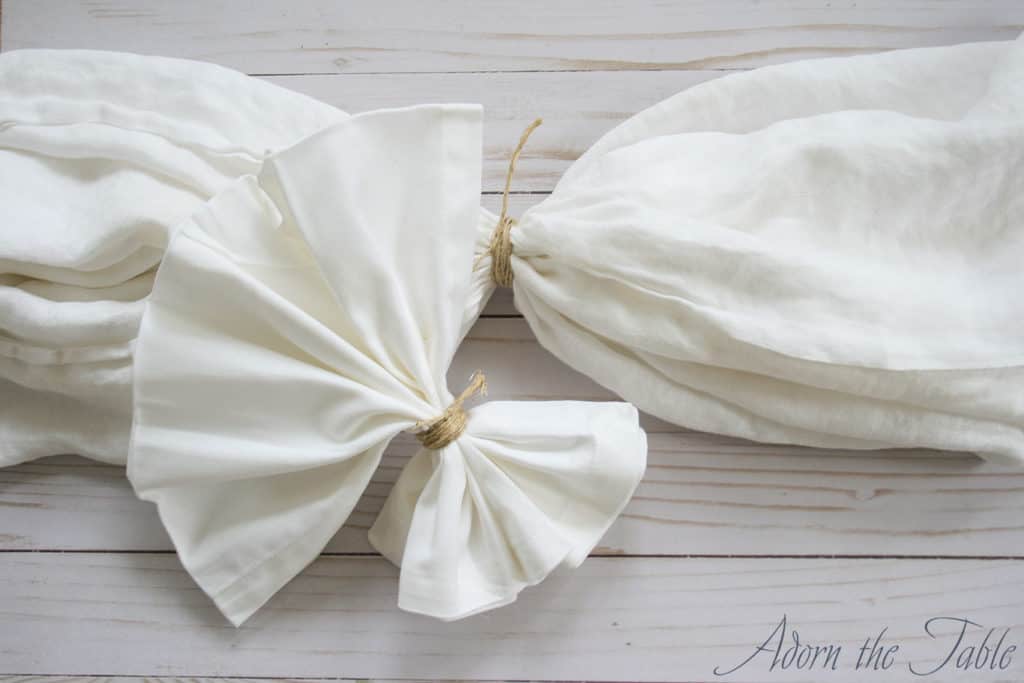
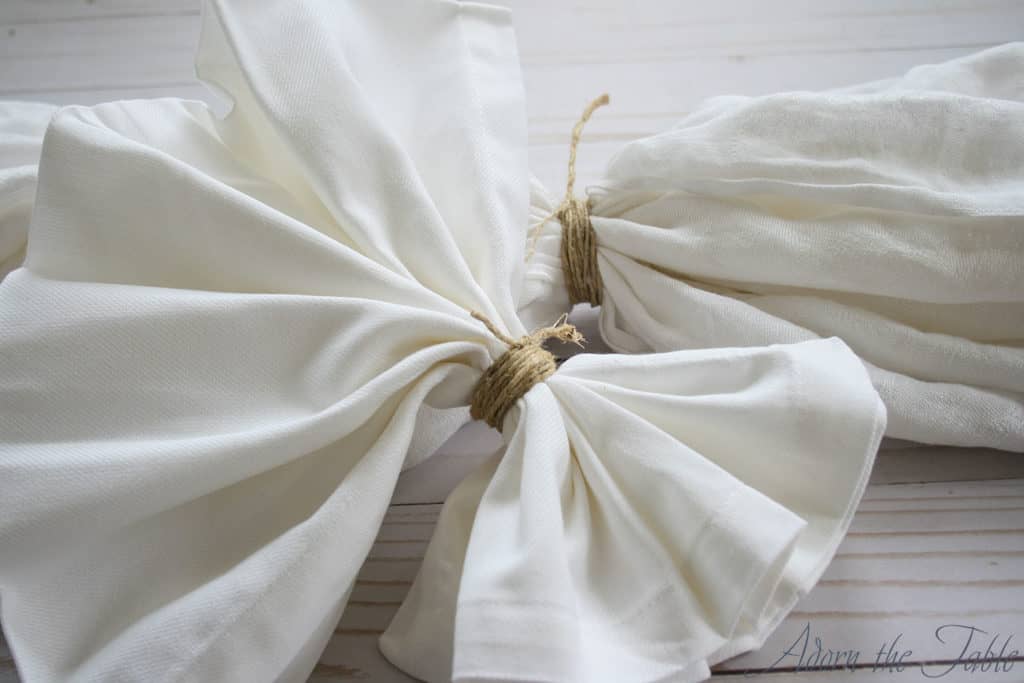
Continue to create the tied twine bands until you have all of your lines created on your tablecloth.
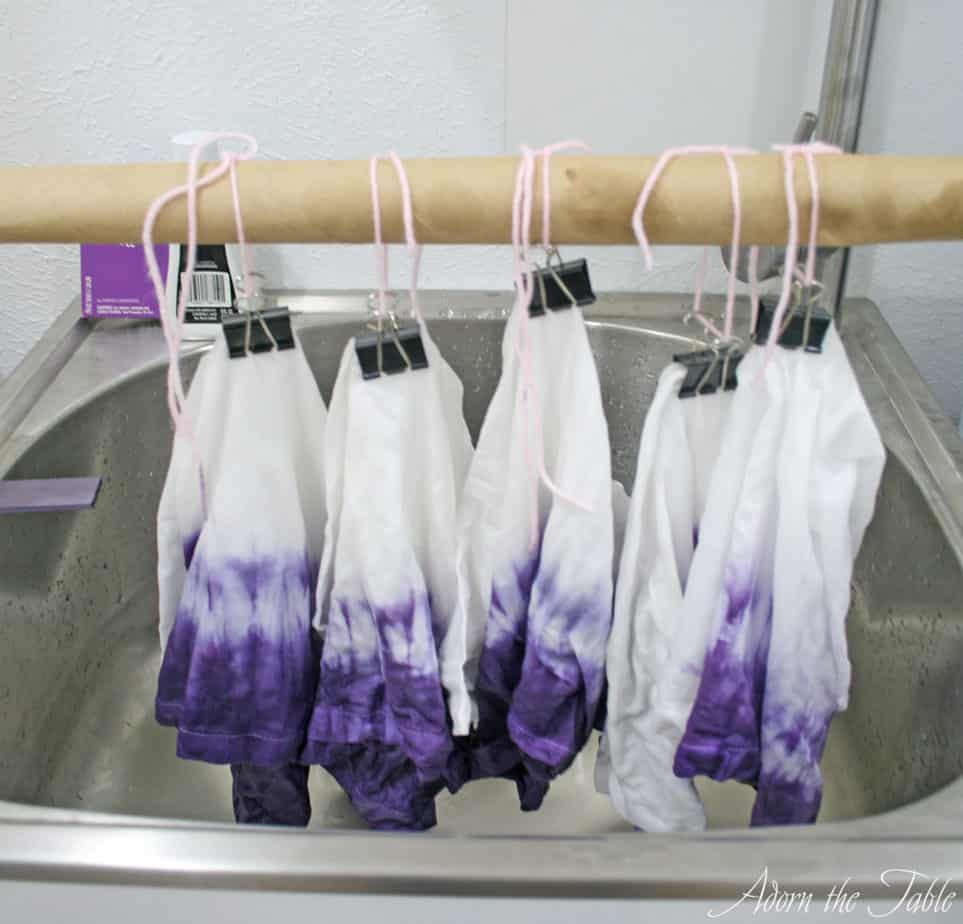
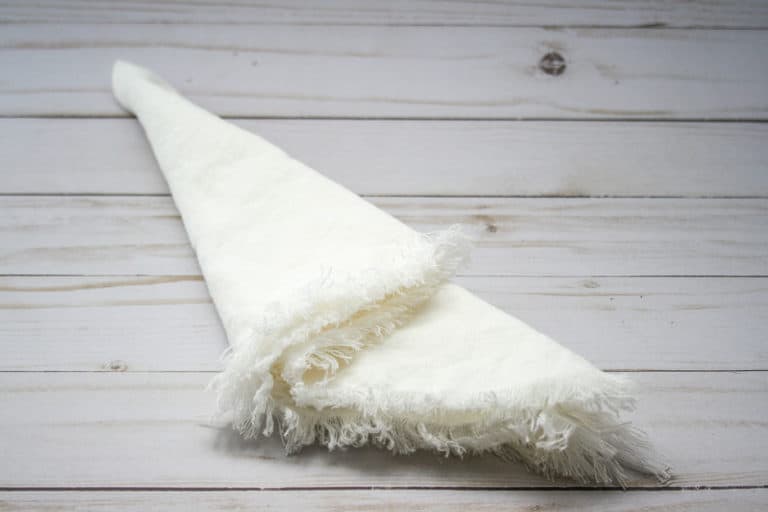
Now do the same thing to your napkins. Since I would be only dying the bottom third of my napkins, I tied only one band on each napkin.
Step 4: Preparing the dyebath
After you have your fabric completely tied off, you are ready to dye it. Be sure and read the instruction on your fabric dye. I used Rit dye, which comes in a wide variety of colors. For my 1 tablecloth and 6 napkins, I used one packet of purple dye and a little liquid black dye. I mixed in a little black, as I wanted my linens to be a little greyed.
To prepare your dyebath (Yes, that is what it is called. I’m guessing it’s because you are using a container of water to soak your fabric.) you will want to use an old bucket (one you won’t care if it stains), a very large metal pot, or a utility sink.
Using very hot water, fill your container with enough water so all of the fabric will be completely immersed and able to move around easily in the bath.
*Be sure and wear rubber gloves for the next step.
Now add the Rit dye and one cup of salt to your hot water and stir (I used a paint stick) so the dye and salt are completely mixed with the water. If it isn’t, you will end up with concentrated blobs of dye on your fabric. Not what you want!
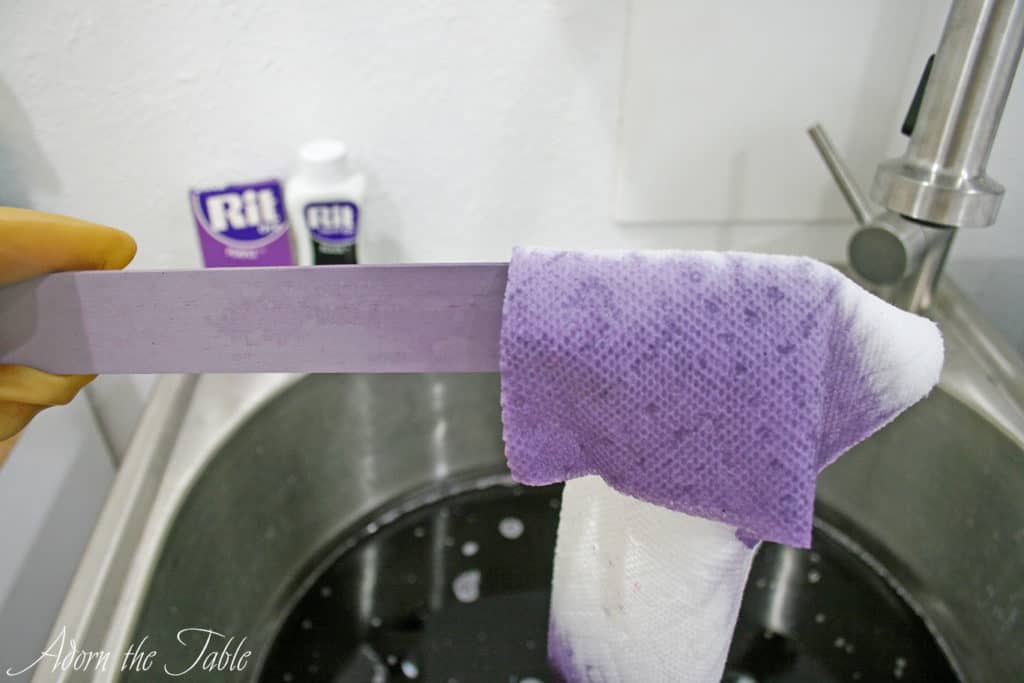
*Tip: a good way to test if the dye is the color you desire, is to use a white paper towel and dip it in the dyebath. Make any adjustments to the dyebath before adding your fabric. You can add more dye, or more water to dilute the color.
As you can see in my picture, I have spray painted a paint stick the color I want to match my dyebath.
Step 5: Dying your tablecloth and napkins
Before placing your tablecloth and napkins into the dyebath, get them wet. Wring out any excess water. This will aid in the dying process. Then completely submerge them in the dyebath.
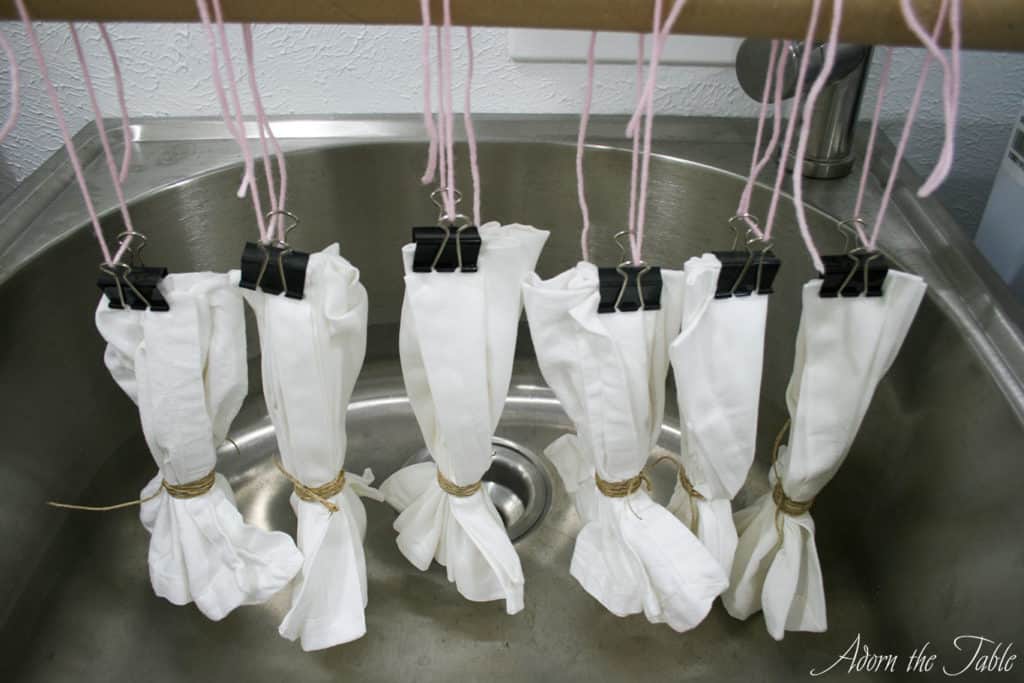
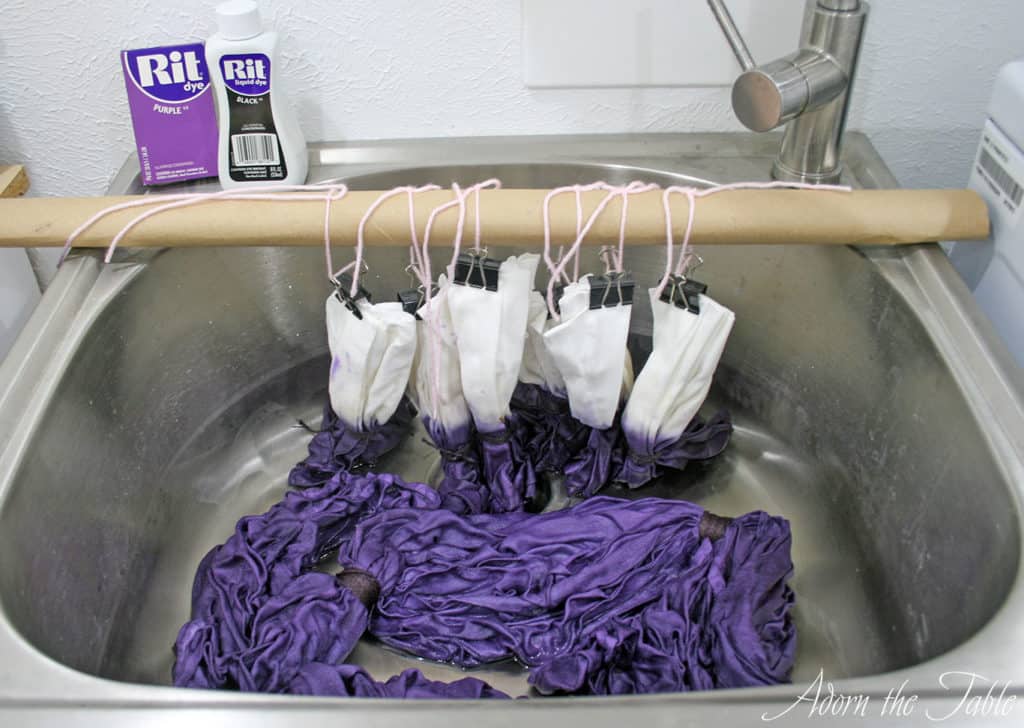
Since I was only dying the bottom third of my napkins, I jerry-rigged them to hang from a wrapping paper tube, so only the portion I wanted to be dyed would be in the dyebath.
Using a paint stick, metal tongs, or your hands (as long as they are completely covered by rubber gloves, otherwise your skin will be stained), stir the fabric in the dyebath. Do this continuously for at least 10 minutes. This will ensure that the dye penetrates all of the fabric and that your tablecloth and napkins will be dyed evenly.

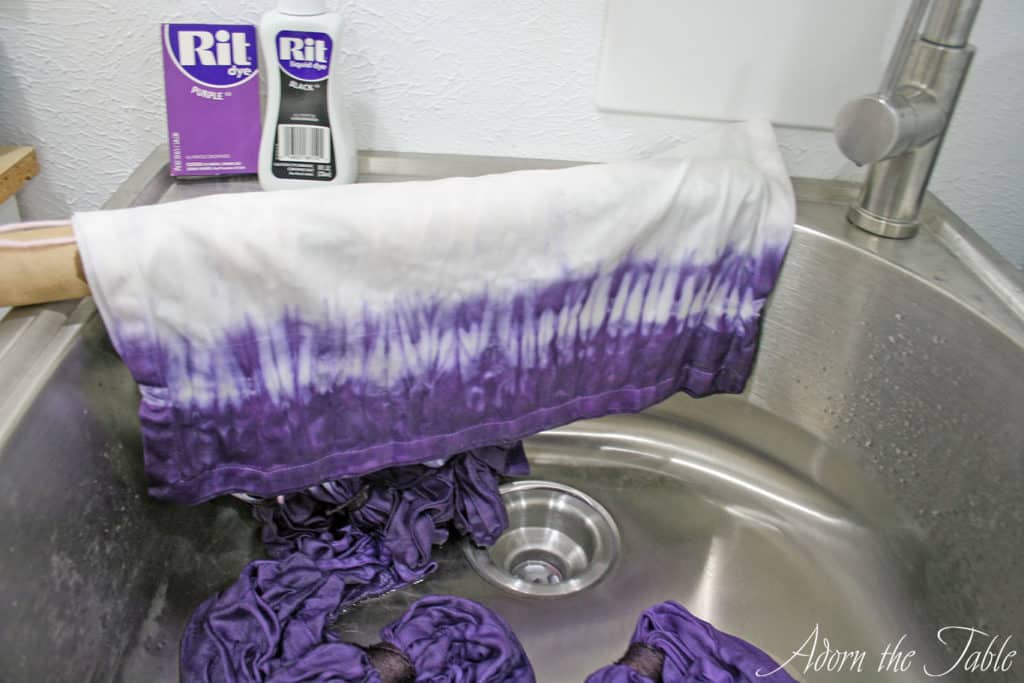
After 10 minutes lift a section of the fabric out of the dyebath. If it is the desired color, remove it (or let the sink drain) from the container. *Note: your fabric will dry lighter, so if it is the exact color you want when it is wet, continue to let it soak for a few more minutes and recheck it. You want it a shade darker when wet, to ensure you achieve the color you desire.
*Key* Rinse the fabric under cold water until you no longer see dye color running from the fabric. Because you are working with a lot of fabric, this might take a while and a lot of rinses. The water must run clear from the tablecloth to be sure all of the dye is removed from the fabric. If not, the color will bleed when washed.
Step 6: Removing the twine.
After all of the dye is removed from the tablecloth and napkins, you can carefully remove the twine from them. I advise working one section at a time.
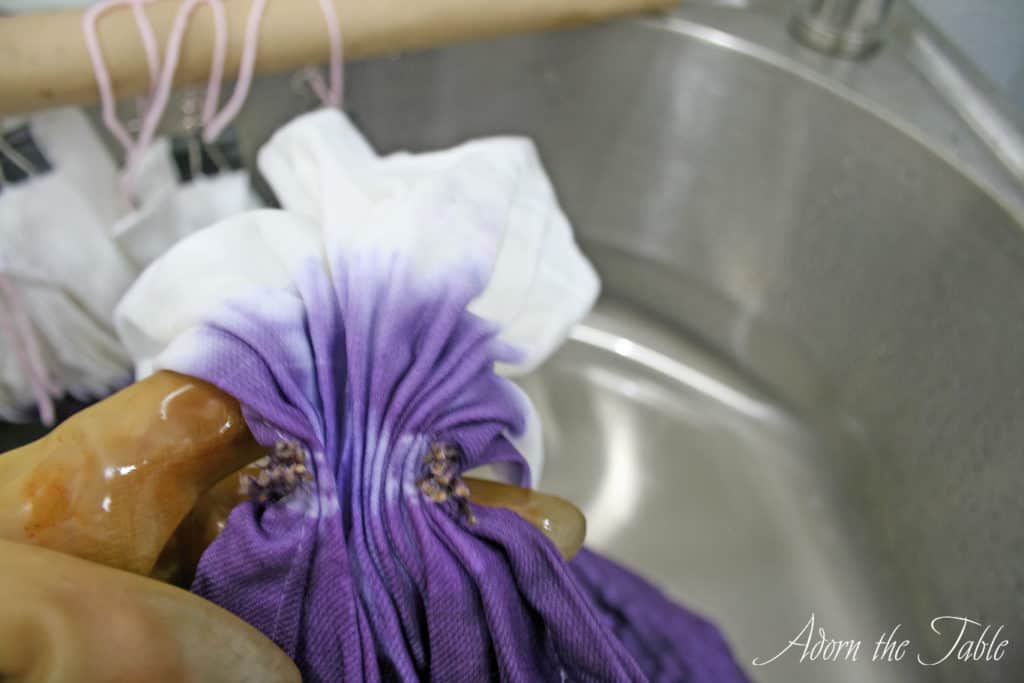
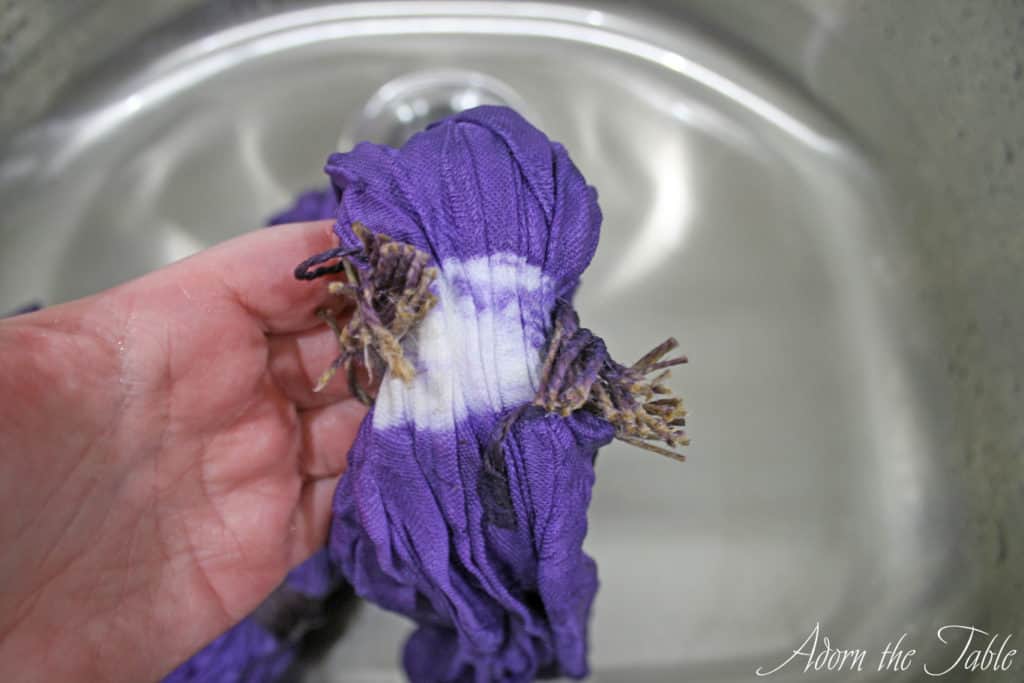
Cut off the twine, being careful to not cut the fabric. Then run that section under cold water. There shouldn’t be any dye left in the fabric, but this will help to confirm that it is all gone. You will also be able to see the sections of fabric that stayed white where the dye wasn’t able to penetrate.
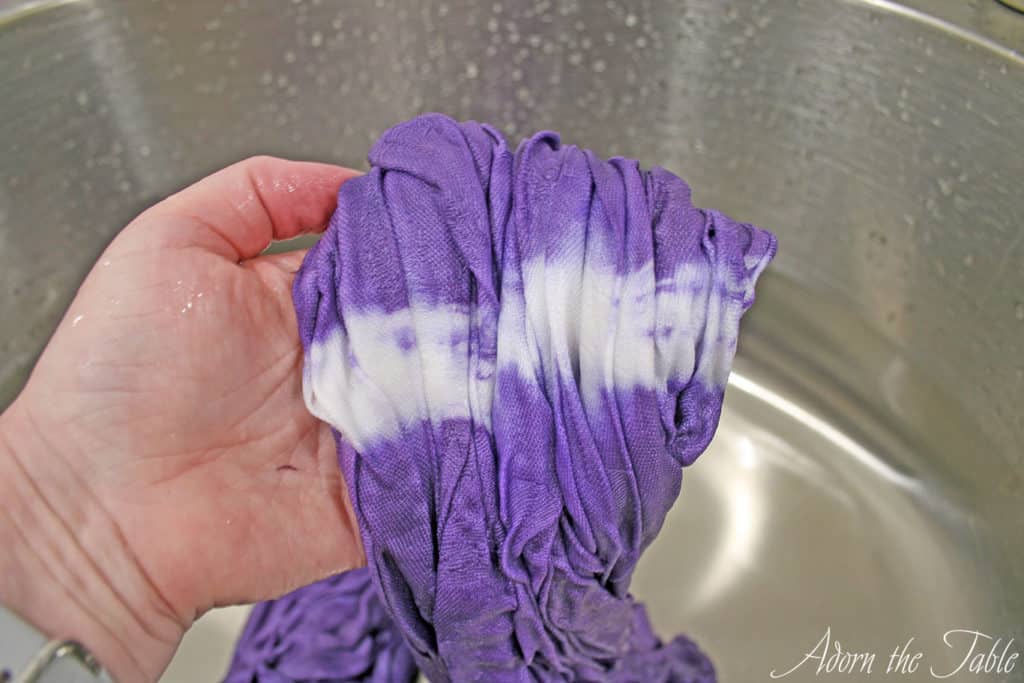
It’s looking kinda cool, huh!
After you have removed all of the twine, rinse the tablecloth and napkins in cold water one final time.
Final Step:
Wash the tablecloth (by itself) in warm water with mild laundry soap. Just in case there is any lingering dye (which there shouldn’t be), you don’t want anything else in the wash with it. Dry normally.
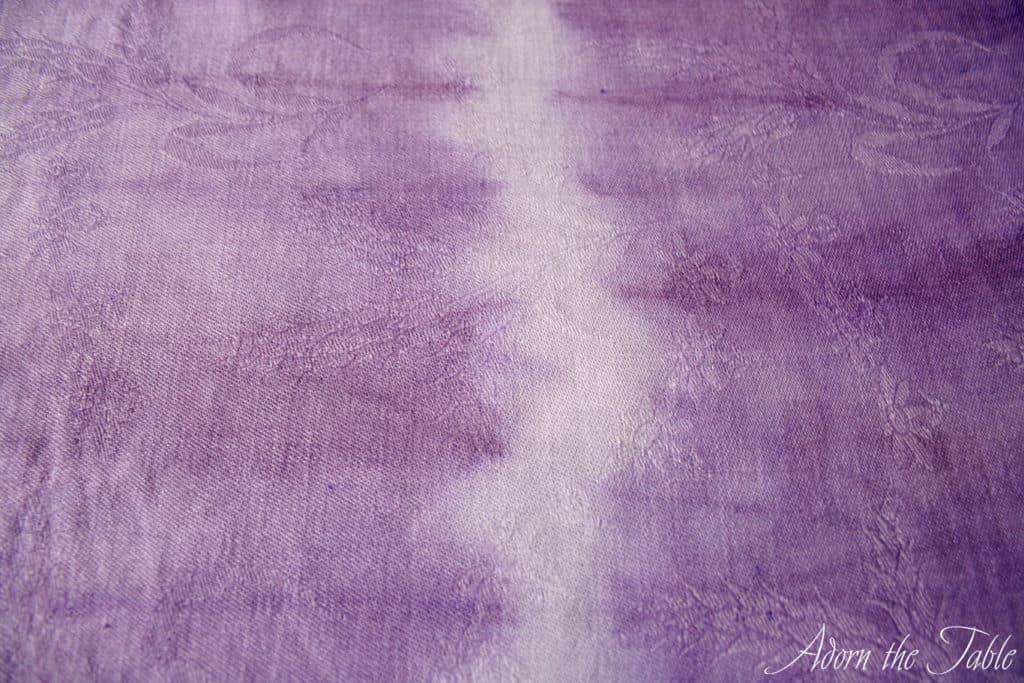
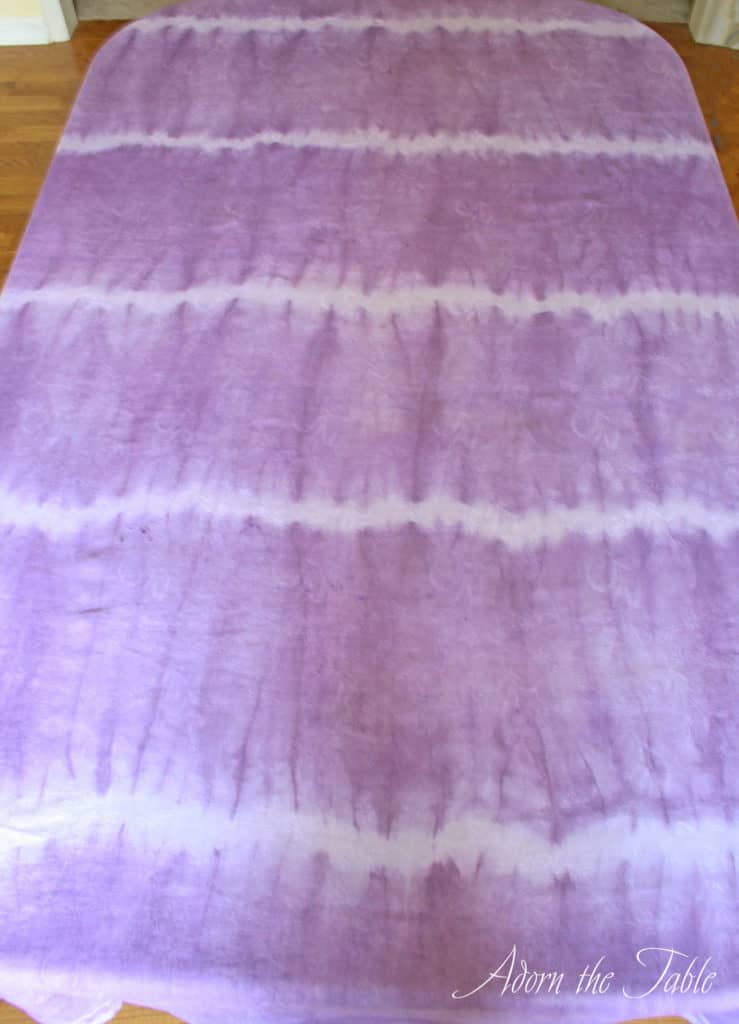
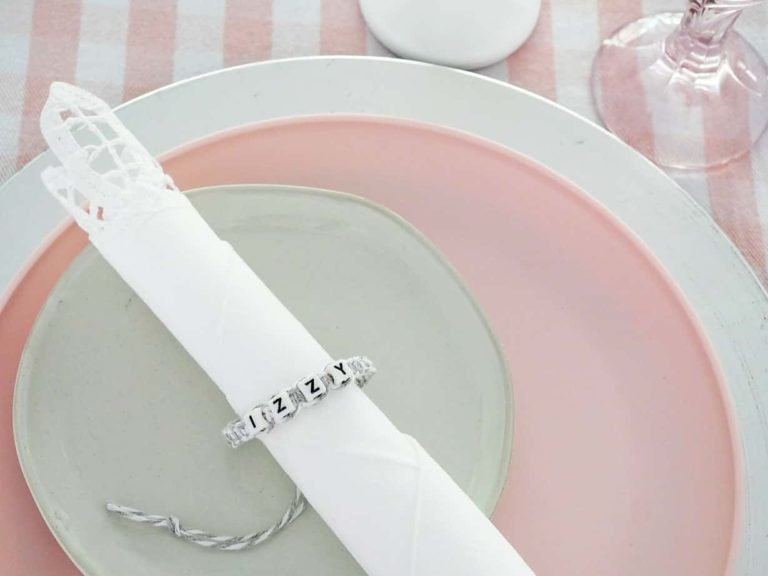
Remove your tablecloth and napkins and marvel at the amazing diy tie-dye job you did. Doesn’t it look fantastic!!
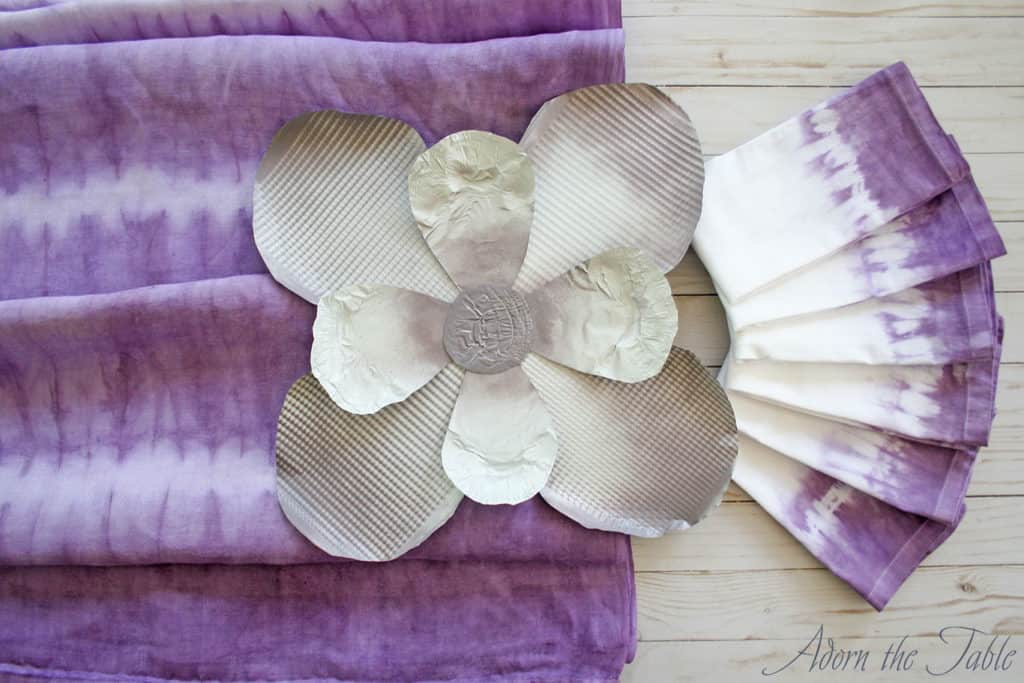
*Check out how great this tie-dyed diy tablecloth and napkins look on a Boho tablescape.
Shop the diy supplies:


That’s a great idea! I love getting real linen at thrift stores! Dyeing is so great for all kinds of things that need a boost. I started by using other dyes but eventually I discovered how amazing Fibre Reactive Dyes are! The colour stays so strong and deep! I”lll never go back to the others. https://www.madebybarb.com/2016/12/18/simplified-shibori-dyeing/
Barb ~ You are SO correct about Fibre Reactive Dyes. My mom is a textile artist and loves using them. Thanks for sharing!