Do you want to learn how to make realistic snow-covered branches? Are you wondering how to make your branches look snowy? Like a magical winter’s day of freshly fallen snow?
I recently decided that I wanted to create a Winter Wonderland tablescape. Which (to me) meant that everything on my table needed to appear covered in snow.
And what says “winter wonderland” more than freshly snow-covered tree branches?
Oh, what a magical sight! That freshly fallen snow glistening off tree branches. It’s truly beautiful.
I knew I needed to create the look of snow-covered branches for my table. So, I decided a diy snow covered branch project was a must.
And, do you know what?
It was SO flipp’n easy – and cheap!! I already had everything I needed to make them.
In fact, this is a fantastic upcycle diy project. After all, you are transforming a dead tree branch into an attractive decor piece that can be used over and over.
Supplies for DIY Snow Covered Branches
Please note that this article may contain affiliate links. I may get commissions (at no cost to you) for purchases made through these links. You can read my full disclosure for more details.
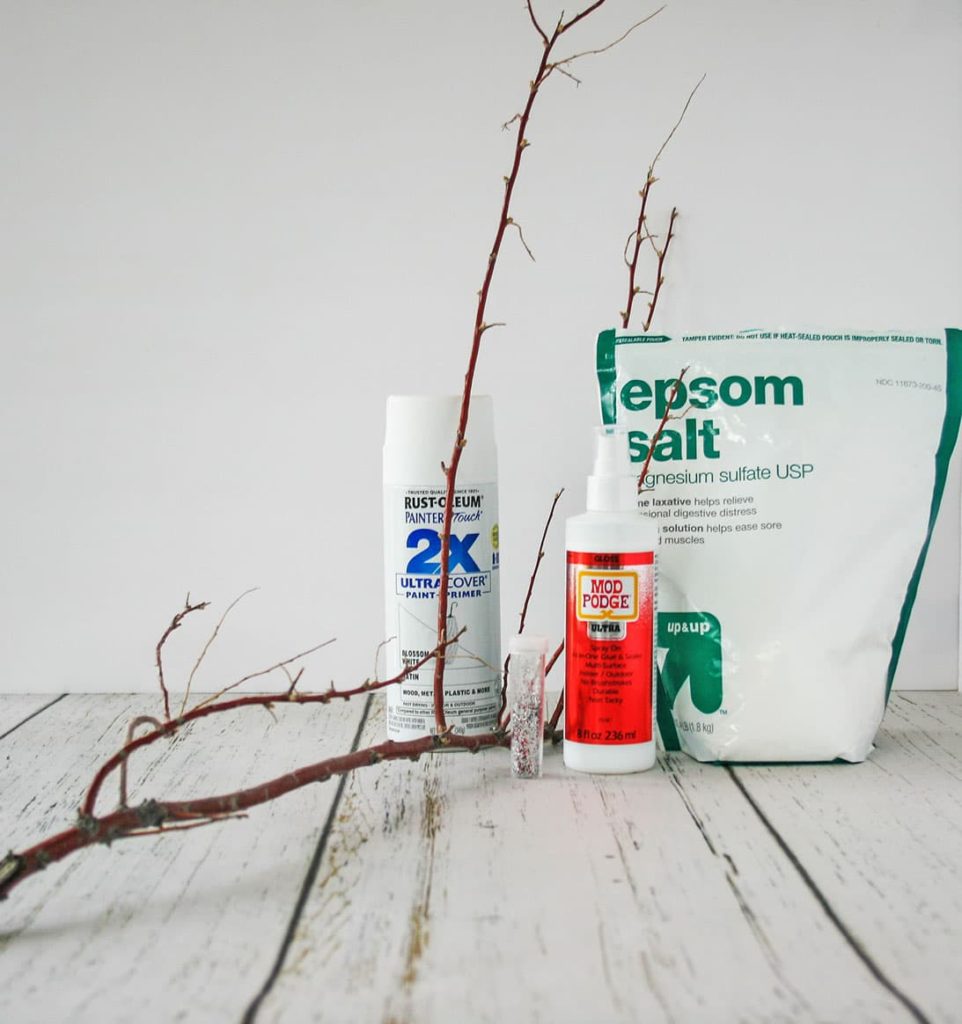
- Skinny tree branches (preferable dead branches that will easily snap off, or are lying on the ground)
- White spray paint
- Spray adhesive, or mod podge
- Epsom salt
- Silver glitter
- Bowl and spoon
How to Make Realistic Snow Covered Tree Branches
Step 1: Collect your tree branches
I found a few of my branches just laying on the ground while walking. Others I snapped off one of our trees. Don’t worry – they were dead branches.
Try to find branches that have a few smaller sections that go up and in different directions. It creates a unique visual impact.
Step 2: Clean off any dirt or debris from the branches
You want to make sure that your branches don’t have any dirt or other debris on them. Otherwise, the spray paint will permanently adhere it to the branches – yuck!
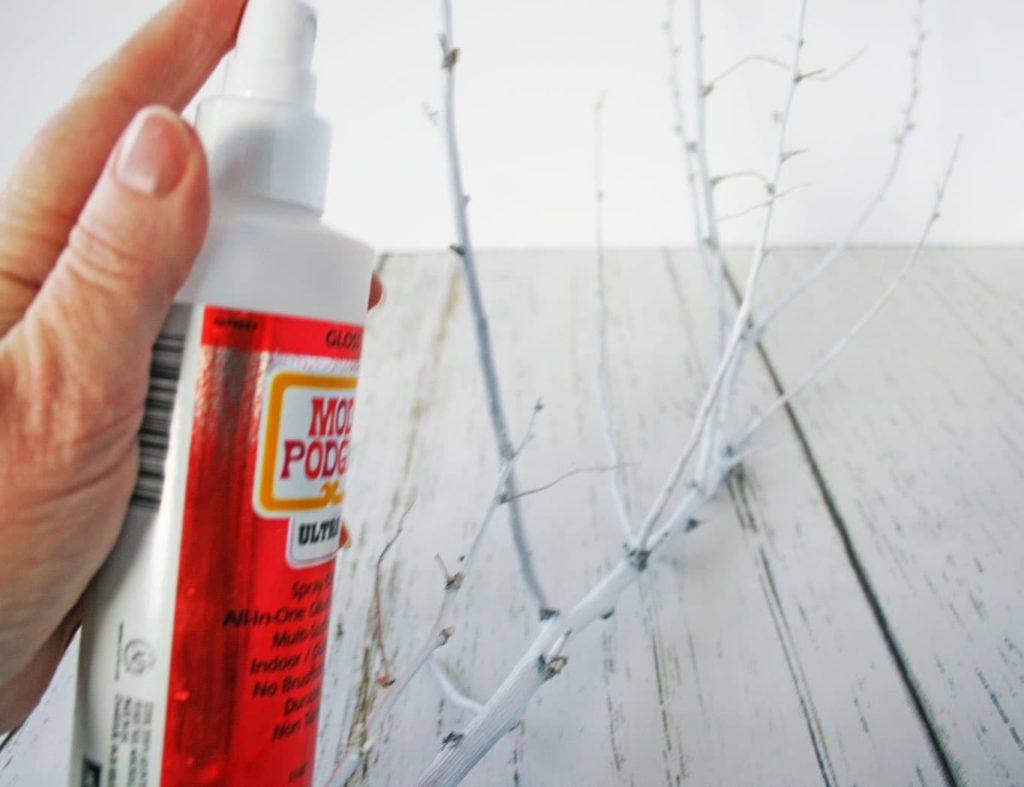
Step 3: Spray paint your future snow covered branches
Because of the size of your branches, you will need a large, well-ventilated space to spray paint.
When I did this snowy iced winter branch diy project, it was 3 degrees Fahrenheit outside. There was NO WAY I was spray painting outside (haha!)! So, I spray painted in our garage.
Lay down enough newspaper, or a drop cloth, to allow for over-spray when you’re spray painting.
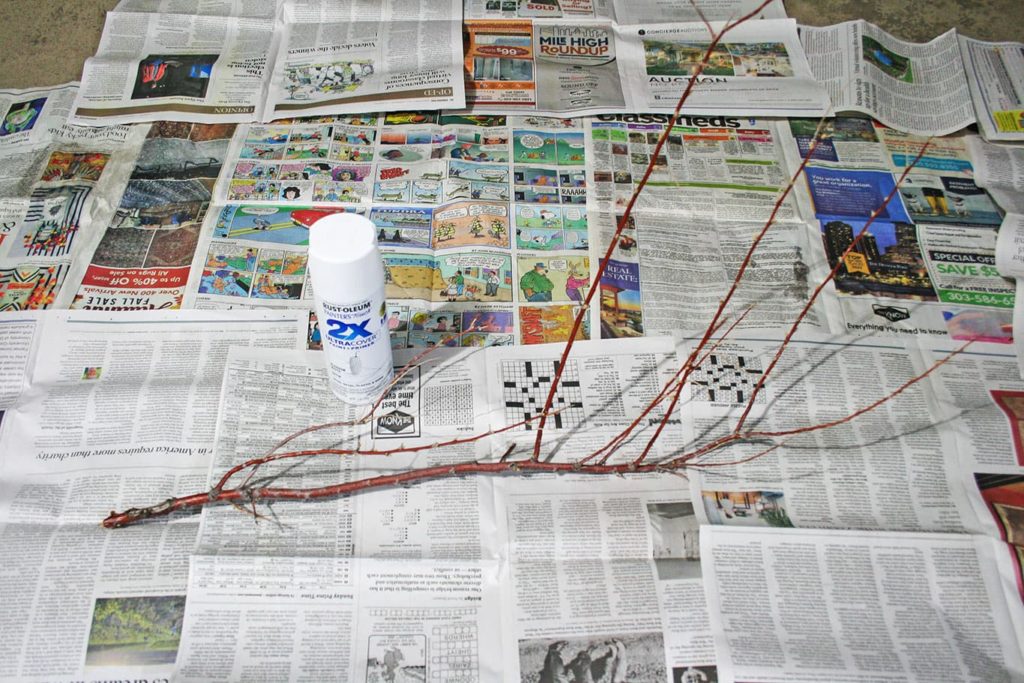
Apply 2-3 coats of white spray paint.
It’s okay if a little of the actual branch color isn’t completely covered. When it snows, nature doesn’t always completely cover tree branches.
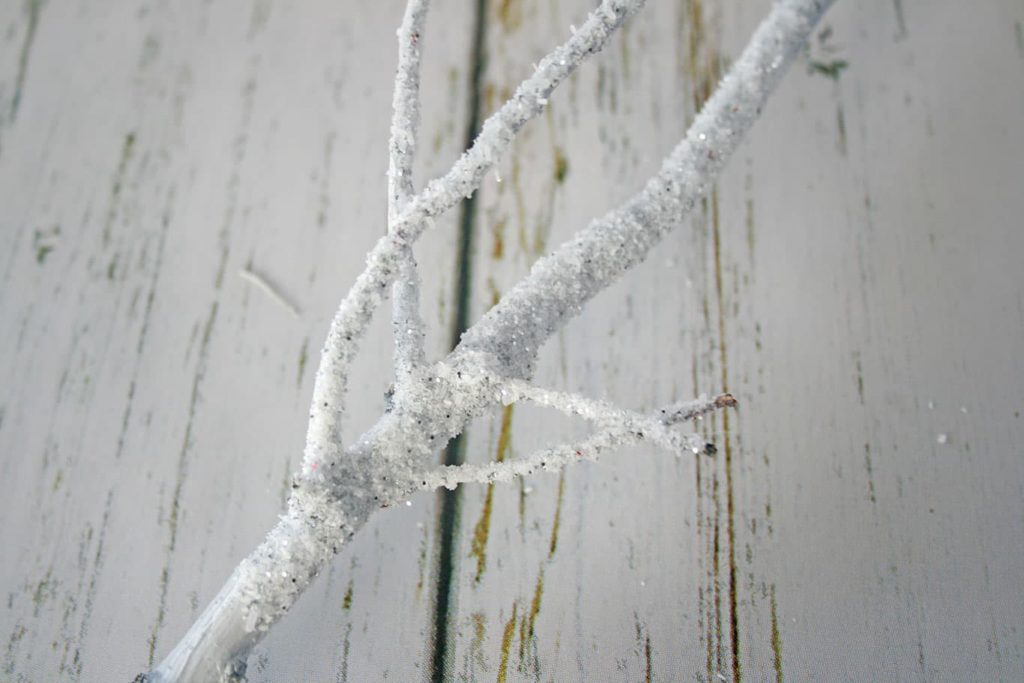
Step 4: Making your branches snowy and sparkle
While your painted branches are drying, add about one cup of Epsom salt to a bowl.
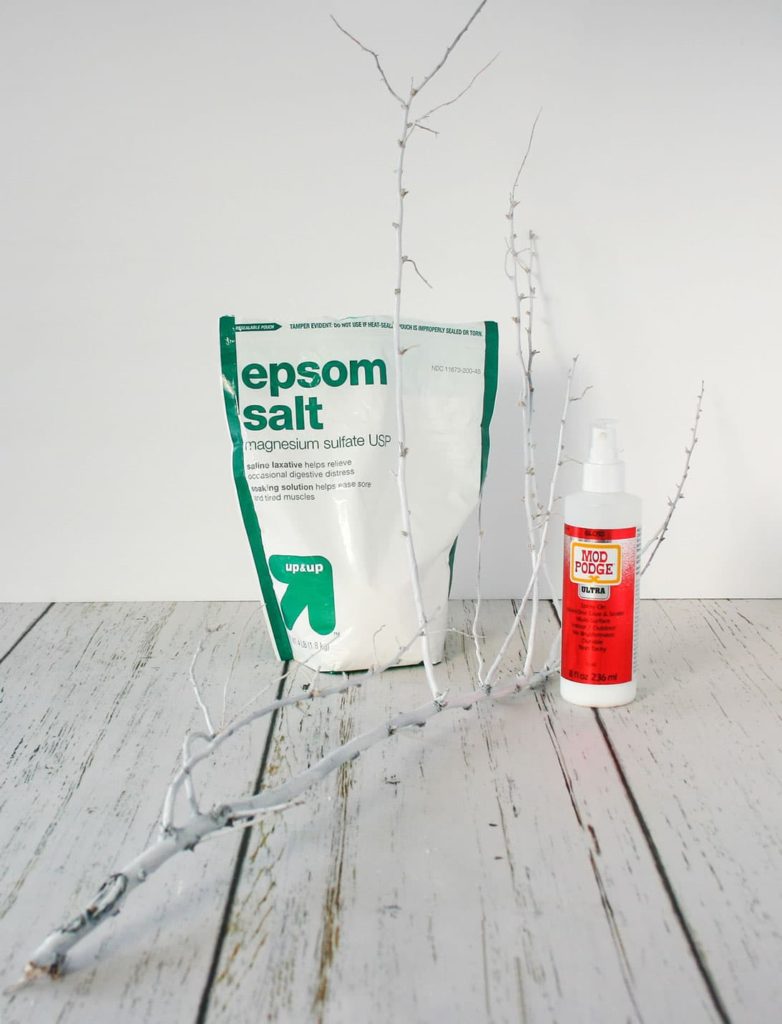
(The really neat thing about Epsom salt is how much it looks like snow.)
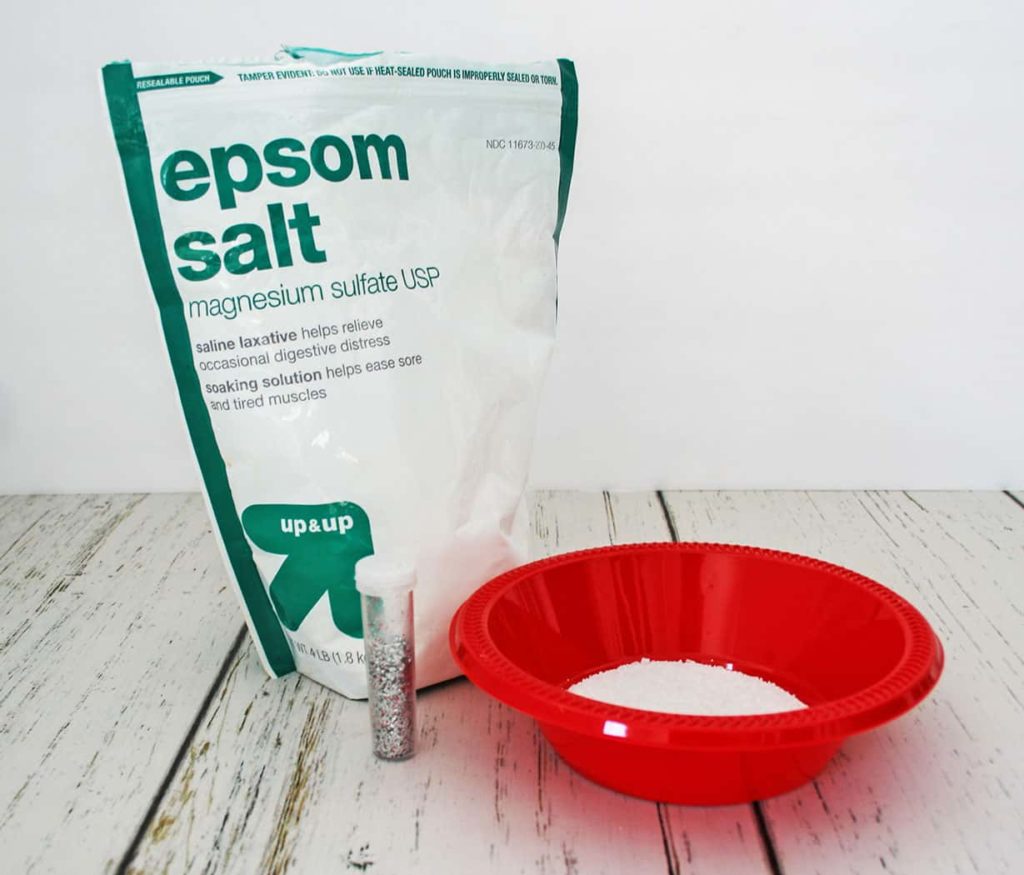
Then add about one teaspoon of silver glitter to the bowl and mix them together.

Don’t add too much silver glitter, as you don’t want a silver sparkly glitter branch. You want your branch to appear covered in freshly fallen white snow. A little glitter goes a long way and you can easily add more if you want, but it’s way too hard to take it out.
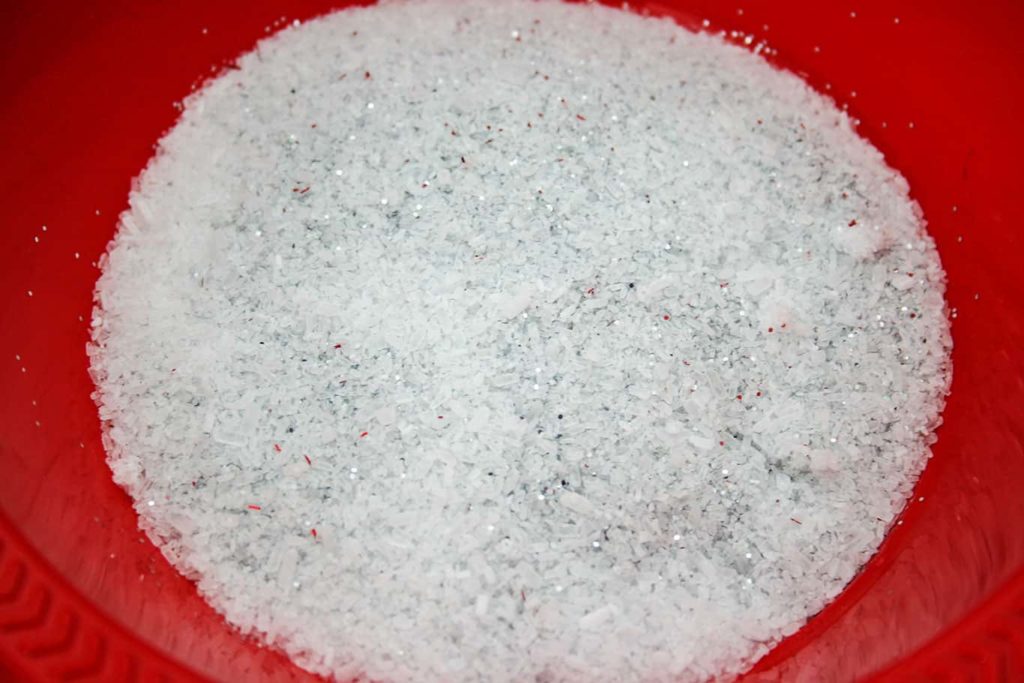
The silver glitter is used to add a little sparkle as if the sun was bouncing off the freshly fallen snow.
Next, put down some newspaper to protect your area from the spray adhesive and fake snow.
Over one side of your work surface, spray a section of your painted white branch with the spray adhesive, or brush on Mod Podge. Then on the other side of your work surface, hold that branch section over your Epsom salt/glitter mixture bowl and spoon the mixture onto the area with the wet adhesive.
Be sure that the branch is over the bowl, and gently tap the branch so any excess snow will fall back into the bowl. The newspaper you laid down will catch the rest of the fake snow.
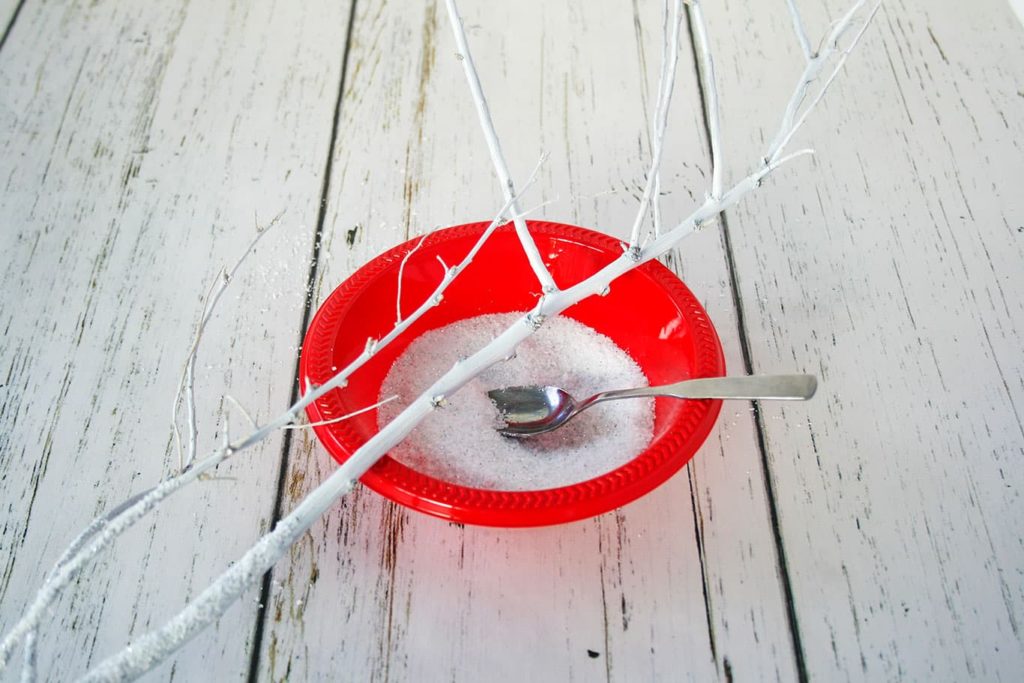
Continue this process until your whole branch is covered in fake snow glitter.
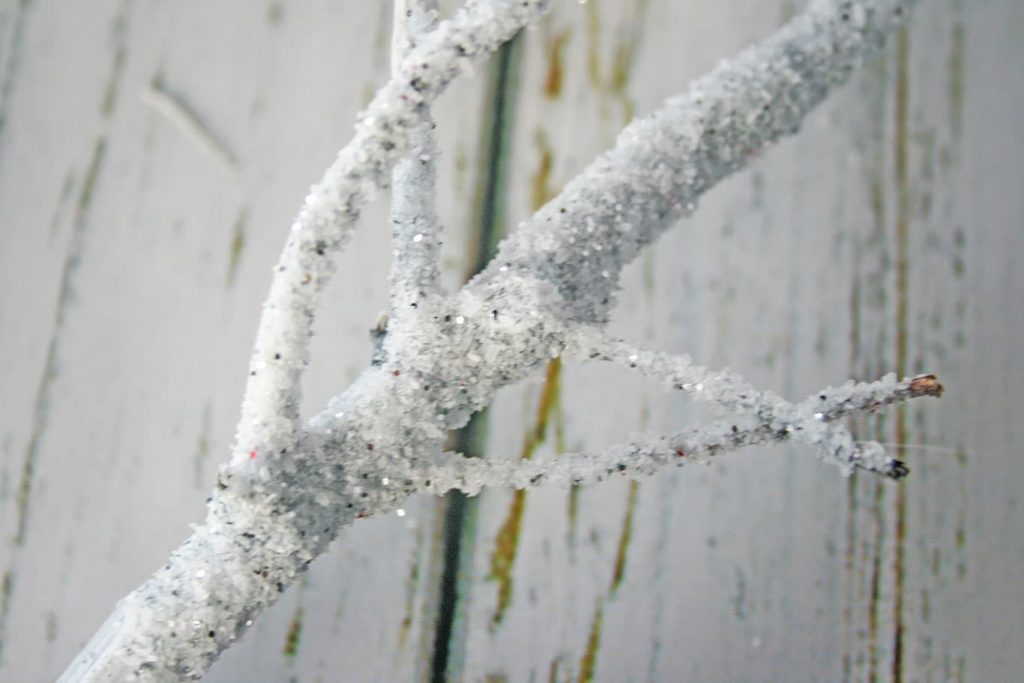
Set your branch aside and let it dry.
Now continue to make as many realistic snow-covered branches as needed for decorating.
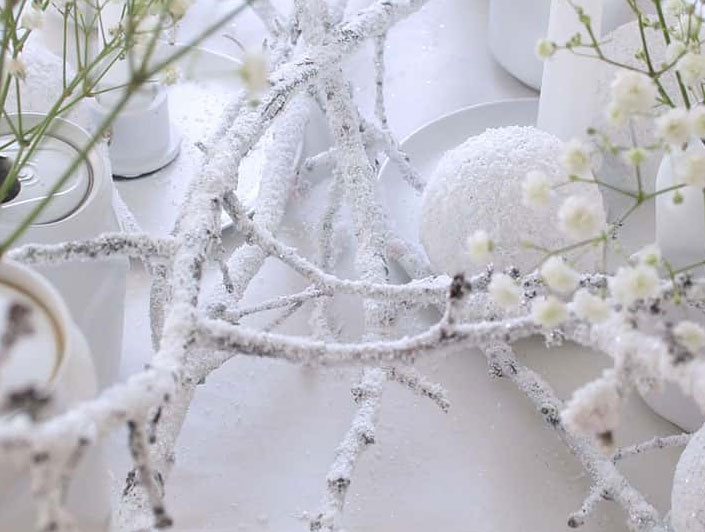
Aren’t these diy snowy branches amazing! Love ’em!!
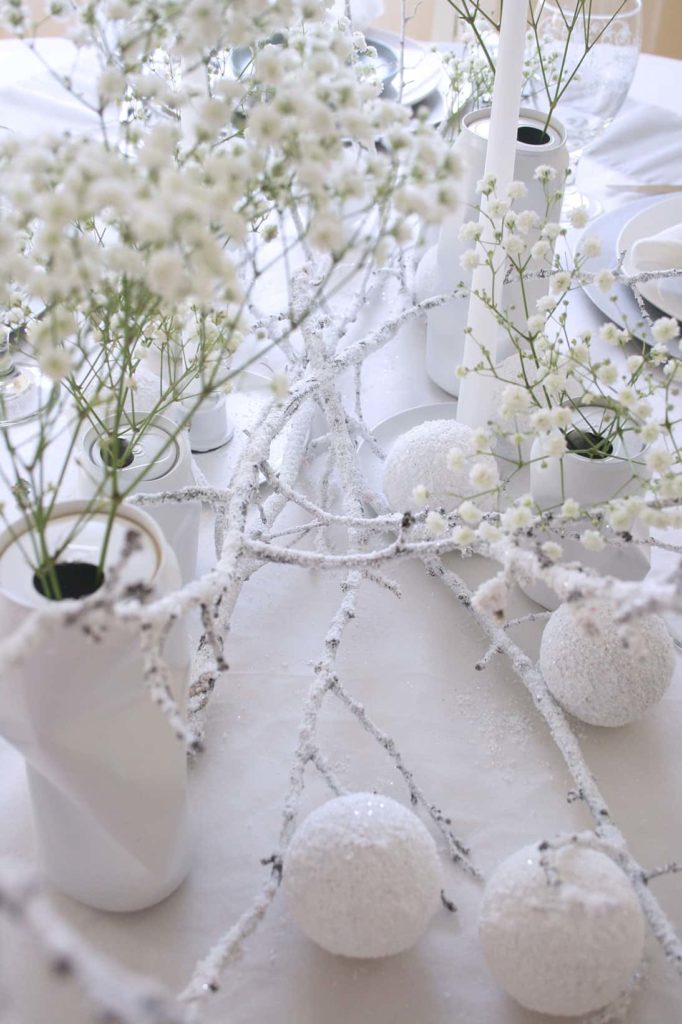
Check out how they look on my Winter Wonderland themed tablescape. So magical!!
Shop the diy supplies


Nicole, I love this DIY project. Definitely helps hold onto that winter wonderland magic after the holidays are over. I am wondering if I could use this process to spruce up Christmas decorations that already have the snowy effect, but it has worn off. Any types of surfaces or materials you wouldn’t recommend this for?
Thank you!
Alysia ~ Thank you. It’s so nice to hear that you love this DIY project. Yes, you can use the process to enhance other decorations with a snowy effect. You can do it on any material that the spray adhesive, or glue, you use is listed for – you should be good. I can’t think of a surface that I wouldn’t recommend.
Nicole! Thank you so much for the advice. I can’t wait to try this next winter when we unpack our Christmas decor.
Alysia ~ Yes, this is a great way to spruce up your Christmas and winter decor. Thanks for the kind words!
Great idea and instructions.
Will the “snow” hold up for future use after being packed away?
Some of the “snow” will fall off, but the majority of my has stayed adhered.