Have you seen leather napkin rings? I love their simplicity. How an item can look attractive and be so simple at the same time.
It says a lot.
That understated elegance.
And when it involves leather (or leather-looking material, in this case) – WOW!
That’s how I feel about these diy faux leather napkin rings.
They are SO simple yet look elevated at the same time. Plus, these napkin rings are super easy (and cheap!) to make!
You can use faux leather napkin rings any time of year. For any holiday, special occasion, or even everyday use. Their simplicity enables them to be used in most place settings.
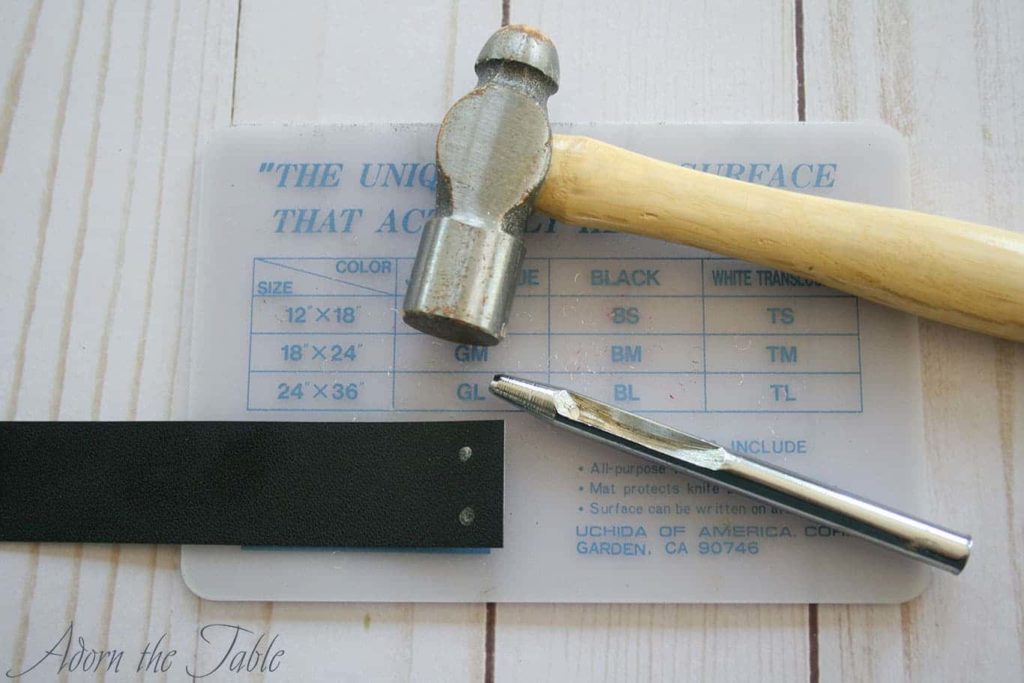
Supplies for DIY Faux Leather Napkin Rings
Please note that this article may contain affiliate links. I may get commissions (at no cost to you) for purchases made through these links. You can read my full disclosure for more details.
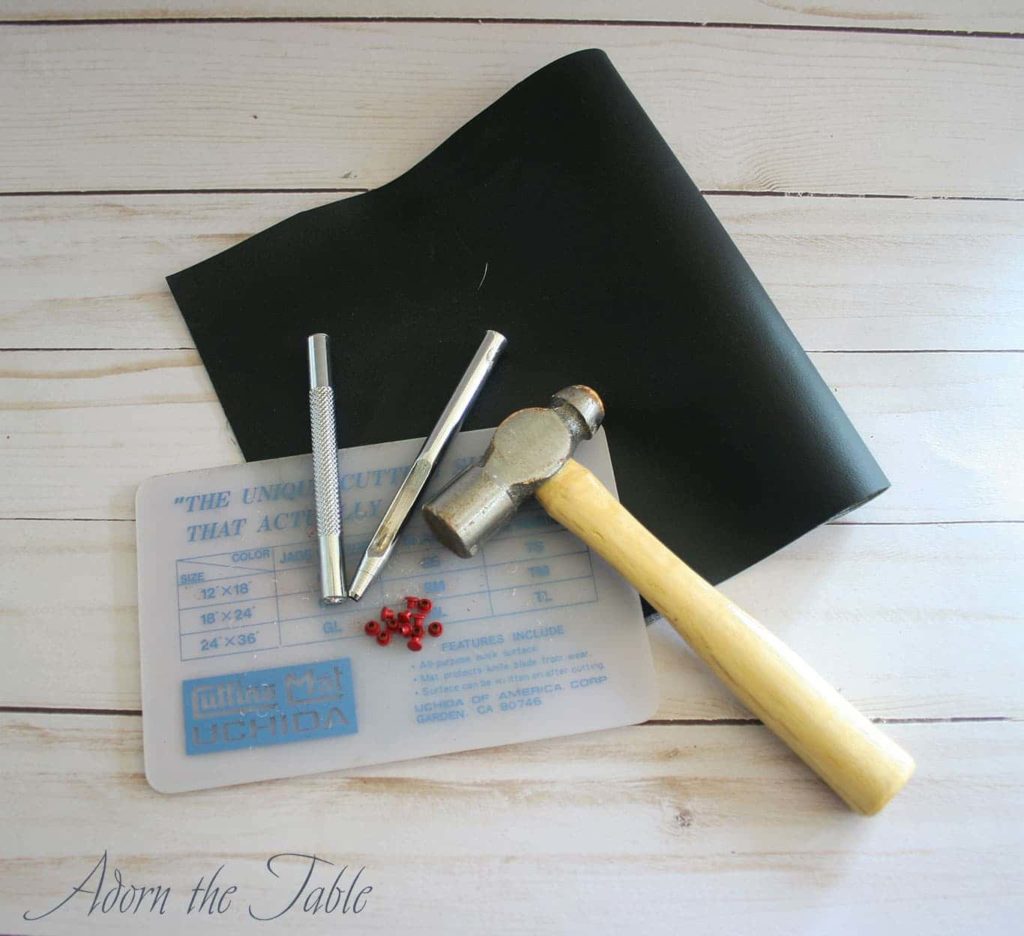
- ¼-yard faux leather (about .07mm thick)
- Small eyelets
- Eyelet punch and setter
- (optional) cutting mat, clear ruler and rotary cutter
*Note: This DIY is for faux leather, about .07mm thick, not real leather. That’s because I am using a standard eyelet punch and setting tool. Leather is too thick for this type of eyelet and punch tool. You can use the same process for leather, but you will need a heavy-duty punch tool to get through the thickness of leather, along with leather eyelets or grommets.
Do you know the difference between an eyelet and a grommet? They are very similar. However, they are often used interchangeably by those that don’t know how they differ.
An eyelet is typically used for thinner, decorative items. Think of paper card embellishments or thin fabrics that won’t have a lot of wear and tear.
Whereas a grommet is larger and used for heavy-duty and functional items. Think of large banners, flags, or even shoes.
How to Make DIY Faux Leather Napkin Rings
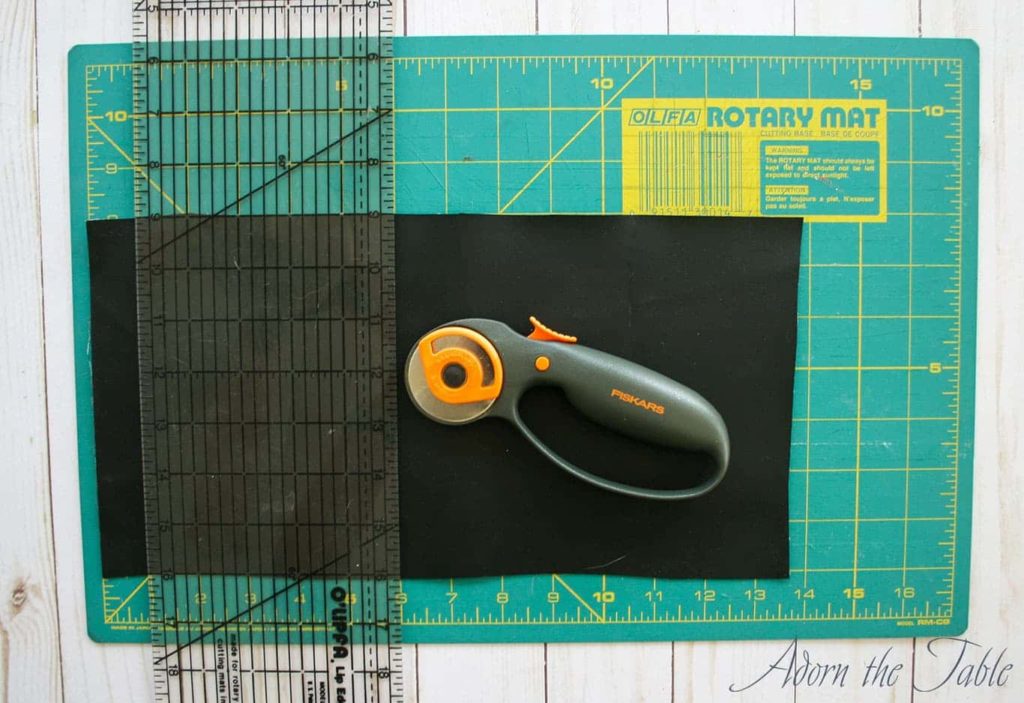
Step 1: Strips for diy napkin rings
To create the strips for the napkin rings, you will first want to trim an edge so it is perfectly straight.
Then with the straight edge on the end of your cutting mat, measure and cut a 6” piece of your faux leather. This will make six napkin rings. If you would like 8 napkin rings, then cut an 8” piece, or if you prefer 12 napkin rings, then cut a 12” piece of material.
You get the idea….1” multiplied by the number of napkin rings you want to make.
You should have a piece of material that has two perfectly straight ends, parallel to each other, that is the same width as the number of napkin rings you desire.
Next, you turn that piece ¼ turn, so you line up one of the straight edges with the bottom of the cutting mat. Now trim the edge that is going vertical so it is perfectly straight, too.
Flip the material 180 degrees, or ½ turn. You should have a perfect 90-degree edge that fits perfectly into the bottom corner of your cutting mat.
Measure and cut 6”. This is the length of your napkin ring strip.
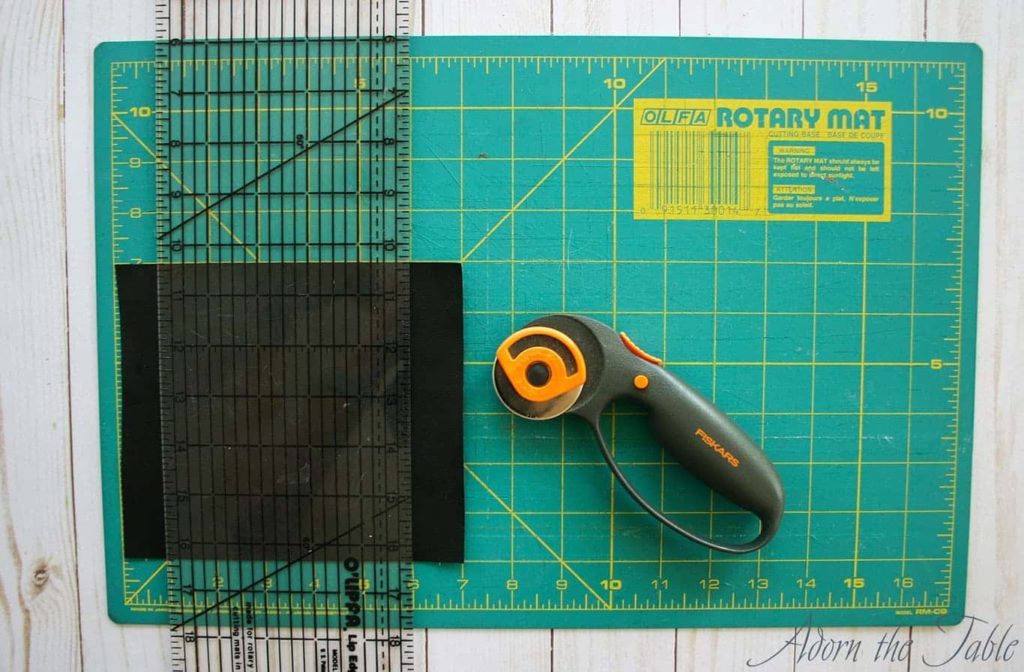
You will now have one of the following (depending on the number of faux leather napkin rings you are making): a 6” x 6” piece, a 6” x 8” piece, or a 6” x12” piece of material.
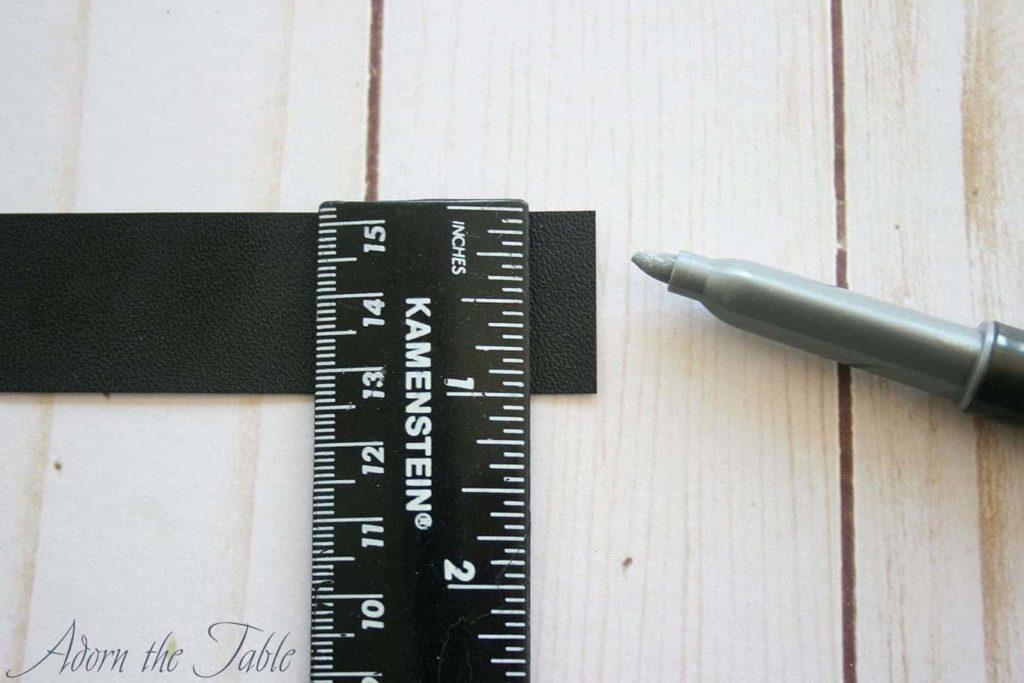
The final step to create your strips is to cut the long piece into 1” wide strips.
Step 2: Making eyelet holes for faux leather napkin rings
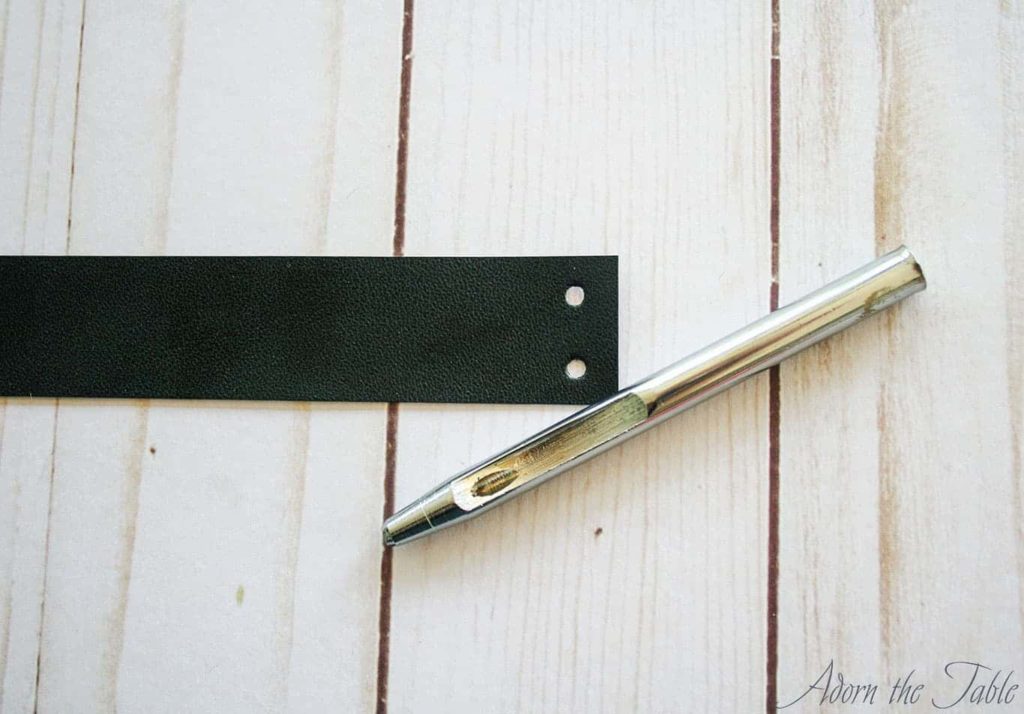
To attach your selected eyelet to the faux leather strip; align a ruler to the top edge of the material and make a dot at the ¼” and ¾” marks, about a ¼” from the side. This is where you will make your two punches.

Put your strip on a sturdy surface that can handle a hammer strike. *Tip: don’t do this on a table or surface you care about.
A flat block of wood or thick plastic works well.
Take the punching tool and center it over the first dot. Using a hammer, hit the end of the punch tool with enough force to go through the material. If it goes only part-way through, punch it again.
Now do the same with the second dot.
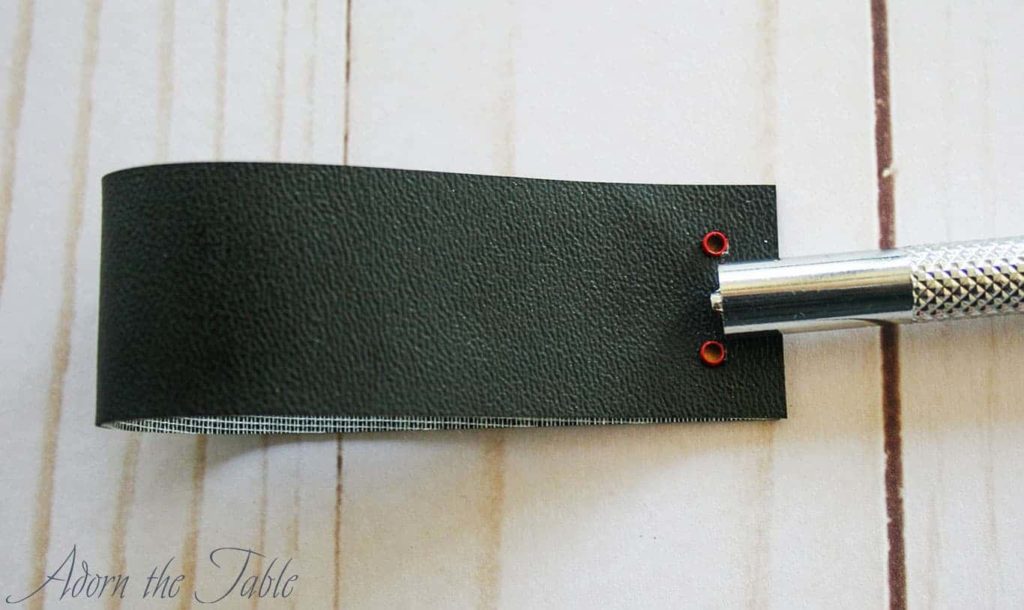
Fold the strip in half, being careful not to crease the fold. Keep it loose. With the punch side up, use those two holes as guides for the new holes you need to make on the other side. (see image)
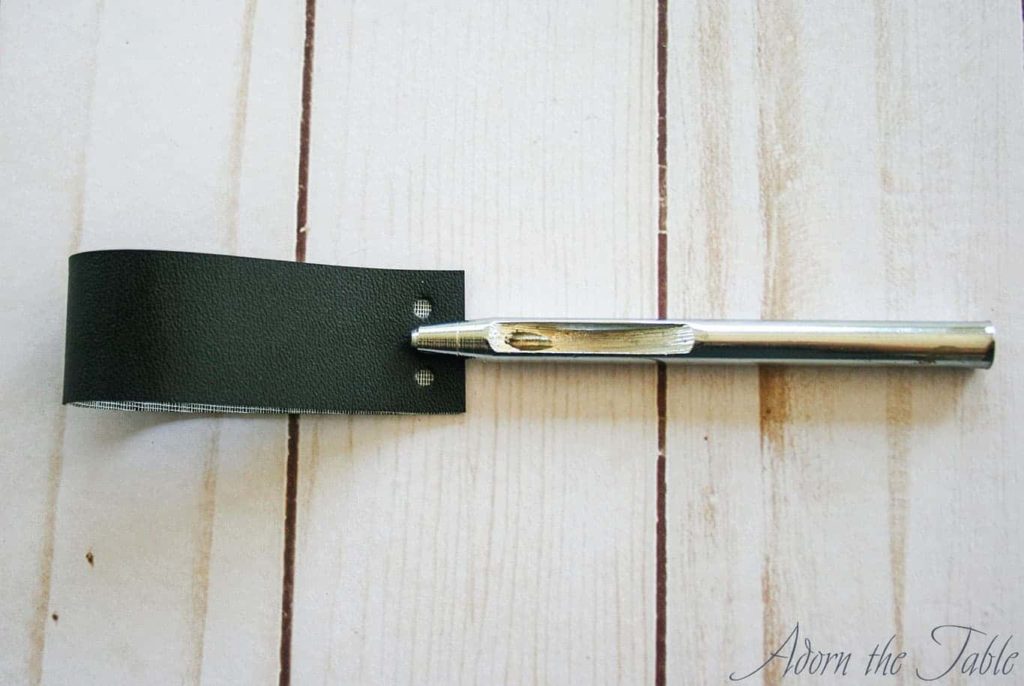
Punch through the existing holes, making new holes on the other side.
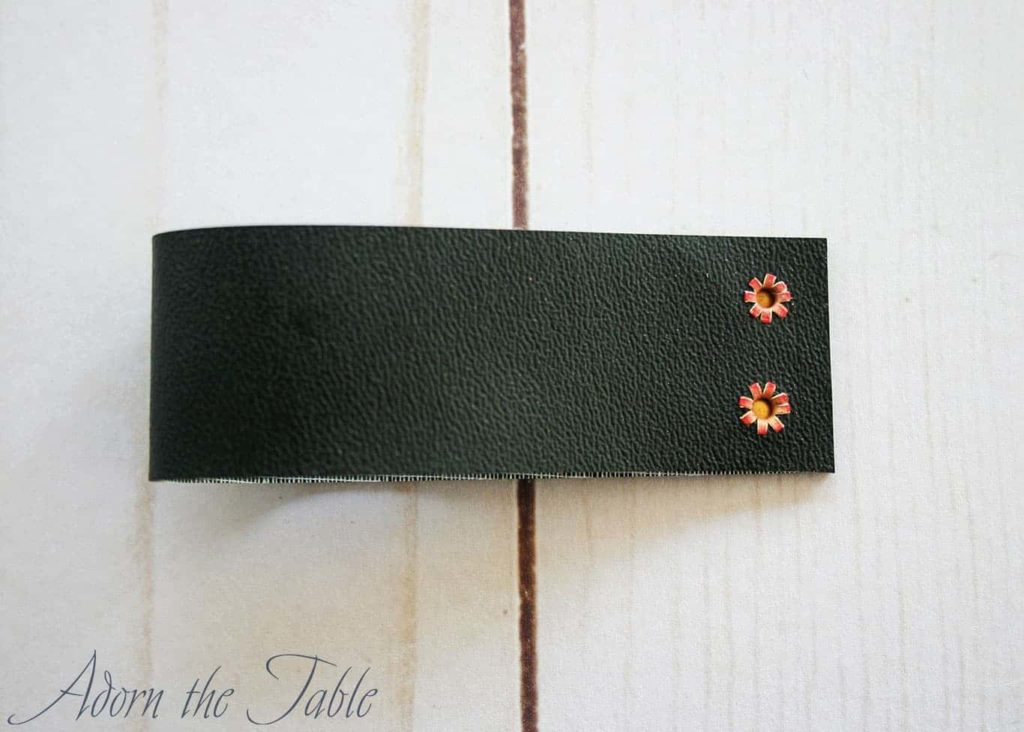
If you open the strip, you will have four holes, two on each end.
Step 3: Attaching eyelets to diy napkin rings
Take an eyelet and push it through the top and bottom hole. Do the same with the other holes.
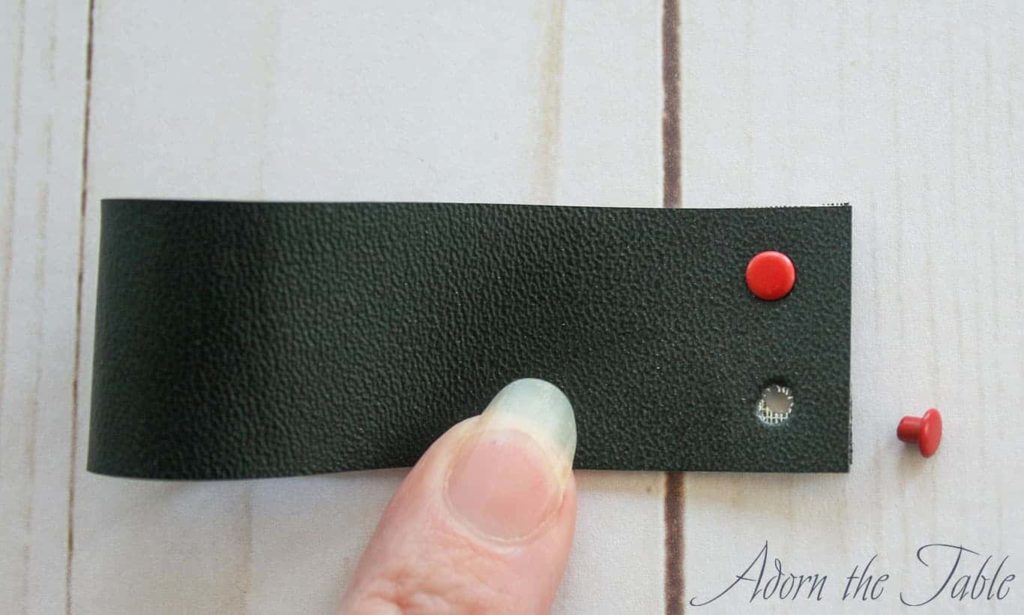
Carefully flip over the faux leather strip. (Or you can push the eyelets through from the bottom if it’s easier.)
You will now set the eyelet.
Place the setter tool, so it is centered over the eyelet’s opening. Take a hammer and strike firmly. This will spread the base of the eyelet across the hole, securing it to the material. Do the same on the other eyelet.
Your strip is now attached using the eyelets.
Check it out – you’re done.
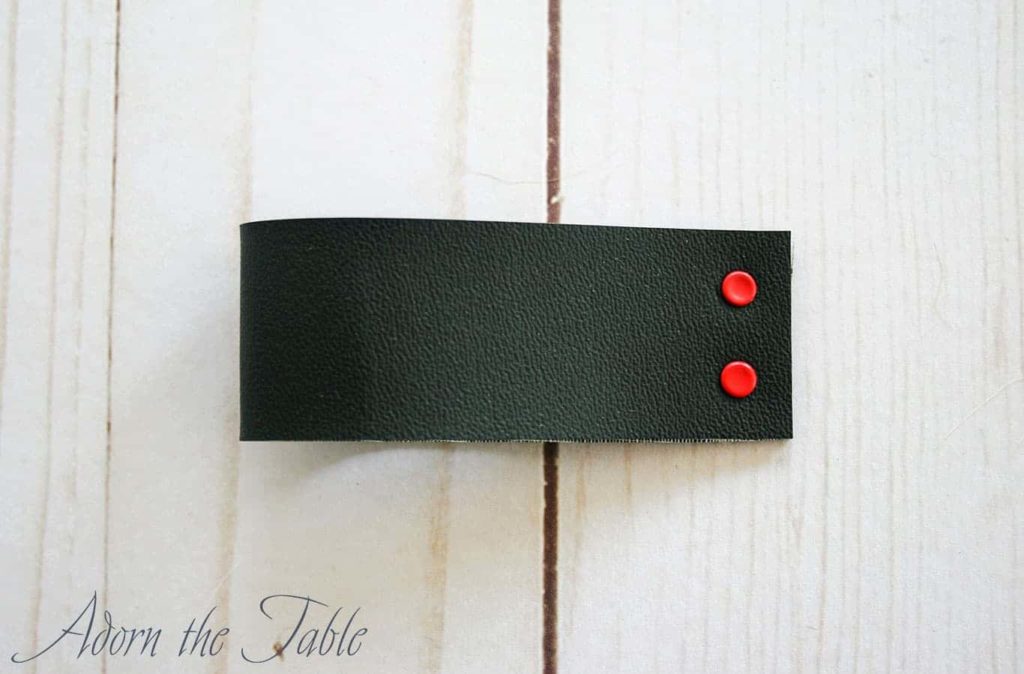
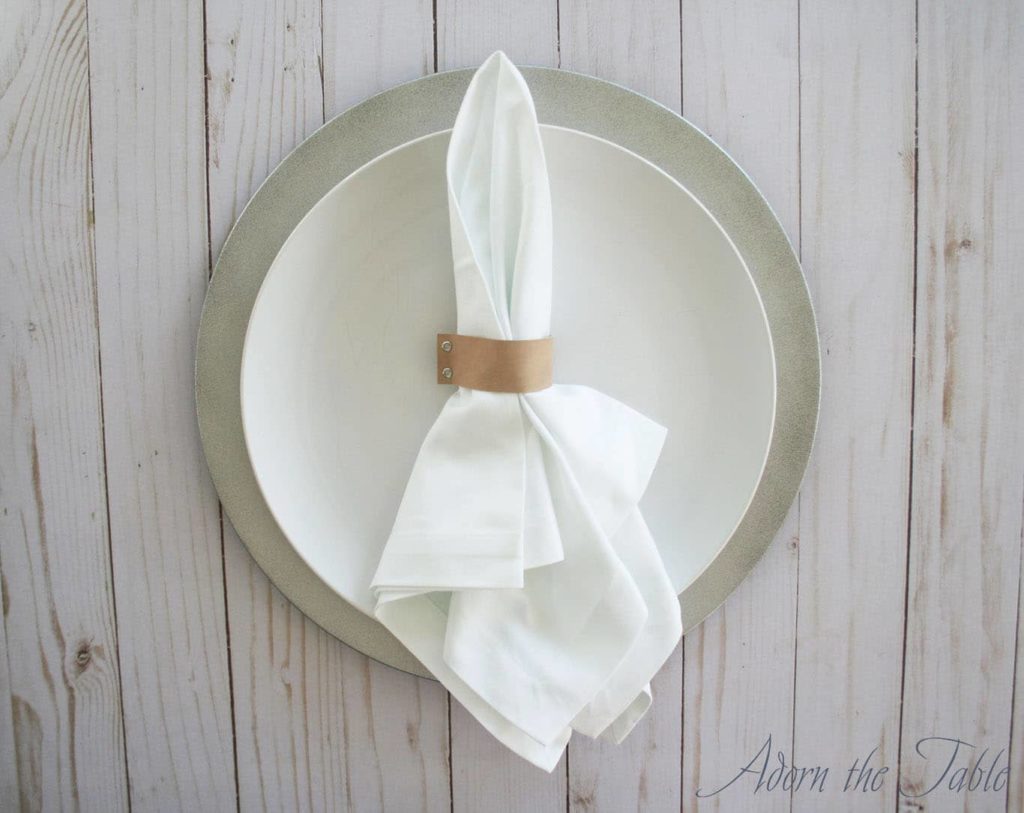
You have made a simple, sophisticated leather-looking napkin ring!
Can you believe how easy this diy faux leather napkin ring project is???
Right!
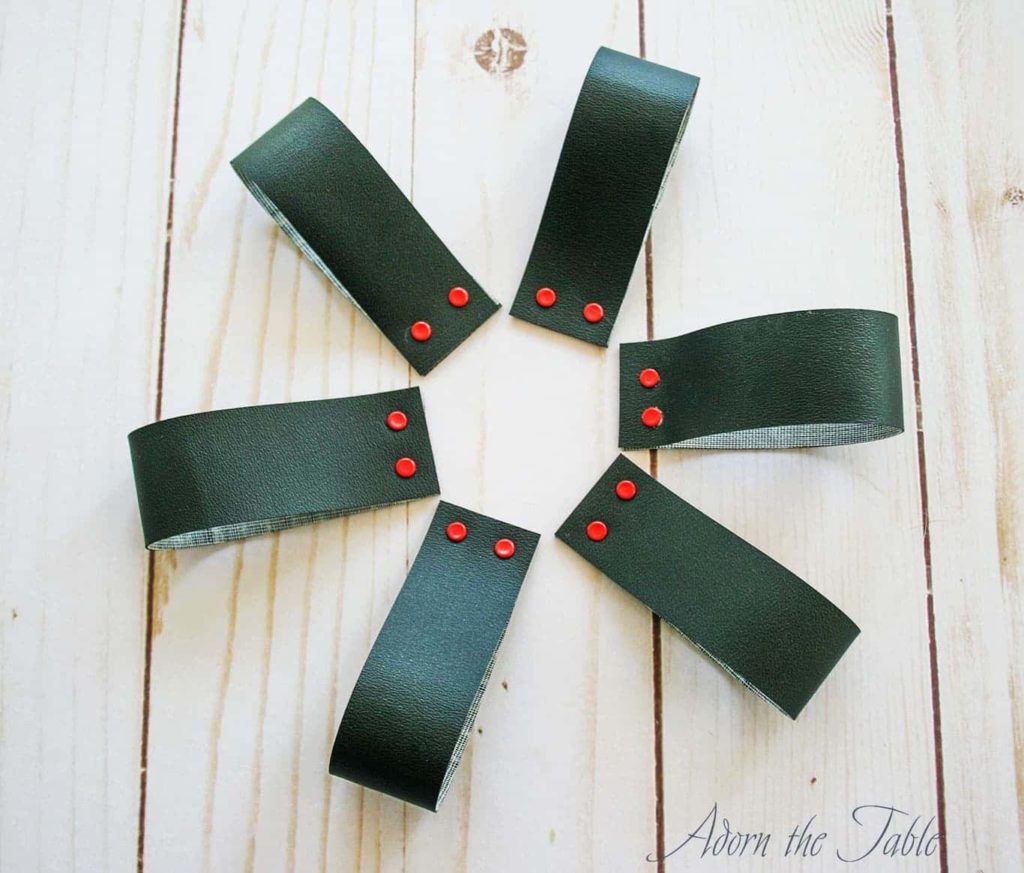
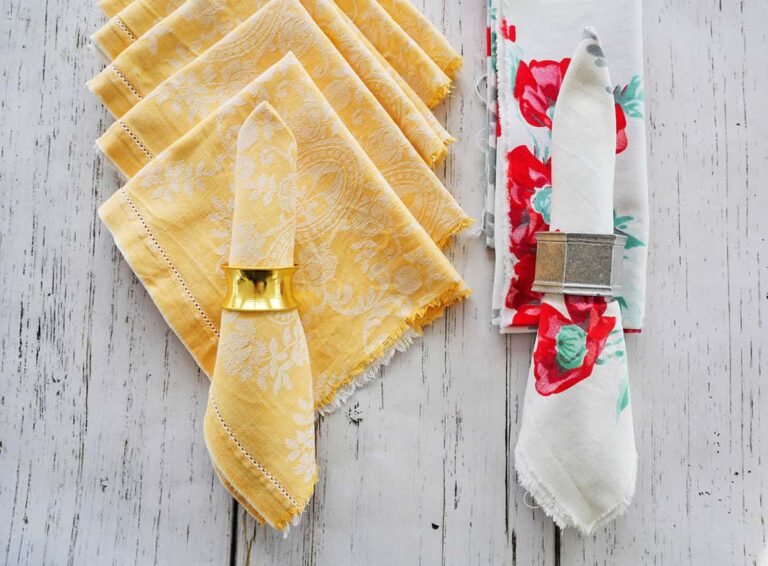
Check out how cute they look with a napkin…
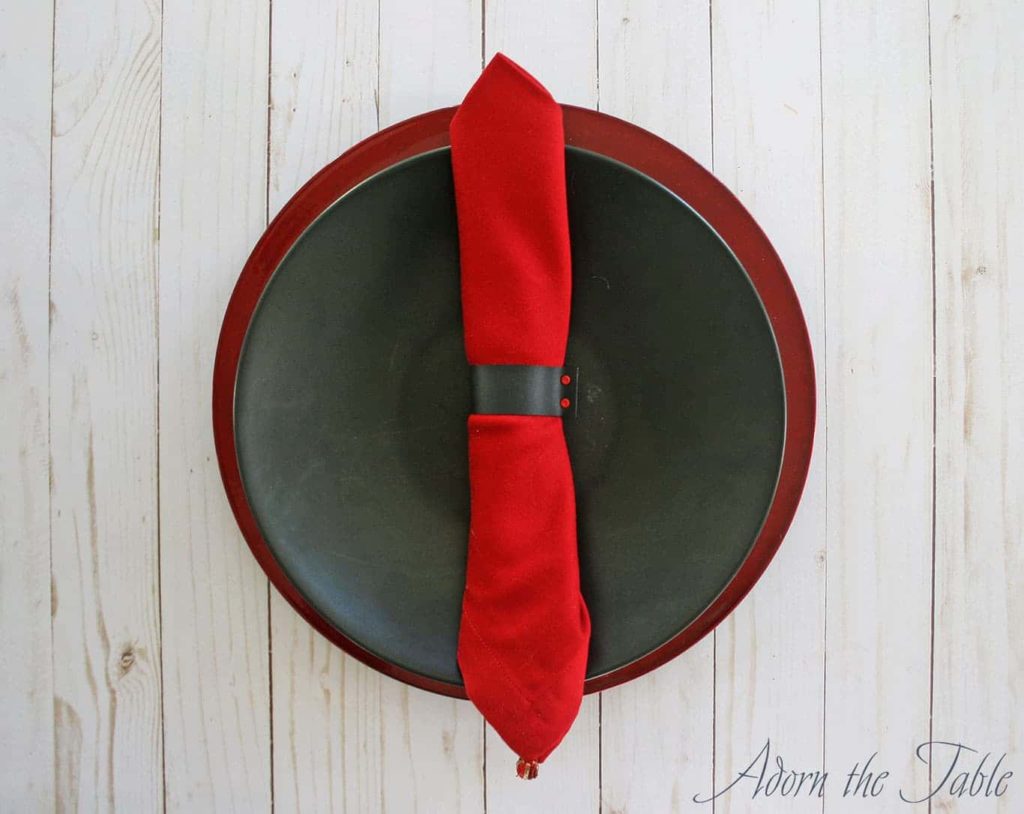
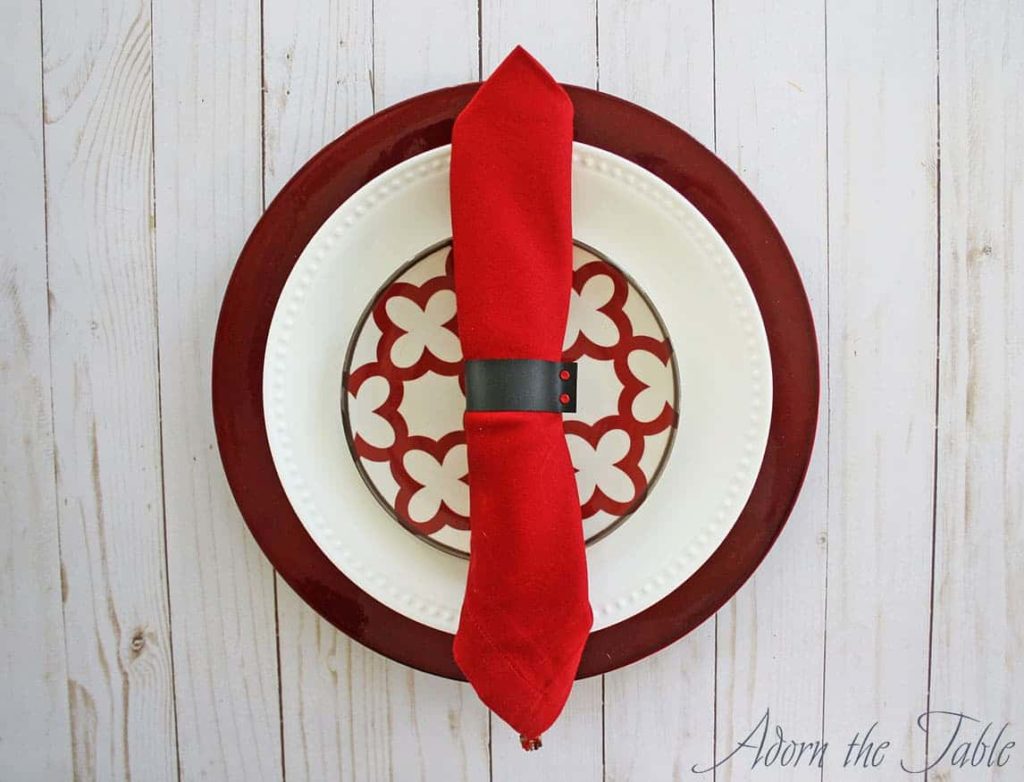
Now imagine the color combinations you can make for any party or gathering. Or even make them as a gift!
Check out how they look on my creepy Halloween table.