This is such a fun and easy DIY project! I created this simple ripped fabric flag with the plan to use them as table decorations on my Memorial Day buffet table. But you could use them as décor anywhere in your house, or even wave at a parade.
You can even make ripped fabric flags for any occasion or holiday. Just select fabrics that match your theme.
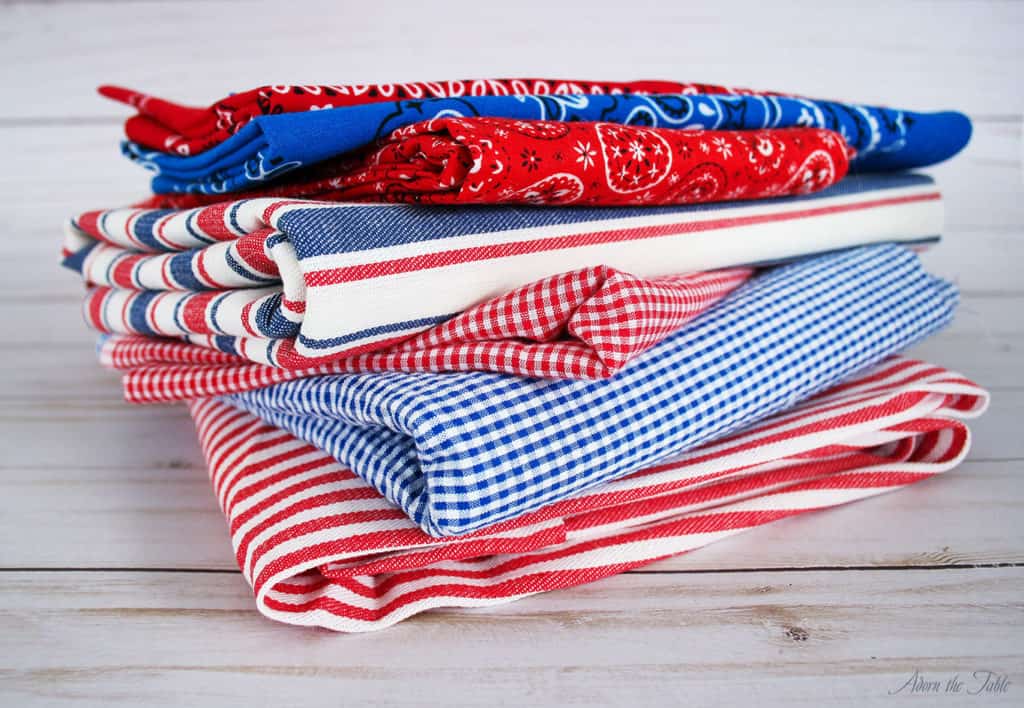
Supplies for Simple Ripped Fabric Flag
Please note that this article may contain affiliate links. I may get commissions (at no cost to you) for purchases made through these links. You can read my full disclosure for more details.
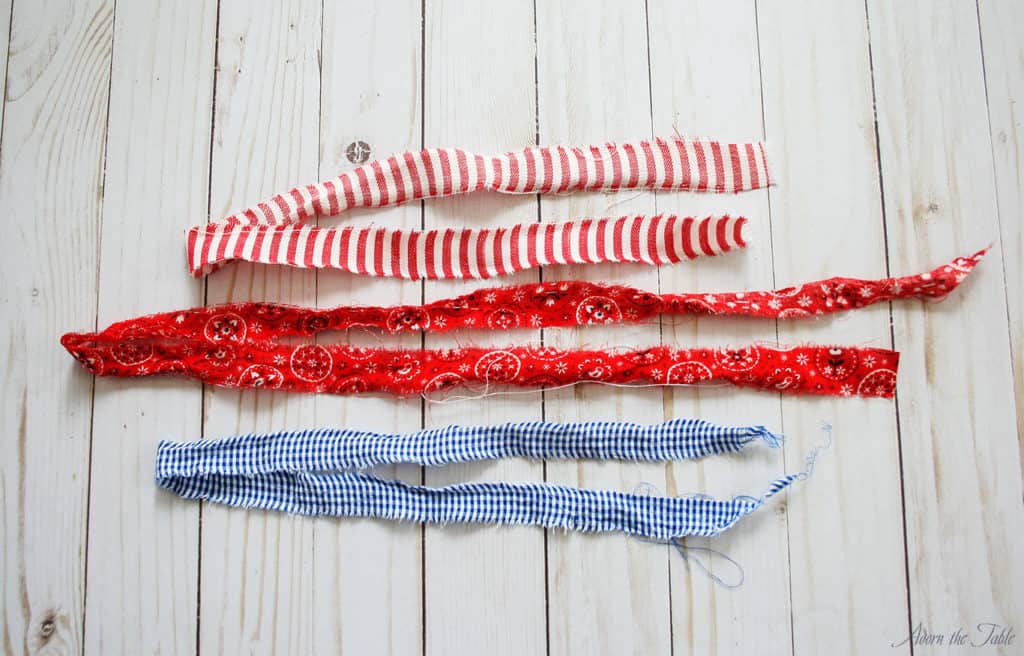
- 1/3-yard 100% cotton fabric in 3 coordinating patterns
- 12” long wooden dowels
- Rotary cutter or scissors
- Cutting mat
Simple Ripped Fabric Flag Step-by-Step Instructions
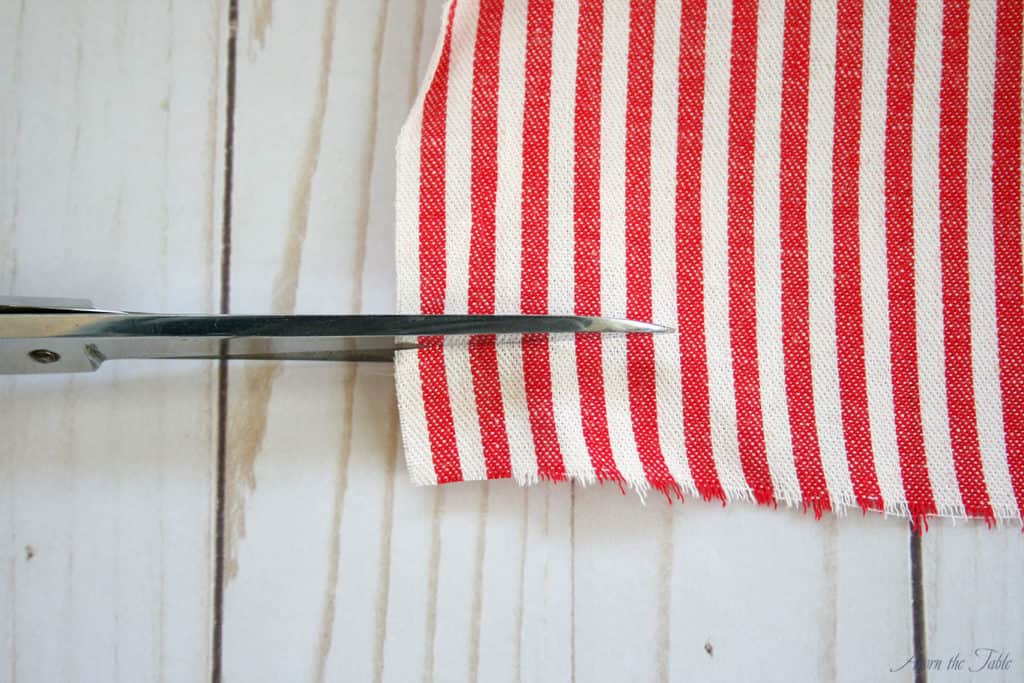
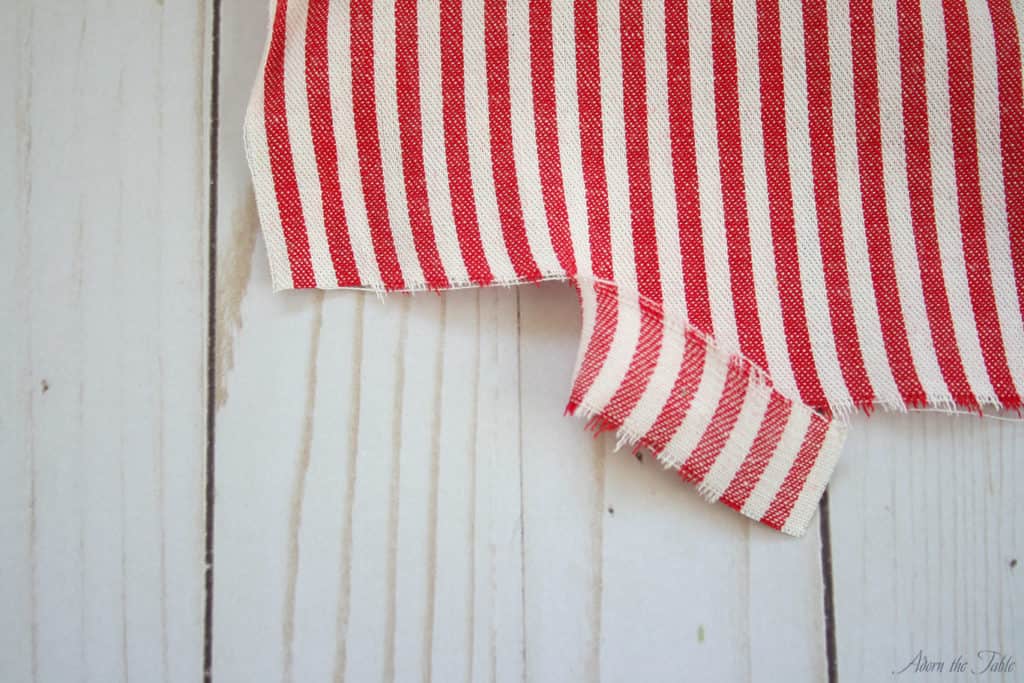
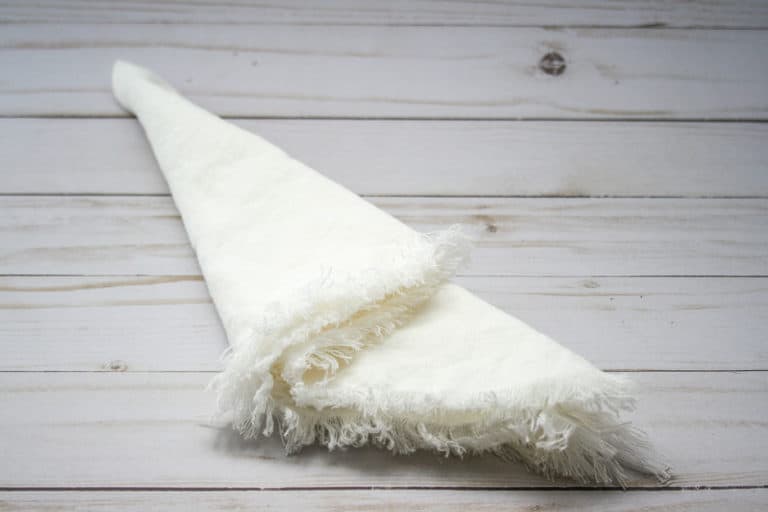
Step 1: Prep your fabric to make the ripped fabric flags
Snip ½ inch from the unfinished edge of your fabric, about 2 inches up.
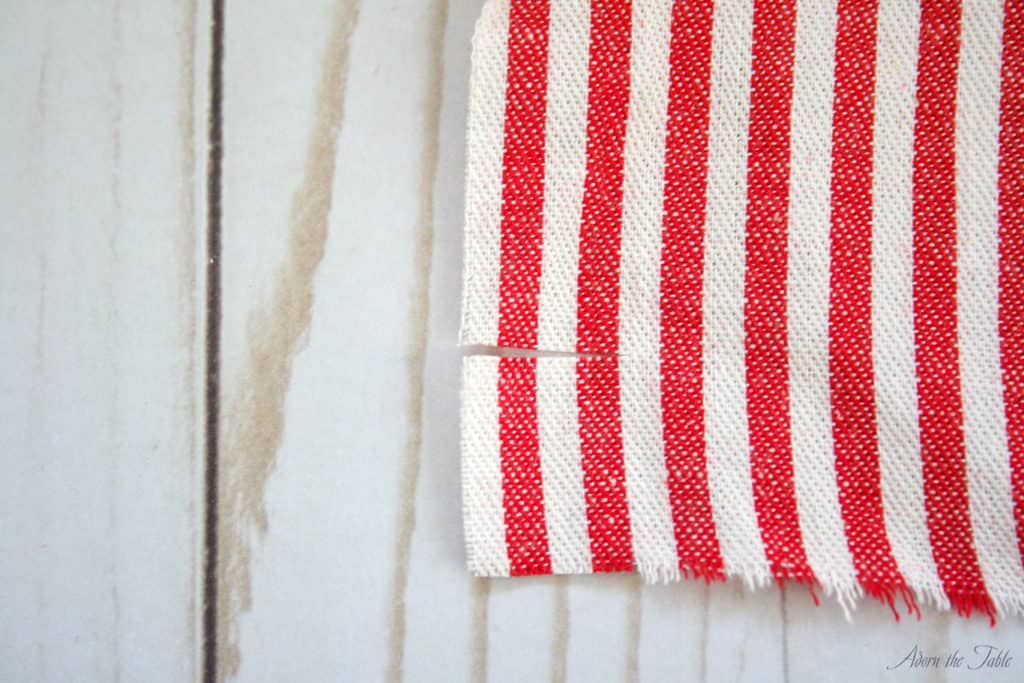
Grab the fabric you just cut and “rip” it away from the rest of the fabric.
100% cotton should rip fairly easily and will tear straight, giving you an even edge.
Depending on how the fabric was cut in the store, your strip might be skinny and fat in sections. You can toss this first strip if you don’t like how it looks.
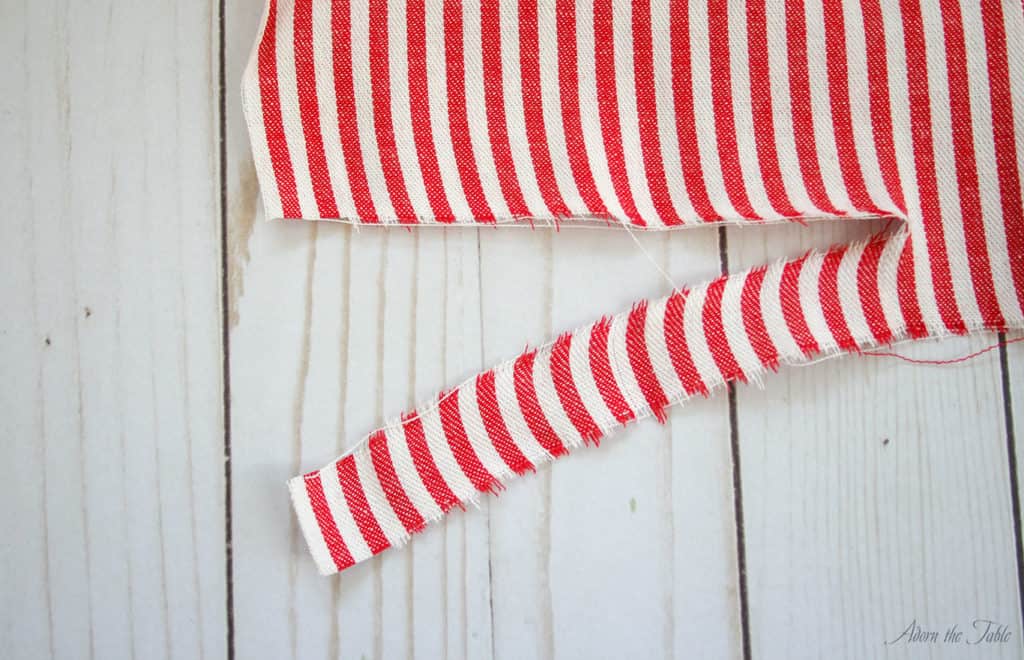
Step 2: Cutting the fabric strips
Cut 1” from the new edge of your fabric, about 2 inches from the bottom.
Tear this strip from the rest of the fabric.
You should now have a nice long 1-inch strip of fabric. It’s okay if it curls and the edges fray a little. That’s what gives this DIY project character.
Continue to create as many 1-inch strips as you want.
Step 3: Attaching the fabric strips to create your ripped fabric flag
Once you have all your fabrics ripped into strips, it is time to attach them to the wooden dowel.
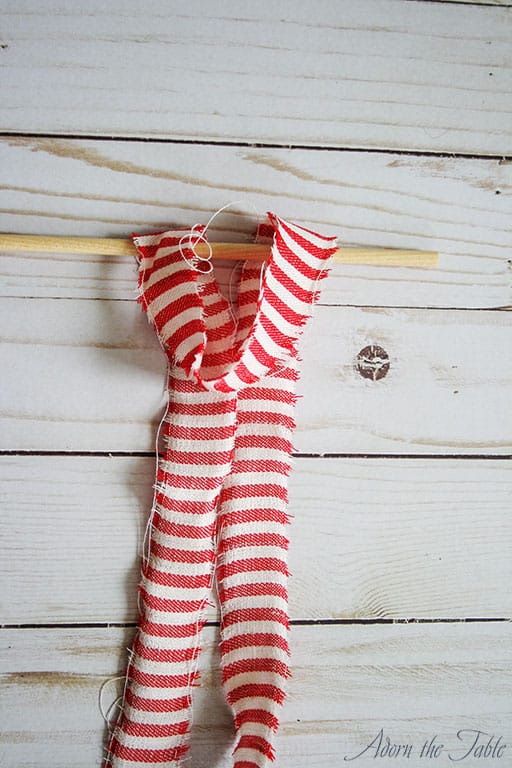
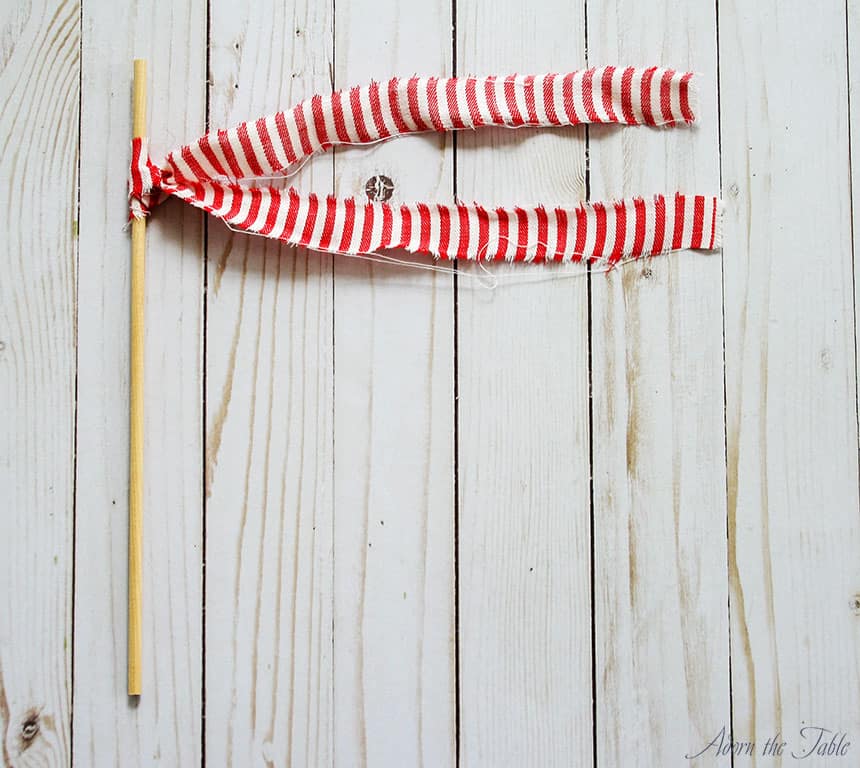
Fold your first strip in half, so that there is a semi-circle at the fold.
Lay your dowel down a few inches from the fold.
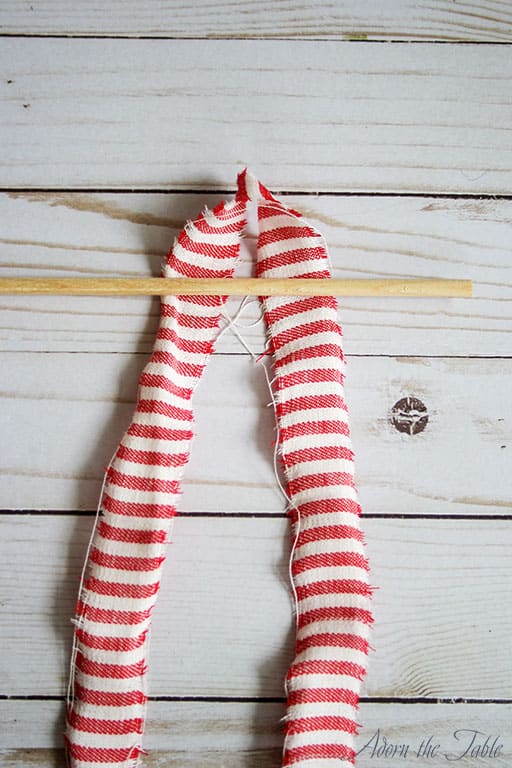
Now fold the semi-circle over the dowel and pull the two ends of the strip through the semi-circle.
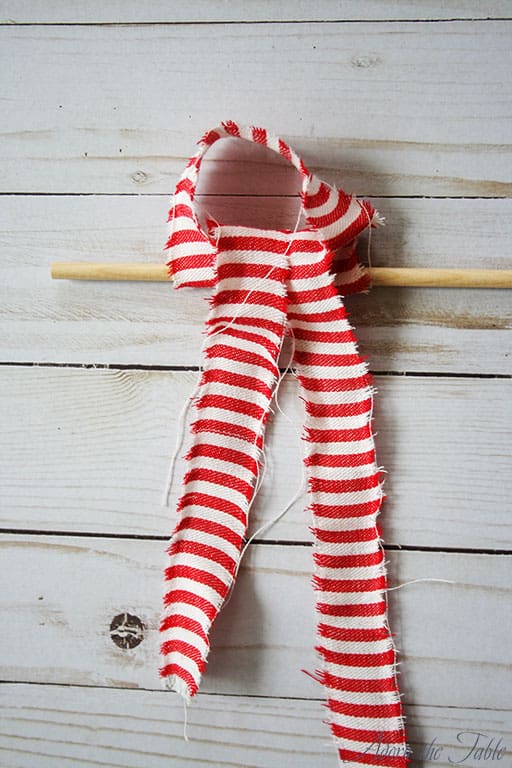
Then pull the two ends of the fabric strip down and tighten the semi-circle loop around the dowel.
Make sure it is nice and tight.
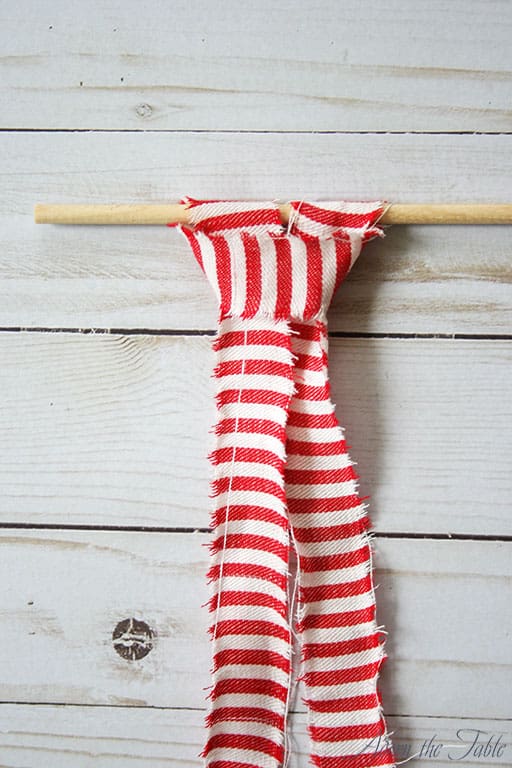
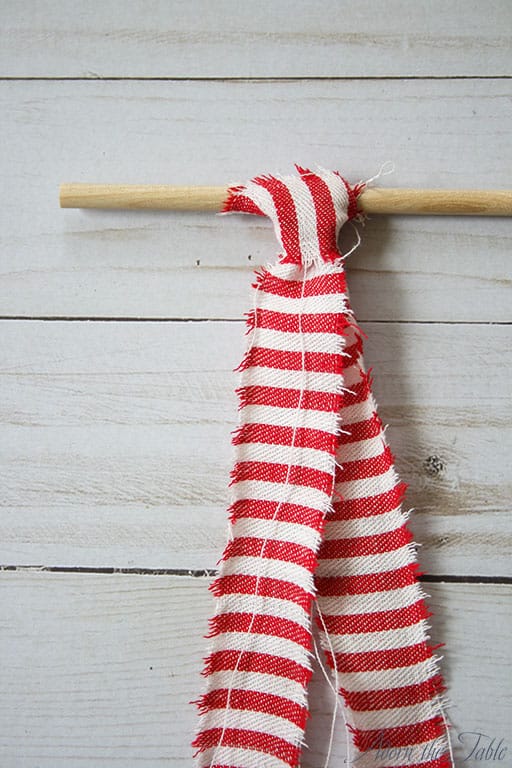
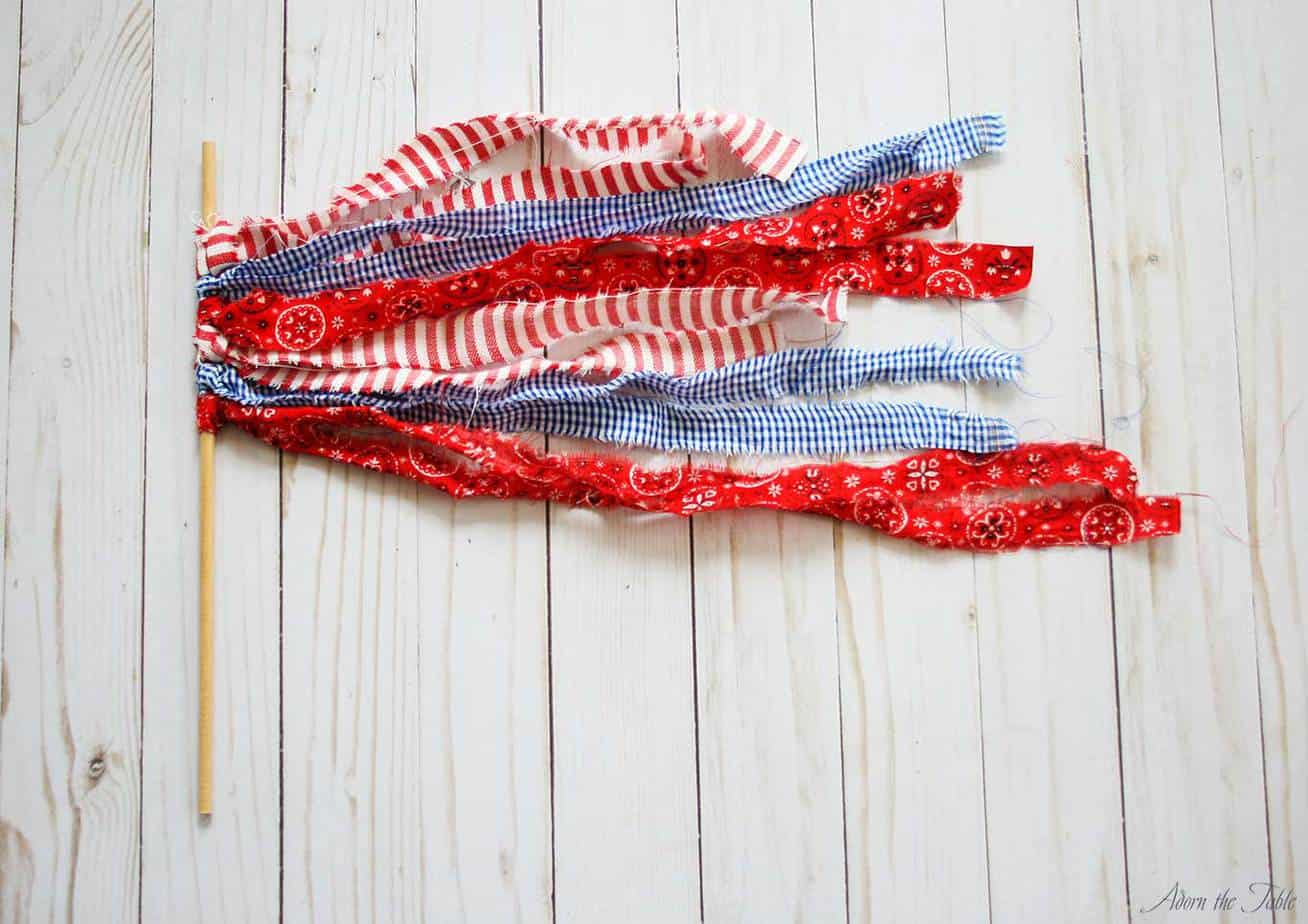
Continue attaching strips to the wooden dowel.
You can either attach them in an alternating pattern or at random. Whichever you prefer
It’s YOUR creation. Have fun with it!
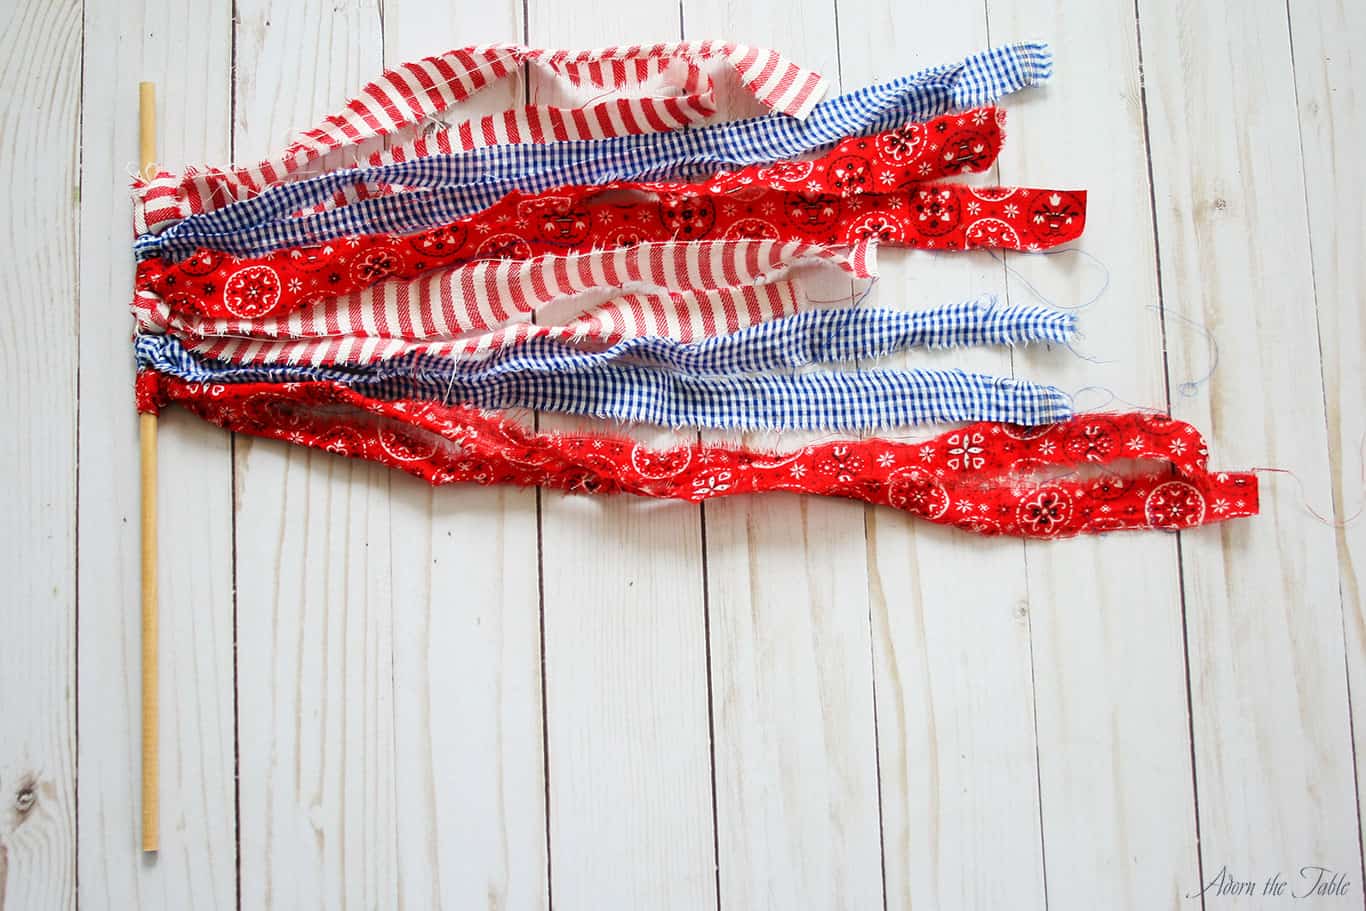
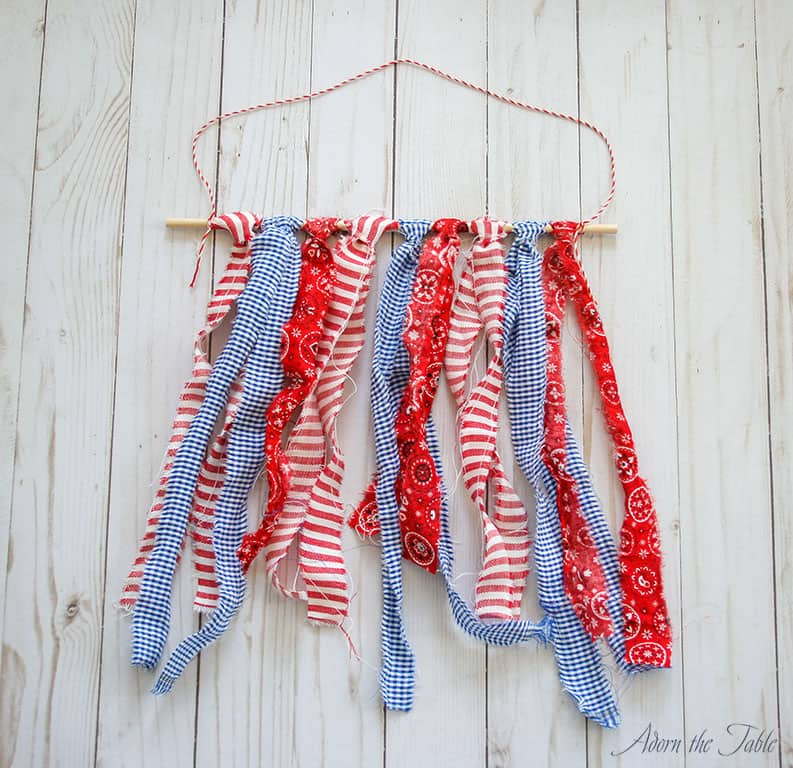
Fini!
Aren’t these simple ripped fabric flags SO fun and easy to make!!
They’re a great DIY Memorial Day or 4th of July project for you to do yourself, or with your kiddos.
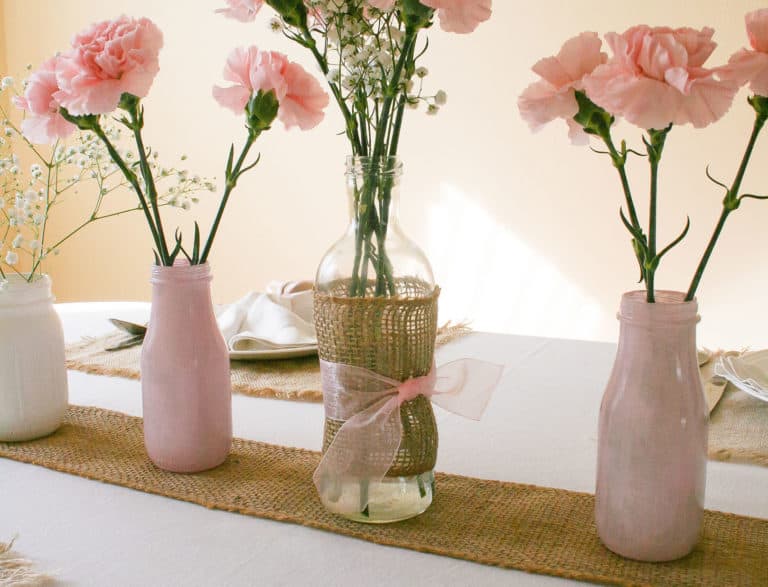
Check out how cute they look on my Memorial Day Buffet Table and my Memorial Day Table Setting.
*Note:
- Depending on the fabrics you choose, you might have strips at different lengths. That’s okay, as it adds to the uniqueness of the project and provides visual interest. But if it bothers you, feel free to cut them all to the same length once you have added all of the strips to the dowel.
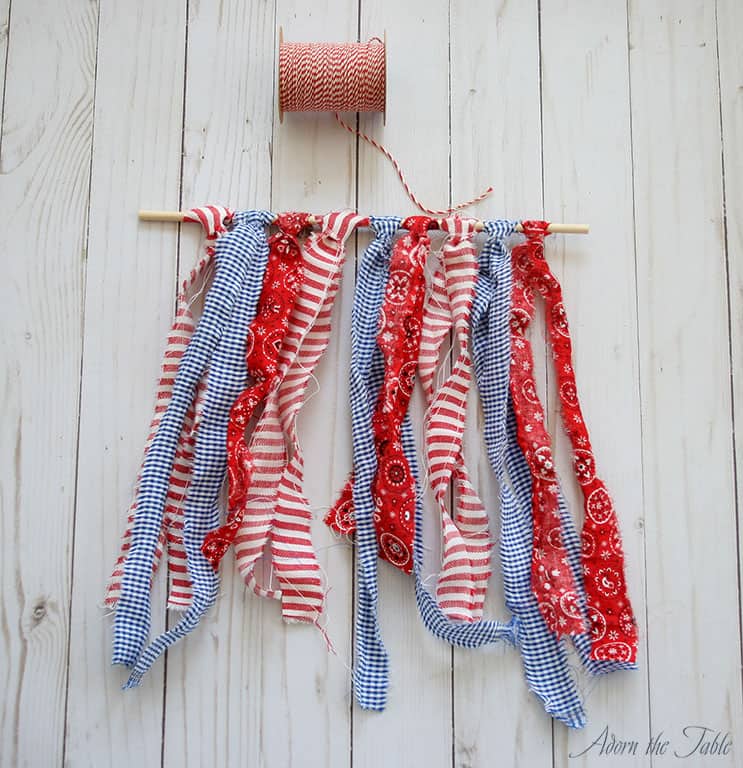
- I found that using six strips created a nice, ripped flag look.
- I also created two ripped fabric hangings that filled the dowel completely. Then I tied twine to each side so I could hang them. This gave the ripped flags a different look.
Shop the diy supplies:


This is so great to do with my kids! They love creative projects.
Yes, this would be fun and super easy for your kiddos. Enjoy doing it together!
This looks so cute and easy! I just found you on Centerpiece Wednesday on Karin’s Kottage. I’ll be back to visit. I would love you to share this (and your other posts) on my 3 link parties on LifeasaLEOWife.com. My readers would love this!
Super cute and so easy! Thanks for sharing!
Hugs,
Tee @ Teediddlydee
This is such a great way to use left over fabric!
Creatively, Beth