Please note that this article may contain affiliate links. I may get commissions (at no cost to you) for purchases made through these links. You can read my full disclosure for more details.
I love, love, love dyeing wood flowers. When I first discovered Sola Wood Flowers, I couldn’t wait to dye them.
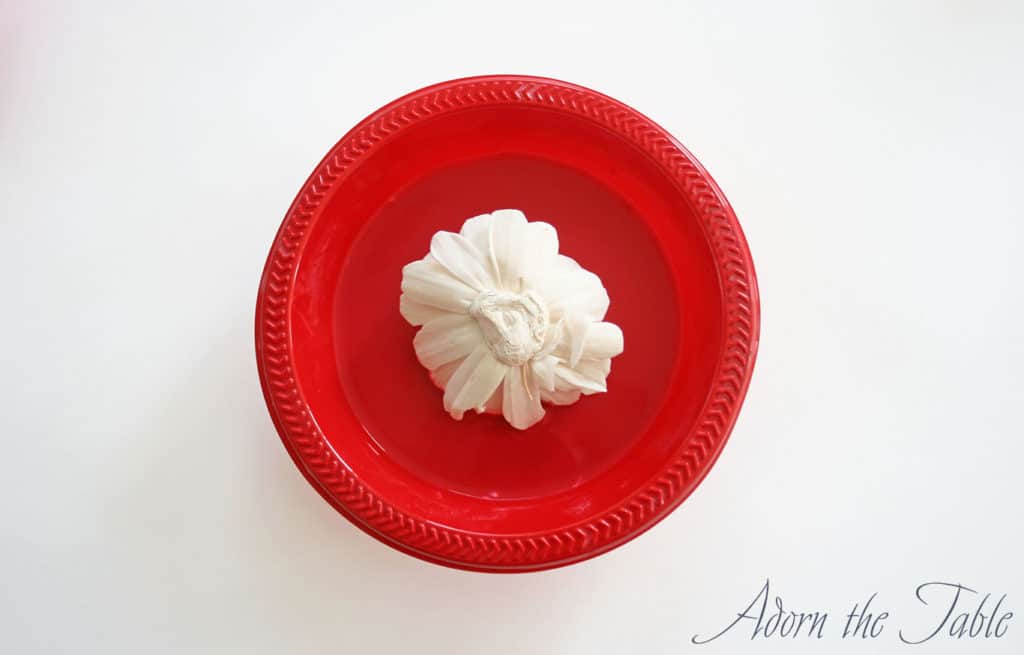
These wood flowers are naturally cream in color. Which is beautiful on their own, but they can easily be painted any color.
The ability to make fake flowers any color I want = awesome!
Think of the possibilities. You can use them for centerpieces, wreaths, floral bouquets, weddings, decorating various craft projects. The list is endless.
It’s mind-boggling!
Plus it’s SO EASY to dye wood flowers!!! And I mean E.A.S.Y!
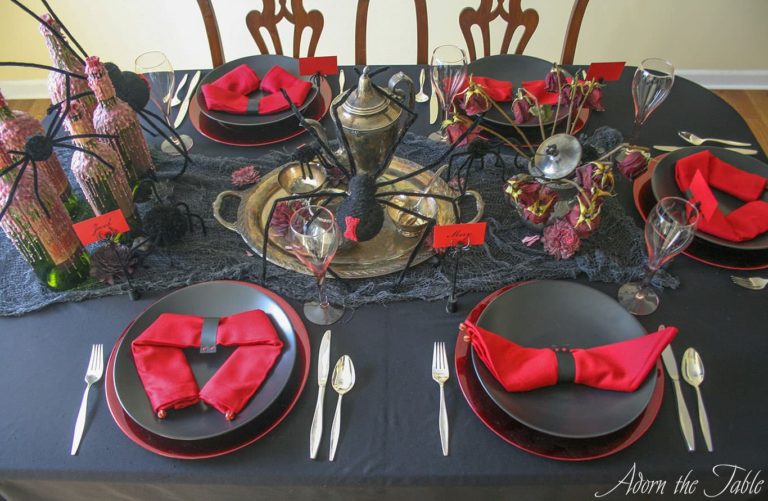
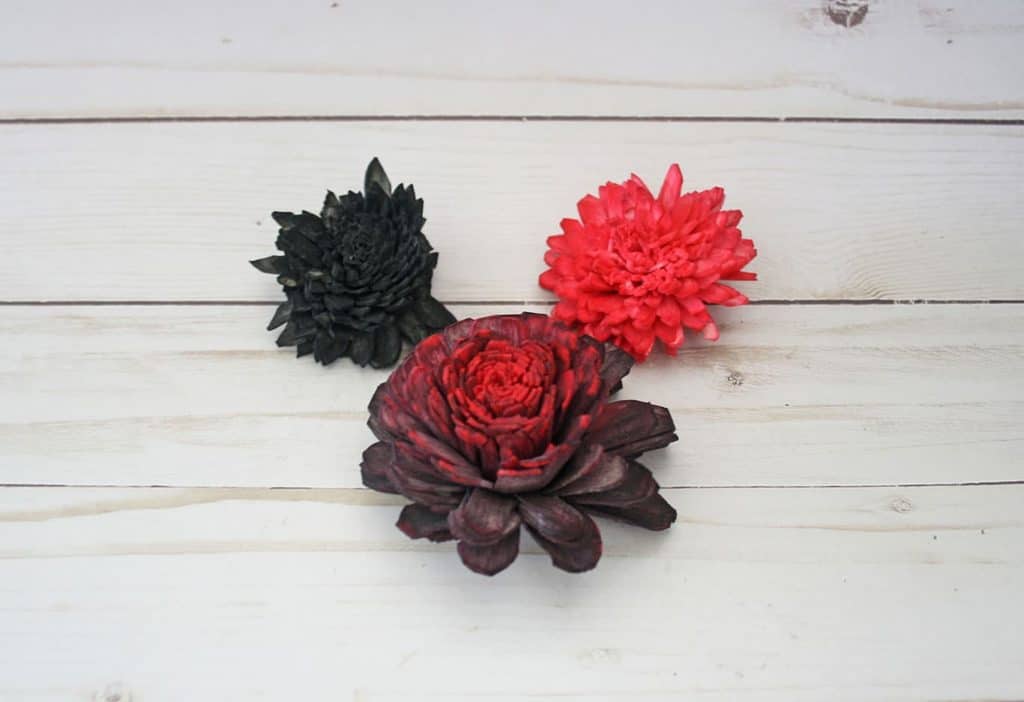
Most recently, I decided to dye some Sola Wood Flowers for a Halloween table setting I was creating. I had a vision of using dead red flowers. After all, it was for Halloween.
I needed flowers that were almost black, but had previously been red, for the look I wanted.
Using Sola Wood Flowers was perfect!
I would dye them dark red and then black to make them look dead.
Take a look at how easy the process is to dye wood flowers…
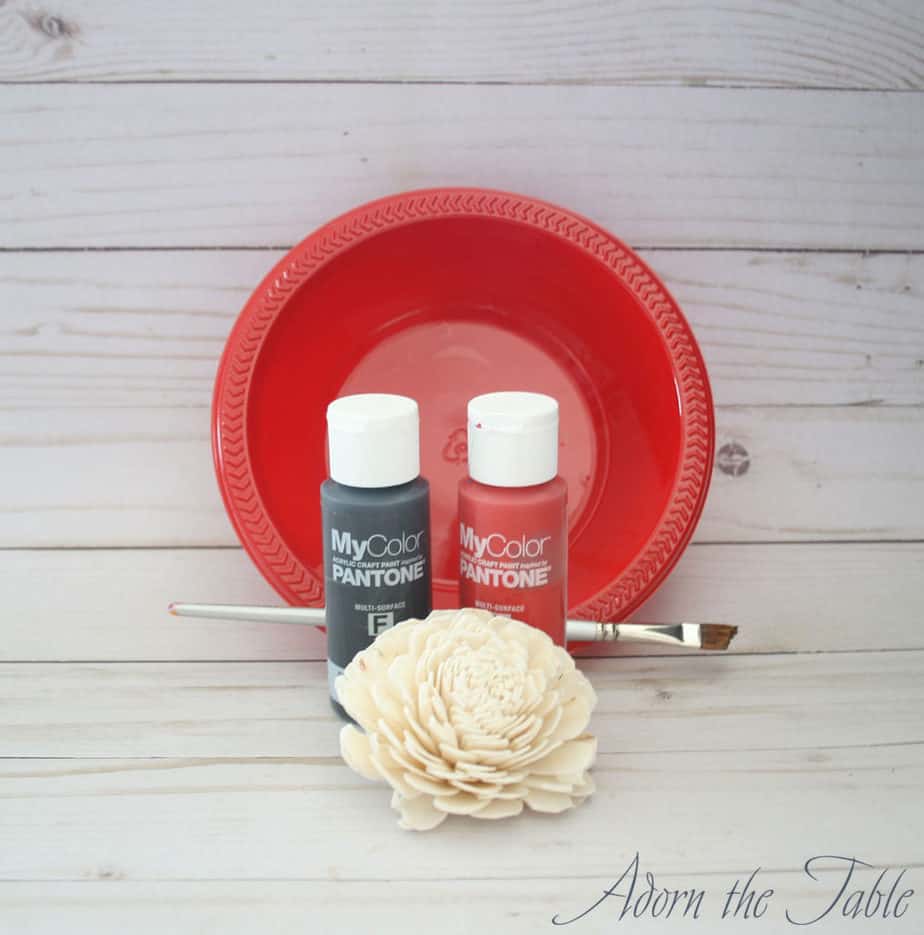
Supplies to Dye Wood Flowers
- Sola Wood Flowers
- There are tons of sizes and flowers to choose from
- Acrylic paint
- You can purchase paint directly from Sola Wood Flowers
- Or you can use regular acrylic craft paint
- Plastic bowls
- Stir sticks
- Cookie sheet and wax paper
- (Optional) rubber gloves
How to Dye Sola Wood Flowers
Step 1: Order your flowers
Purchase your Sola Wood flowers and anxiously wait for them to arrive. (Waiting is the worst, haha!)

*Tip: if you are going to use your own paint, I suggest ordering the flower softener, too.
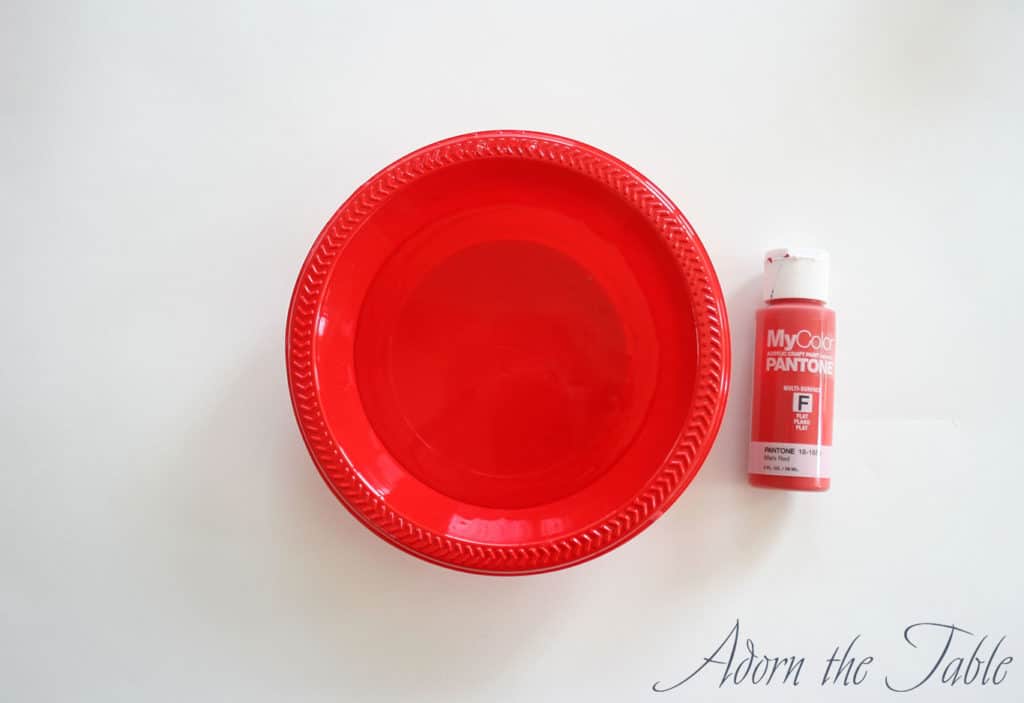
Step 2: Prep Your Working Area
I suggest laying down some newspaper where you will be working. Just to make clean-up easy.
Use plastic bowls that are deep enough to completely submerge your flowers.
Fill up the bowls about 1/2 to 3/4 way.
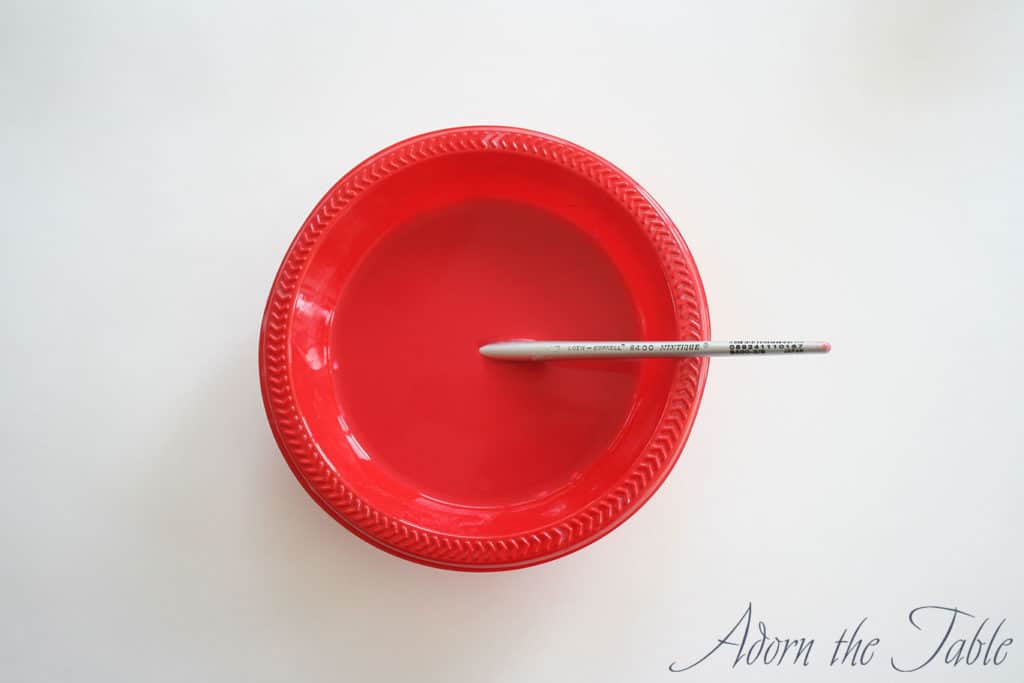
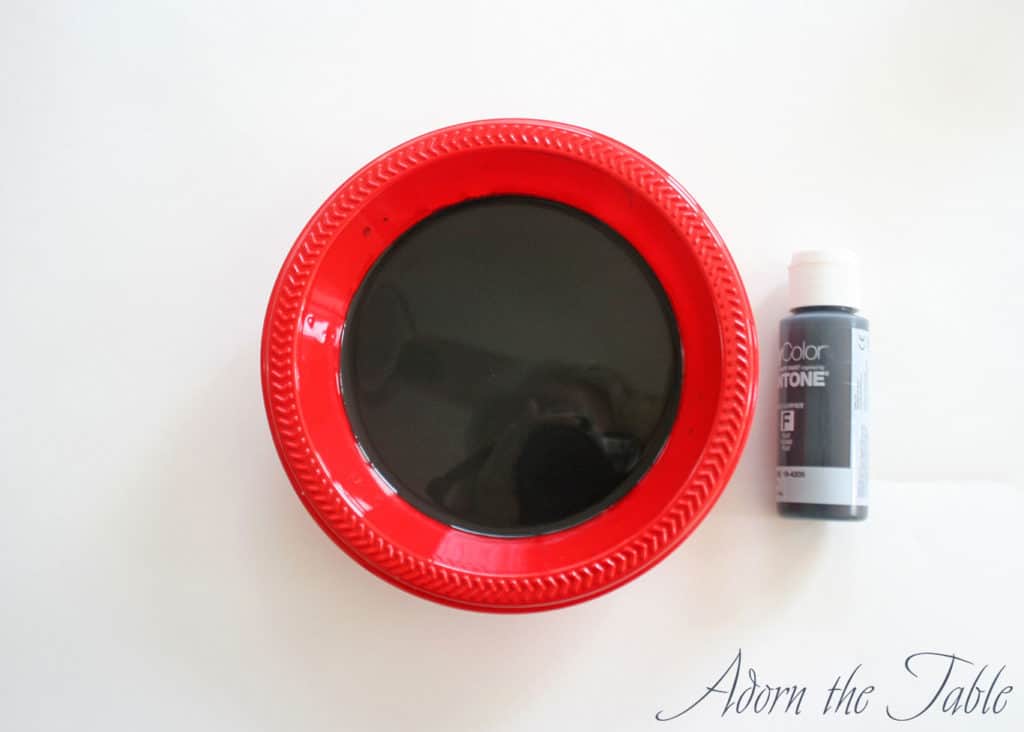
Squeeze your desired paint color into the bowl. Depending on how light or dark you want your flowers, will depend on the amount of paint to use. It’s best to start light and add paint if you want to go darker.
Mix the paint well with the water. You don’t want gobs of paint on the bottom of the bowl, or you will have spots on your sola wood flowers.
After you have your bowls of paint ready for dying sola wood flowers, cover your cookie sheet with wax paper. This is where you put the flowers after they have been dyed. It also makes it easy to transport them.
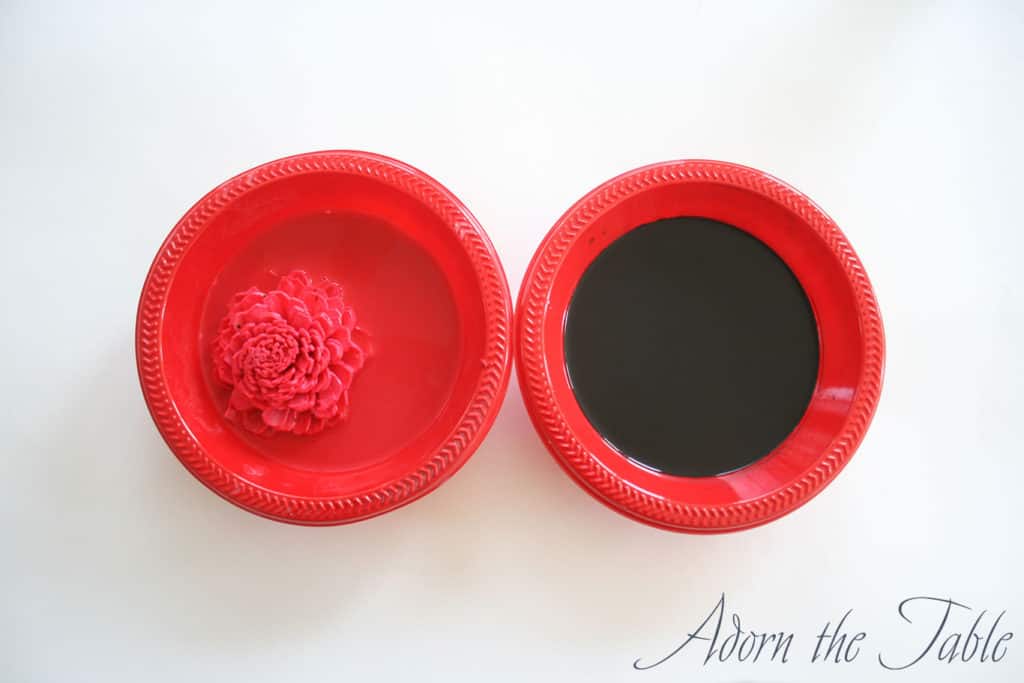
Step 3: Dyeing your Sola Wood Flowers
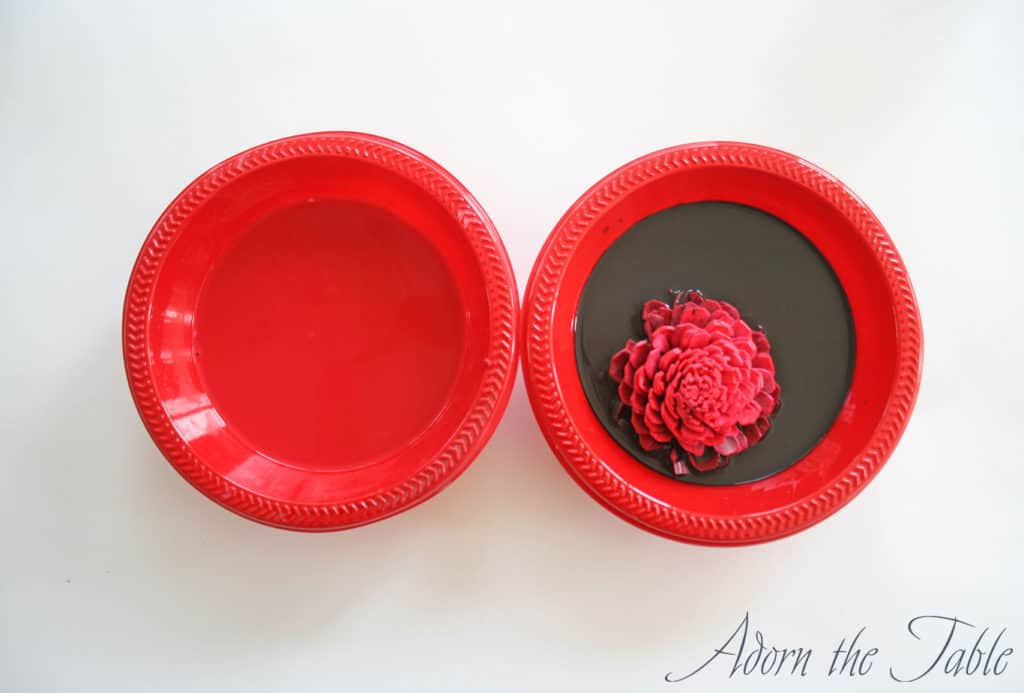
Take your selected flower and dunk it into the paint/water bath. Be sure and completely submerge the flower. Then rotate the flower on its side in the paint bath. This will help the paint seep into the base and between the petals. *Tip: I like to leave the flower(s) upside down for a minute or two.
After you have dunked the flower(s) they will soften up a bit. You can then gently separate the petals. This will do two things: 1) it will create a fuller-looking flower, and 2) it will enable the paint to completely cover all areas inside the flower.
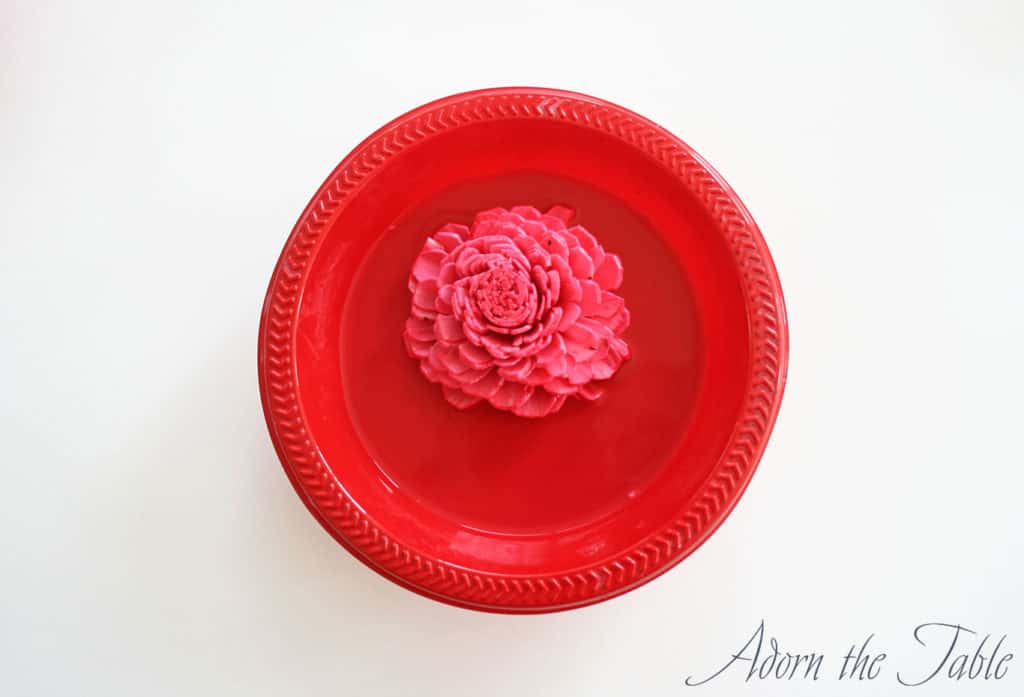
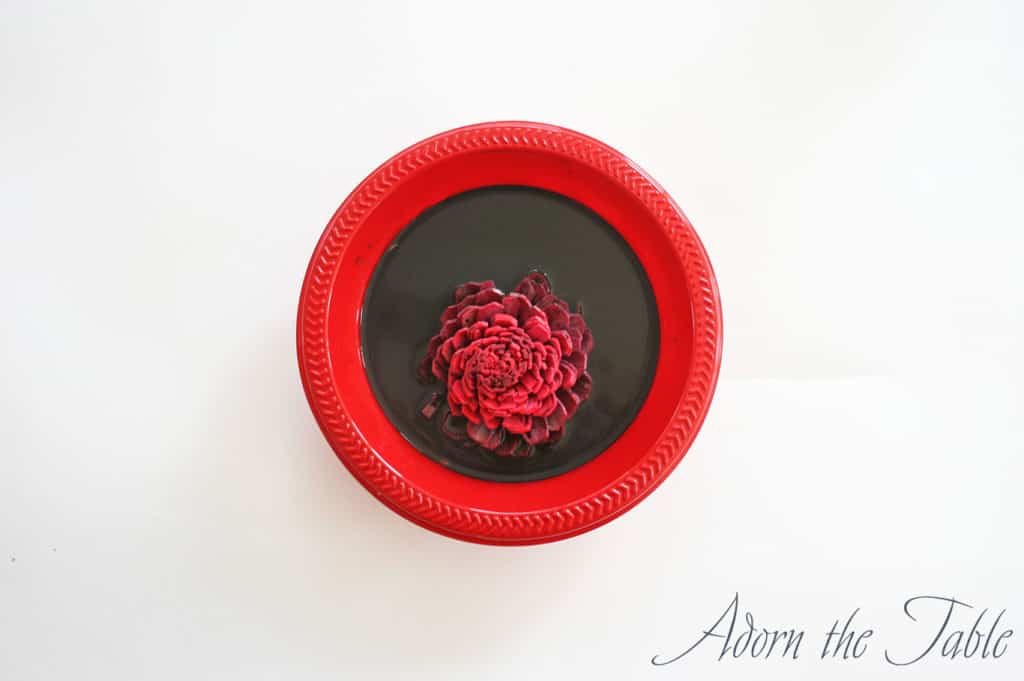
If your flower is a little lighter than you desire, add more paint and mix it well with the water. Then return the flower(s) to the paint and let sit for a minute or two.
Step 4: Drying your flowers
Once your flowers are the desired color, remove them from the paint and let the paint drip back into the bowl. Transfer your painted flower to the wax paper.
Let dry for a few hours to overnight.
Step 5: Start using your dyed wood flowers
Sola wood flowers are easy to store for future projects and last almost forever. Enjoy using them for diy centerpieces, wreaths, wedding bouquets, flower arrangements, boutonnieres, or anything else you can think of.
*Careful – dyeing sola wood flowers is addicting!!
Additional Tips
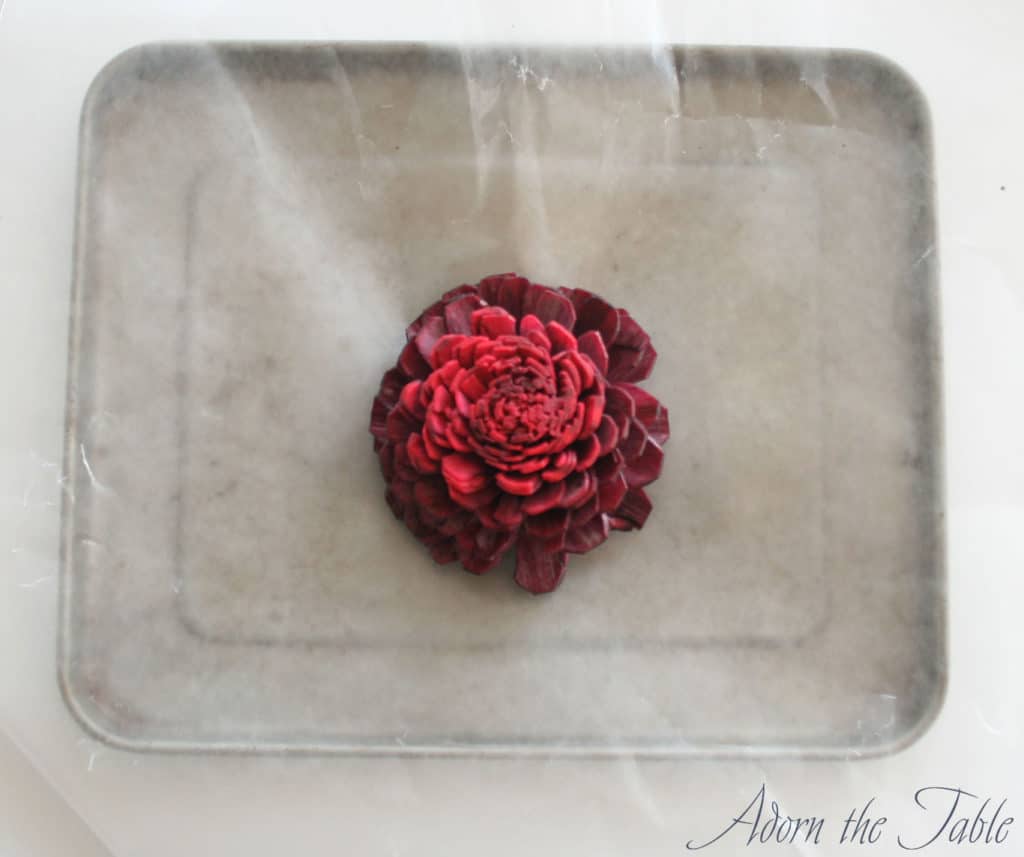
To create my “dead” flowers.
You will need two paint baths: dark red and black.
First dye your flowers dark red. Once they are mostly dry, add them to the black paint bath, but just the bottom half of the flowers. Do NOT completely submerge the flowers, otherwise, you will not be able to see the dark red. Let them sit for a minute, or until they are the black you desire. Remove them from the black paint and let them dry.
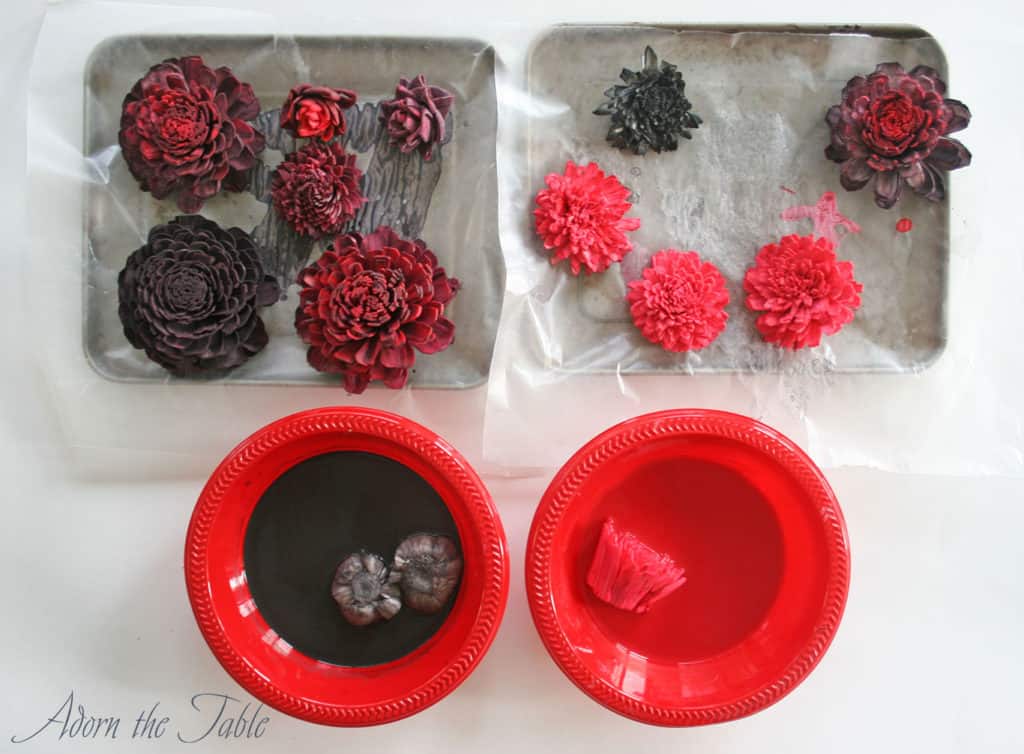
Voila! You have “dead” looking flowers.
Check them out on my creepy Halloween tablescape. Don’t they look awesome!
To create two-tone flowers.
Paint the flowers the lighter color you want. When they are still damp, place the outside sections you want a different color in a different paint bath color. This would be really nice using yellow as the light color and red as the second color, which would make a yellow and orange two-tone flower. Pretty!
Shop the Sola Wood Flower DIY Supplies
Sola Wood Flowers

Acrylic Paint

Plastic Bowls