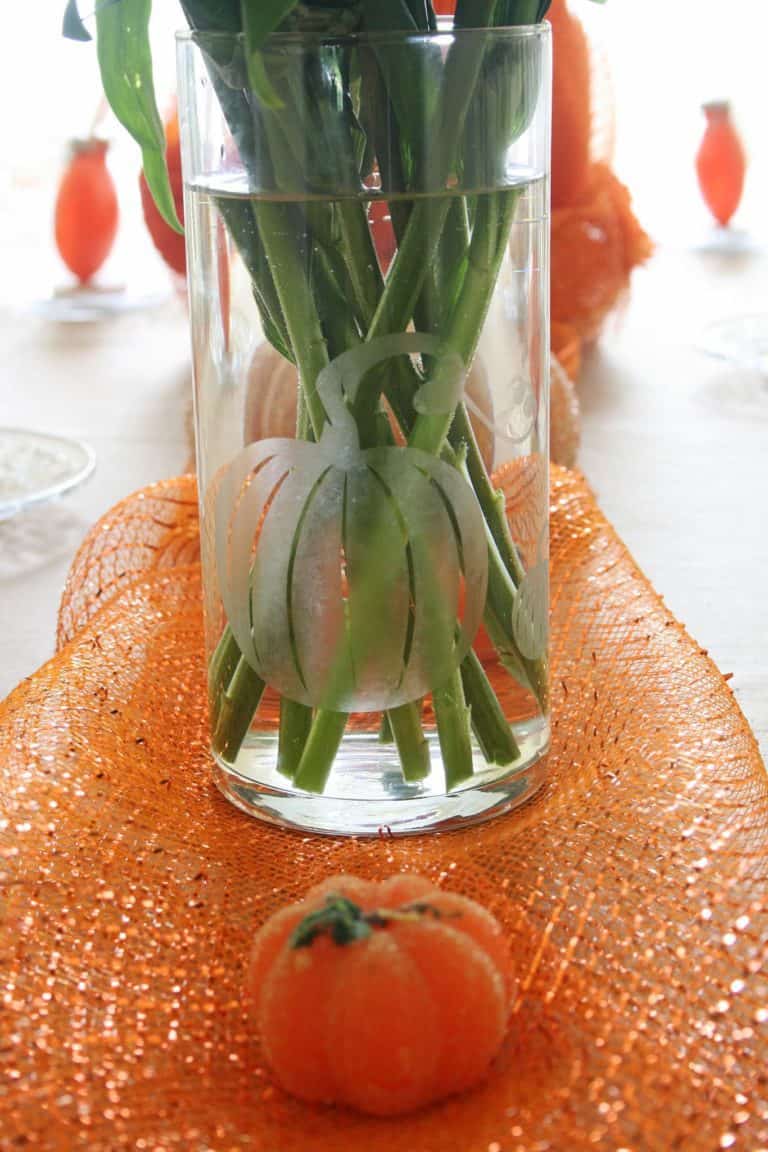
I first decided to make these DIY no bake clay napkin rings for my Mother’s Day table setting. I wanted to incorporate the color orange on the tablescape, but finding orange-colored napkin rings was practically impossible, and the ones I found didn’t have the right look for what I envisioned.
Making these no bake clay napkin rings was the perfect solution to my tablescape conundrum. I could create any design I wanted and paint them whatever color I desired. Then by adding ribbon or twine to tie them off, was the ideal way to complete the look. Yay!
CAREFUL…. creating these DIY napkin rings is so simple, you will find yourself hooked on making them!
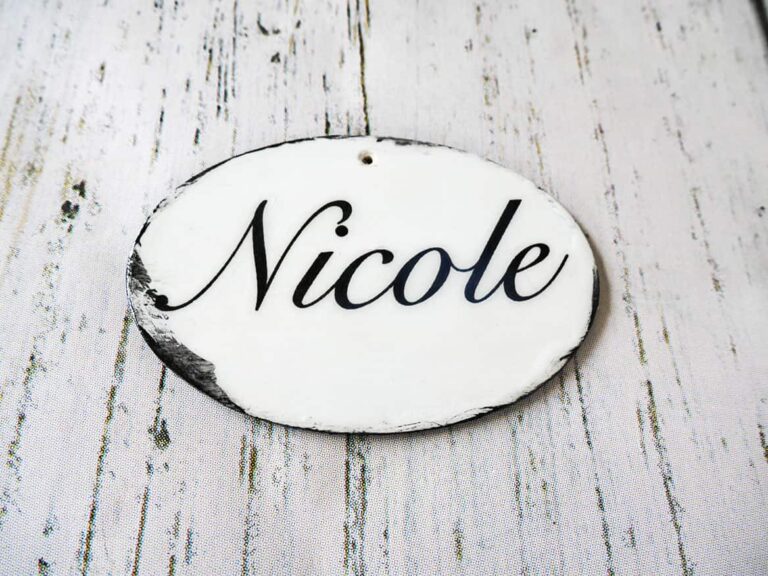
It’s so easy to knock-out lots of these simple napkin rings at one time. You could make them for yourself and/or as gifts. Not only are they easy, but also really cute!
FYI… I call these “napkin rings” for lack of a better term. Per Webster’s dictionary: a napkin ring is usually a “ring-shaped device used to enclose a folded table napkin”. And since these are clay medallions with a ribbon used to encircle a napkin… they are napkin rings.
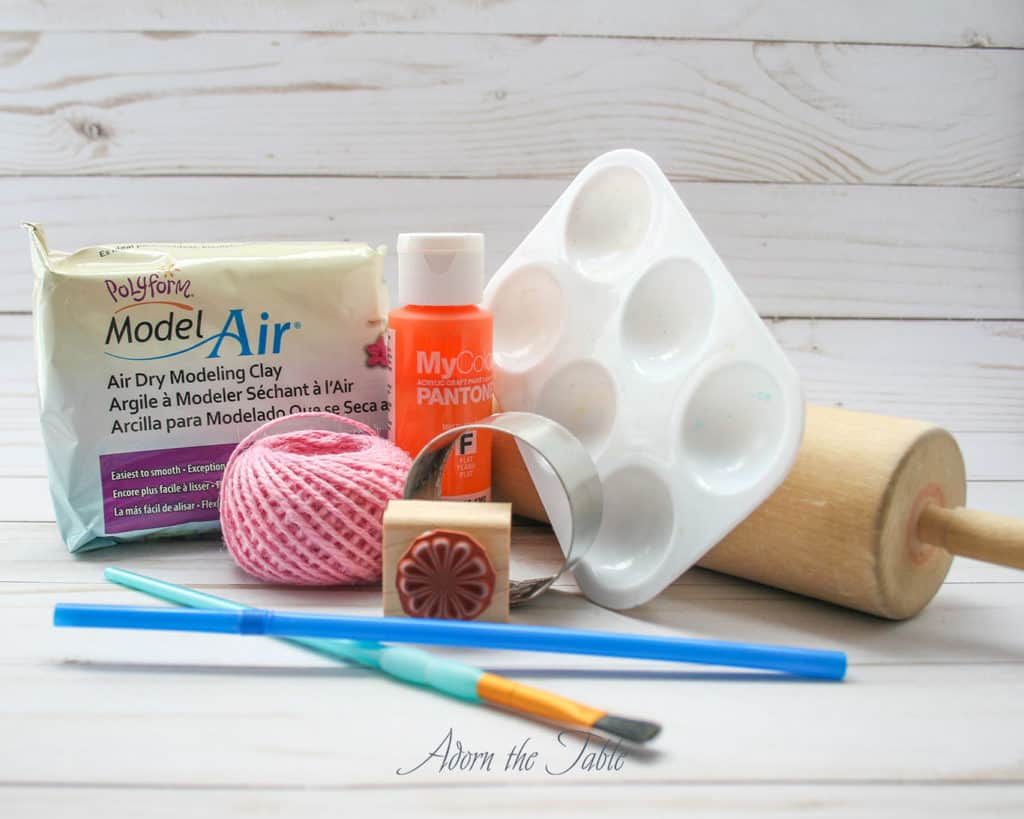
Supplies for No-Bake Clay Napkin Rings
Please note that this article may contain affiliate links. I may get commissions (at no cost to you) for purchases made through these links. You can read my full disclosure for more details.
- Air dry white clay – $12
- Wax paper
- Rolling pin
- Cute small stamp – $5
- Cookie-cutter(s) – $1 to $5
- Drinking straw and/or toothpick
- Acrylic paint – $1
- Paintbrush
- Paper towels
- Ribbon or twine – $1
- Empty toilet paper or paper towel tube (optional)
- Polyurethane varnish or Mod Podge
Total cost = less than $25
How to Make No Bake Clay Napkin Rings

- Tear off about 12” of wax paper and lay it down on your work surface. This will prevent the clay from sticking to the table and make it easier to work with.
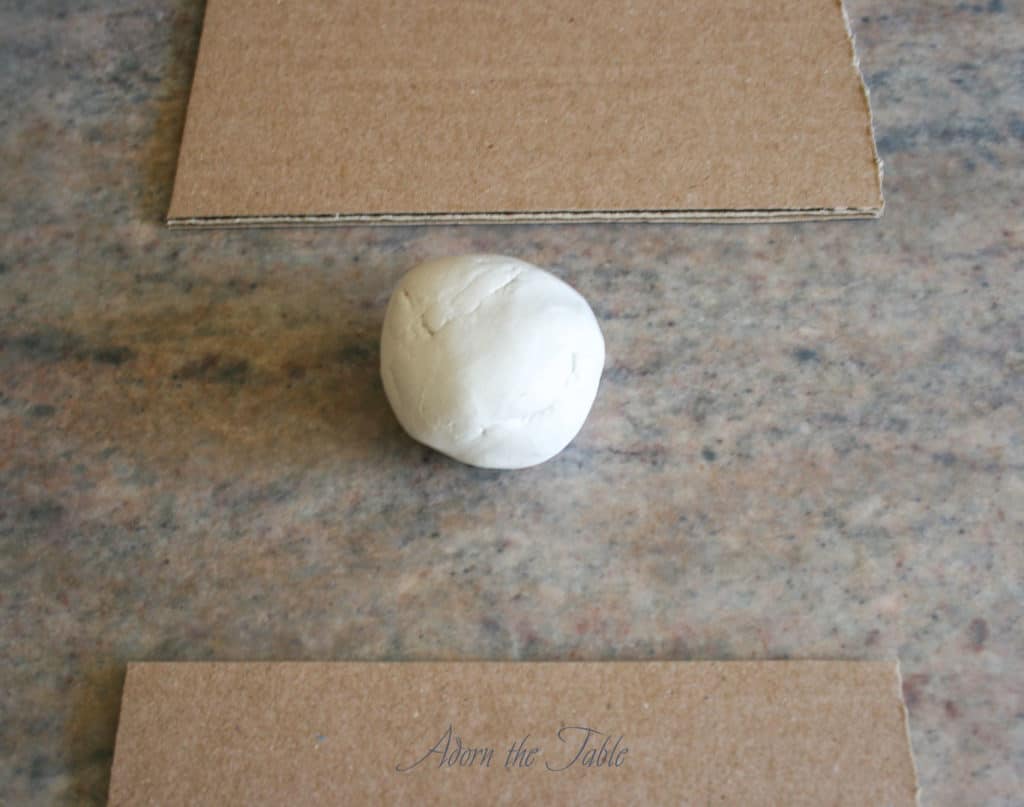
- Cut off a 3” section of air dry clay. Form it into a ball.
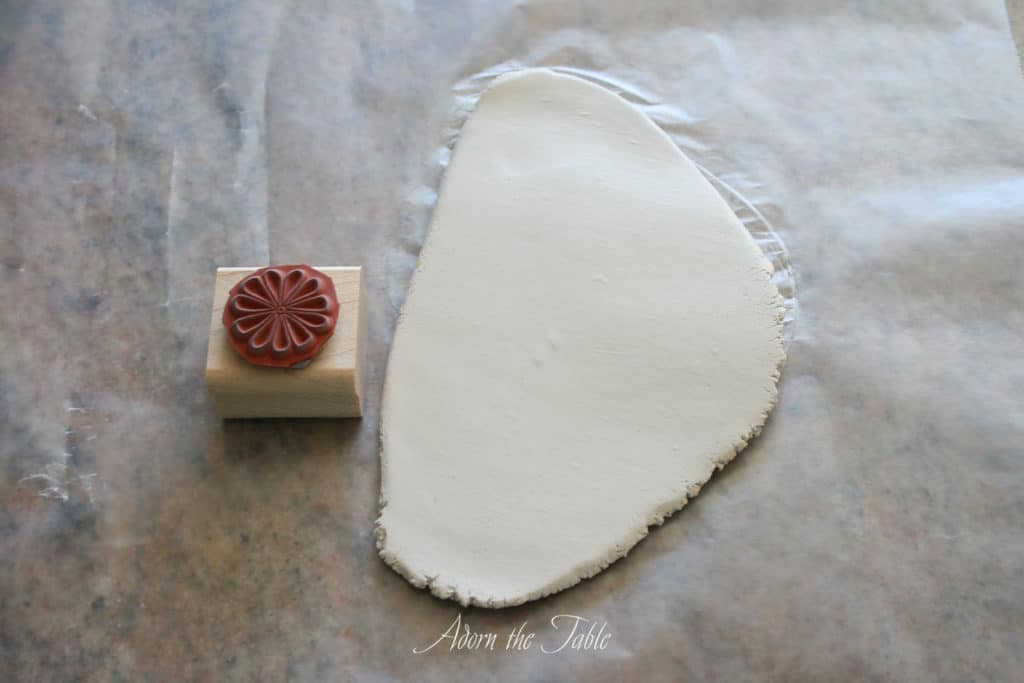
- Roll out the clay on the wax paper. Be sure and flip and turn the clay a few times as you go.
- To achieve a uniform thickness of clay, lay two items (the same thickness) on each side of the clay, so that the rolling pin goes across them. You want them to be fairly rigid and not have much give. This will ensure an even thickness to your clay and prevent the clay from being thinner on the ends.
- I found that using two cardboard pieces from an old sturdy box provided the ¼” thickness I wanted.
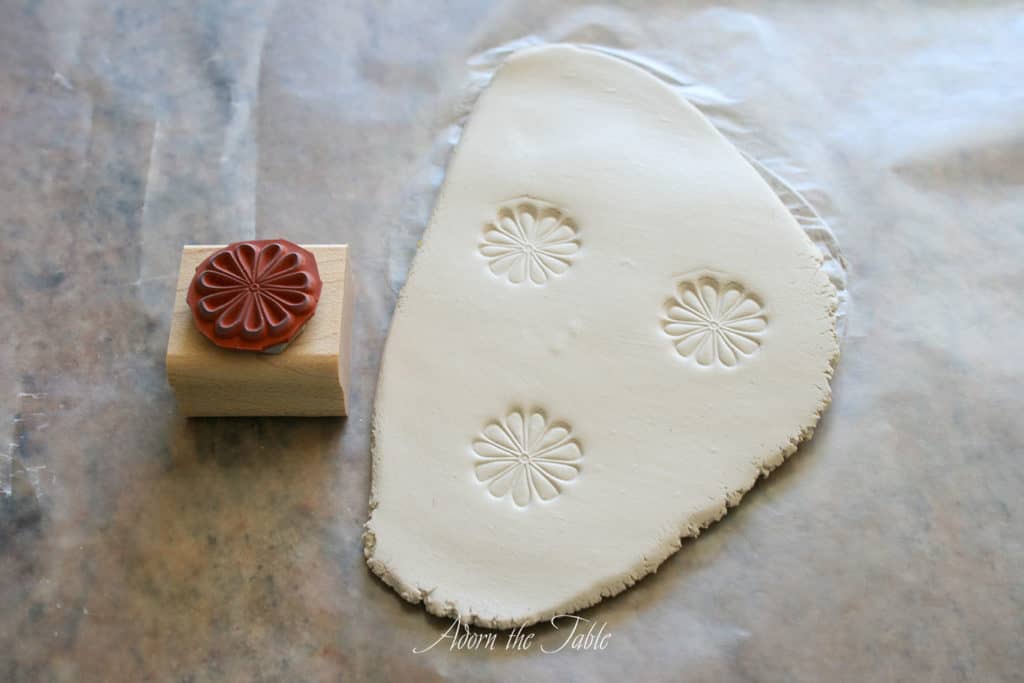
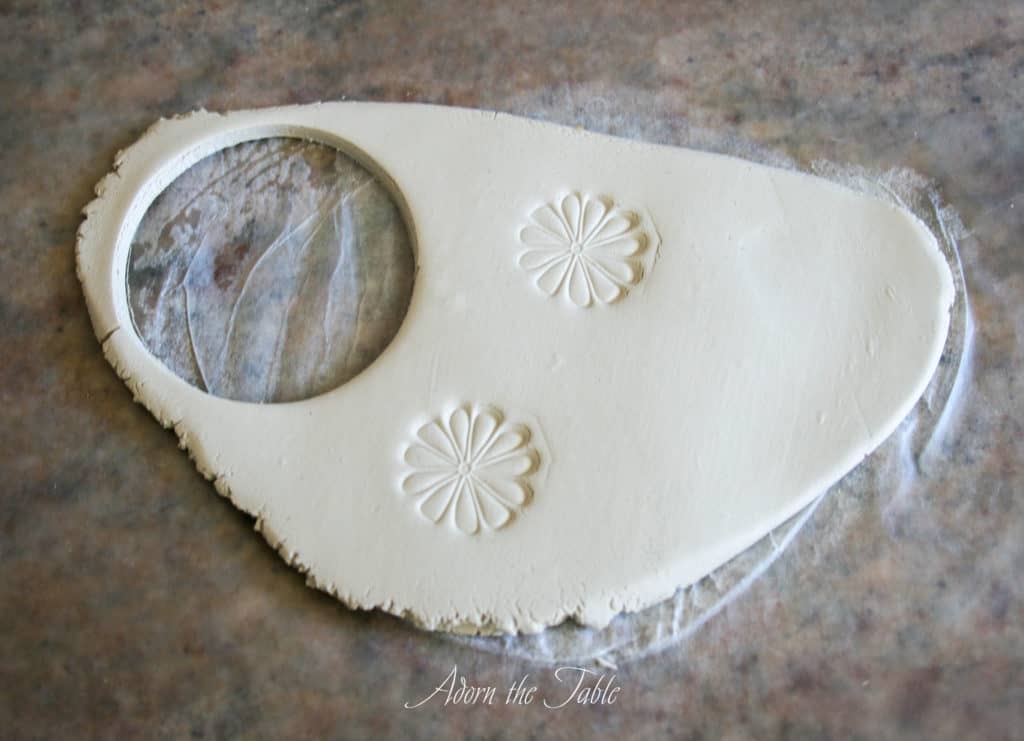
- Firmly press your stamp design into the clay. Don’t press too hard that the stamp block itself is pushed into the clay – just the design.
- You can repeat this process around the clay, being sure to leave enough space in between the designs, for the cookie cutter.
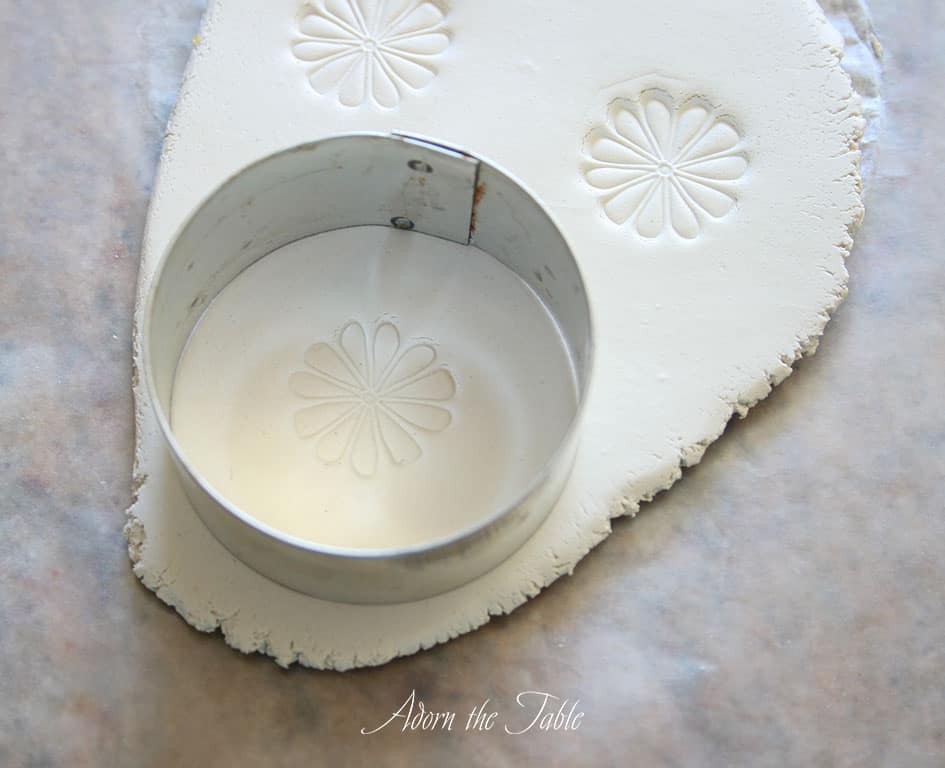
- Take a circular cookie cutter, line it up so the design is in the middle of the circle, and push down the cutter.
- Note: I used a 2” diameter cutter for the napkin rings on my Mother’s Day tablescape.
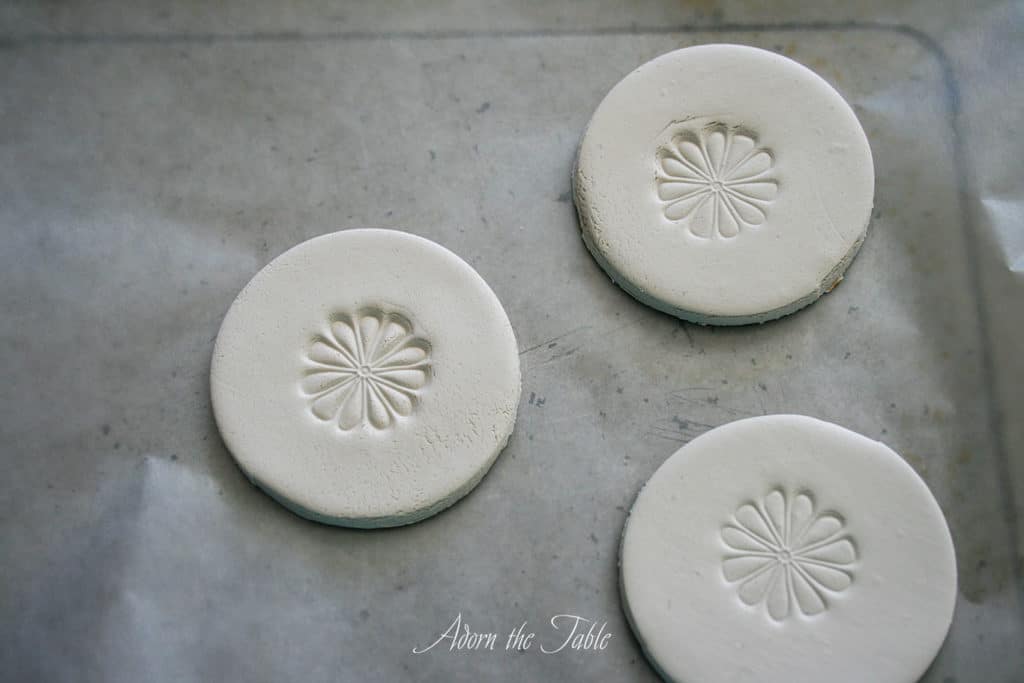
- Transfer the cutout onto another piece of wax paper.
- *I found it useful to cover a cookie sheet with wax paper, so I could easily move my clay cutouts and not damage them while they were drying.
- Once you have cut out all your designs and transferred them to the cookie sheet, gather the clay pieces, shape into a ball, and repeat steps 3-6 until you have used all up of the clay.
Adding Holes to the Air Dry Clay
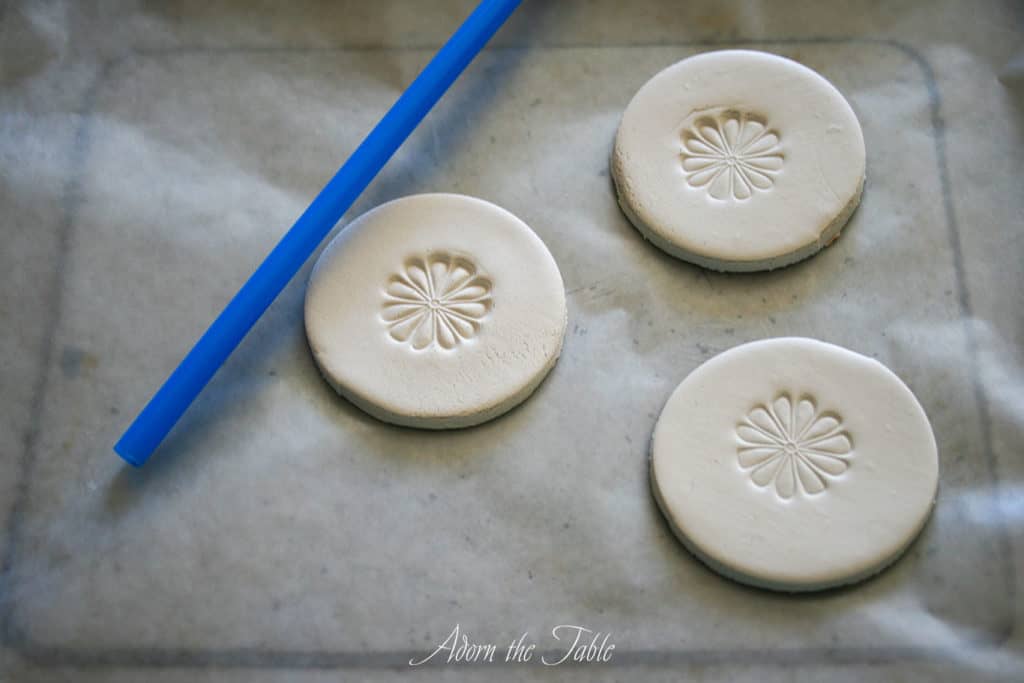


- Depending on the size hole(s) you would like, use either a straw or toothpick to create holes in the clay for your ribbon.
- I found it easiest to push the straw into the clay while it was sitting on the cookie sheet. I could do this repeatedly, as the clay would push itself up into the straw.
- If you choose to use a toothpick, you might need to handle the clay while pushing the toothpick through.
- Leave clay out to dry for 24 hours.
- Note: I flipped my cutouts over after a few hours, to help them dry evenly.
Painting the DIY No Bake Clay Napkin Rings

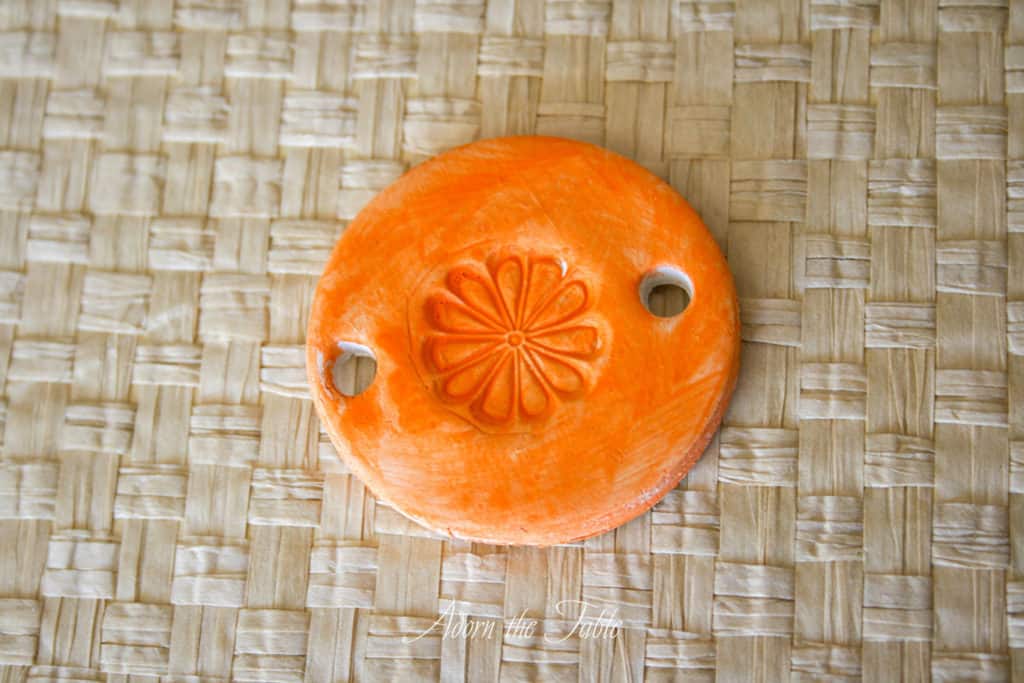
- The cutouts look really nice just plain but are also easy to paint using acrylic or glass paint.
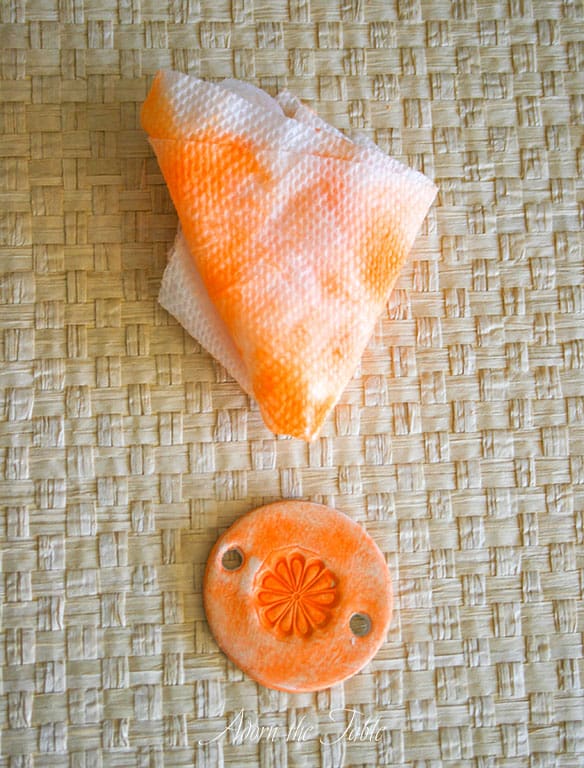
- I wanted my napkin ring medallions to have a softer, not solid, painted look. So I squeezed out a little paint, and added 2-3 drops of water, to thin it out a little.
- I then painted the clay with simple brushstrokes. While the paint was wet, I dapped the clay cutout onto a paper towel to remove excess paint.
- In some areas the paint was too solid, so I wet a paper towel, and dabbed the areas where I wanted paint removed.
- What’s nice about this, is if you remove too much, you can go back and add more paint.
- Once the desired look is achieved, put the cutouts back on the wax paper and let them dry for a few hours.
- It is a good idea to seal your painted clay after it is dry. You can apply two thin coats of either Mod Podge, or DuraClear Varnish. Both are available at your local craft store.
Completing Your DIY Clay Napkin Rings
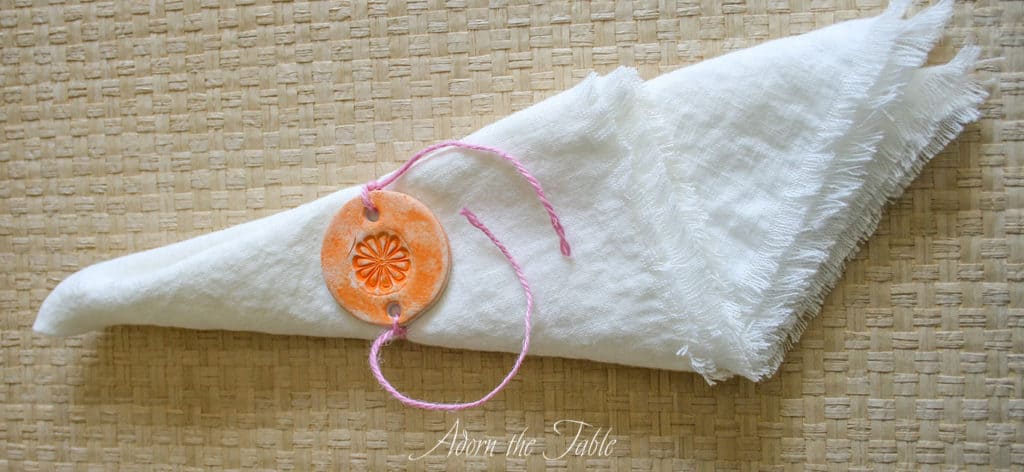
- Cut 10” of your selected ribbon or twine.
- Tie one end to one of the holes, wrap it around your napkin, or an empty toilet paper roll, and bring through the hole on the other side.
- Tie off the other side of the clay medallion.
- Trim the two ends of twine to your desired length.
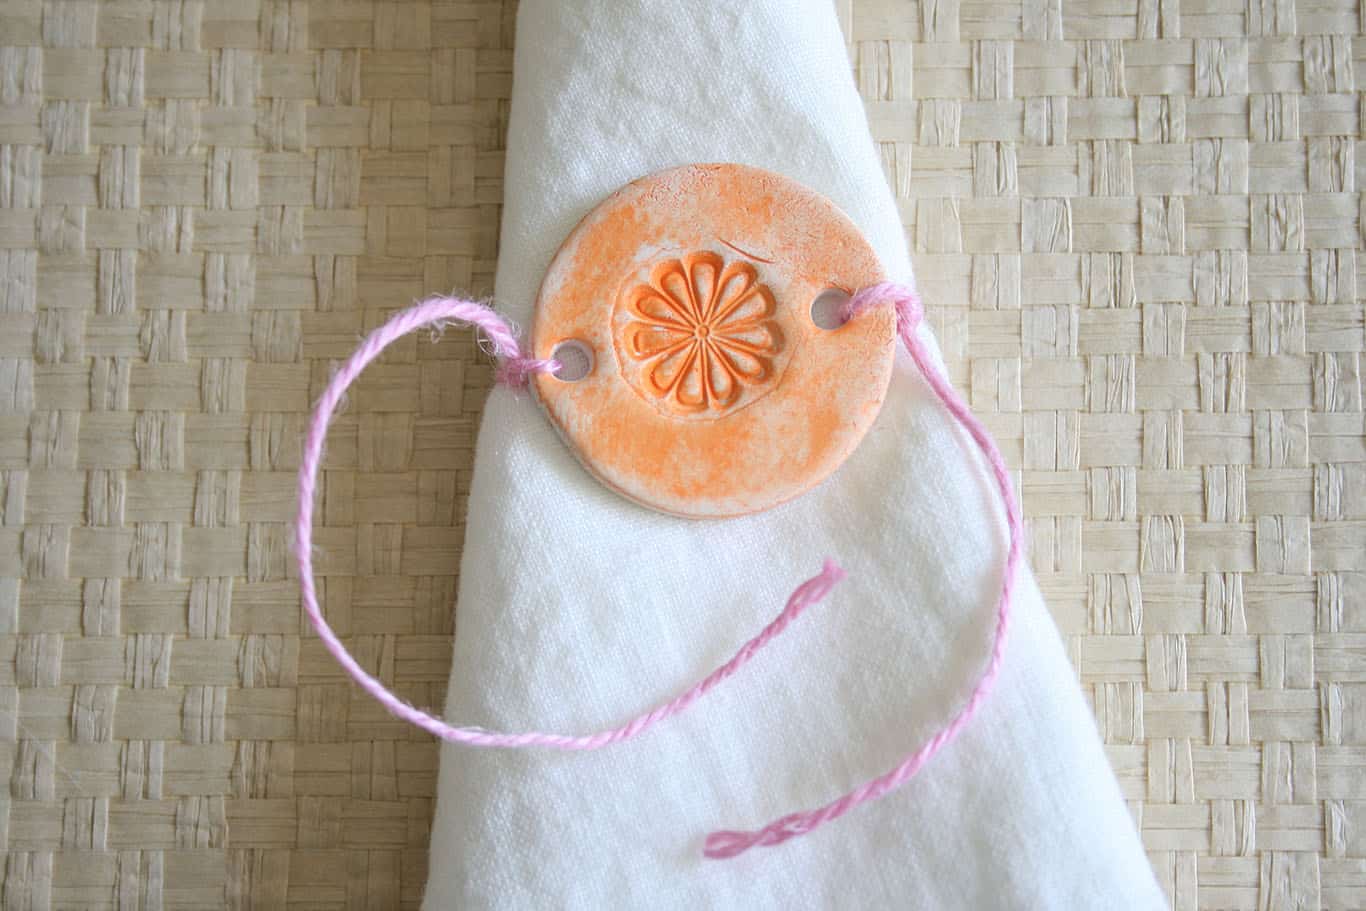
- Fini! Your DIY no-bake clay napkin rings are complete.
Just think of the possibilities; you can make these for different holidays, or table setting themes! And you can easily change the twine to create a different look – too cool!
*You can also make the no sew linen napkins you see in the picture above. There are easy step-by-step instructions,
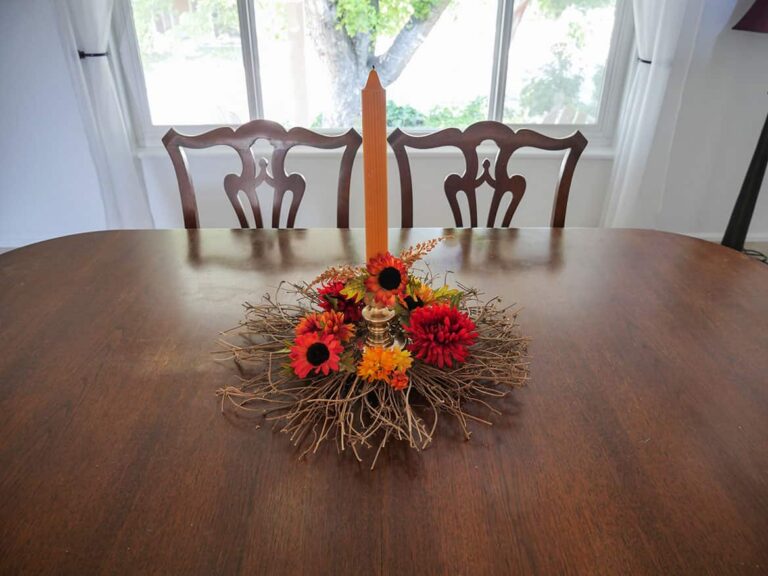
Wanna see what the napkin rings look like in a tablescape? Check out my easy Mother’s Day table setting. Pretty cute, huh!
Shop for DIY Supplies

Modeling Clay
Circle Cookie Cutters

Acrylic Paint

Pink Twine