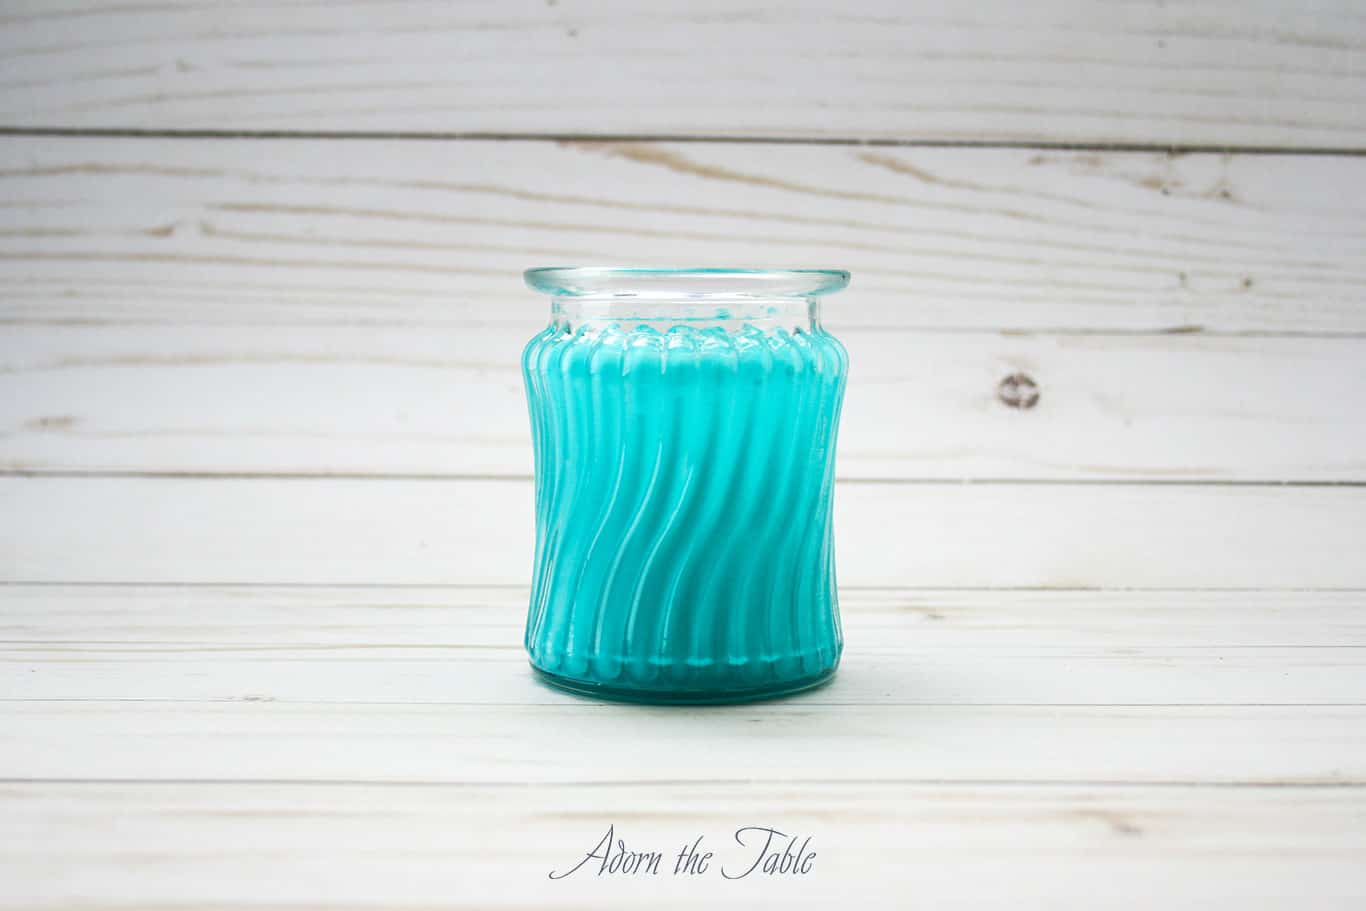
How to Tint Glass Vases Permanently
Tinting clear glass vases permanently is a fairly easy DIY process. I found it just takes a little trial and error, and time to achieve the look I desired.
You will need to use glass or enamel paint. Not the standard acrylic paint if you want it to be permanent.
Supplies for Tinting Clear Vases
Please note that this article may contain affiliate links. I may get commissions (at no cost to you) for purchases made through these links. You can read my full disclosure for more details.
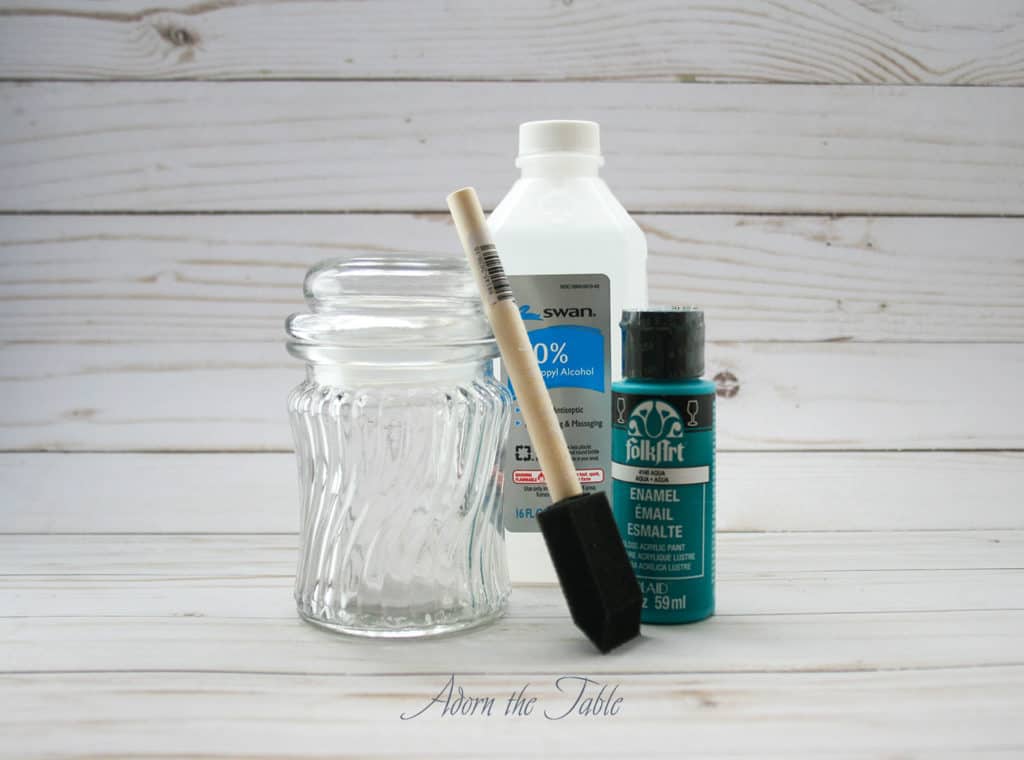
- Clear vases (I found mine at Dollar Tree)
- Thrift stores are also a great resource
- Glass or enamel paint
- Rubbing alcohol
- Brush (optional)
Prepping to Permanently Tint Glass Vase
First, clean the vase with warm water and soap. Let dry.
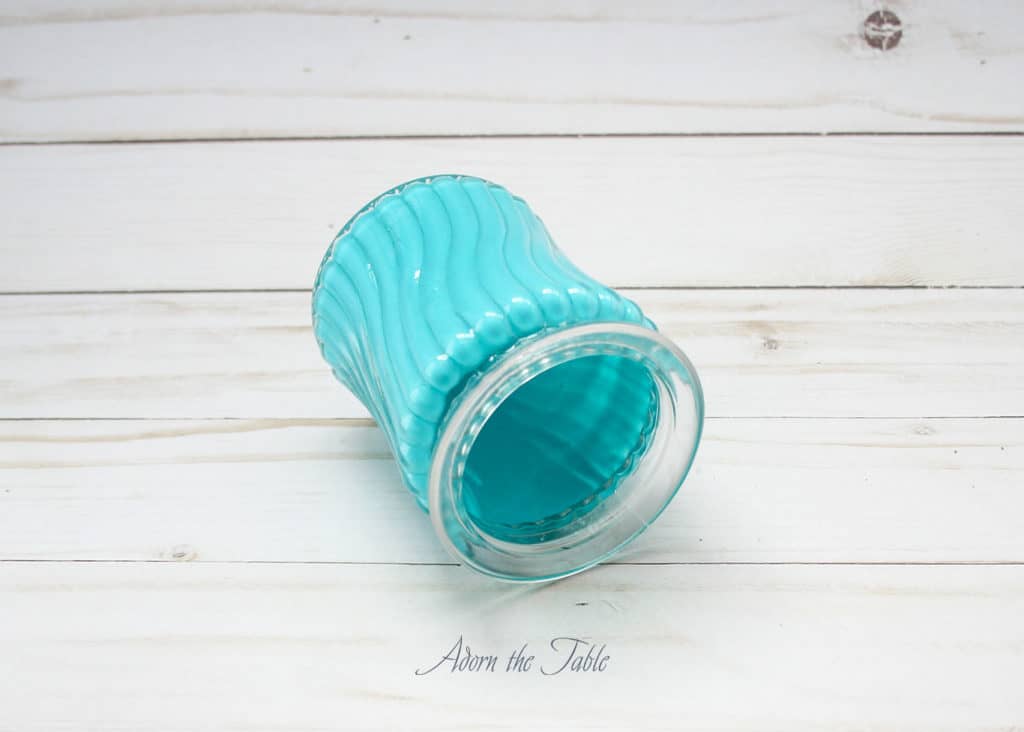
Next, pour a little rubbing alcohol into the bottom of the vase and slowly swirl it around so it touches every part of the glass.
Pour out the remaining rubbing alcohol and let dry. This will enable the paint to adhere better to the glass.
How to Tint Clear Glass Vases Permanently
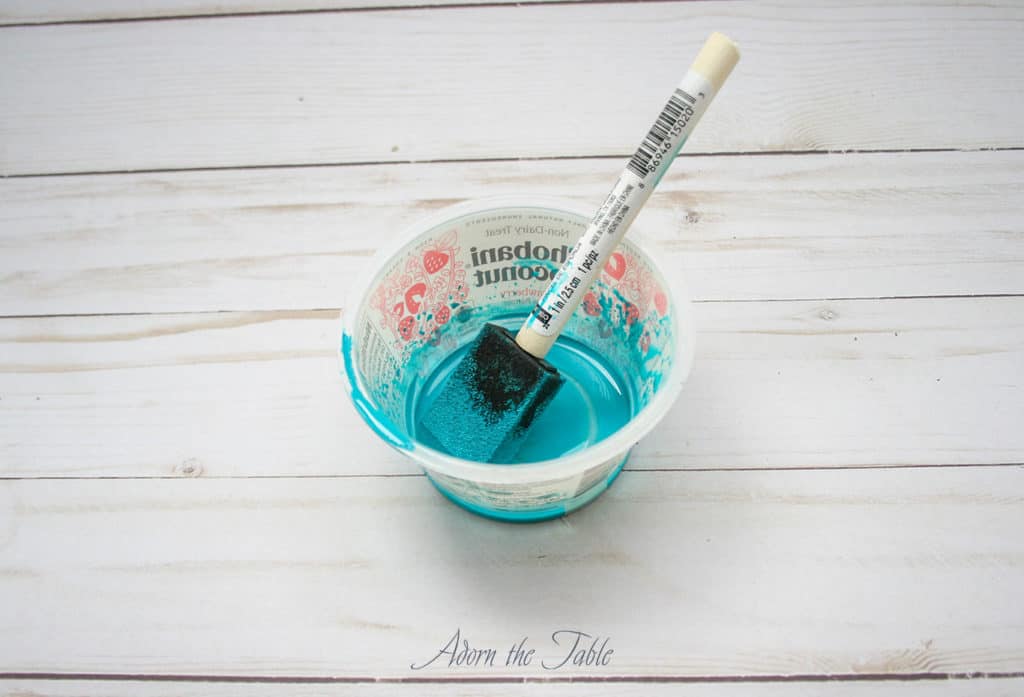
Step 1: Prep the enamel paint
Start with a small amount of paint. This will give you a good idea as to how much coverage you will get as you are working.
Pour it into a container and add a few drops of water to thin it out just a little. Stir so they are completely mixed.
You don’t want to add too much water, as it will be too thin and not adhere to the glass.
Step 2: Add the slightly watered-down paint to the inside of the glass vase.
If you are wanting to coat the whole thing, then pouring it down the side is fine. If you are wanting only the bottom half of your vase tinted, then pour it into the middle, so the paint doesn’t touch the sides.
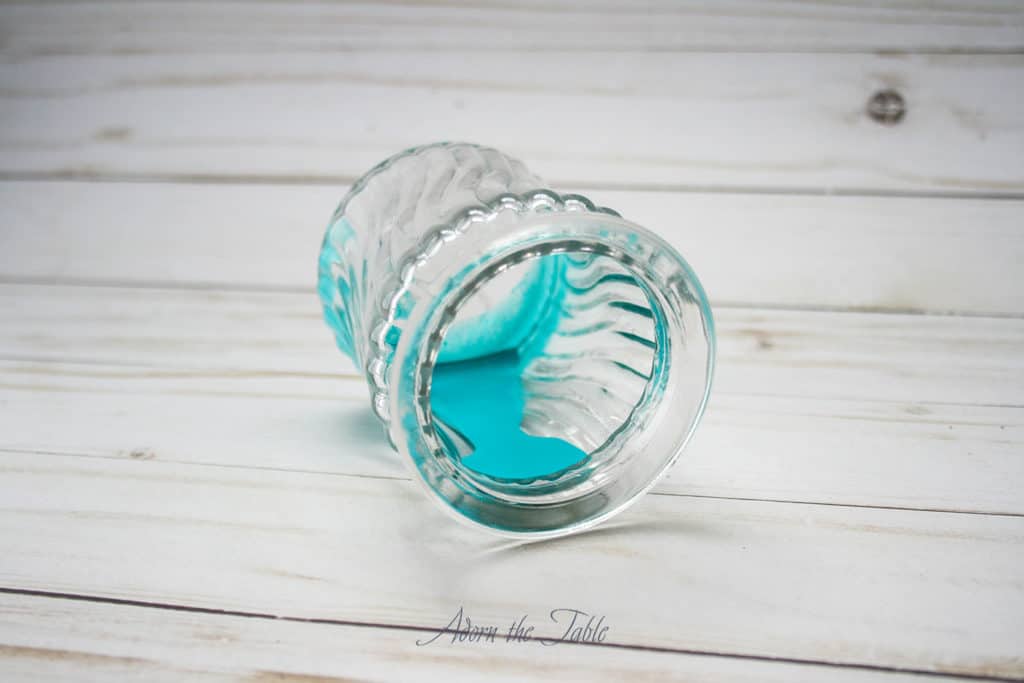
Step 3: Slightly rotate the vase so the bottom is evenly coated.
Then slowly tilt the vase as you rotate it. The paint will flow in the direction you tilt. You might need to readjust a little and tip the vase down and then up.
Finish rotating the vase, so that all the glass is coated.
Add small amounts of paint, if needed. Just try not to have a puddle of paint on the bottom when you are done.
Step 4: Once the whole vase is coated in paint, pour out the excess paint.
You can either leave the vase upright or turn it upside down, to allow any excess paint to slide down.
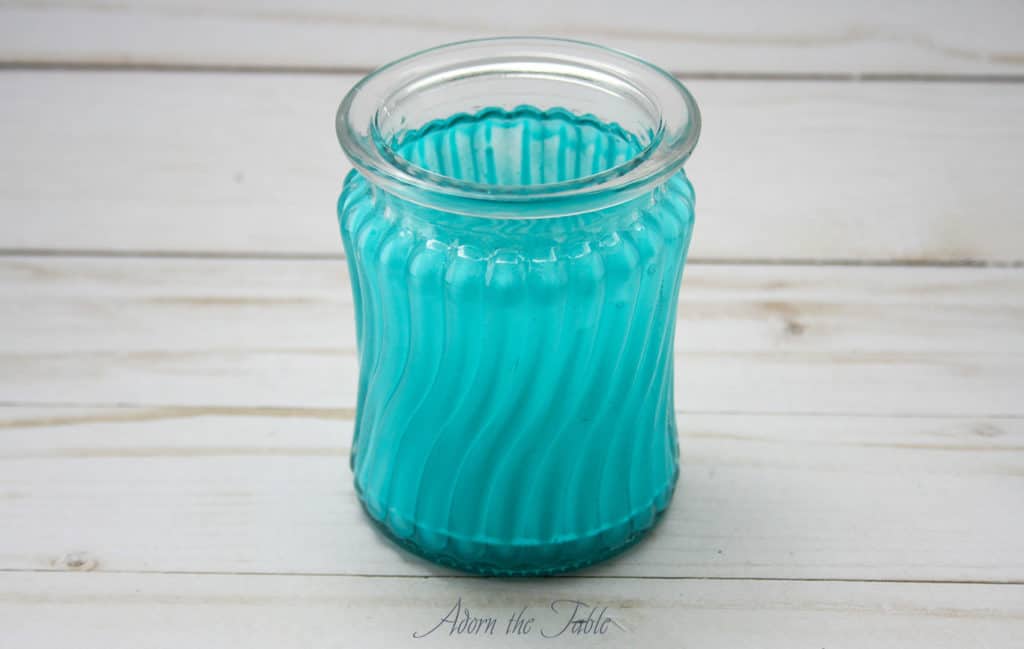
I’m not a fan of turning the vase upside down, as I found that the paint streaked or was a heavier tint in sections, since it wasn’t uniform, and I had less control.
*Note: I also found that baking the vases as soon as they looked the way I preferred, ensured that they were tinted evenly, as the curing process started right away.
Making the Tint Permanent on the Vase
(instructions are also on the paint bottle)
Option 1 = Baking
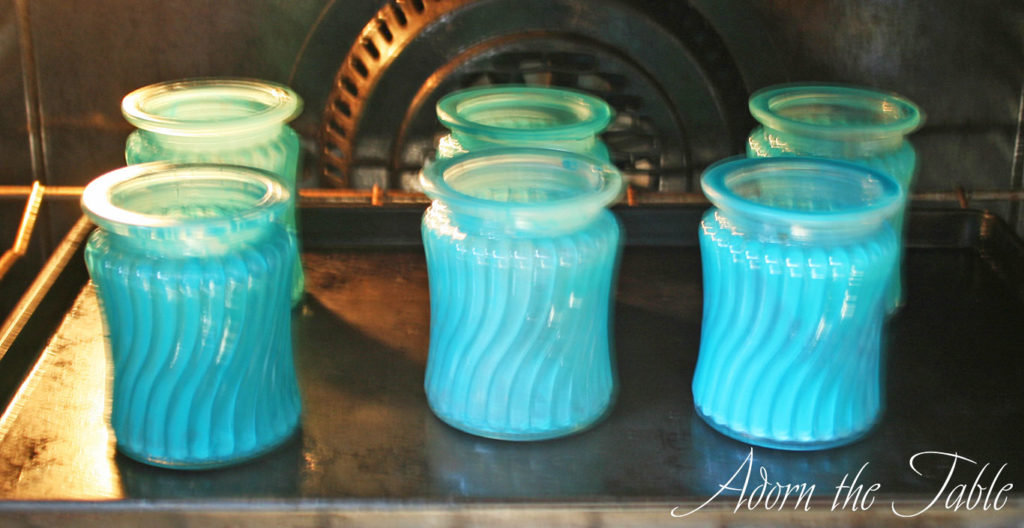
After the vases are completely coated. Put them on a cookie sheet and into a cold oven.
Don’t preheat the oven!
Now turn the oven on to 350 degrees and bake your vases for 30 minutes. Once the 30 minutes is up, turn the oven off and leave the vases inside to cool.
Option 2 = No Baking
When using enamel or glass paint, you don’t have to bake the glass to make it permanent.
You can leave the paint on the vase for 21 days and it will become permanent on its own.
Just don’t put any water in or on the vase, as it will remove or damage the paint since it isn’t completely cured.
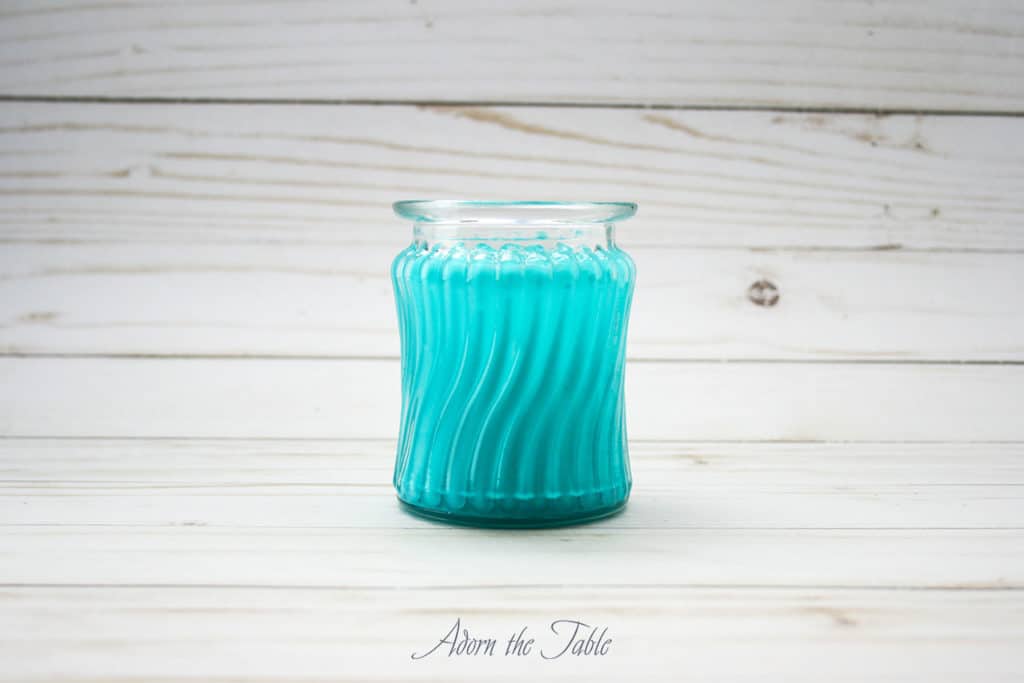
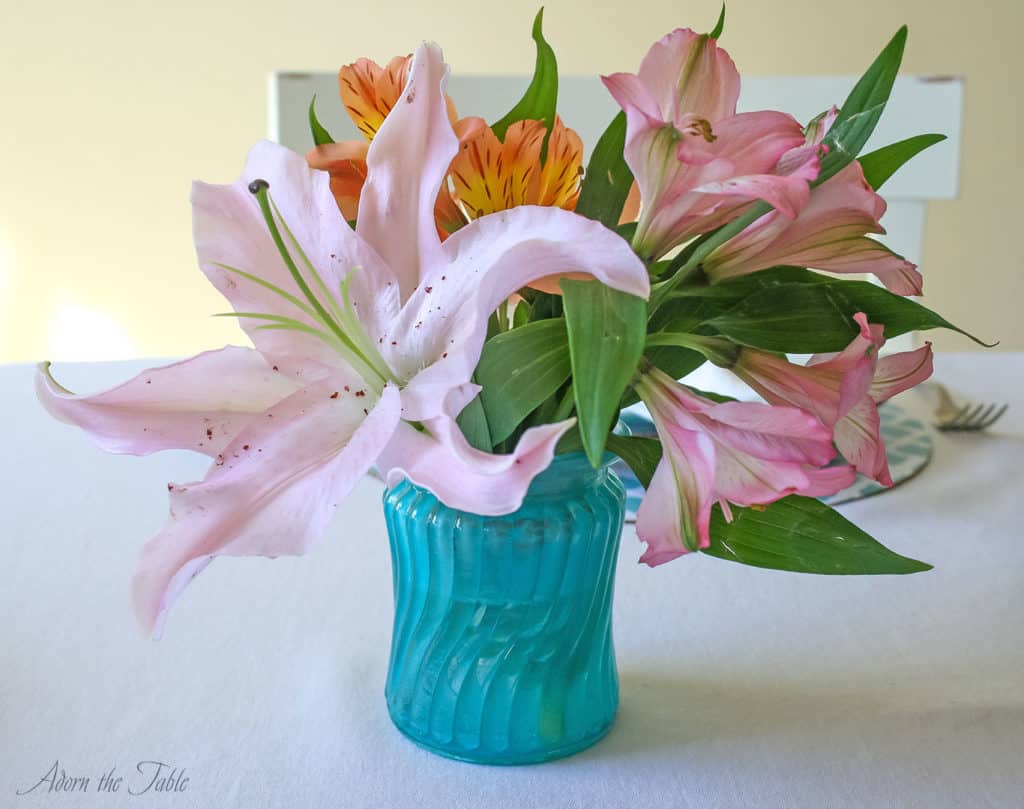
Fini! Your glass vases are now permanently tinted. Aren’t they awesome! Now go grab more clear vases and start tinting, lol!
*Note: if you feel you mess up, just rinse out the vase and restart. The enamel paint won’t become permanent until it is baked onto the glass, or you let it sit for 3 weeks.
Shop the diy supplies


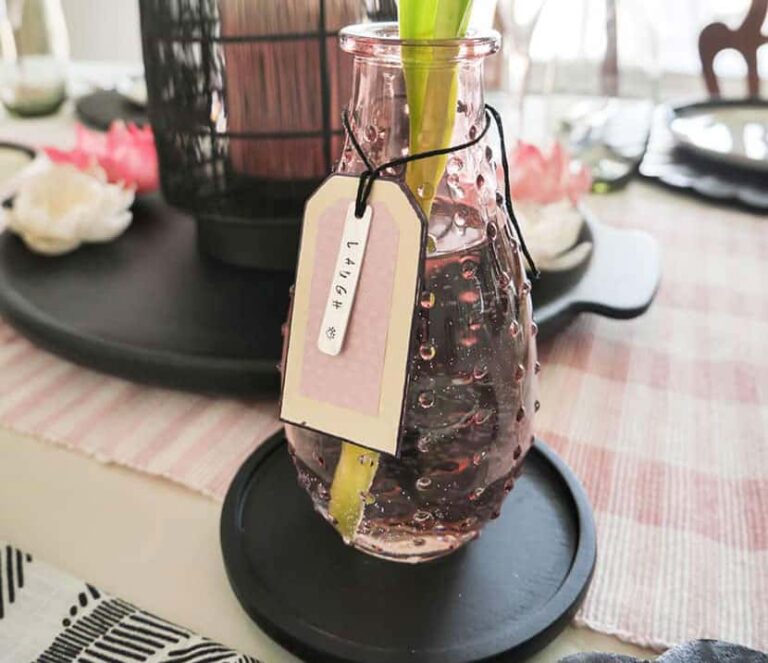
Will this glass be solidly colored or see thru?
It depends on how thick, and how many coats you apply, but it will mostly be see-thru.