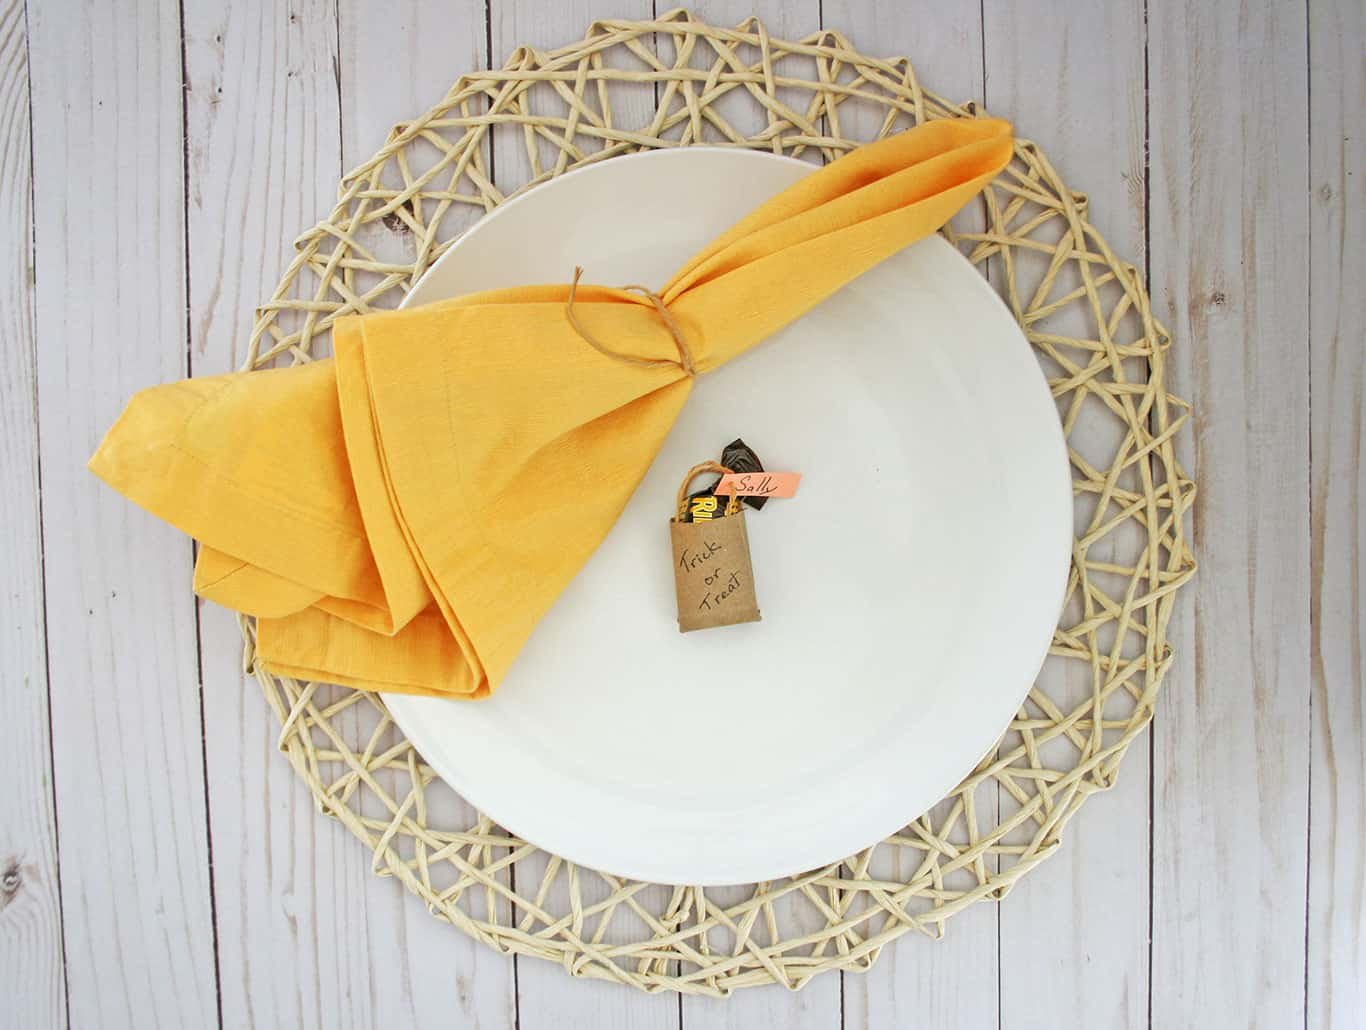
Trick or treating at Halloween is a must during childhood. This one is too small for that, but it is a perfect trick-or-treat paper bag diy to make as a place card holder on your Halloween table setting.
I love how small it is.
It’s great for holding just a piece or two of candy. Exactly what an adult needs (though we might want a lot more, lol!).
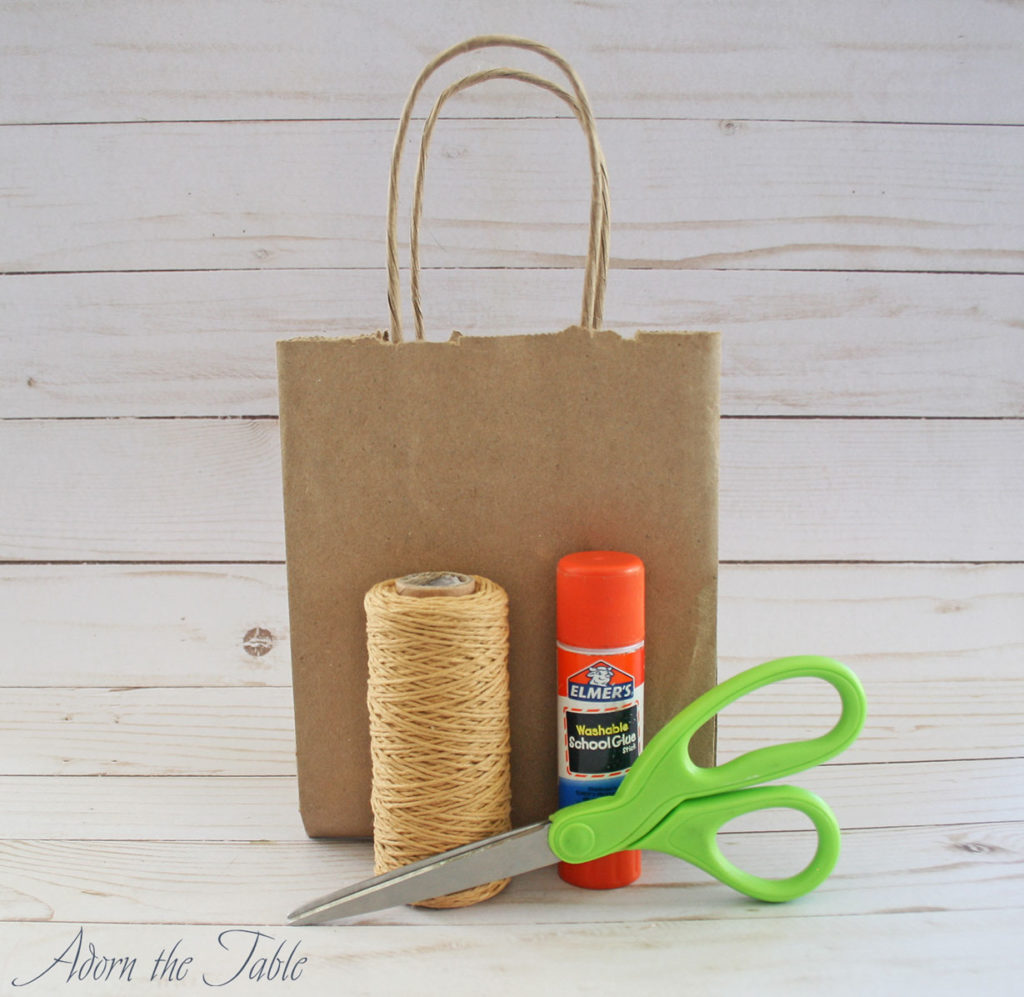
Supplies for Halloween Trick or Treat Paper Bag DIY
Please note that this article may contain affiliate links. I may get commissions (at no cost to you) for purchases made through these links. You can read my full disclosure for more details.
- Paper bag (recycle one from the store or restaurant)
- Jute twine
- Scissors, Glue & Marker
How to make a small Halloween diy Trick or Treat bag out of paper
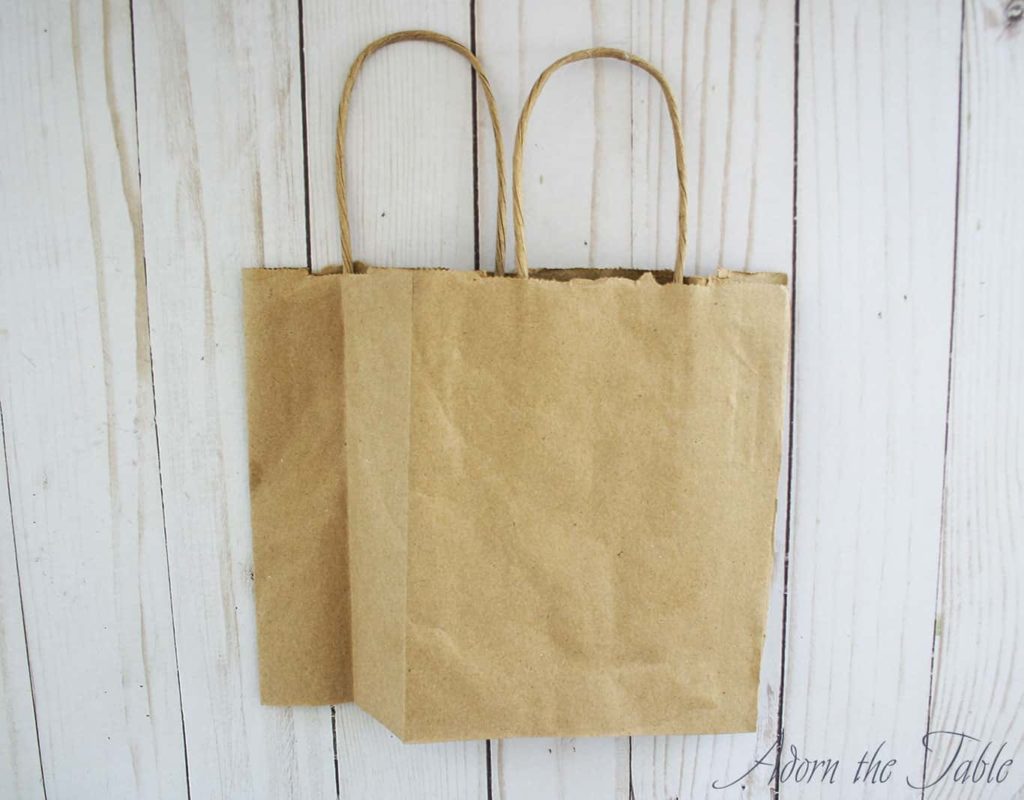
Step 1: Paper for diy Trick or Treat bag
There’s no need to go buy paper for this Halloween trick or treat bag diy project. Just use a paper bag from the grocery store, or one that you brought food home from a restaurant.
The natural paper bag color is perfect for this place card holder Halloween Trick or Treat bag.
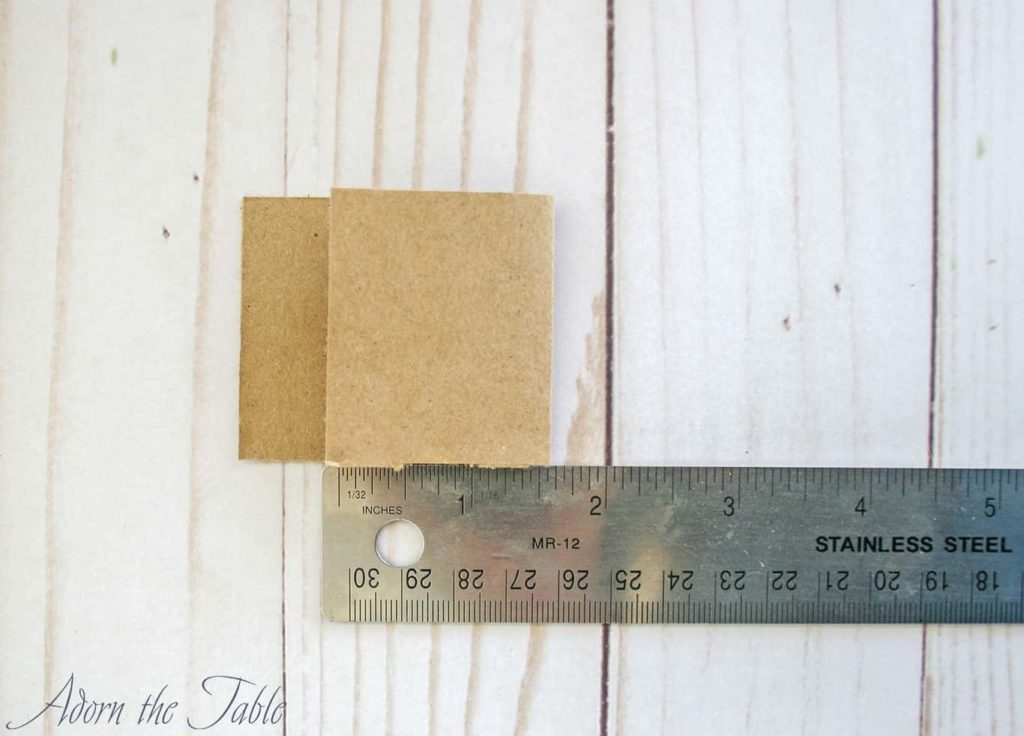
First, cut down one side and cut out the bottom of the bag.
Next measure and cut a 2” X 4” piece from the bag.
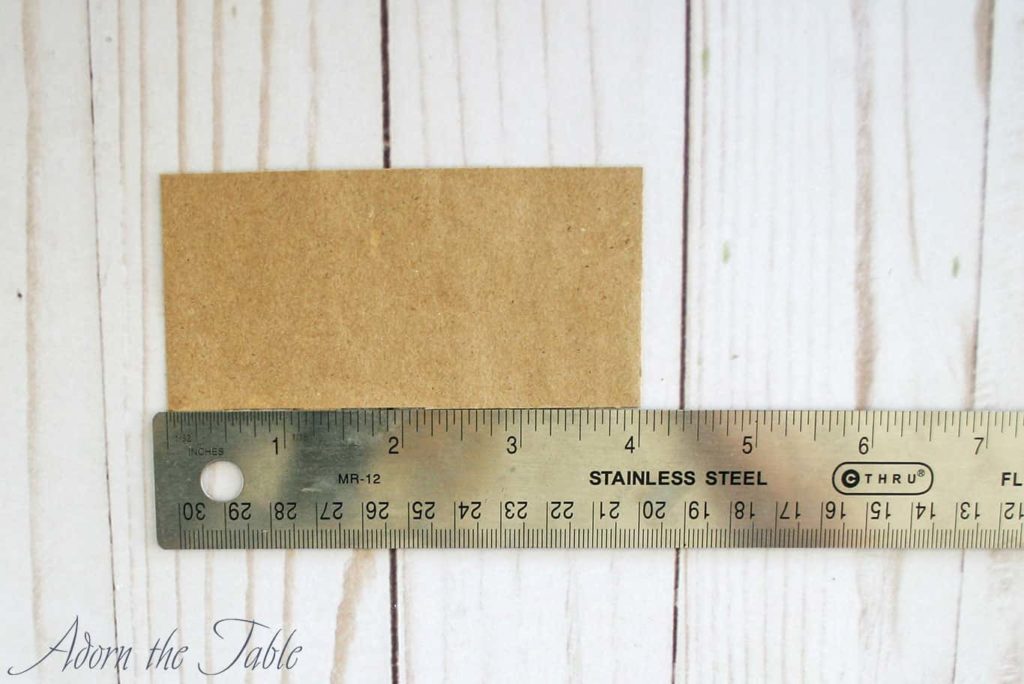
If you would like a larger trick or treat bag, increase the size of the paper piece.
Step 2: Fold paper to make a Trick or Treat bag
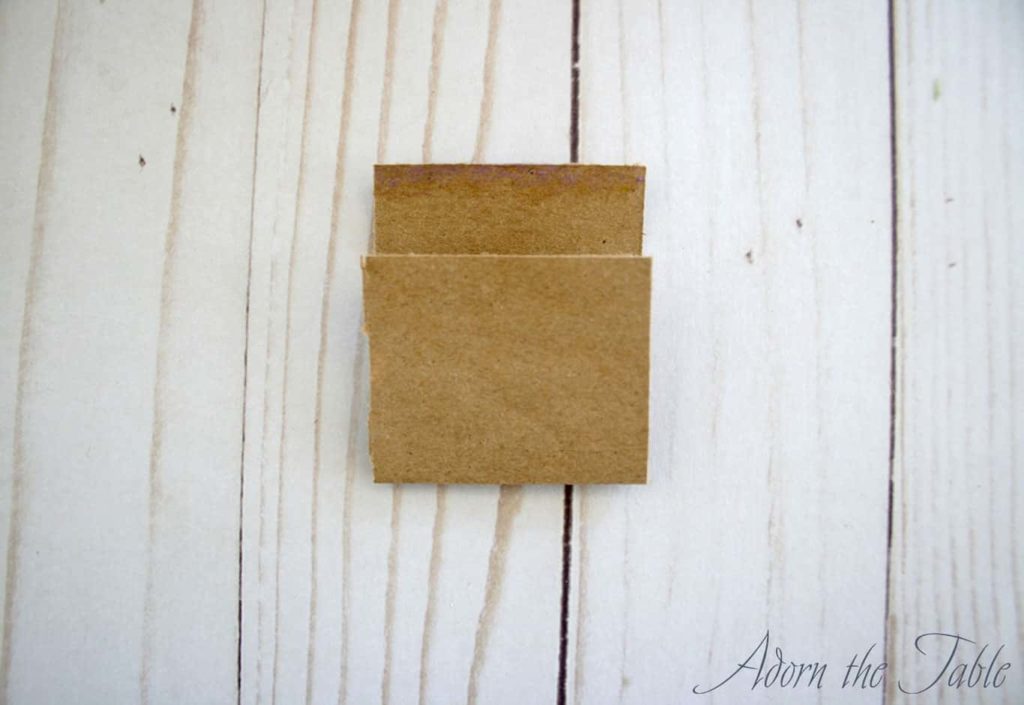
To create the bag, there is a series of folds and gluing. These instructions are based on using a 2” x 4” piece of paper.
First, on the long side, make a fold at 1.5”.
Fold over the other side and glue down.
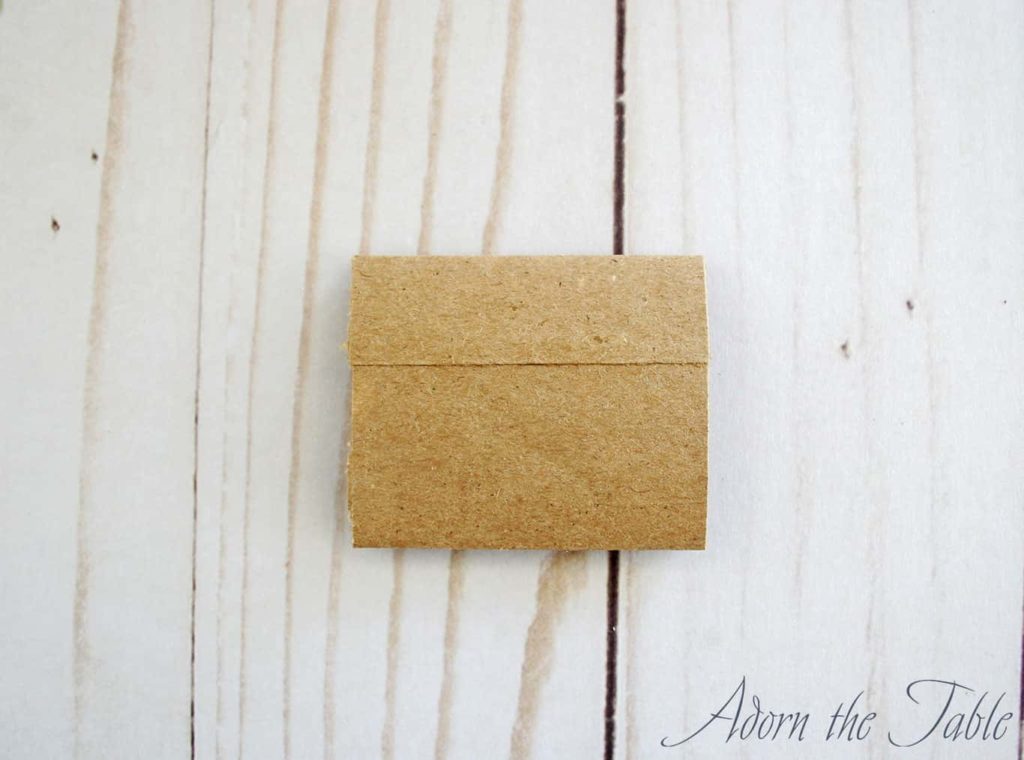
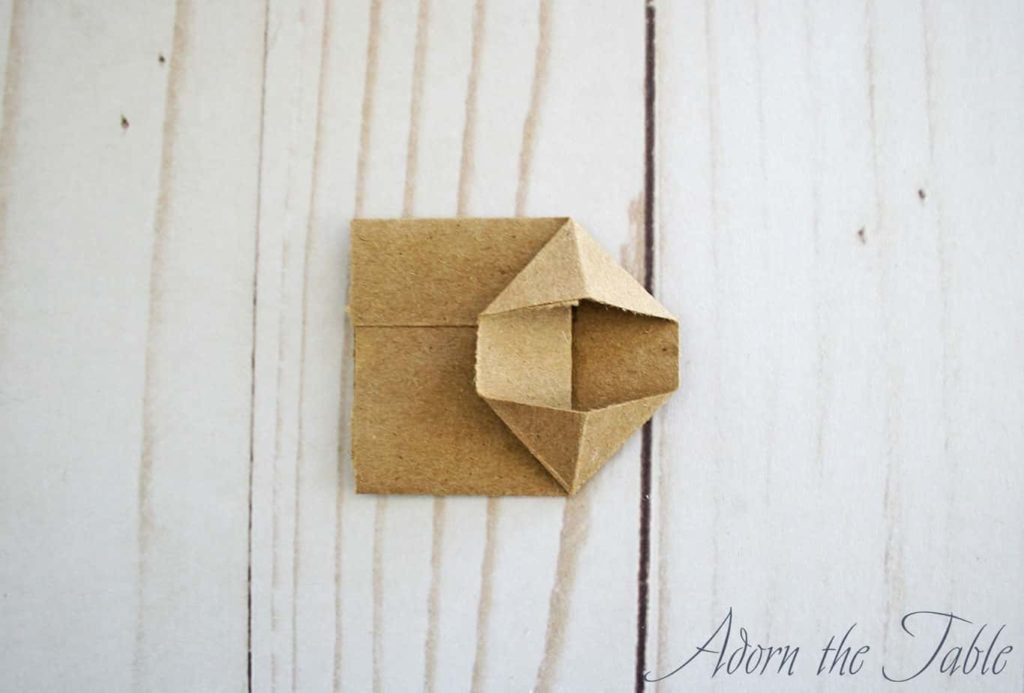
Then fold up one of the open sides 1/2”.
Take each of the open corner edges and fold it at an angle to the new fold.

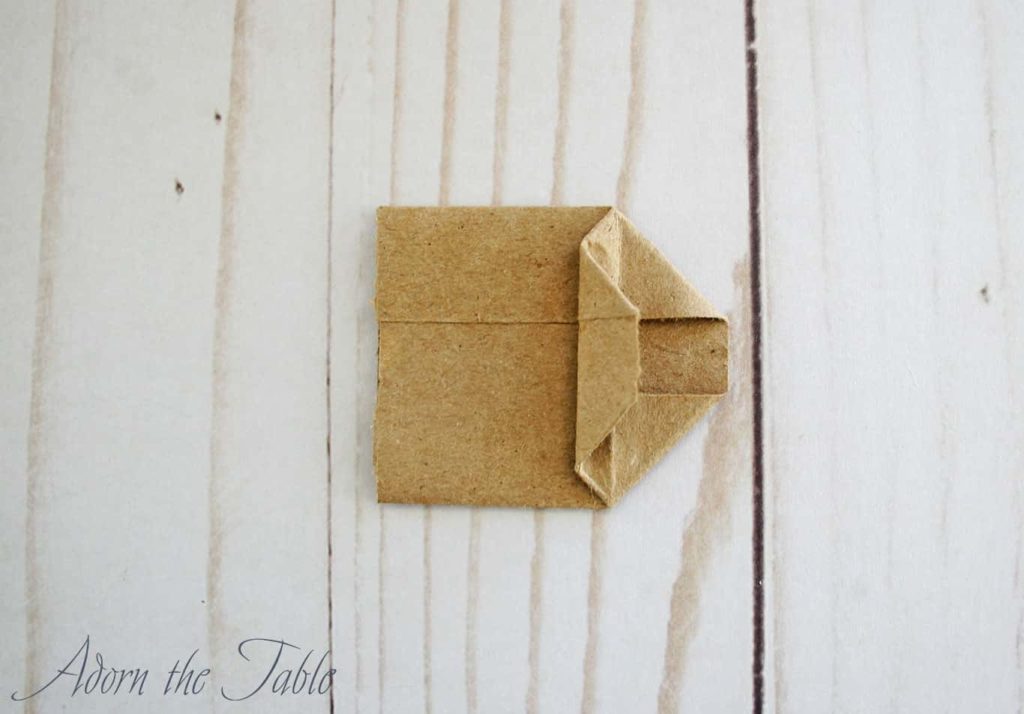
Next, open the two corner folds and smooth them down.
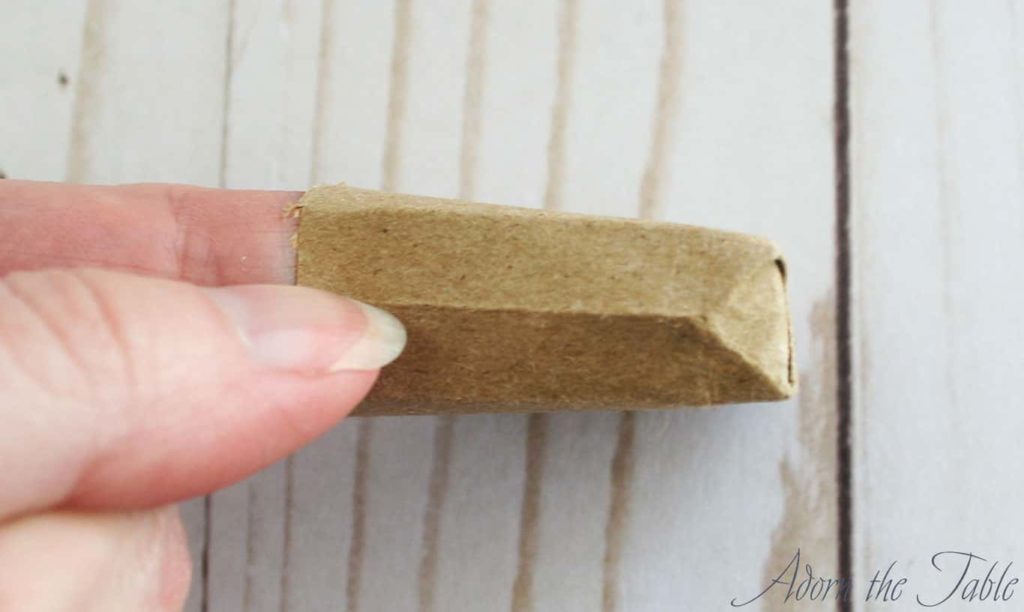
Now fold one of the ends toward the other end, about 2/3 of the way. Fold the other end over that end and glue it down.
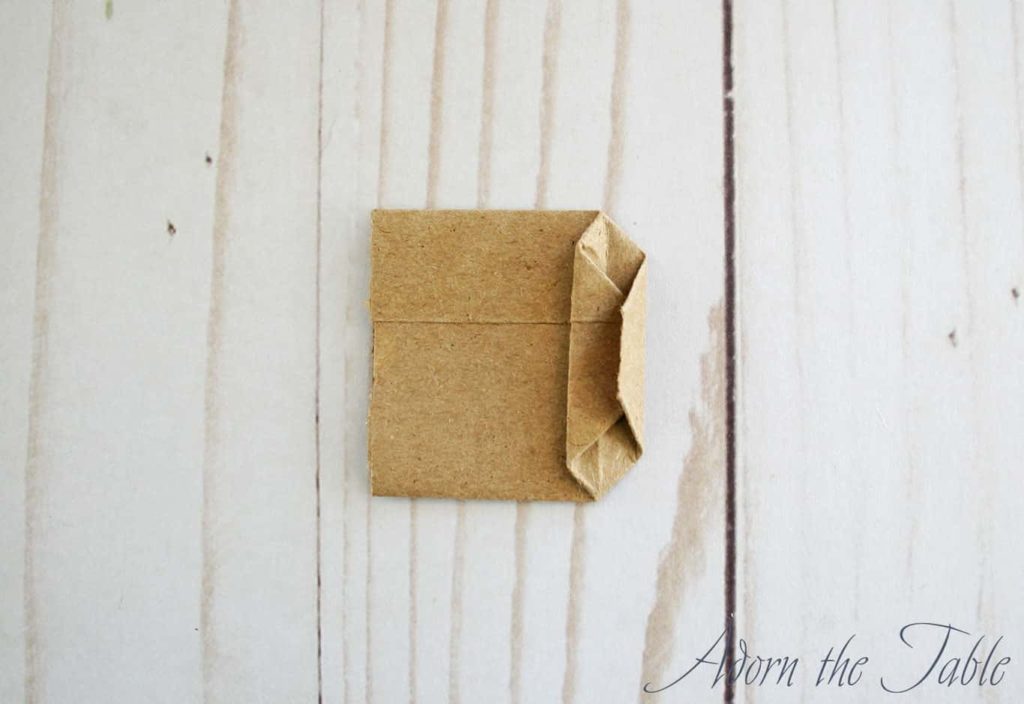
This is the bottom of your diy trick-or-treat paper bag.
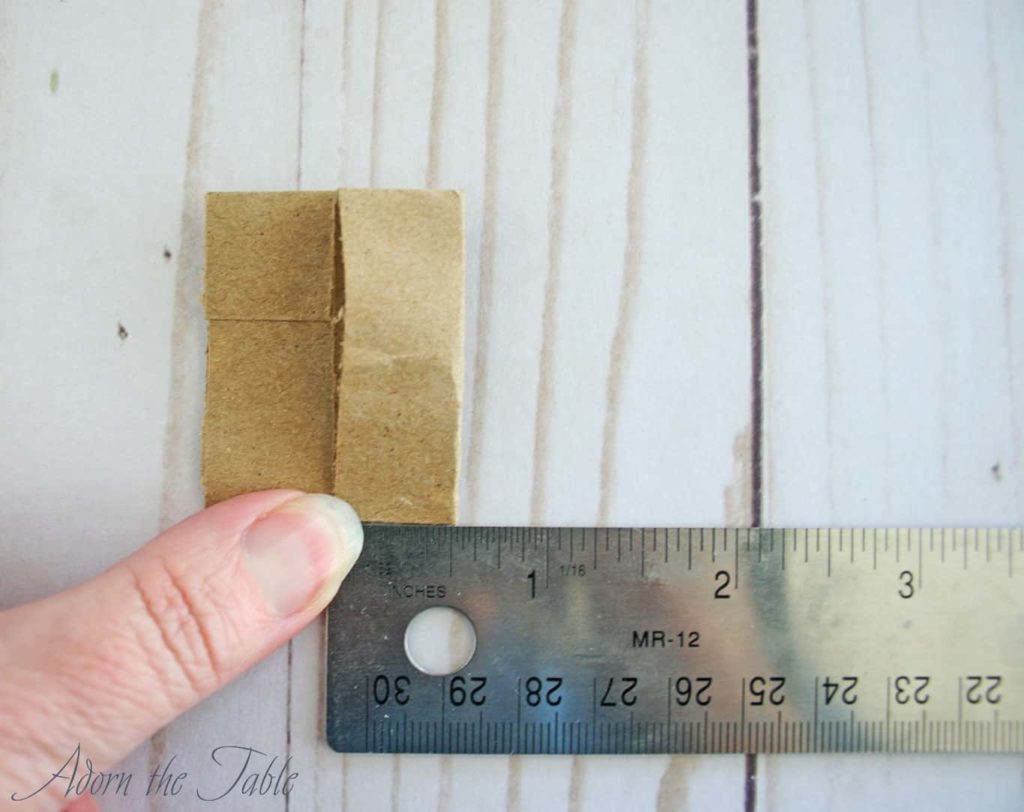
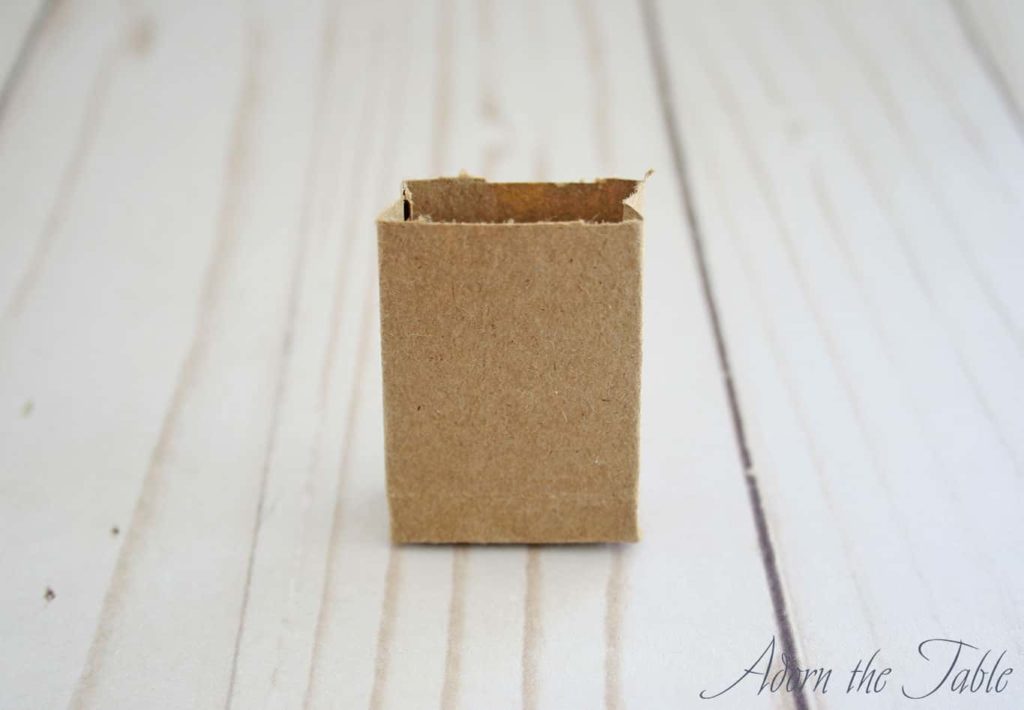
To create the sides of your bag, fold the sides up at the edges of the bottom.
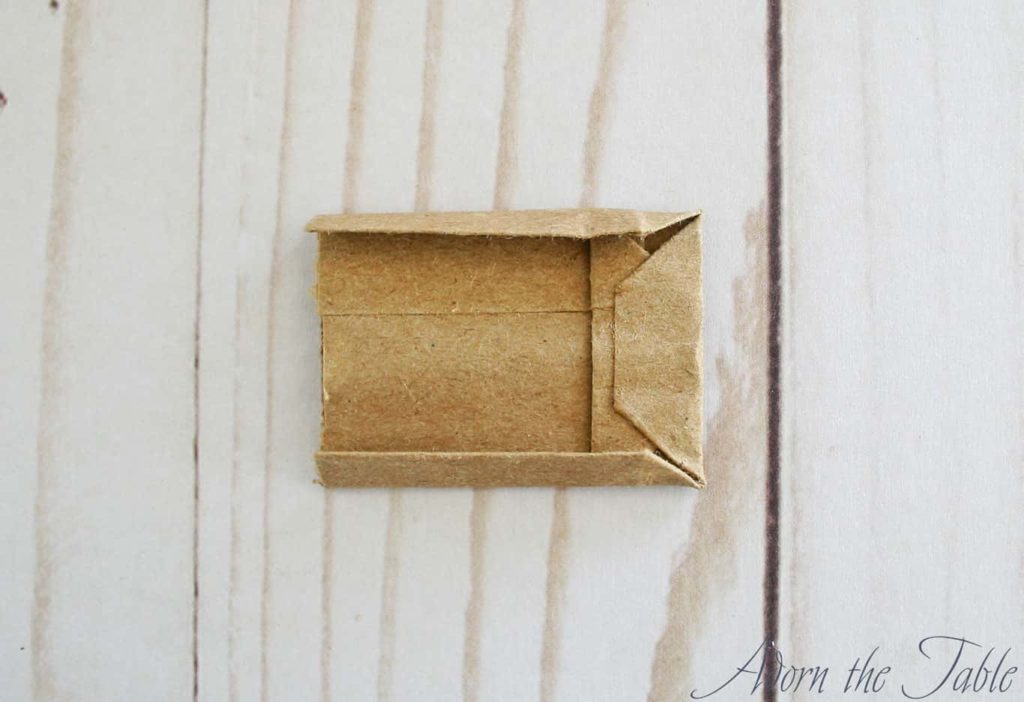
Then open your new paper bag and using your finger, carefully push the bottom down and crease the sides. This will form a flat base for your bag.
Step 3: Finalizing your paper trick-or-treat bag for Halloween
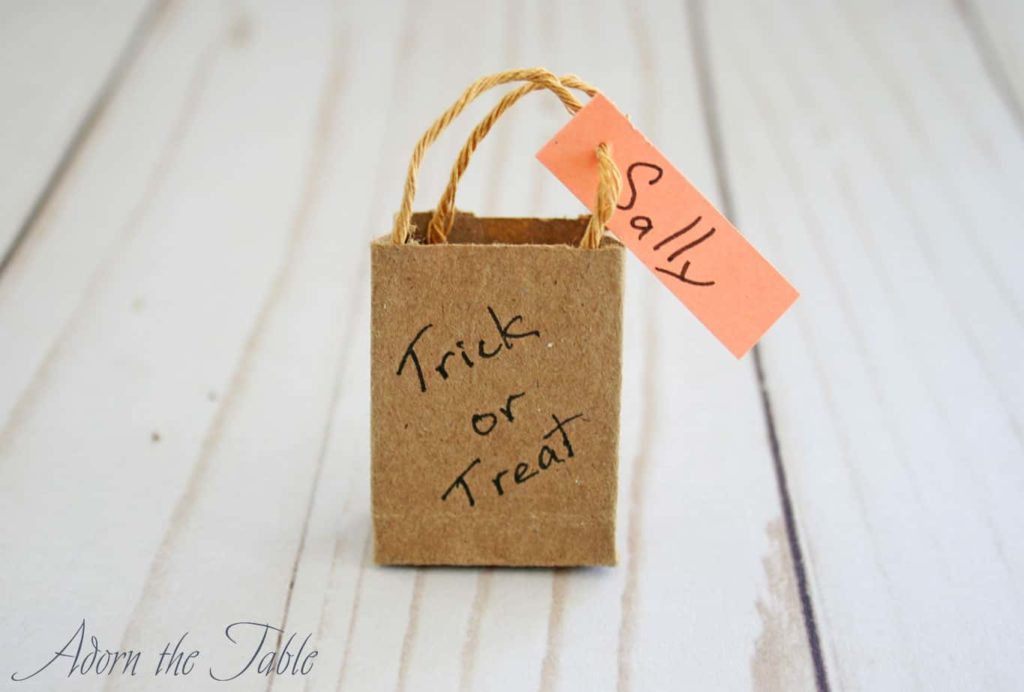
To add handles to your bag, cut two 3” pieces of twine. Glue each end inside the diy paper bag.

Write “trick or treat” on your Halloween bag.
*To use it as a place holder on your Halloween table setting. Add a small name tag to the handle, before gluing it in place. Then add a piece of candy or two inside the bag.
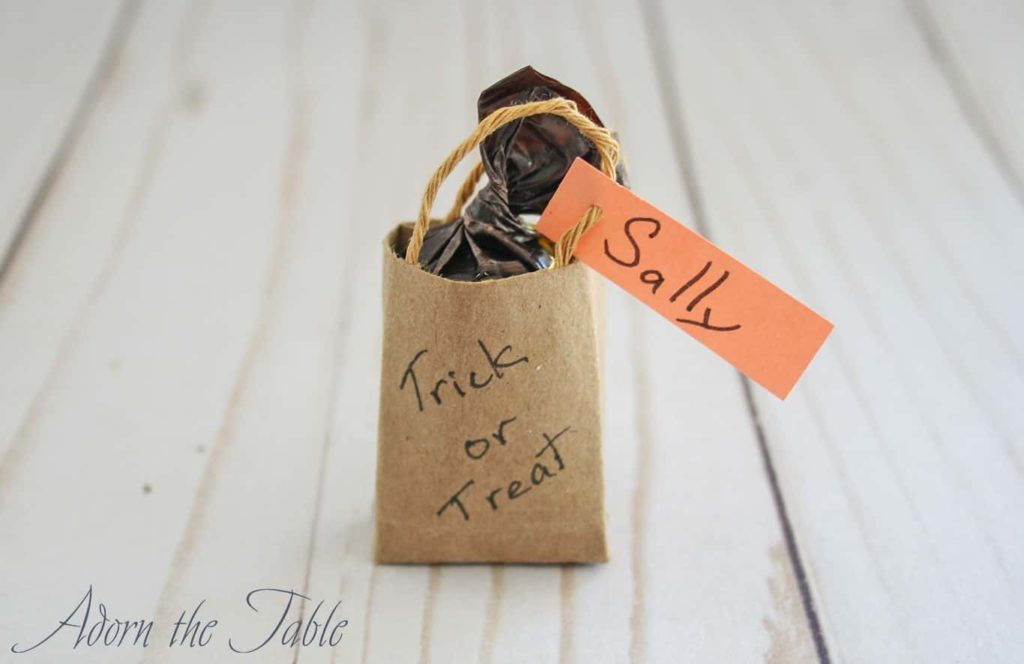
Isn’t it fun! Your guests will love the treat in their small Halloween trick or treat paper bag.
Check out how cute it is as part of a place setting.
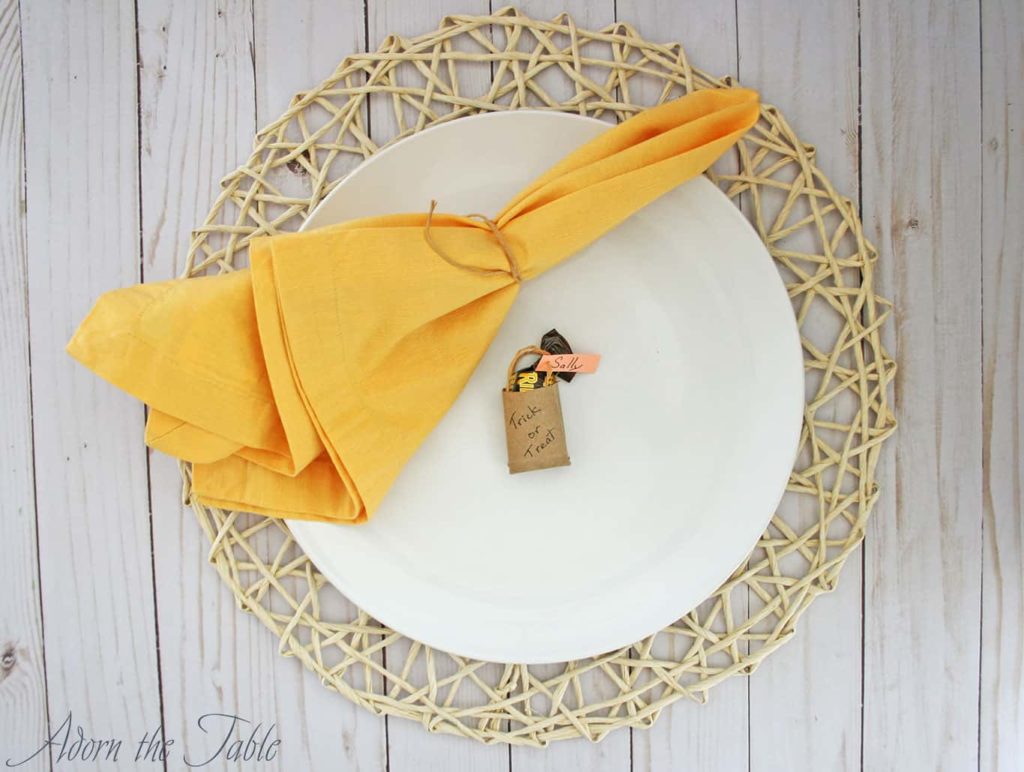
Sweet!
And so cheap to make – bonus!
Happy Trick-or-Treating, lol!!
Shop for DIY Supplies
Jute Twine

Scissors
Check out other easy Halloween DIY projects
- Cheesecloth Ghost Place Card Holder
- Witch’s Broomstick Place Card Holder
- Pom Pom Spider
- Spider Place Card Holder
- Large Fake Spider