These cute and easy personalized hanging tags are a great diy project for any time of year.
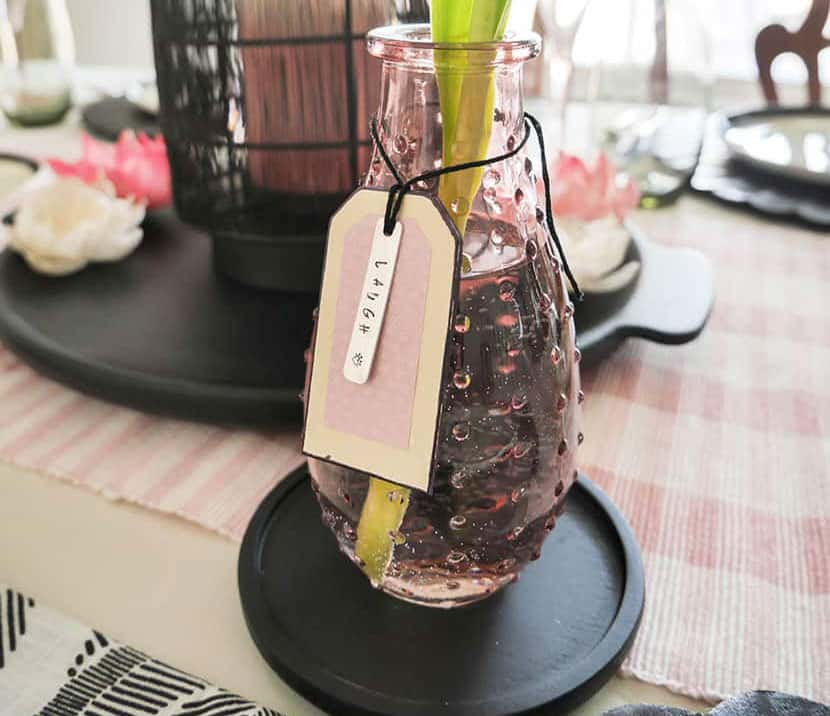
I recently made them for a Galentine’s Day table setting, as I wanted to create a special gift each girlfriend could take home. These custom hang tags were the perfect option.
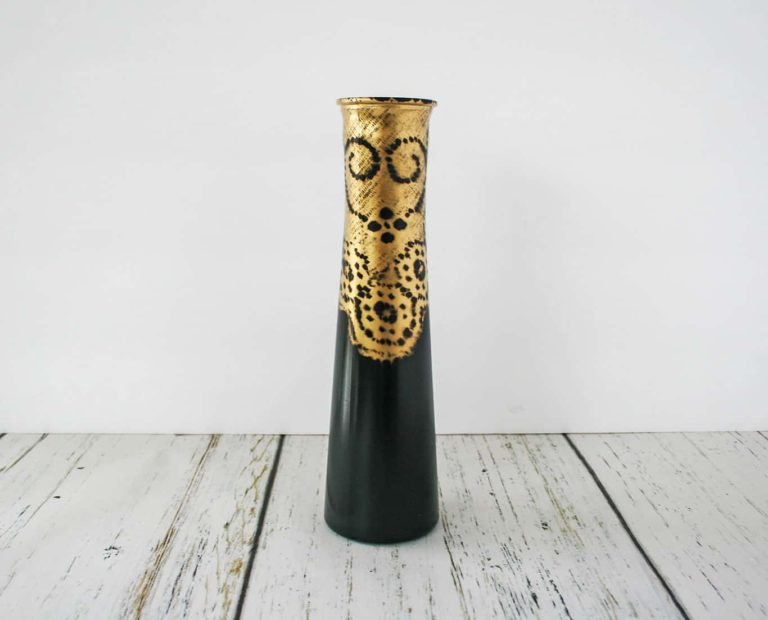
That’s because I was placing a charming bud vase next to each guest and I wanted something to go around the vase. Something that would be special and unique.
Customized hanging tags were the answer. Especially since I could create them to match the colors I was using on the table, and I could decide what the tags would say.
Which is why creating personalized hanging tags makes sense. The totally custom factor.
Plus, they’re SO EASY to make!
You’ve gotta see and make some, too.
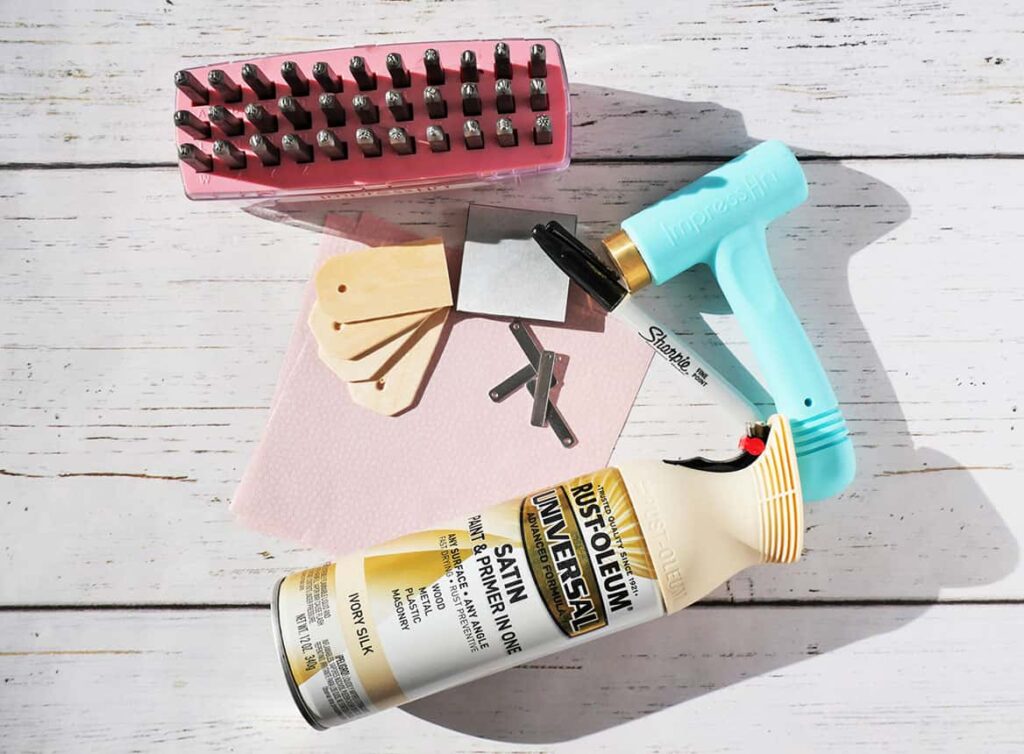
Supplies for Making Cute & Easy Personalized Hanging Tags
Please note that this article may contain affiliate links. I may get commissions (at no cost to you) for purchases made through these links. You can read my full disclosure for more details.
- Wood tags
- Spray or acrylic paint
- Black marker
- Colored paper
- Hole punch
- Rectangular stamping blank
- Stamping block
- Soft steel hammer
- Letter stamps
- Scissors, embroidery floss or twine, & glue
How to Make Custom Hang Tags
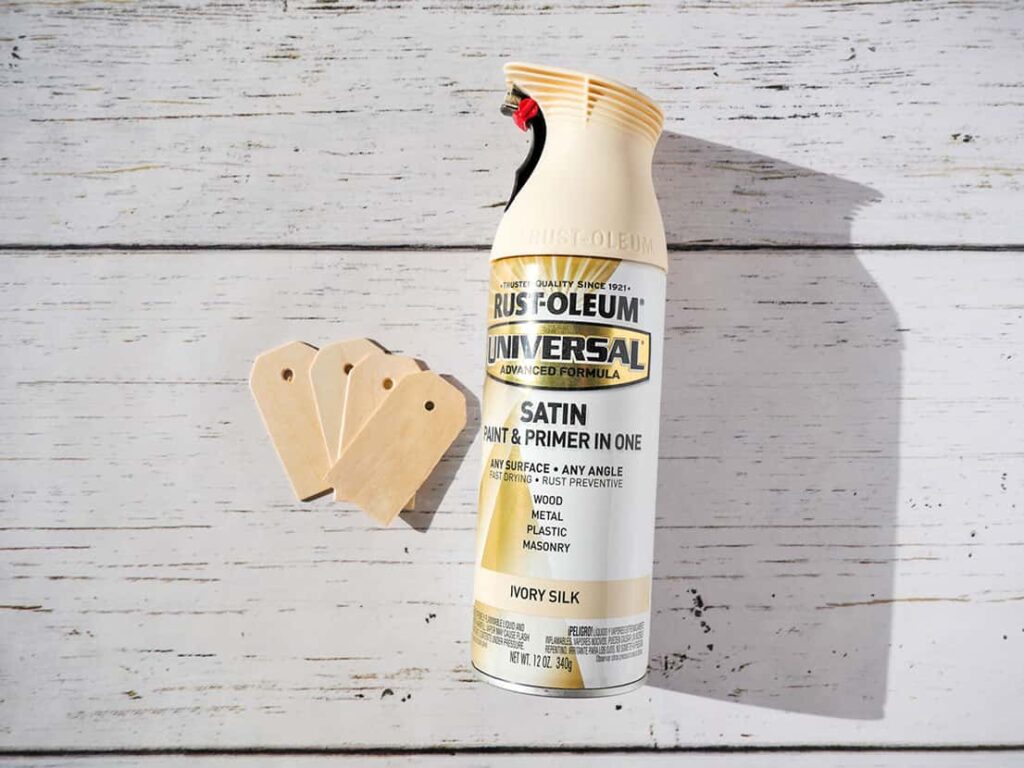
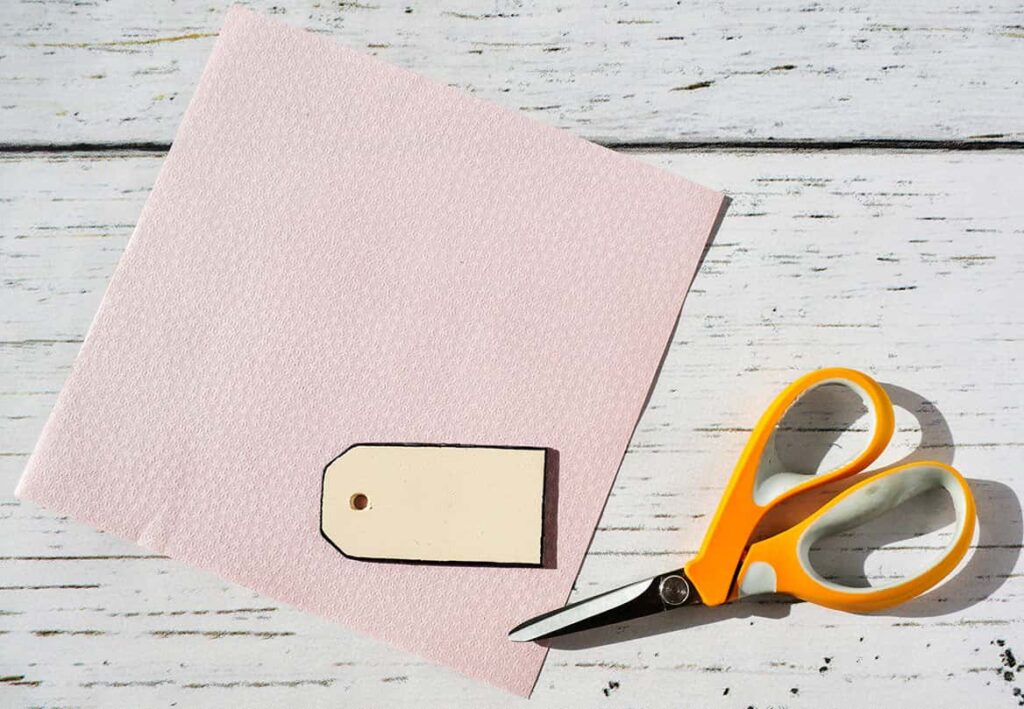
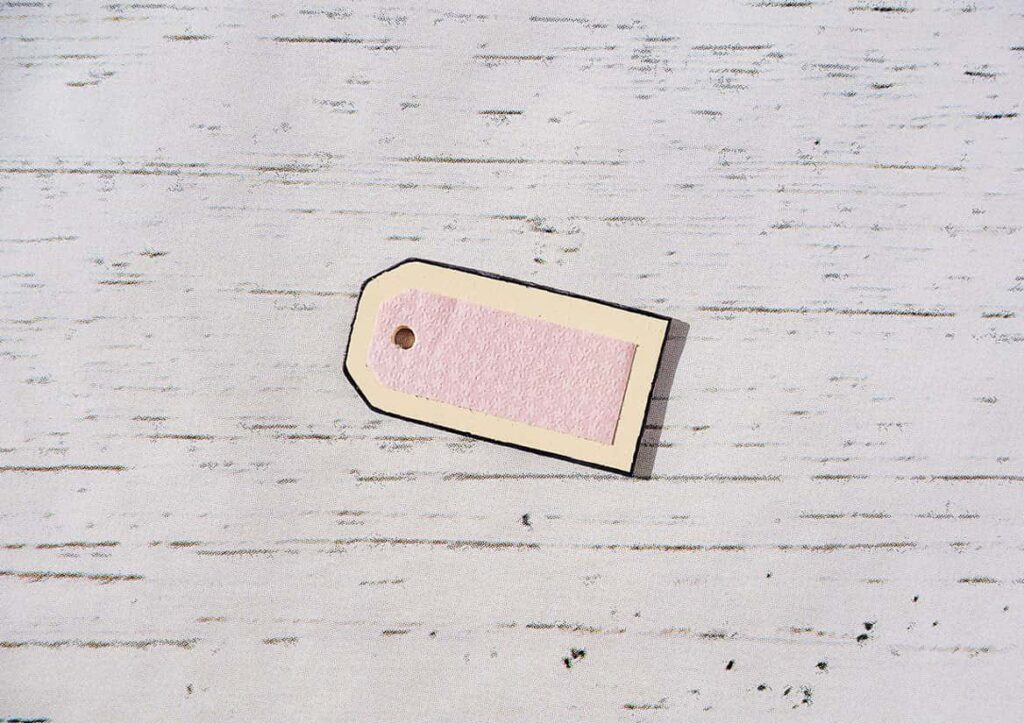
Step 1: Start with wooden hang tags
First, paint your wooden hang tags. I preferred spray painting my tags as it provided a smooth polished look. When I tried using acrylic craft paint I wasn’t thrilled with the result.
Be sure and paint both sides of your hang tags.
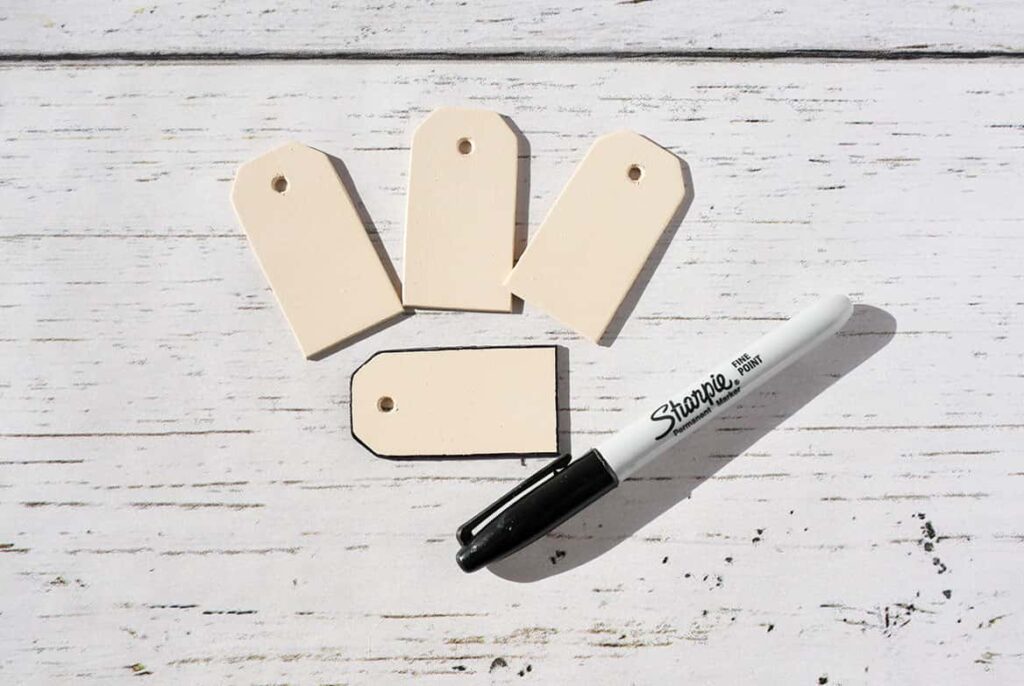
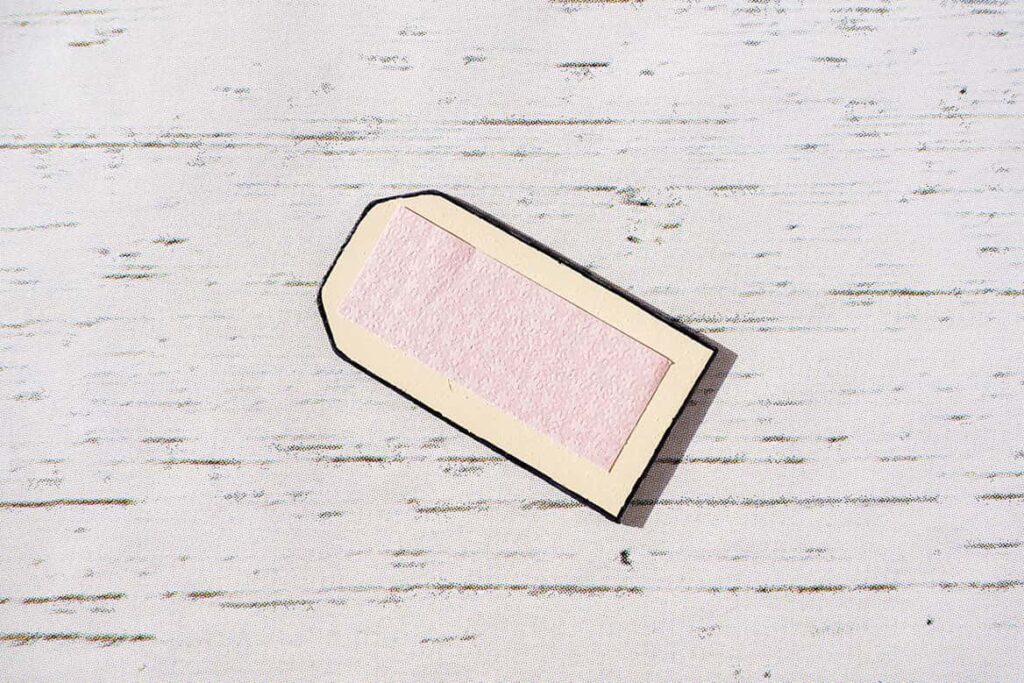
Once the tags are dry, take a permanent black marker and color the edges of the tag. Then carefully draw a line around the top edge of the tag. This will add dimension to your simple diy hang tags.
Next, cut a piece of paper about 1/8 of an inch smaller (on all sides) than your wooden hang tag.
Center it on your tag and flip them over together. Don’t glue them yet.
Then take a pencil and mark the hang tag hole on the back of the paper.
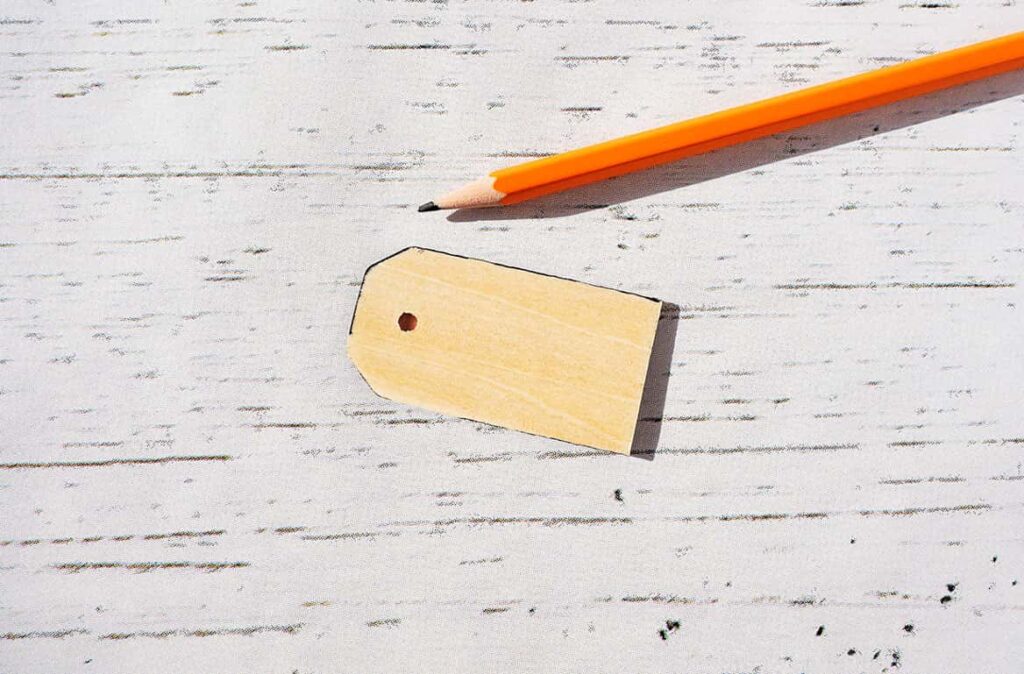
Punch the hole.
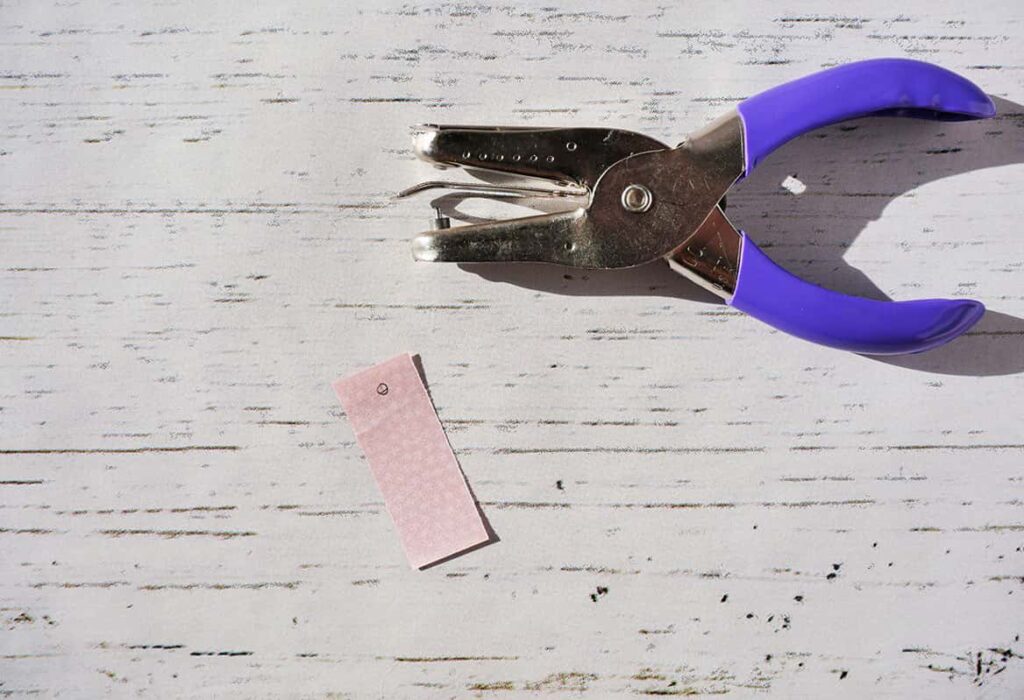
Now place the paper on the tag, line up the holes, and trim the top edges of the paper to line up with your wooden tag.
Glue the paper onto the tag.
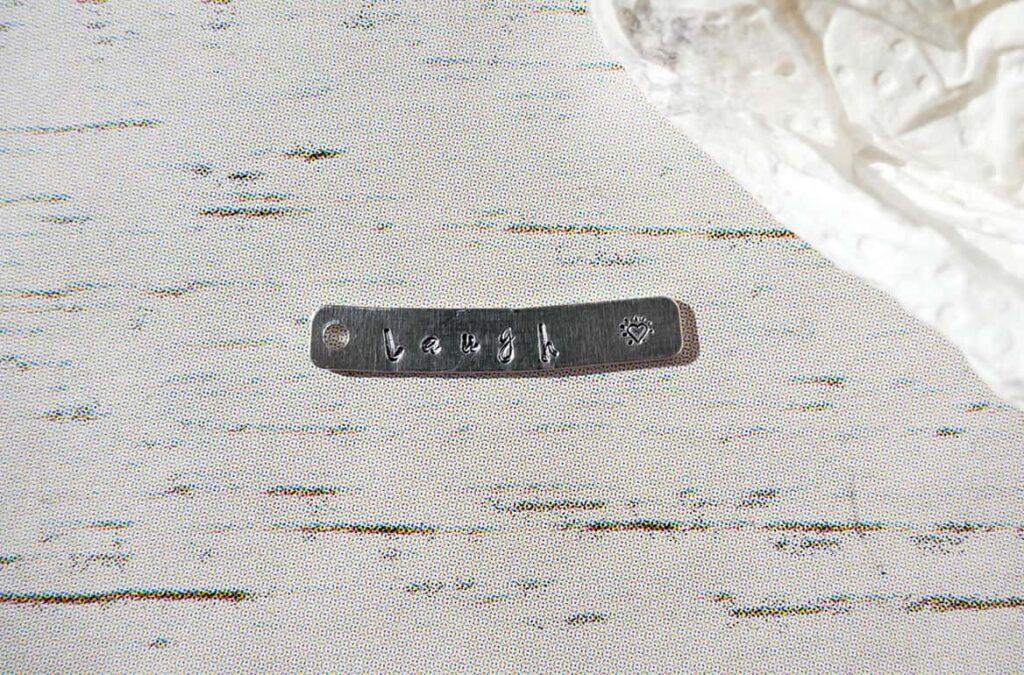
Step 2: Create the personalized metal tag
To create your personalized metal tag, select the metal blank and decide on the word or name you want on the tag.
Line up the letter stamps and make sure your word will fit onto the blank. You’ll need to take into account that the letter punches are wider than the letters themselves.

*I find it’s good to have a test blank that you can work with before starting on your final blanks.
Start with the first letter to the left and center it in the width of your rectangular blank. Hit the letter stamp with enough force to punch into the blank, but not too hard to bend the metal. (That’s why it’s a good idea to have a test piece to get the feel of how hard to hit the stamp.)
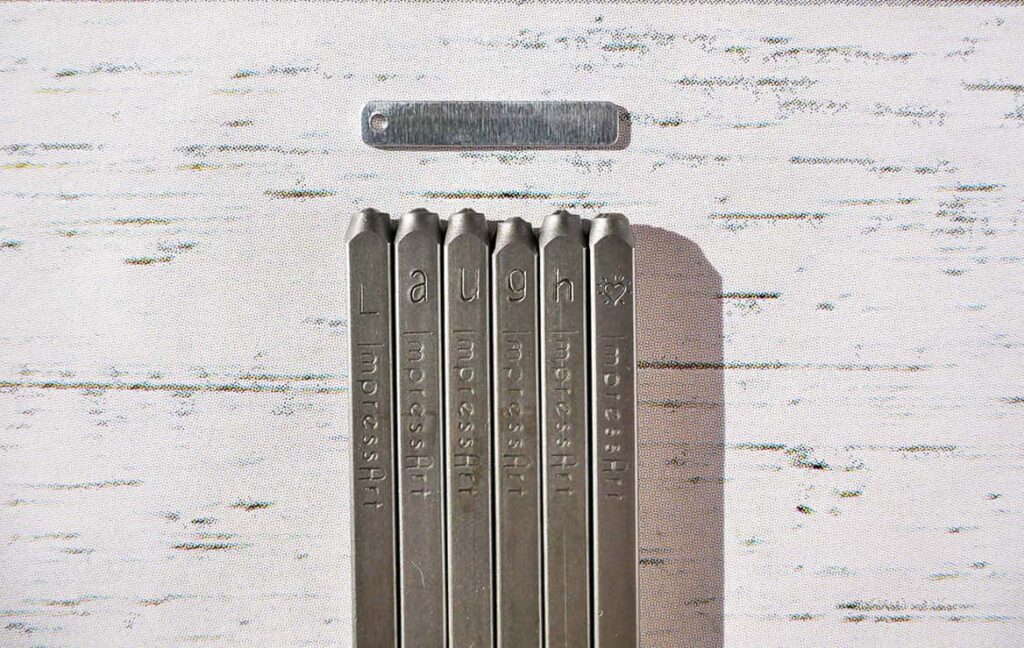
Then add the second letter close to the first one, and continue until your whole word (or name) is complete.
If you want, add a symbol or other fun shape at the end of your metal blank.
After you’ve completed punching your metal blank, grab a black Sharpie pen.
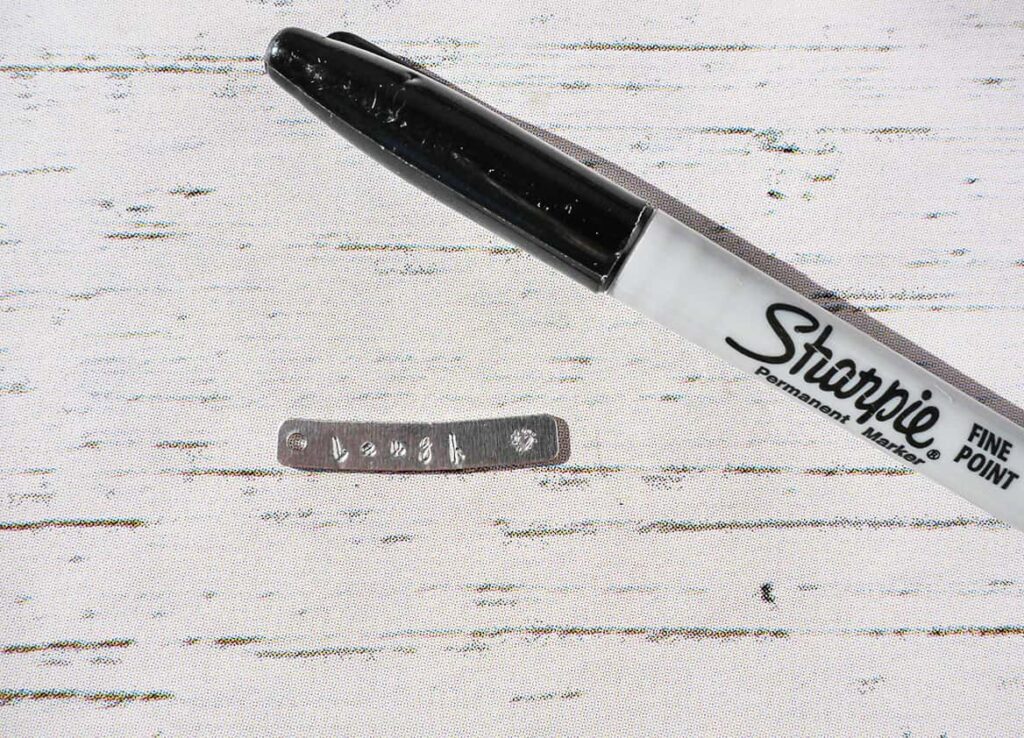
Then write over the letters and shapes you punched. Don’t worry if it’s a little messy.
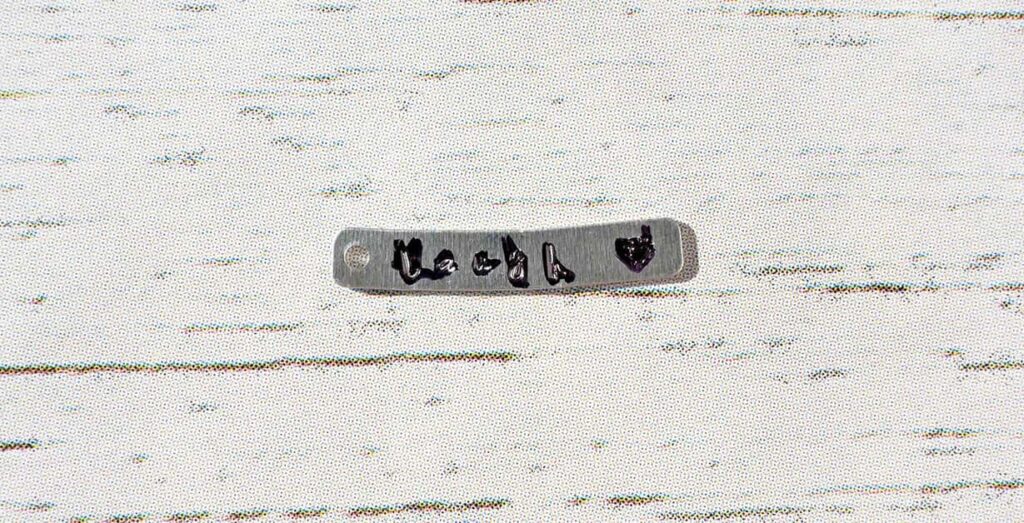
Because next you’re gonna take a paper towel piece and rub off the black marker from the surface. You see, the marker gets into the punched grooves and makes it easier to read what you’ve punched.
Pretty cool, huh!
*For additional great tips check out this link on Beacation for using metal stamps.
Step 3: Put your cute and easy personalized hanging tags together
Now the easy part – assembling your simple diy personalized hang tag.
Cut approximately 8 inches of twine or embroidery floss.

Fold it in half and feed the loop through the hole in your personalized metal blank and the wooden tag. Then take the two ends and feed them through the loop.
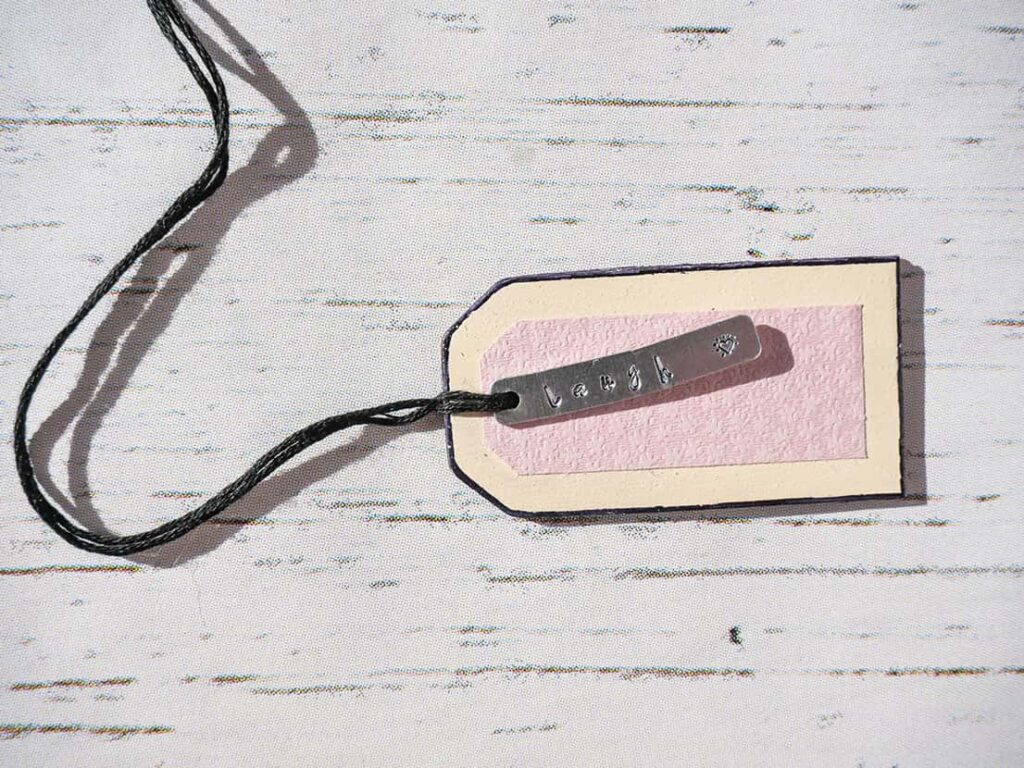
Pull tight.
Your two pieces are now joined to create the diy hanging tag.
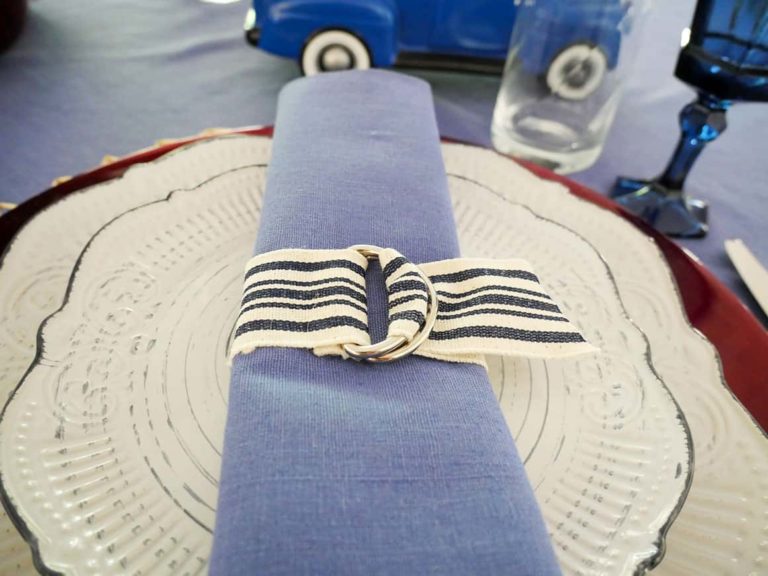
Suggestions for using your diy customized hang tags
Yay! You completed your customized diy hang tags. I bet they look fabulous!
Here are a few ideas on how to put them to use:
- As gift tags
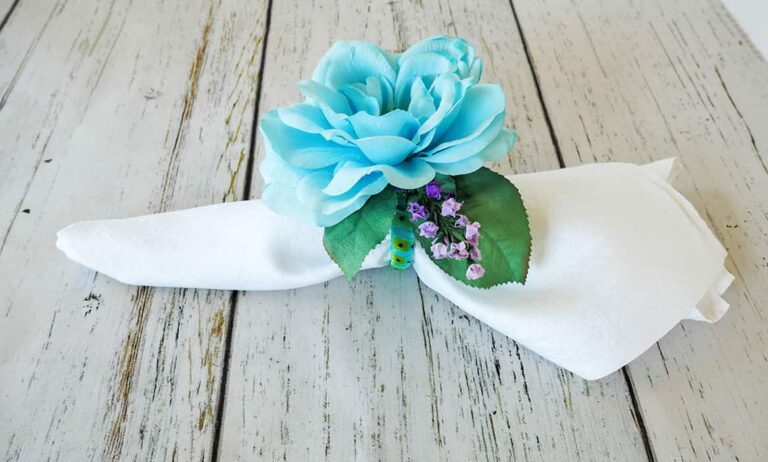
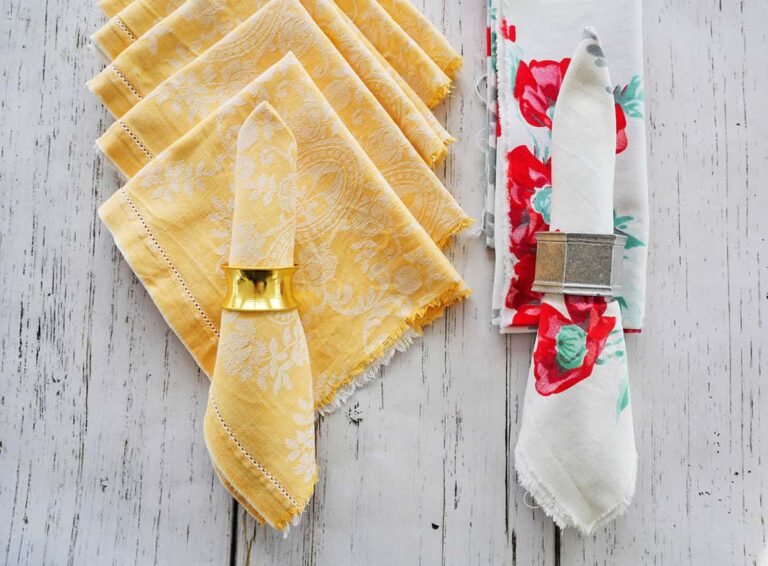
- As a napkin ring
- Around a small-mouth vase
- A Christmas ornament
- As a bookmark
Check out how my cute & easy personalized hanging tags look on a pretty table setting.

Shop the diy supplies:


These are so cute!
Thank you!