Do you know how EASY it is to make gold glitter candles?
I don’t know about you, but I have A LOT of white candles. I pick them up on sale or clearance, and then they seem to multiply when I’m not looking. Haha!
But I don’t have glittery gold candles. When I went looking for gold candles, they were hard to find. And when I found them, I didn’t like their shade of gold.
Grr!
So, I decided to make my own diy glitter candles using some of my white candles.
Making gold glitter candles is such a SUPER easy project!
And you know what – there are so many shades of glitter, that means you can create colored glitter candles that you can’t find in stores.
Cool!
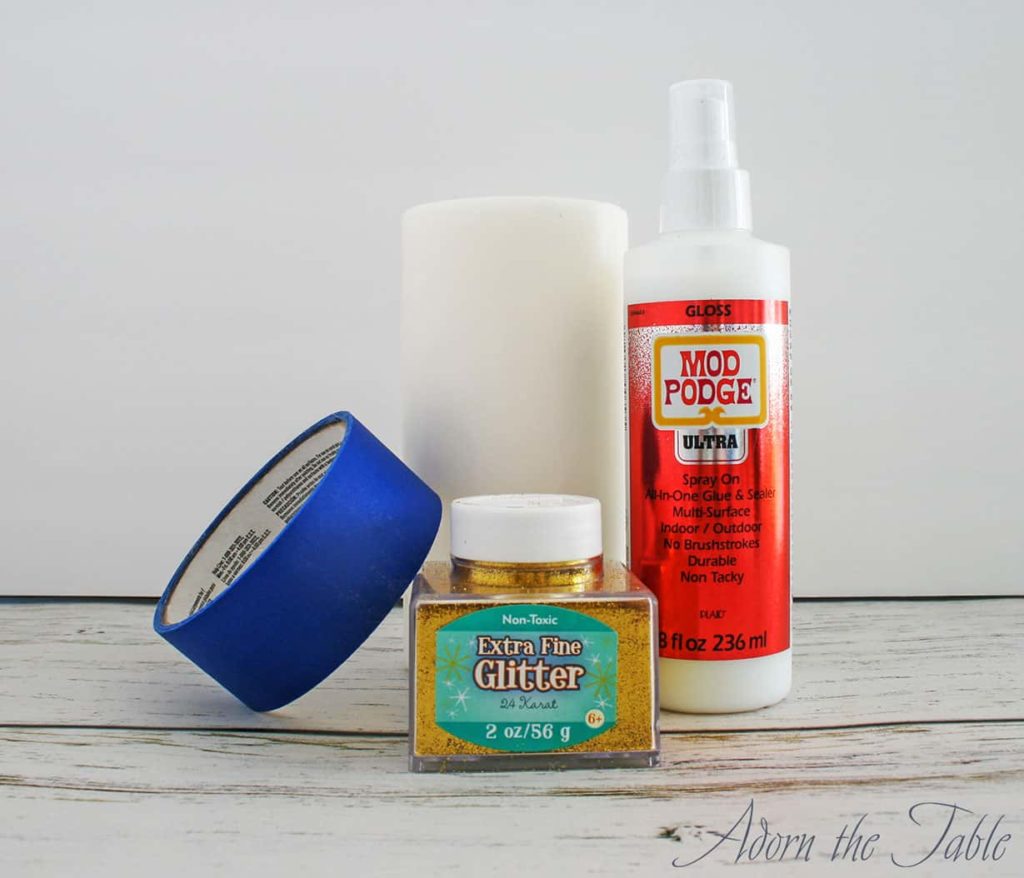
DIY Gold Glitter Candle Supplies
Please note that this article may contain affiliate links. I may get commissions (at no cost to you) for purchases made through these links. You can read my full disclosure for more details.
How to Create Glitter Covered Candles
Step 1
The hardest part about making glitter covered candles is deciding where you want the glitter to go on the candle.
You’re gonna use painter’s tape to section off the area where you want to apply the glitter. So, do you want the bottom half with glitter, the whole candle covered, or do you want stripes?
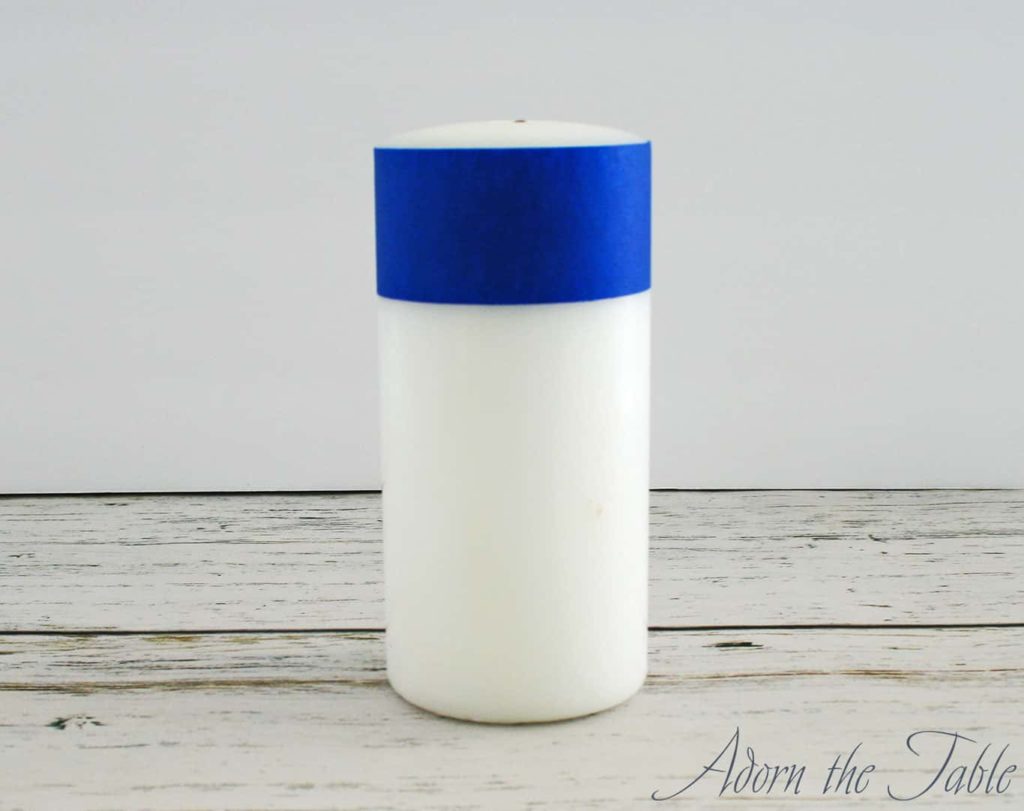
I decided that I wanted ¾ of my candle covered with glitter. I wrapped painter’s tape around the top quarter section. This will keep that section of the candle white, and create a perfect line around the candle.
Step 2
Lay down newspaper or scrap paper over your work surface.
Then cover the non-taped area of the candle with Mod Podge. I decided to go with their spray adhesive. It’s much easier to use as you don’t need to empty it into a separate container and brush it on. And it’s a lot less messy and quicker using the Mod Podge spray. Plus – no clean-up!

*Tip: Don’t spray too much as it will drip and run off.
Once you have the candle covered with a coat of Mod Podge, it’s time to add the glitter (step 3).
**I suggest using extra fine glitter as it covers more completely than large glitter flakes. (Unless that is the look you are going for.)
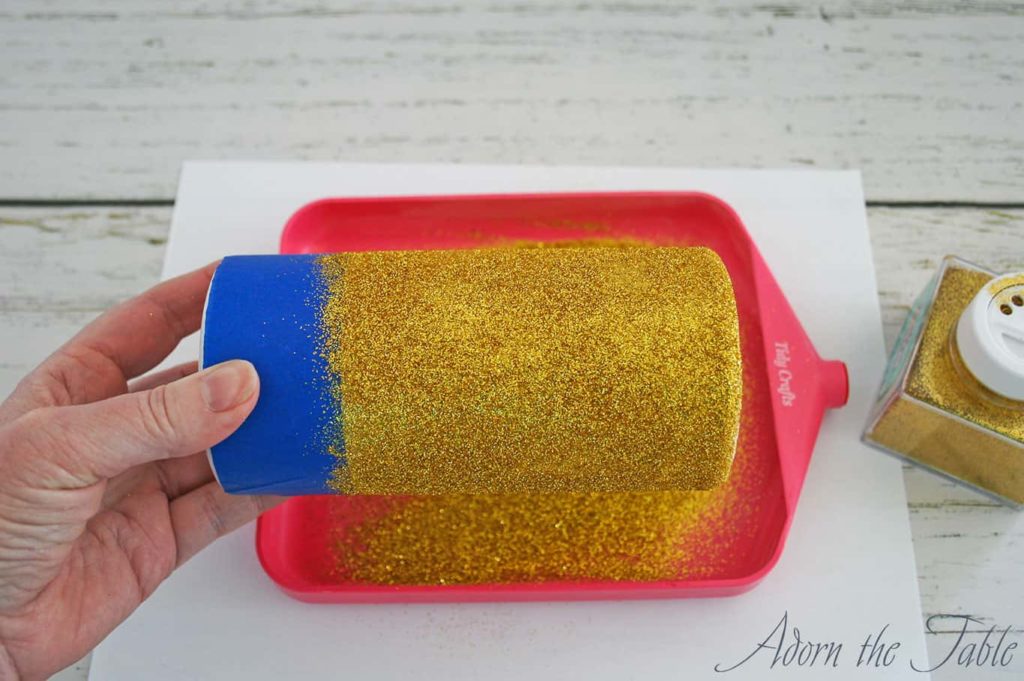
Step 3
Put a tray down to catch the excess glitter. It can be a tray like mine that is made to catch and then transfer back into the original container. Or you can use a clean styrofoam tray (the ones from the grocery store), or a new piece of paper. Just use something that will catch the glitter and enable you to transfer it back into the bottle.
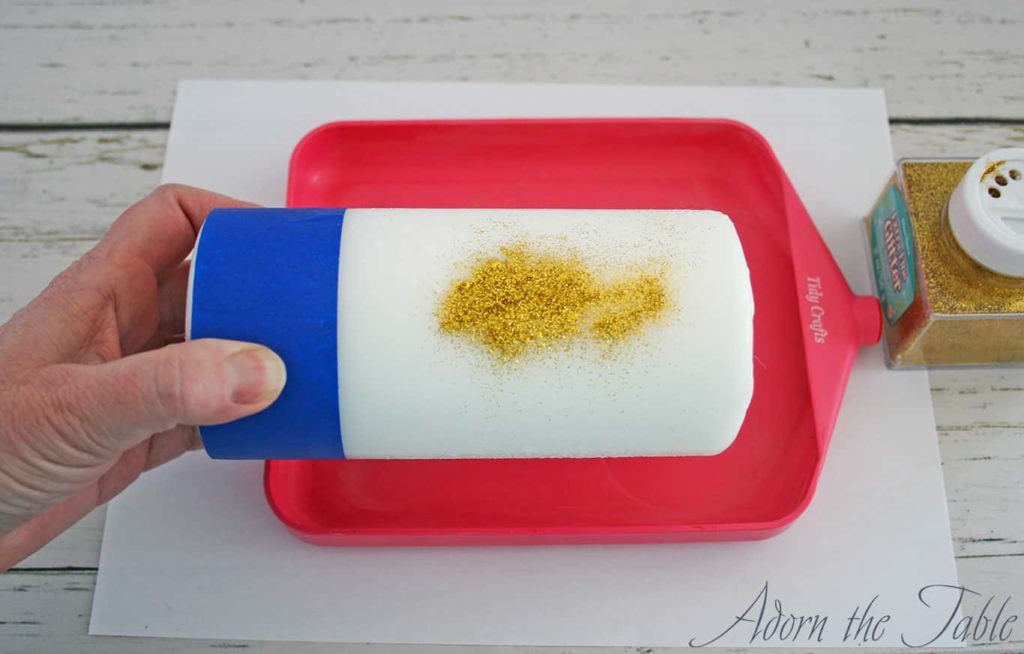
Hold the taped section of your candle and gently tap the glitter onto your candle. Make sure your tray is under the candle to catch the glitter.
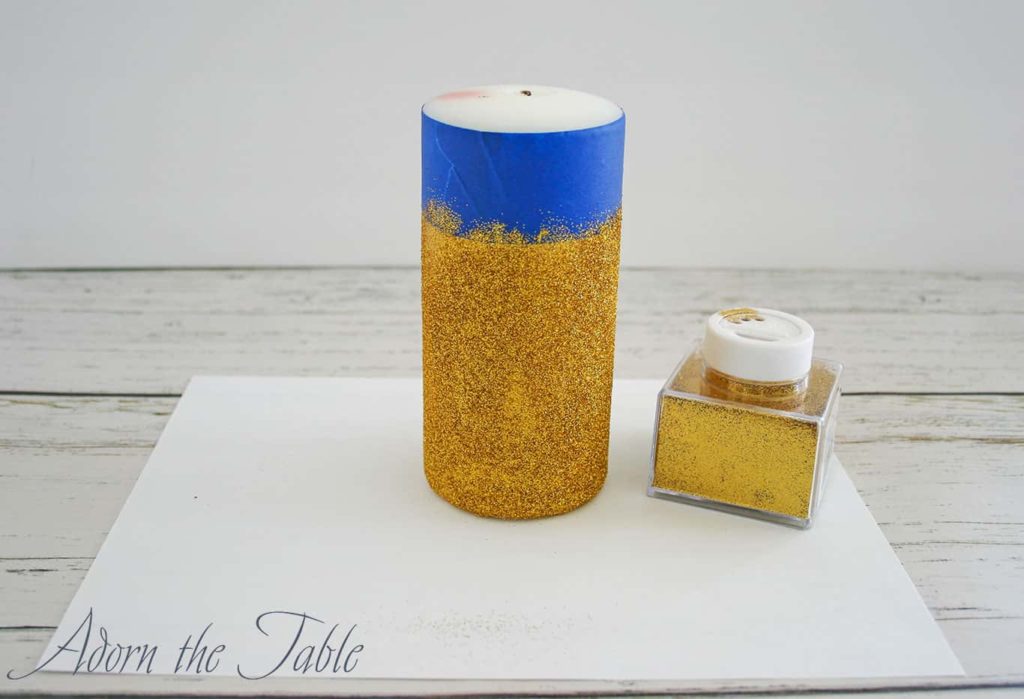
Completely cover the candle with your glitter by slowly turning the candle.
There will probably be areas that aren’t coated as well, or the glitter doesn’t stick. No worries. You can easily apply a second coat of glitter.
Once the first coat of glitter is dry, add a second layer of Mod Podge and glitter. This is another reason why using the spray is a lot easier to use. Just spray it on – no mess of brushing the Mod Podge over the existing glitter.
Step 4
After your second coat of glitter is completely dry, spray a third and final coat of Mod Podge over the glitter. This will help to seal the glitter to the candle and lessen the amount of glitter that will get on your hands or countertops.
Carefully remove the painter’s tape.
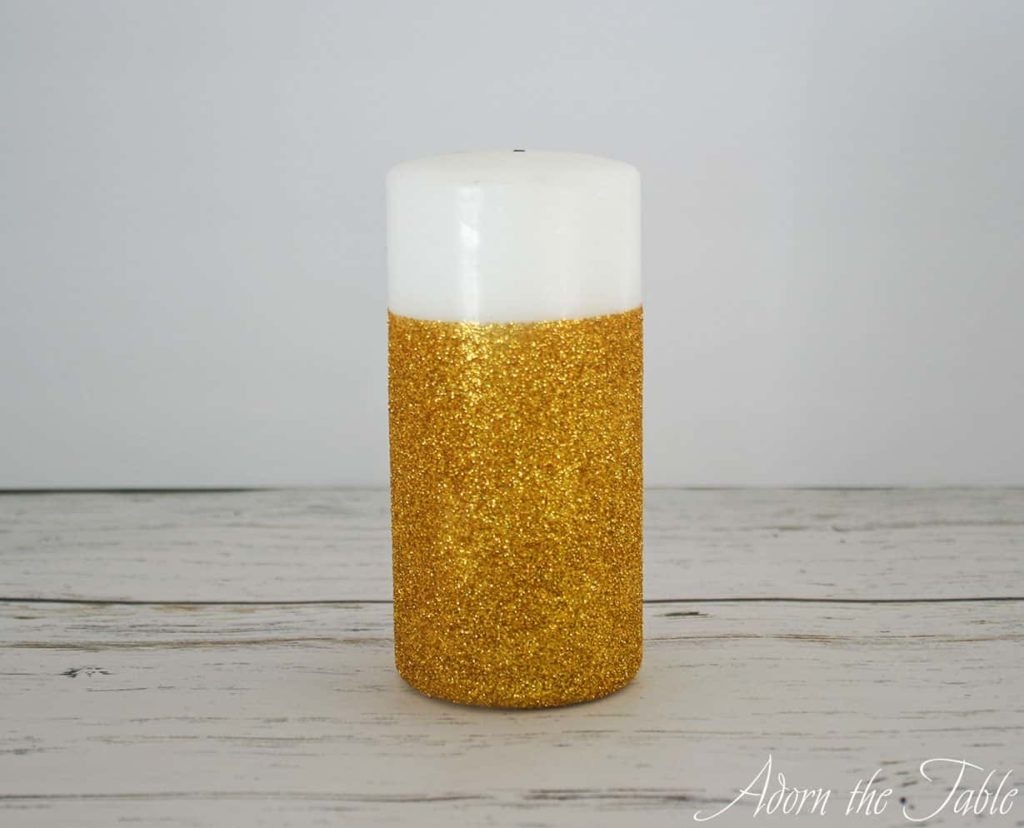
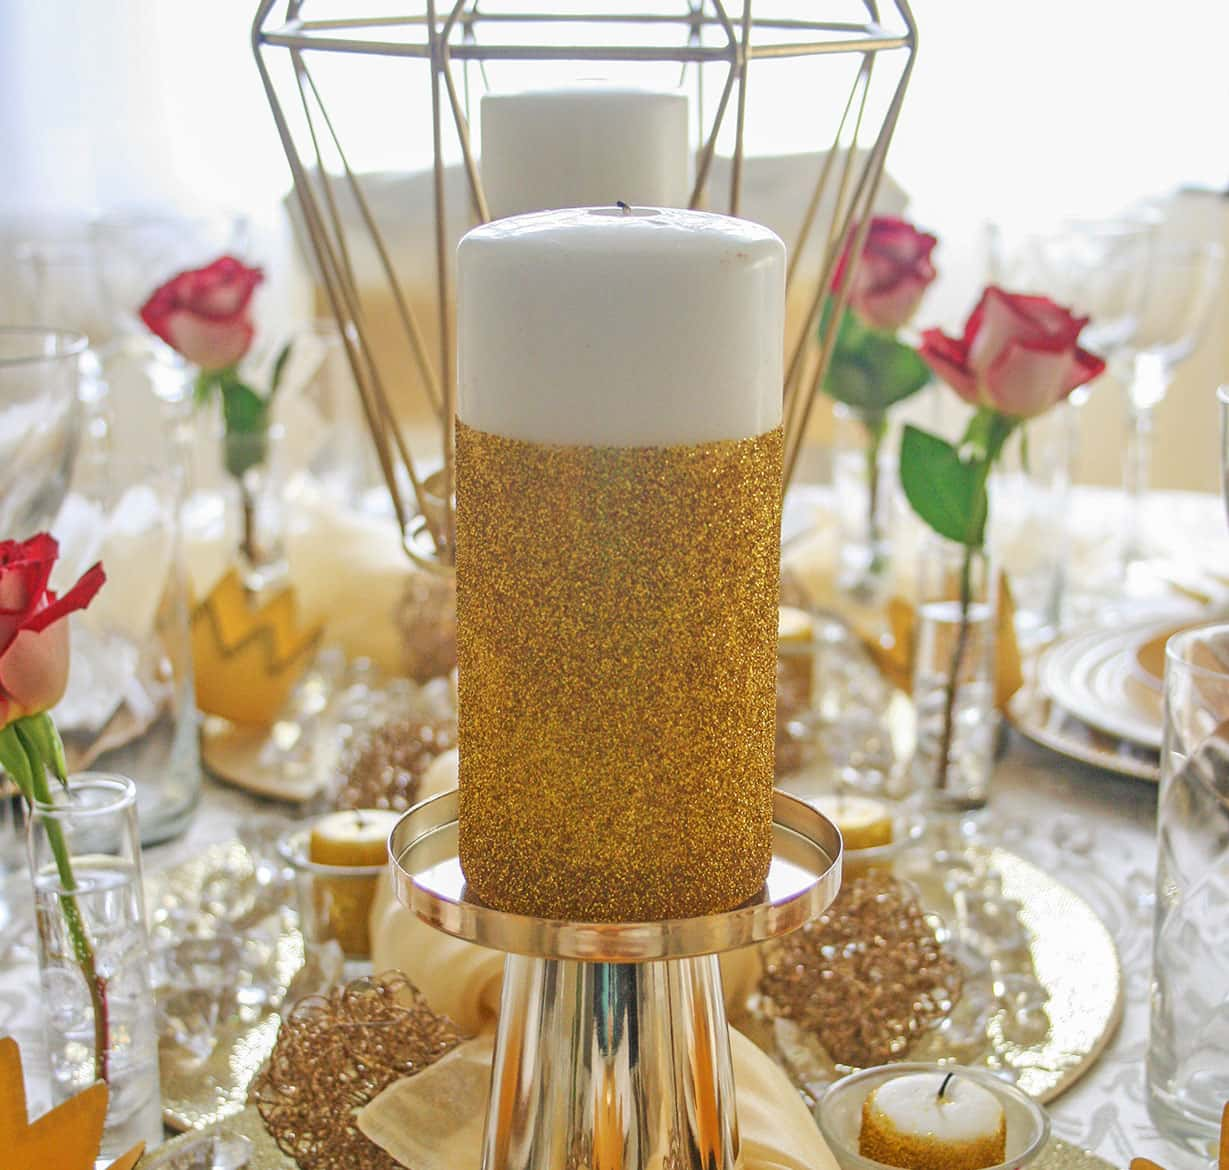
Voila! You now have a glitter covered candle. Isn’t it pretty and sparkly!
The only question now is ~ where are you going to use your diy gold glitter candle, and are you gonna make a few as gifts?
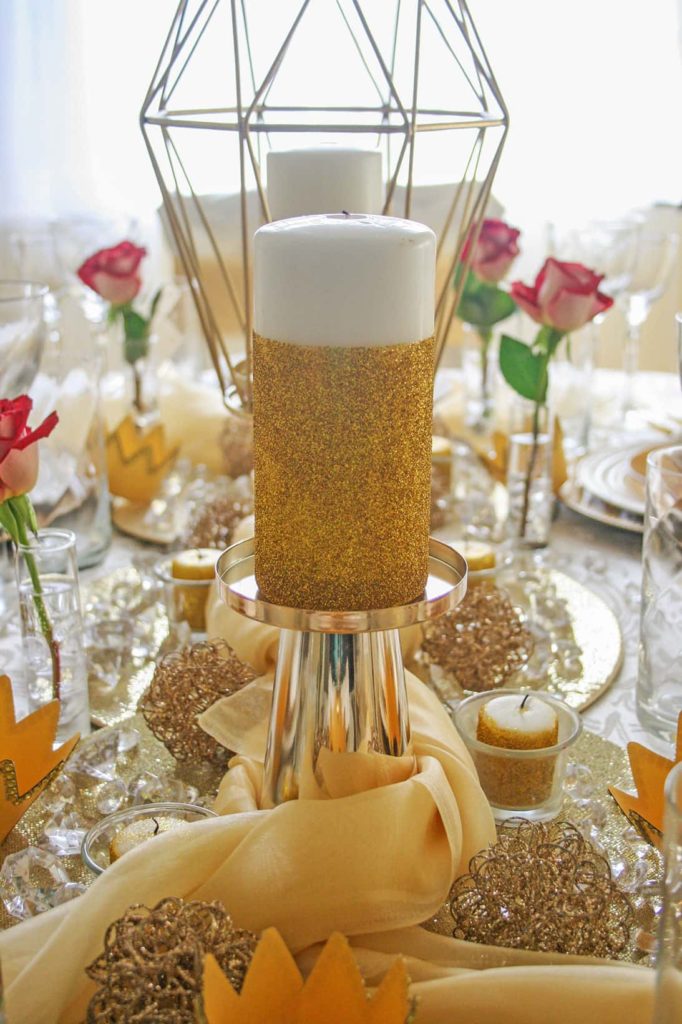
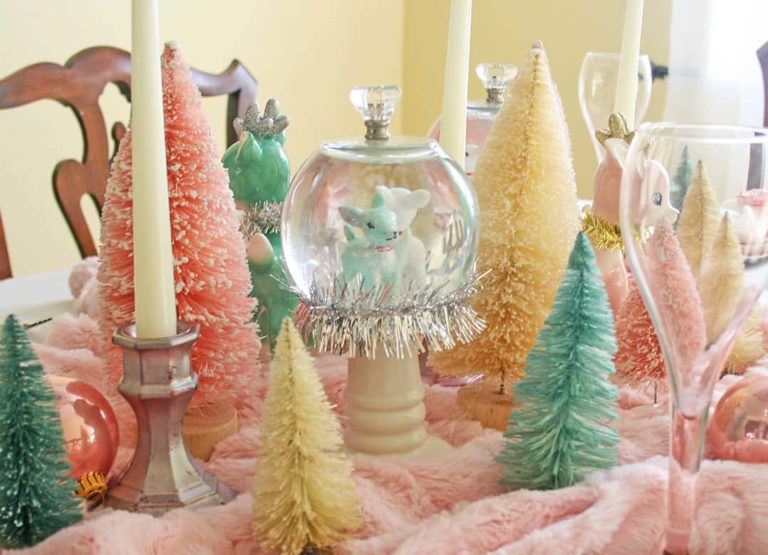
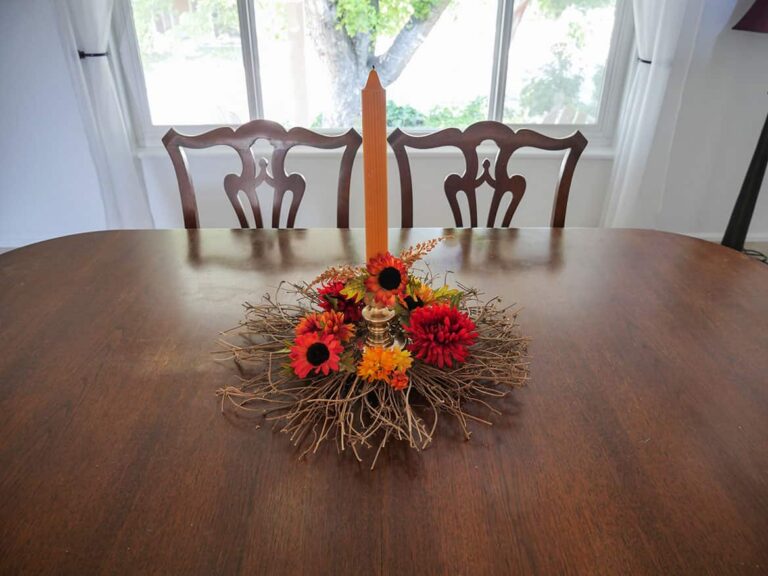
Check out my gold glitter candles on my New Year’s Eve table. So pretty!
Shop the diy supplies