I know you have seen glass vases with frosted designs on them. That frosted look comes from etching the glass. I am sharing an easy glass vase etching DIY project with you.
Etching a glass vase is A LOT easier than you think. In fact, the hardest part is deciding on the design or pattern you want to etch into your glass vase.
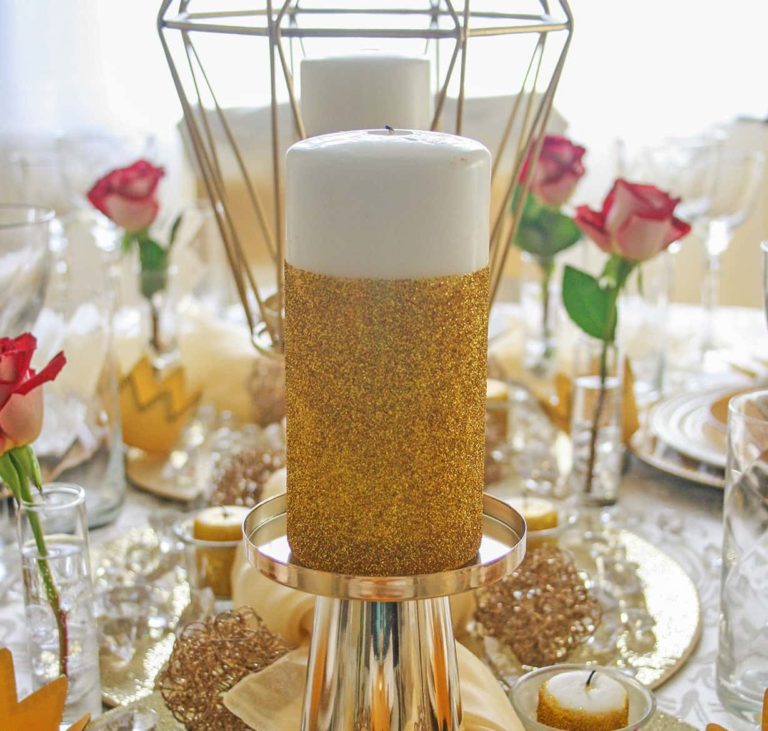
I was working on a Fall-themed table setting and found some perfect cylinder vases at Dollar Tree. My idea was to create a pumpkin design on the vases. I wanted them to have an elevated look and thought that having a frosted design would look really nice.
For the glass vase to have a frosted look, I would need to etch the glass where I wanted the design to look frosted.
If you haven’t heard of “etching glass” it is the process that creates a frosted look on glass. The etching process lightly scratches, or roughs-up, the surface of the glass so it isn’t smooth. Thereby making it look frosted.
Etching glass is permanent and cannot be undone. I have never etched on glass and its permanence has made me nervous to do it.
But since I would be using a Dollar Tree vase, thought I would give it a try. I didn’t have much to lose. (Just a $1 – haha!)
Do you know what? It was so easy; I couldn’t believe it!
Seriously – SO EASY!
I’m telling you. Don’t be afraid, you need to give it a try, too.
Dollar Tree has lots of simple glass vases that are perfect for an etching project. And since they’re just a dollar each, if you aren’t happy with your first attempt, you won’t be upset if it doesn’t turn out “just right”. It will only cost you a dollar to try again.
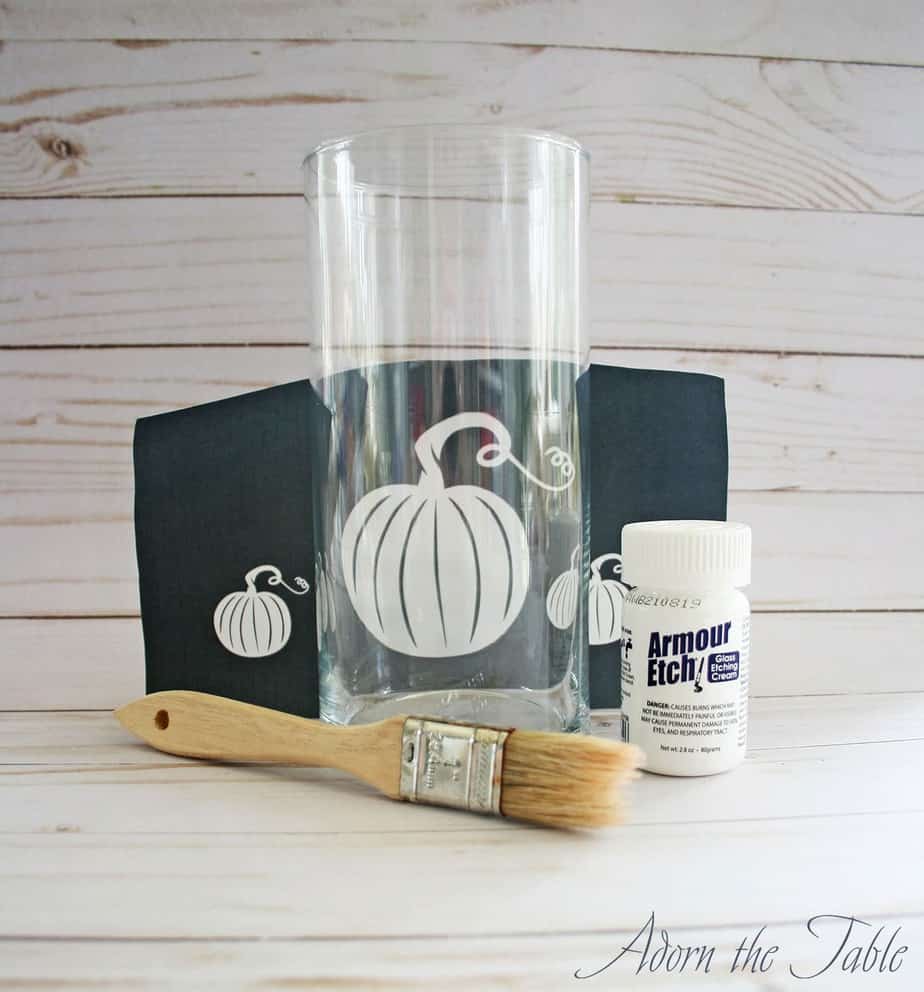
Supplies to Etch Your Own Glass Vase
Please note that this article may contain affiliate links. I may get commissions (at no cost to you) for purchases made through these links. You can read my full disclosure for more details.
- Glass vase
- Dollar Tree has a lot of options
- Etching Cream
- I like Armour Etch, as it is very easy to use
- Stencil
- Brush and Rubber Gloves
How to Etch a Glass Vase
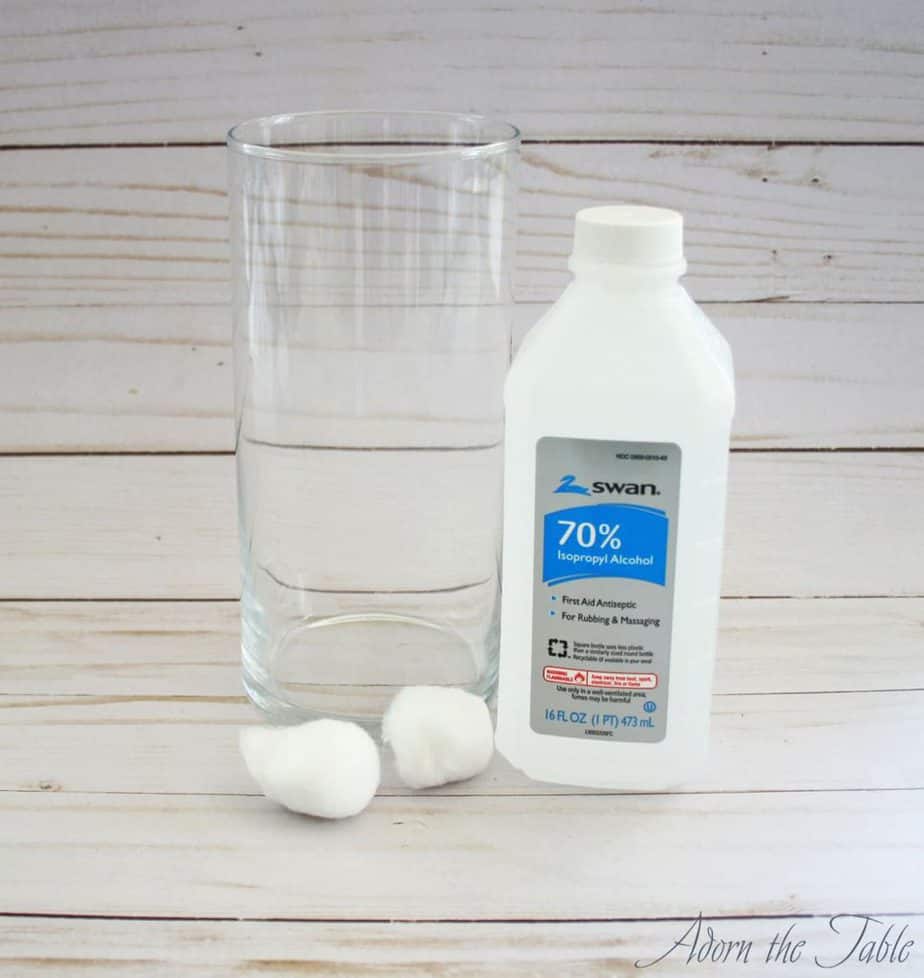
Step 1: Prep your glass vase for etching
Once you have selected your glass vase, be sure and wash it with soap and water. Then take rubbing alcohol and wipe it on the exterior of the vase. This will prep the glass for your design stencil.
Step 2: Selecting a Design Stencil for Glass Etching
As I mentioned above, deciding on the design for your glass etching project is the hardest part of this DIY frosted vase.
There are a few options for etching stencils:
- Purchase a vinyl reusable stencil. It will adhere to the glass and you can use it over and over. Here is one that is very similar to the design I did on my glass vase.
- Create your own stencil. That is what I did. I own a Circut machine. If you don’t know what that is, you need to! It is an amazing tool for almost any diy project. Note: a Circut machine isn’t cheap. It is an investment in your future diy projects.
- Don’t use a stencil. Instead create a pattern by taping off areas you want etched. This will create geometric shapes.
If you would like to use my design, you can access it here. You will need a machine that can cut it out of removable (or stencil) vinyl.
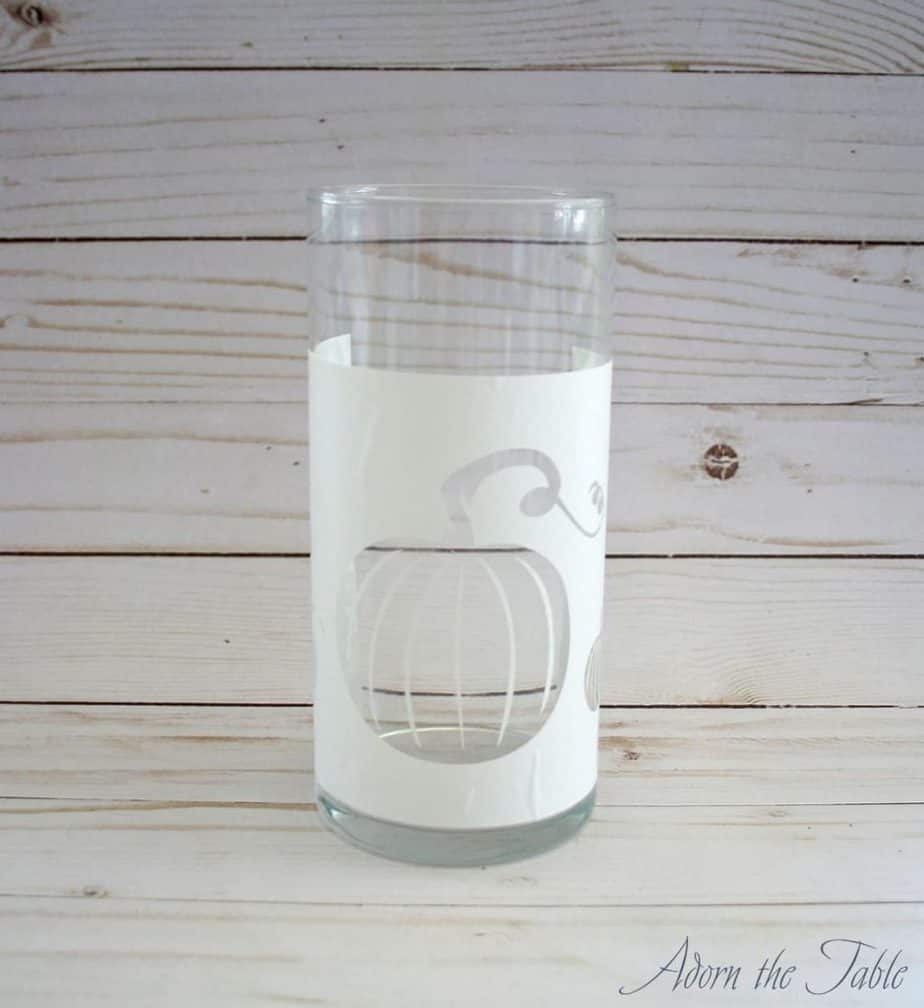
Step 3: Adhere Your Glass Etching Stencil
Determine where on your glass vase you would like your design. Carefully place the stencil on the vase, starting on one side and smoothing it across as you go.
Using a flat edge (like a credit card, or bone folder), carefully push out any bubbles.
You want to make sure there aren’t any air bubbles under the stencil, especially along the design edges. As the etching cream could seep under the bubbles, resulting in an irregular outline.
Step 4: Etch Your Glass Vase
Now for the fun! Etching your glass vase to make it look frosted.
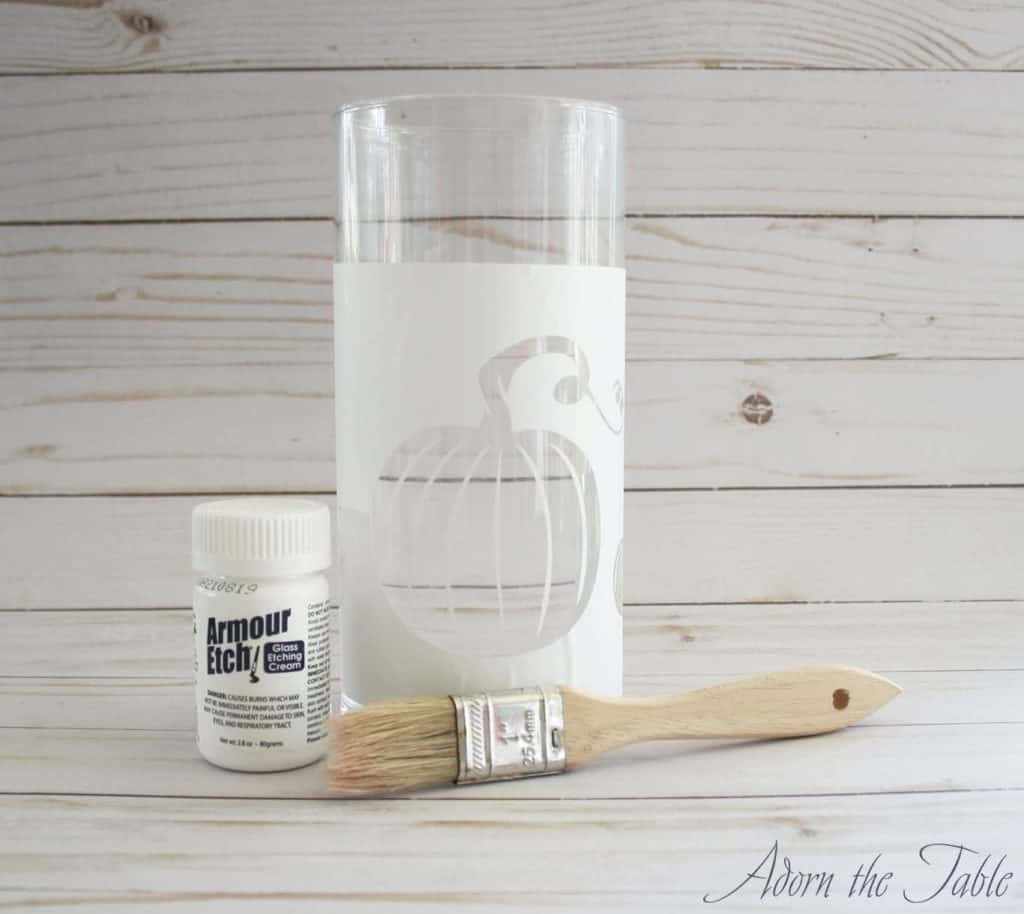
First, put on rubber gloves to protect your skin. Remember that you are working with a substance that is going to etch glass. You don’t want it touching your skin.
Next, using a brush, completely cover the open areas of your stencil. DO NOT go outside the stencil! Anything the etching cream touches will be etched.
Be sure and follow the instructions that come with your etching cream. With the Armour Etch product, you will want to cover the open stencil areas, and then go back over those areas until you don’t see any clear glass.
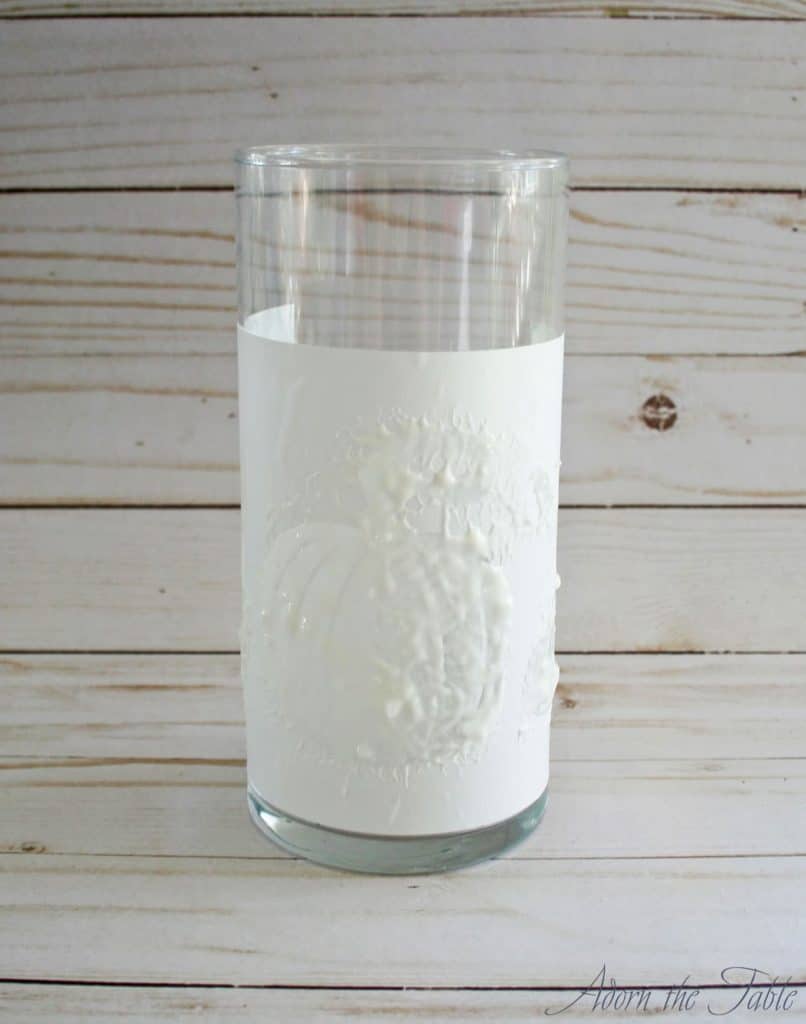
Don’t worry, it is super easy and quick to do.
After the stencil is completely covered in etching cream, wait for it to dry (or the allotted time designated within the instructions). For me, that was waiting 5 minutes.
Now wash off the etching cream, starting at the top of the design and working your way down. Using your brush to wash it off is very effective and helps speed up the process. Plus, you won’t be touching the etching cream.
Step 5: Removing the Etching Stencil
After your glass vase has dried, it is time to remove the stencil. And for the reveal!!!
Carefully peel off the stencil. If you used a reusable stencil, make sure you follow the manufacturer’s instructions to keep it in good condition to reuse later. In my case, the stencil was a one-time-only use, so I didn’t need to be careful, so I just tore off the vinyl.
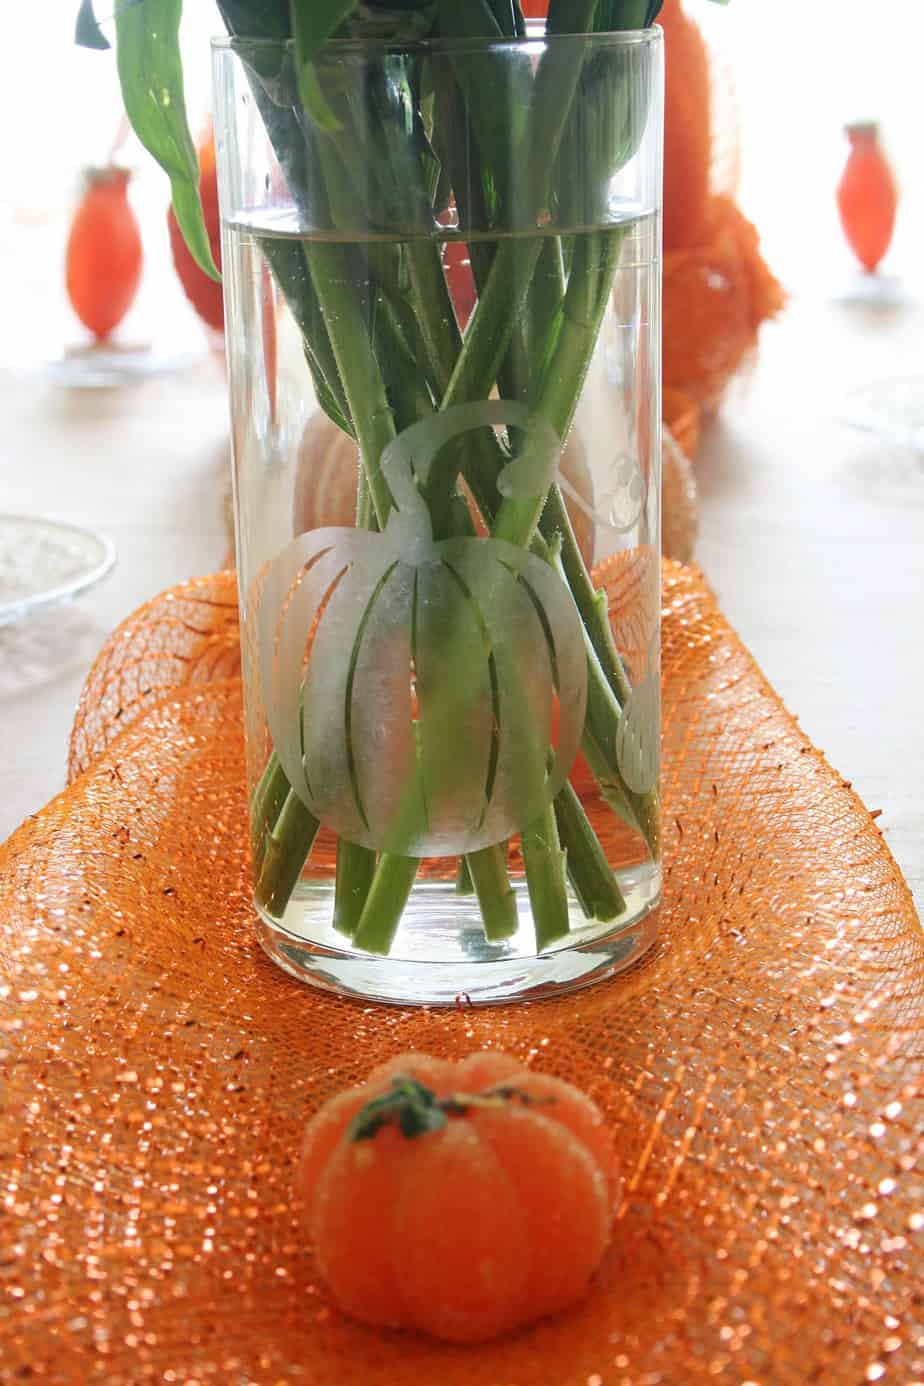
Check it out – you now have a beautifully frosted diy glass vase!
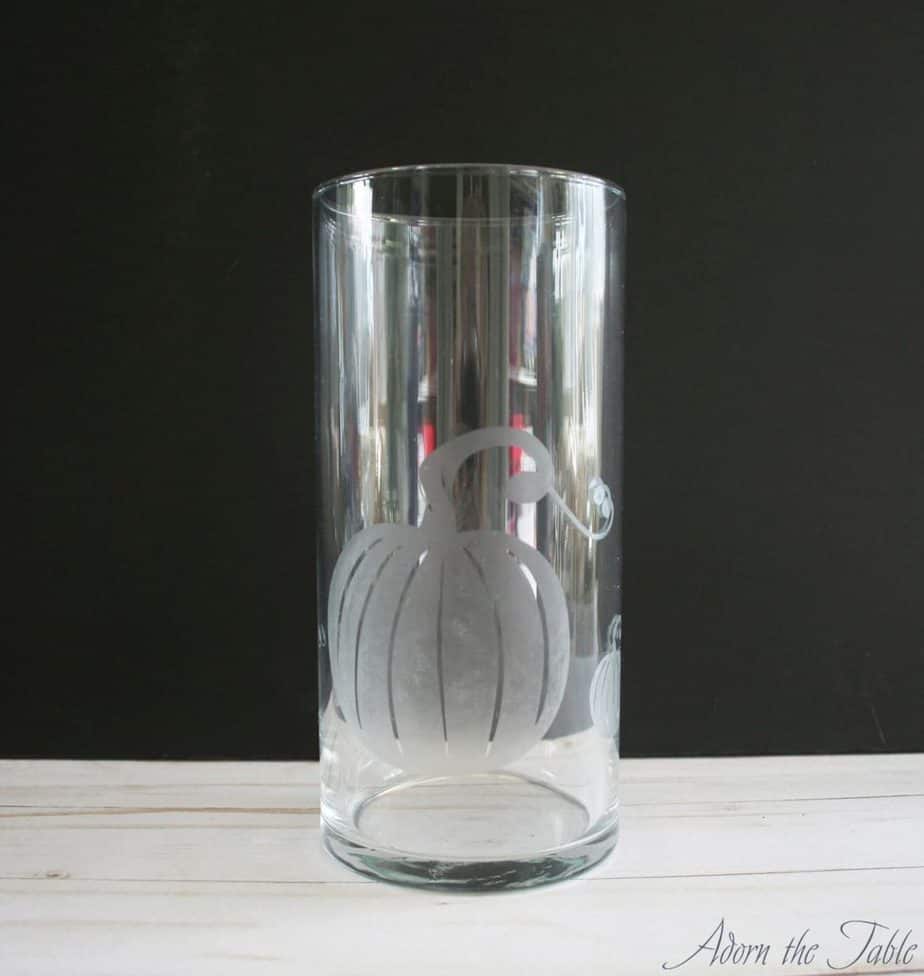
It’s practically amazing how easy it is to transform your plain clear vase into a fantastic etched design vase.
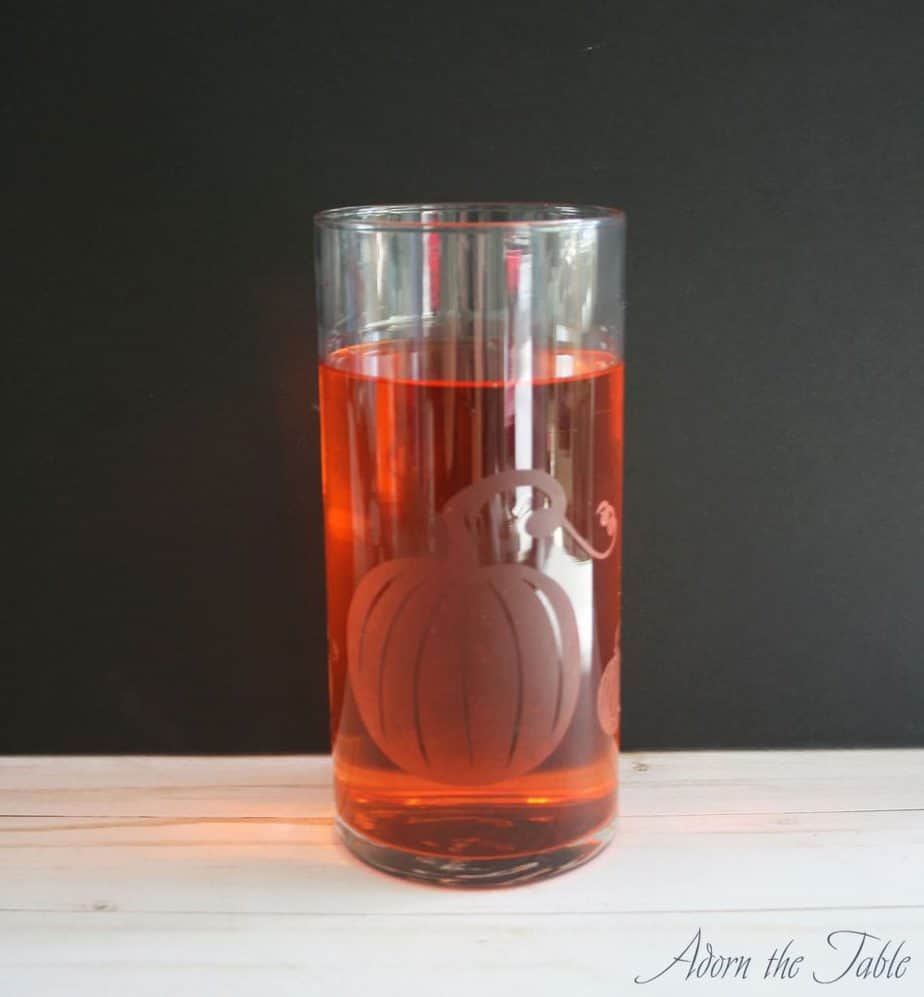
And it really stands out when you fill it with liquid and the light shines through it!
Did you enjoy this easy glass vase etching diy project? Can you believe how easy it was to etch a glass vase?
Are you now hooked on DIY etched glass vases? Are you swimming with etched glass ideas as gifts or future etching projects? I bet you are, lol!
Shop for the DIY Supplies
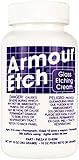
Etching Cream
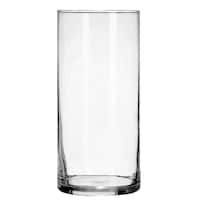
Cylinder Vase

Pumpkin Stencil