I originally started with the intention of making silk flower Plaster of Paris napkin rings using but ended up making these easy DIY flower place card holders instead.
I’d seen posts and YouTube videos of people using Plaster of Paris with silk flowers from Dollar Tree.
I really liked the idea of transforming the cheap silk flowers and using them to create pretty napkin rings.
However, my attempt at using the Plaster of Paris with the silk flowers did not provide the results I was looking for.
I had MANY unsuccessful attempts.
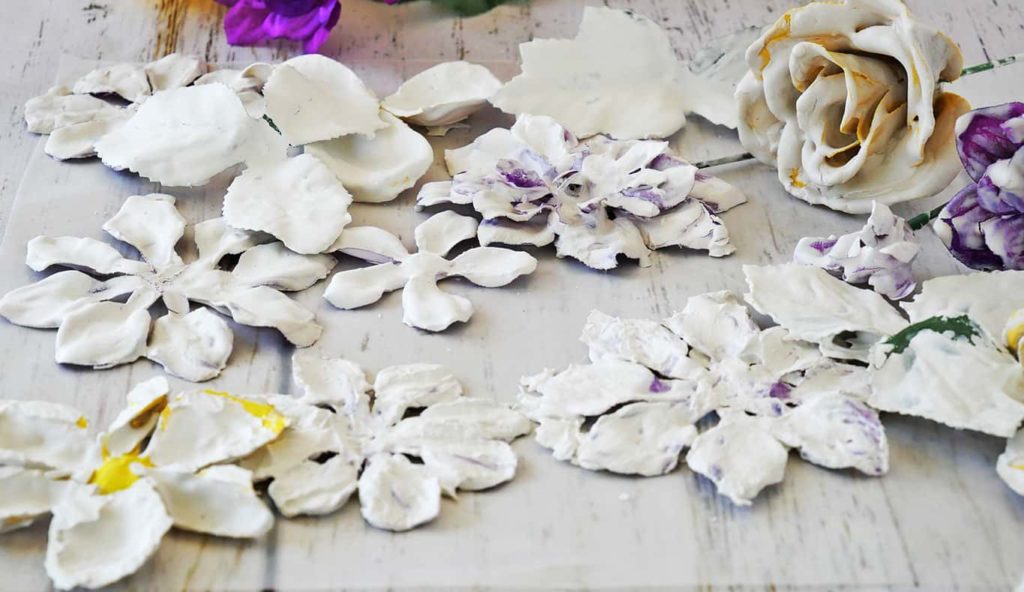
I realized that I wanted the Plaster of Paris to coat the flowers thicker, and for the petals to be separated and distinct.
Not something that was easily doable.
I’m all about easy and this idea just wasn’t working for me.
Then I had a total light-bulb moment.
I remembered that Plaster of Paris is used to cast molds, and I had trays used to make sugar and butter molds.
Molds I haven’t used in forever ~ and honestly don’t know when I will.
I mean ~ little flower sugar and butter molds are SUPER CUTE, but how often am I throwing a party that they would be used??
So, I switched gears and decided to try using the Plaster of Paris with my butter/sugar molds.
And I love the results!
(Much easier than using Dollar Tree silk flowers, in my opinion!)
Supplies for Plaster of Paris Flower Place Card Holders
Please note that this article may contain affiliate links. I may get commissions (at no cost to you) for purchases made through these links. You can read my full disclosure for more details.
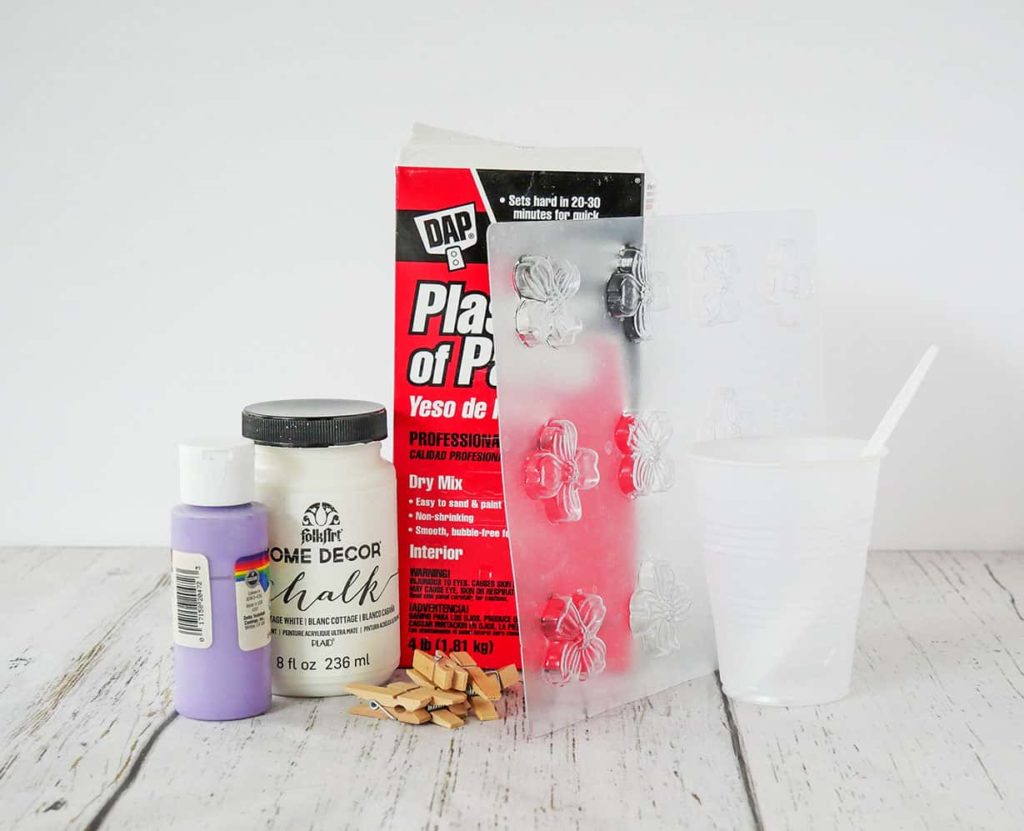
- Plaster of Paris
- Plastic cups or bowls (disposable)
- Plastic spoon or stir stick (disposable)
- Measuring cups (not used for food)
- Silicon or other types of molds
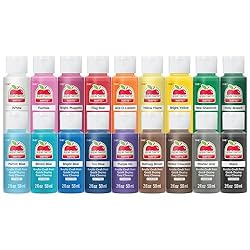
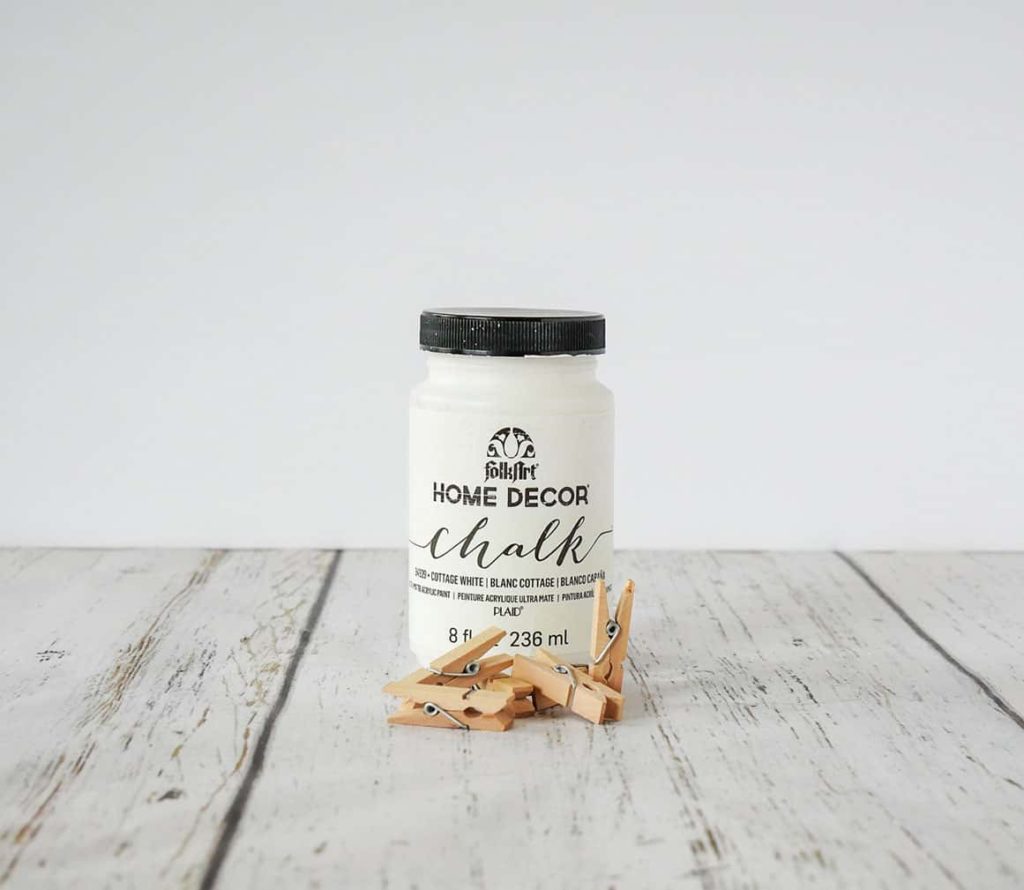
- Acrylic paint
- Small clothespins
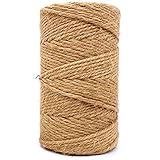
- Ribbon, twine, scissors, and glue
How to Make Easy DIY Flower Place Card Holders Using Plaster of Paris
Step 1: Gather supplies and prep your work area
Maybe it’s a no-brainer that you need to gather your supplies and prep your area to make these Plaster of Paris easy diy flower place card holders.
But Plaster of Paris is unique, in that you need to work quickly and need to have everything set up in advance. You can’t really set up as you go along.
Why?
Because Plaster of Paris hardens very quickly and you have a short window to work.
Otherwise, you will need to start over.
I would advise covering your work surface with newspaper or wax paper, as the Plaster of Paris mixture can get pretty messy.
Step 2: Mixing the Plaster of Paris and filling the molds
The directions for the Plaster of Paris are on the side of the box and are very easy to follow.
You want to make sure that the container you use (cup, bowl, bucket) and stirring stick or spoon are disposable, as you most likely won’t be able to keep them for other uses.
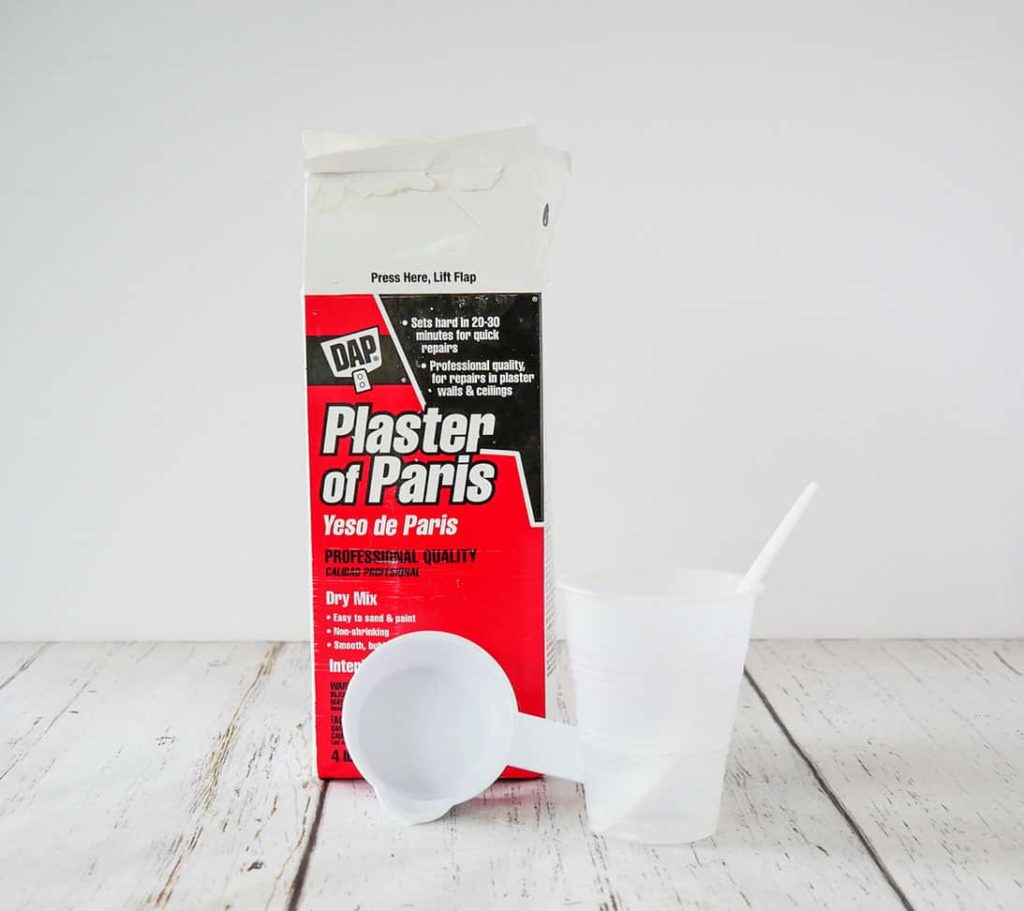
The instructions say to use a 2 to 1 ratio.
That’s two parts plaster powder to one part water.
It’s also wise to work in small batches. Especially the first time you are using Plaster of Paris.
It hardens very quickly and you will most likely need to try again, after your first attempt.
I found that using 1/3 cup of cold water and 2/3 cup of plaster powder worked well for me.
*Tip: use cold water, not lukewarm or hot water, as the cold water helps to slow down the hardening time.
First, fill your container with the appropriate amount of water.
Then gradually pour and stir in the Plaster of Paris.
Don’t stir quickly, as you will introduce air bubbles into the mixture.
You don’t want your mix to be too runny or too thick. You want it to have a nice creamy consistency.
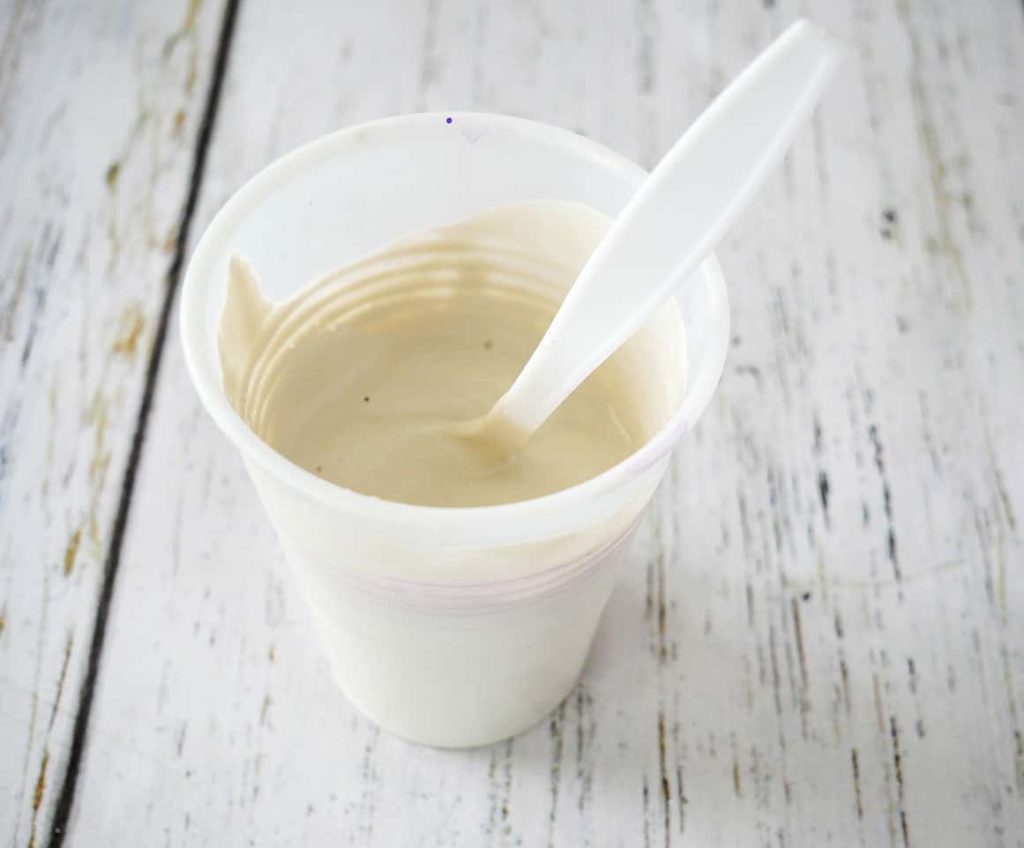
Once you get all the lumps out of the Plaster of Paris mixture, quickly and carefully spoon, or pour, it into your molds.
I suggest doing it quickly, as this is a small mixture and starts to harden within a few minutes, thus becoming too hard to pour or use.
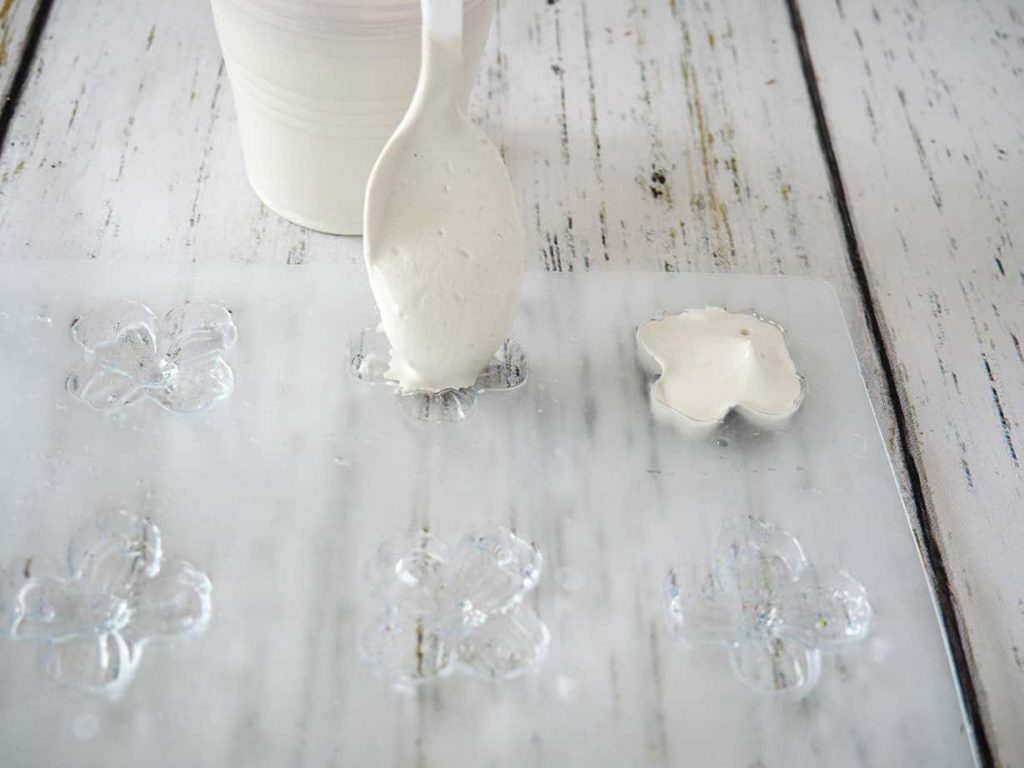
Once your molds are filled, gently tap them to release any trapped air bubbles.
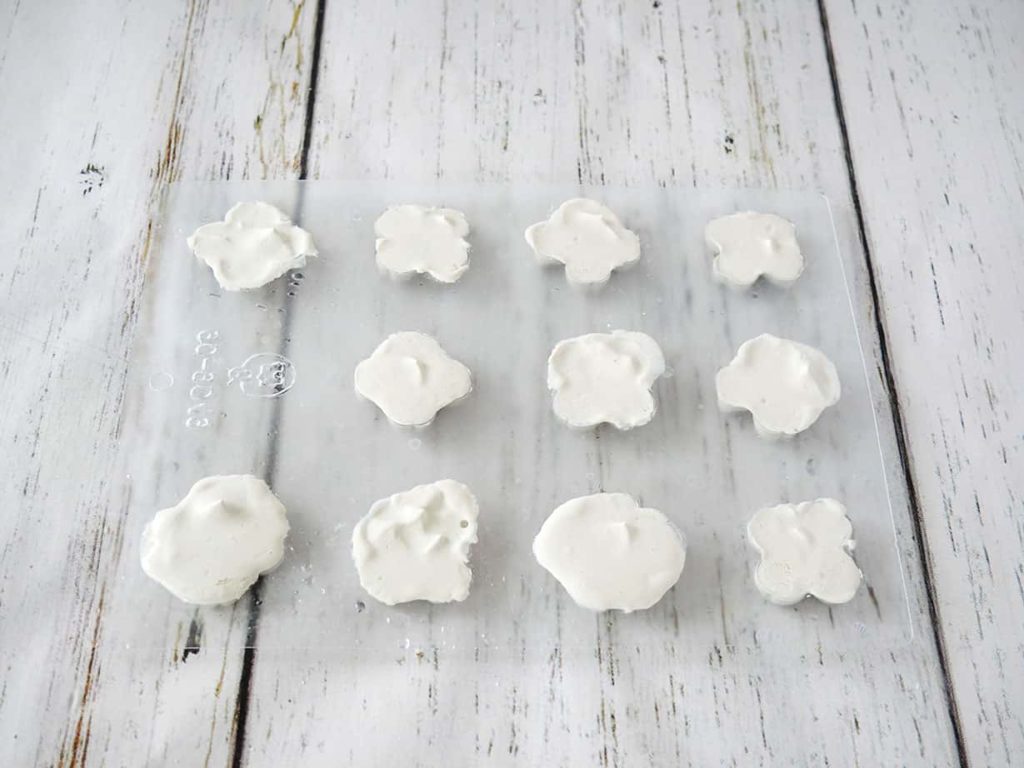
Continue this process of mixing Plaster of Paris and filling your molds until they are all filled.
*Notes for cleaning up: you can clean up your container and stirrer, if there is a little left, just don’t have it go down your drain! This is plaster and will harden. Treat it like you would cement. You wouldn’t wash out containers that you had used to mix cement in your kitchen sink.
Another option is to allow the leftover plaster of Paris to dry in your container. Then gently press on the sides of your container. The hardened plaster should crack and easily fall out of your container. Wipe your container with a damp paper towel and it’s ready to reuse.
Step 3: Removing Plaster of Paris molds and painting them
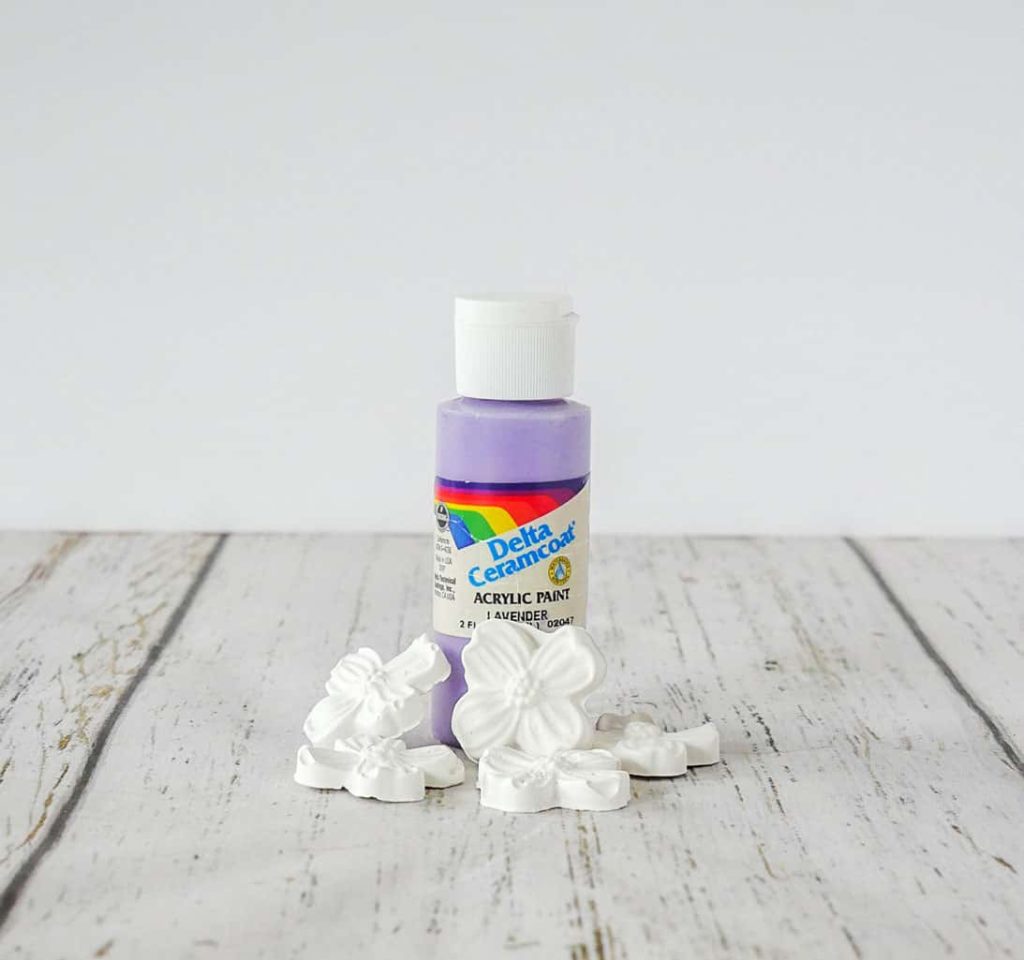
After an hour the Plaster of Paris will be hard enough to safely remove from your molds.
*Note: It has begun to harden but is not completely cured for about 24-48 hours depending on the thickness of your mold.
Set your casts aside and allow them to continue to dry for 24-48 hours.
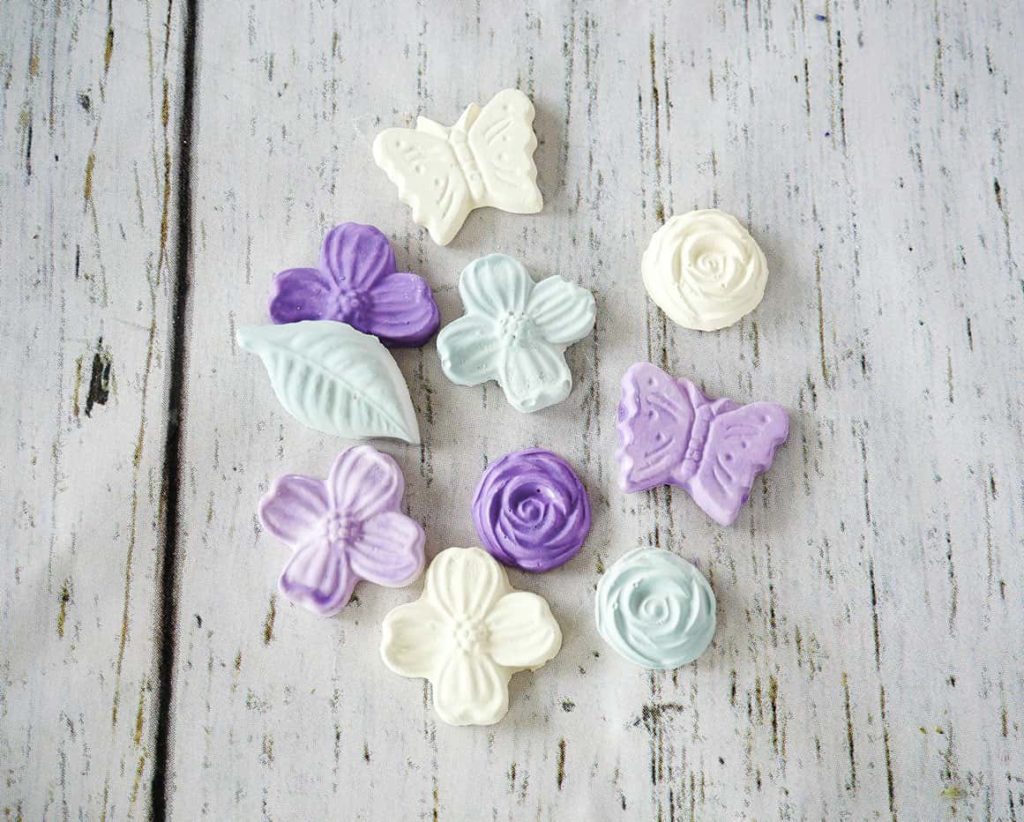
After they are completely dry, paint them. I used both spray paint and acrylic craft paint.
Depending on your painting ability, you can have a lot of fun painting your Plaster of Paris pieces.
(I’m not much of an artistic painter, so mine are very simple.)
You can also add a final coat of polyurethane to seal the paint if you choose.
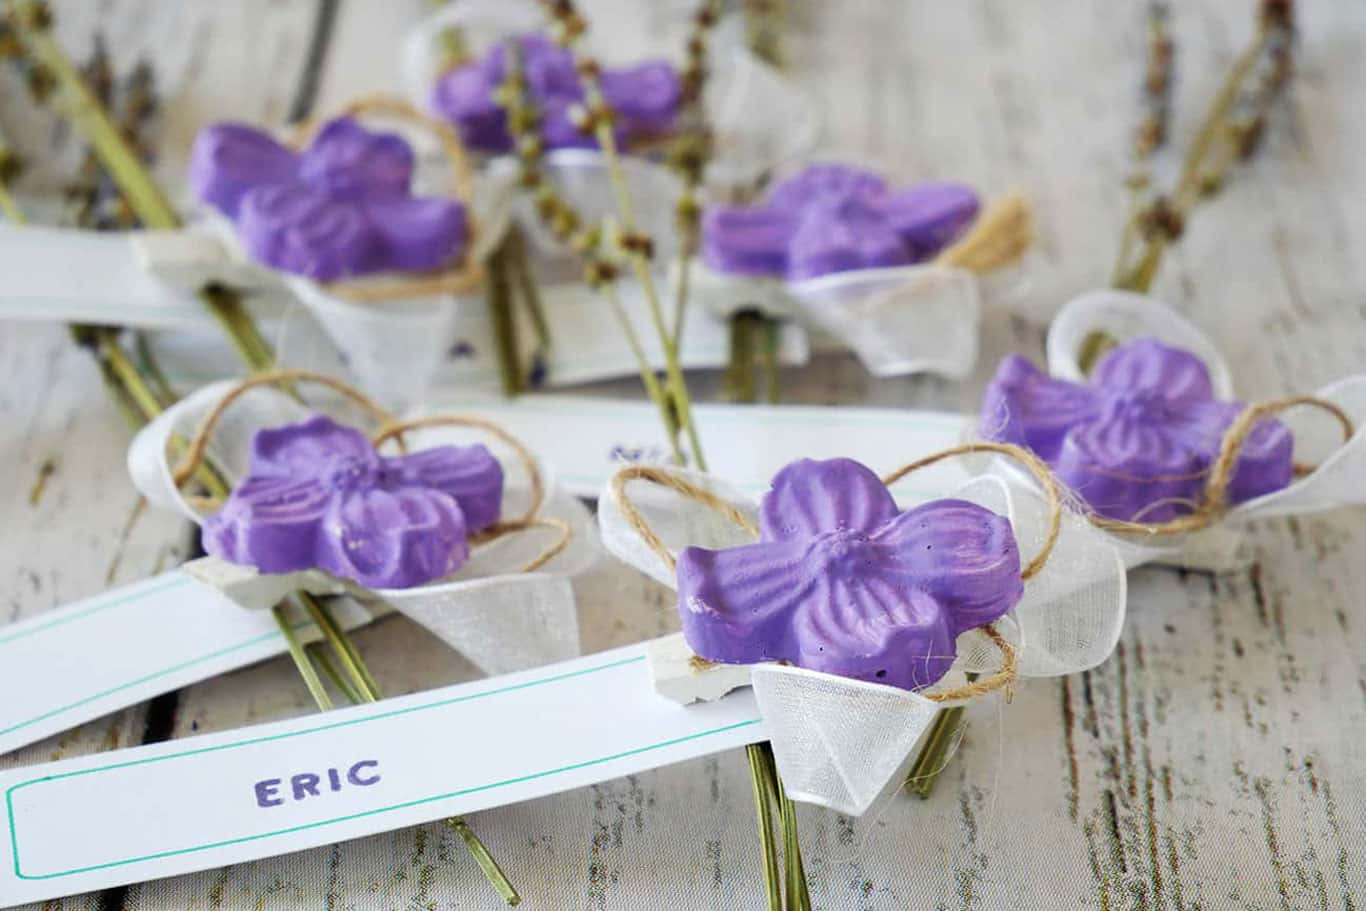
Step 4: Assembling your DIY flower place card holders
Once you have completed painting your Plaster of Paris flowers, it’s time to assemble your simple diy place card holders.
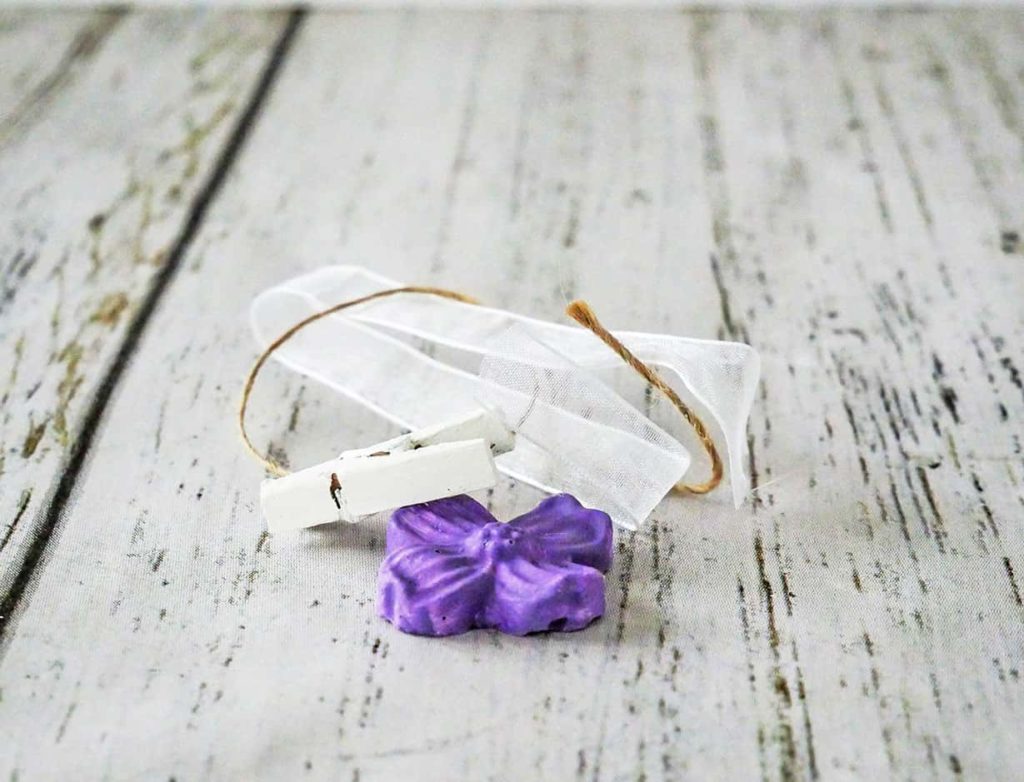
First, I painted small clothespins.
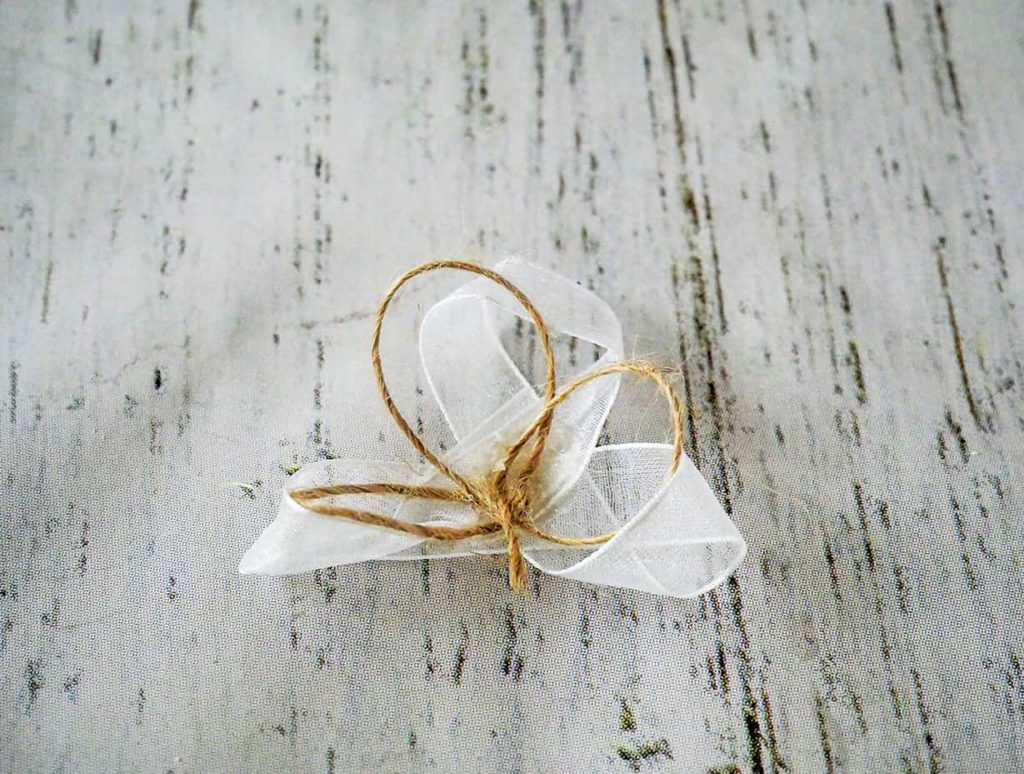
Then a took about 10″ of sheer ribbon and a piece of twine the same length and created three loops with them.
I secured them with a dot of hot glue.
Next, I glued my Plaster of Paris flower in the middle of the looped ribbon.
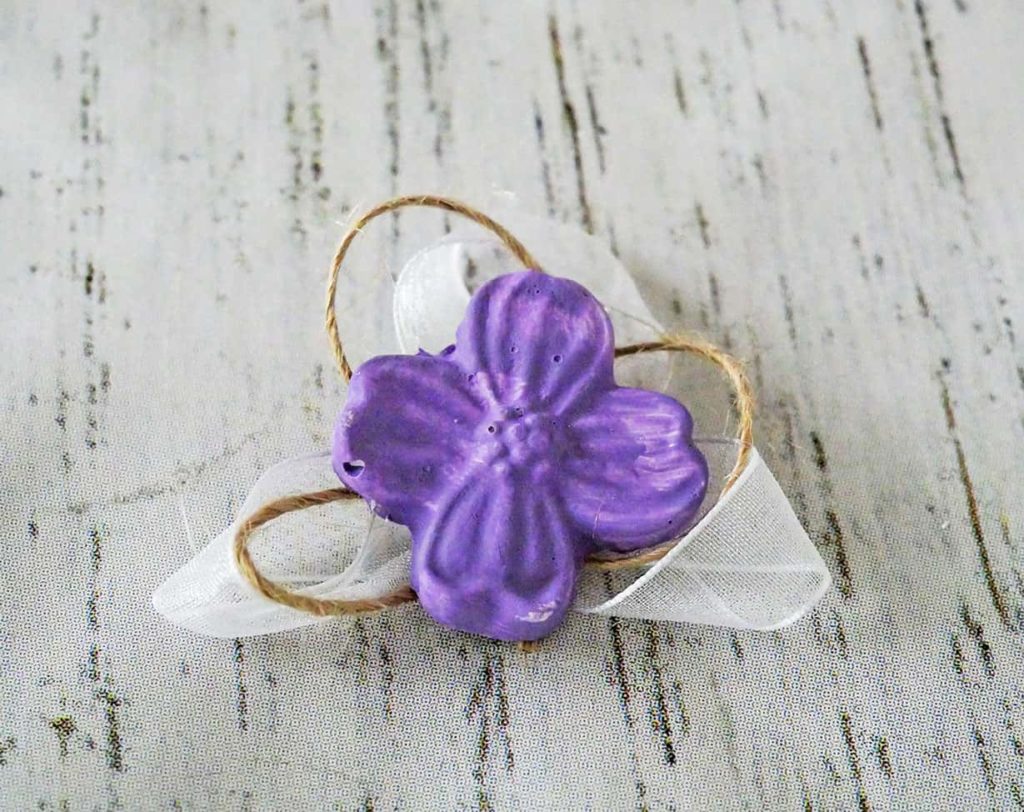
And finally, I glued that to one side of my painted clothespin.
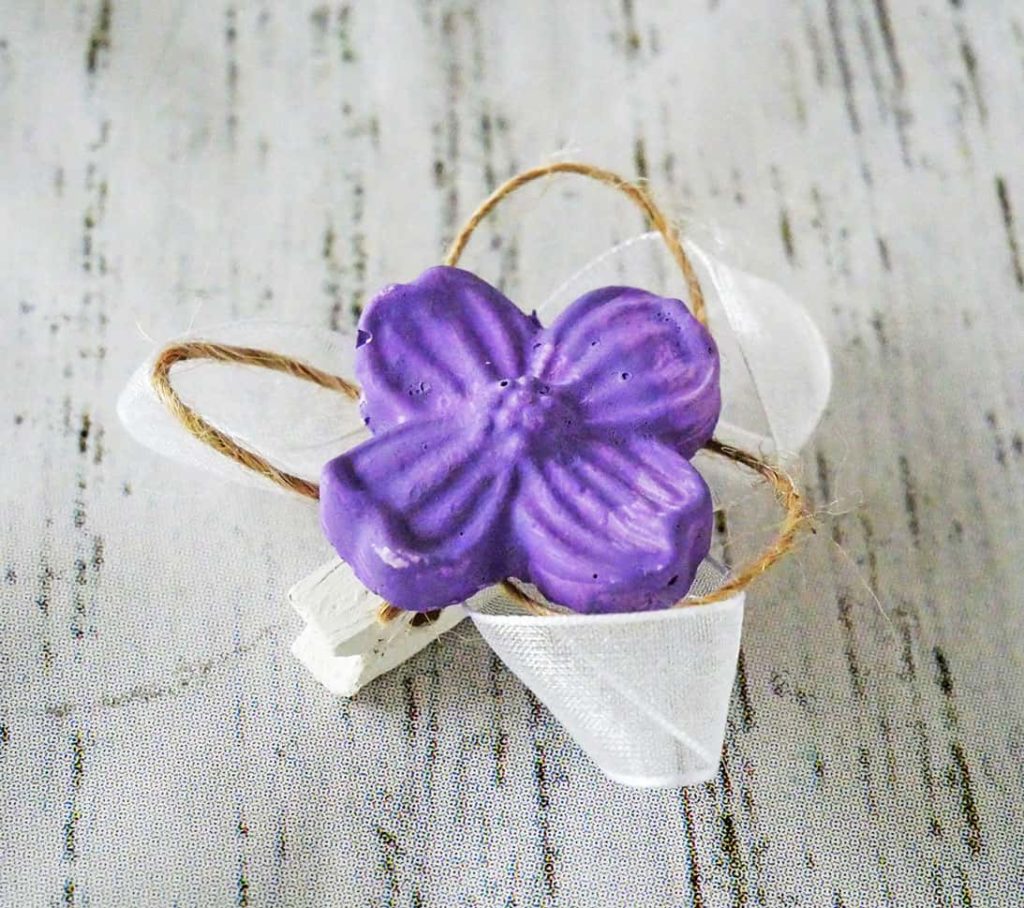
Isn’t it CUTE!
Now to put your new easy DIY flower place card holders made from plaster of Paris to use.
I used the clothespin and attached a few pieces of lavender along with the place card.
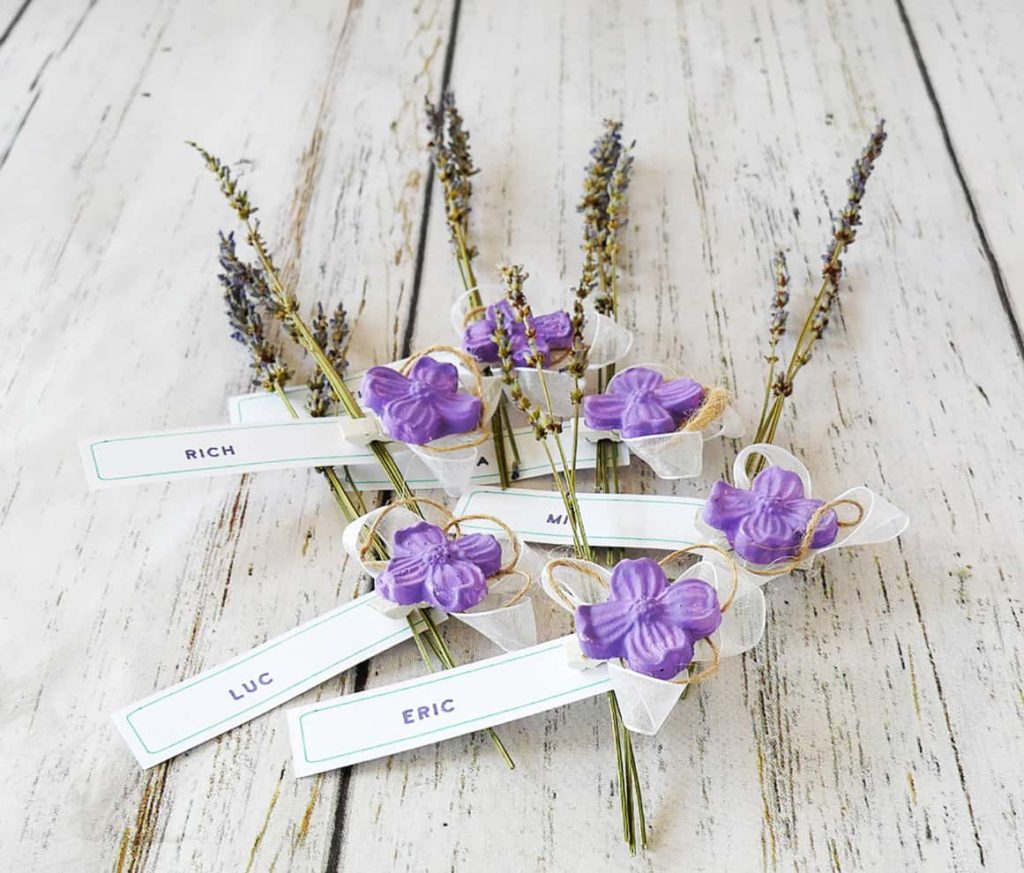
LOVE IT!!
I have a lot of plaster flowers and other pieces left from my fun project, so I thought it would be cute to add them to some bud vases I have.
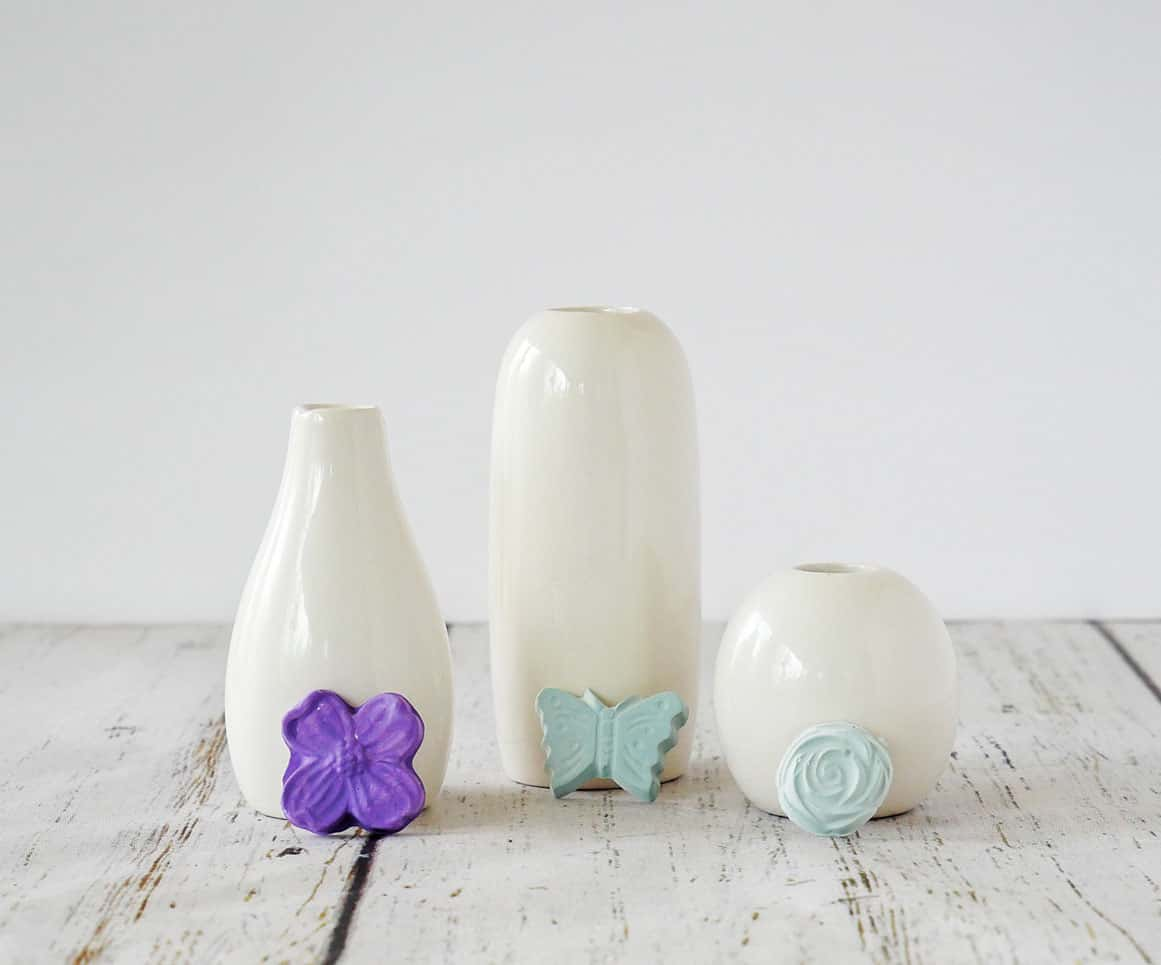
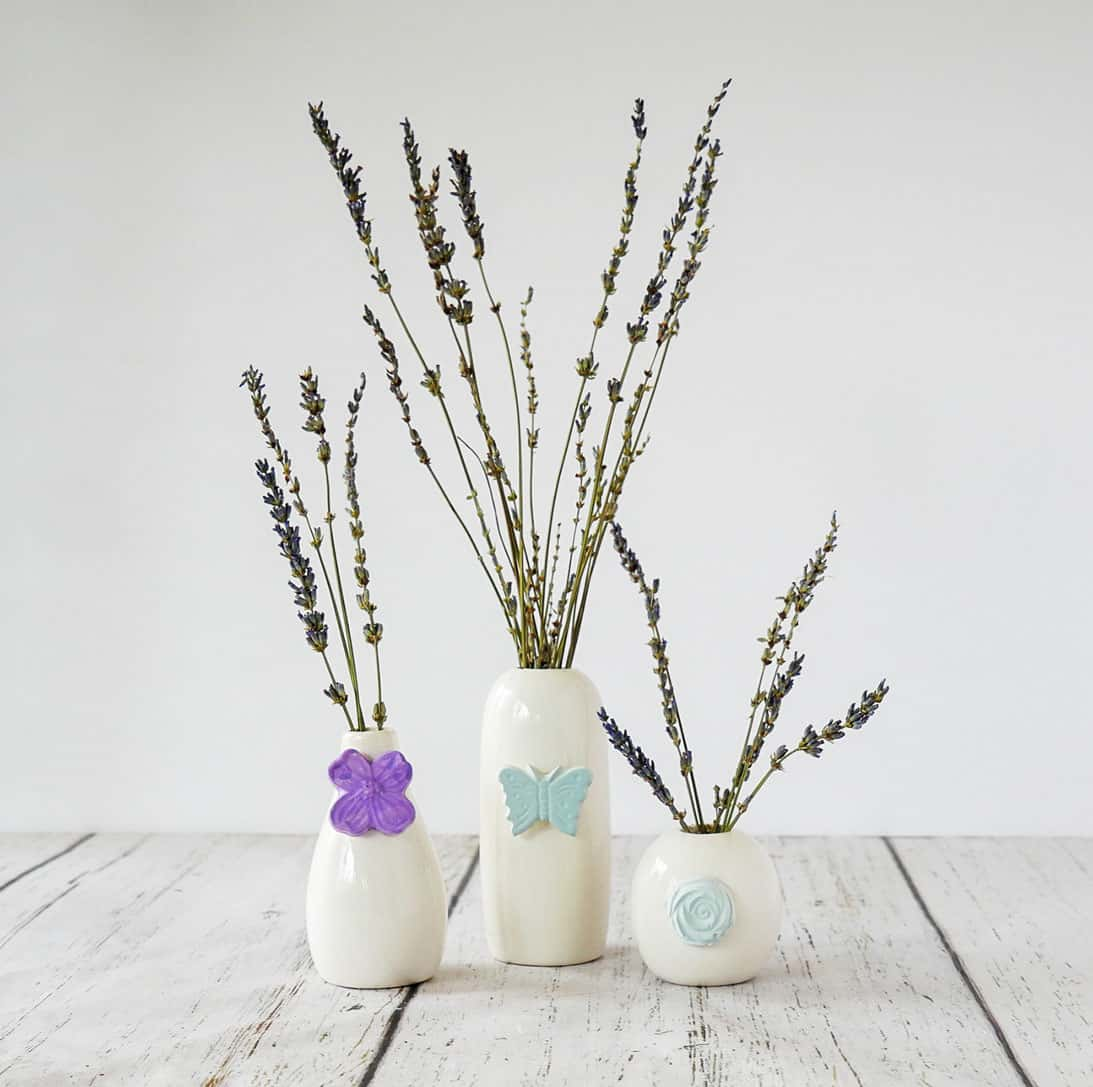
They add a little fun and something unexpected to them, don’t you think?
I used both the bud vases and the place card holders on my Mother’s Day table setting.
You’ve gotta see how cute they look on it!!
Shop the diy supplies: