I wanted a raised wooden serving tray, but when I started pricing the ones I liked, they were way too pricey. Wow! So, I decided to make a simple diy wood tray with handles, myself. I figured it wouldn’t be too hard and would cost a fraction of the price to buy one.
Boy was I right!
Creating a simple wooden tray was easy. Especially because I used an old shelf from my son’s room. He didn’t want the shelves anymore, so we took them down, and I kept the shelf pieces.
You could just as easily pick up a used shelf at the local thrift store or buy a piece of wood from your lumber store.
Transforming a shelf into a useable tray is the way to go. It keeps your costs down and is also a great upcycle project!
The best thing about a diy wood serving tray is that you can make it what you want! You decide the color. You decide the handles. You decide if you want to embellish it. You decide how to make a wooden tray, because of the colors and pieces you choose to use.
It will be a wooden serving tray the way you want it!
Supplies for DIY Wood Serving Tray with Handles
Please note that this article may contain affiliate links. I may get commissions (at no cost to you) for purchases made through these links. You can read my full disclosure here.
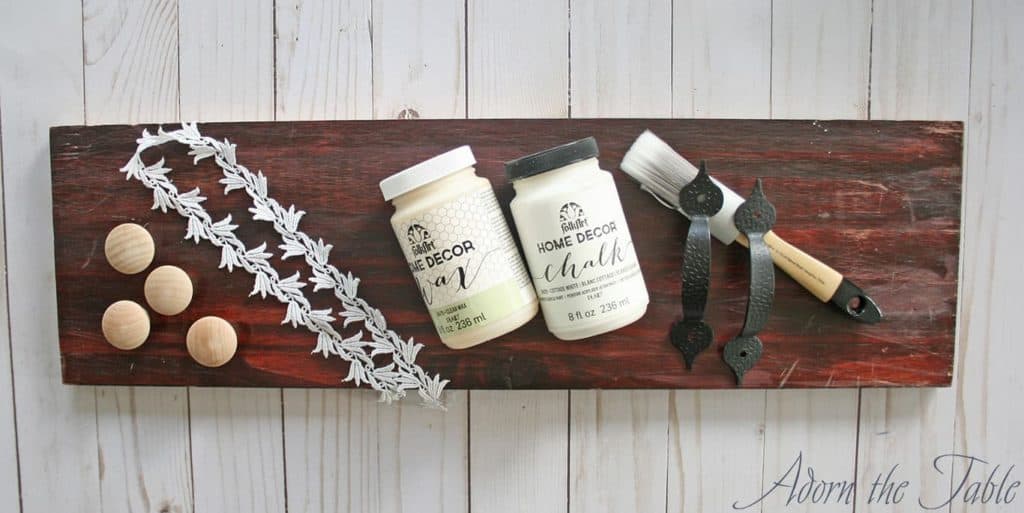
- Shelf or wood plank (used or new)
- Chalk paint
- Wax
- Paint brush
- Drawer handles (2)
- Doorknobs (4)
- Drill
- Optional
- Embellishments (I used lace)
- Mod Podge
How to Make a Simple Wood Tray with Handles
Step 1: Prep your shelf for painting
Clean your old (used) shelf. Make sure that it is free of dirt and grim. Since I used chalk paint, I didn’t need to prep the surface any more than that (gotta love chalk paint!). However, if you aren’t using chalk paint, you will want to sand the painted surface of your shelf so that the paint will adhere to the surface.
Layout enough newspaper to cover your work surface. I also suggest grabbing a few paint sticks for your wood tray to rest on, so it doesn’t stick to the newspaper.
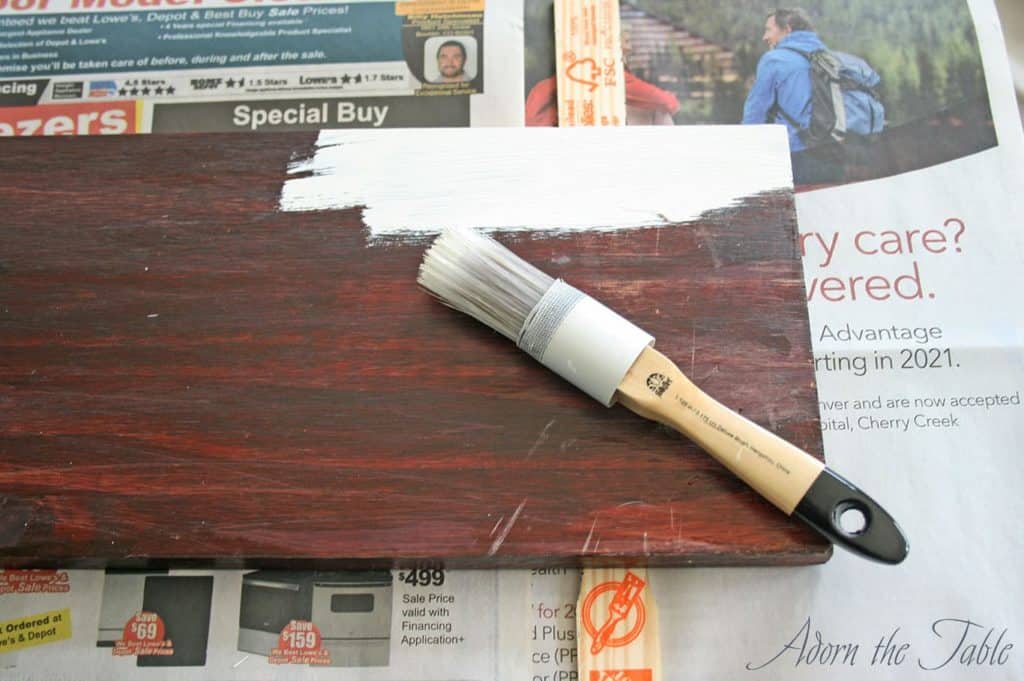
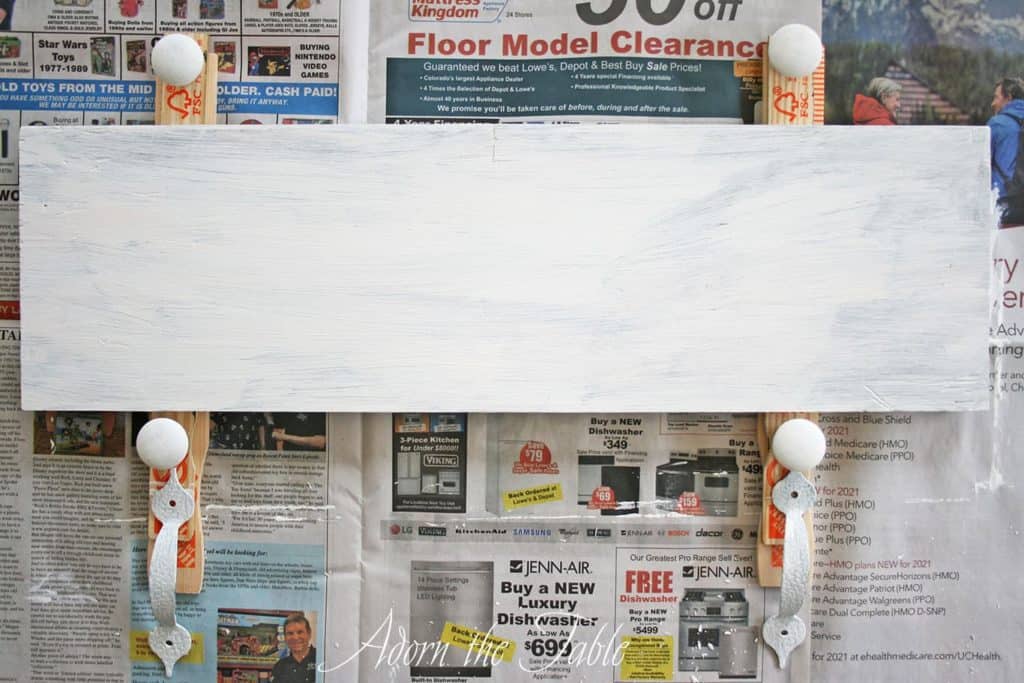
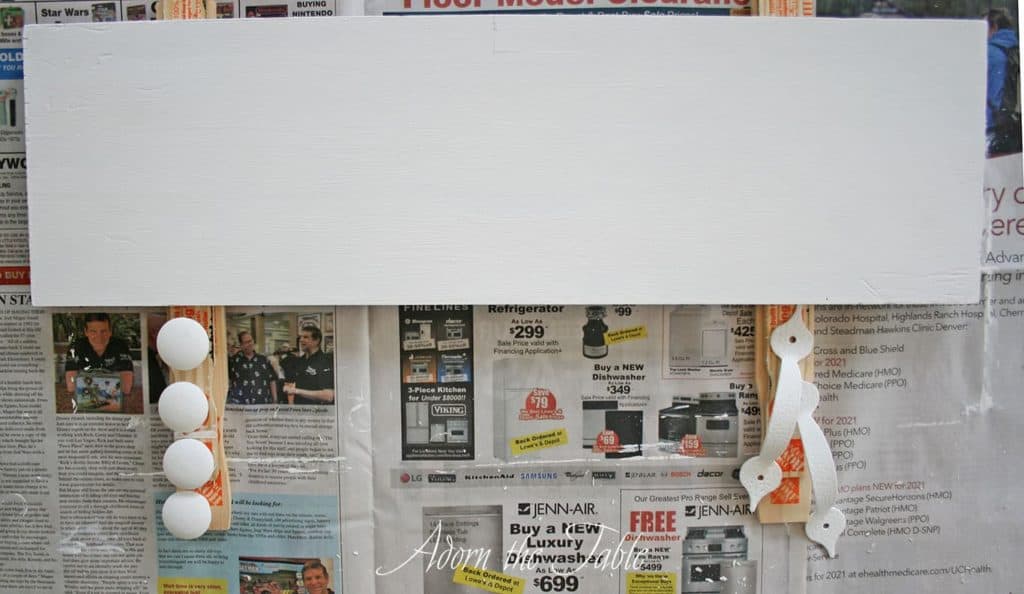
Step 2: Paint your wood tray (shelf), knobs and handles
Apply one coat of chalk paint to your shelf and the wood knobs. If you want your handles to match (like I did), paint them too. Be sure and let them dry completely before painting the underside. Then go back and add a second coat of paint.
Step 3: Add wax to painted surfaces
Once you have finished painting your old shelf with the chalk paint, it is time to add the soft wax. The wax adds a protective finish to your project. Plus, it feels nice to the touch!
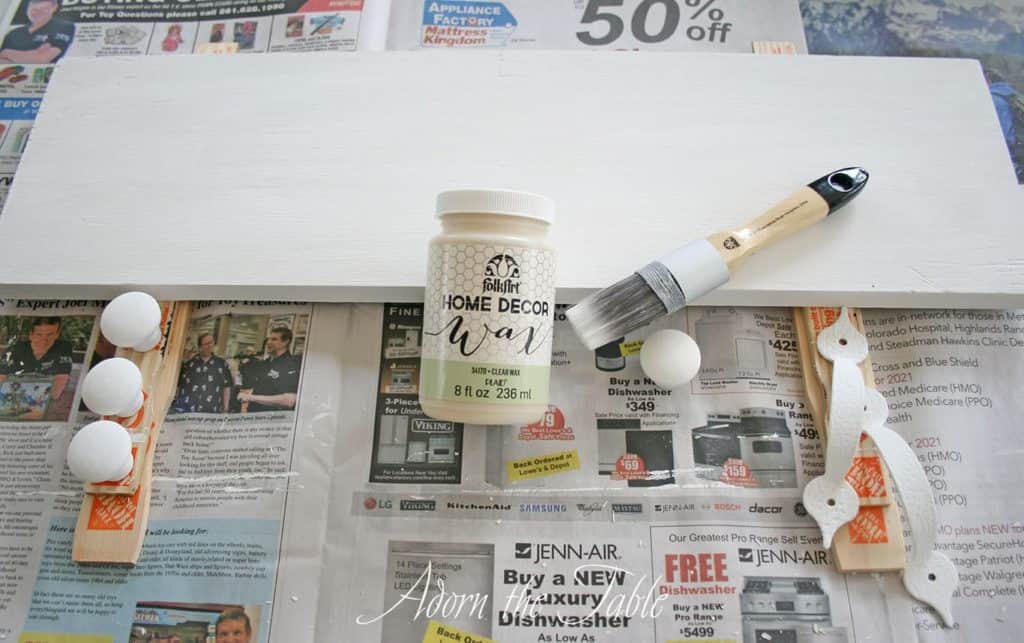
Follow the instructions on the back of your wax. In my case, I applied a light coat with a brush. A little wax can go a long way and you don’t want heavy sections of it. Then when it was completely dry, I rubbed it lightly with a soft cloth.
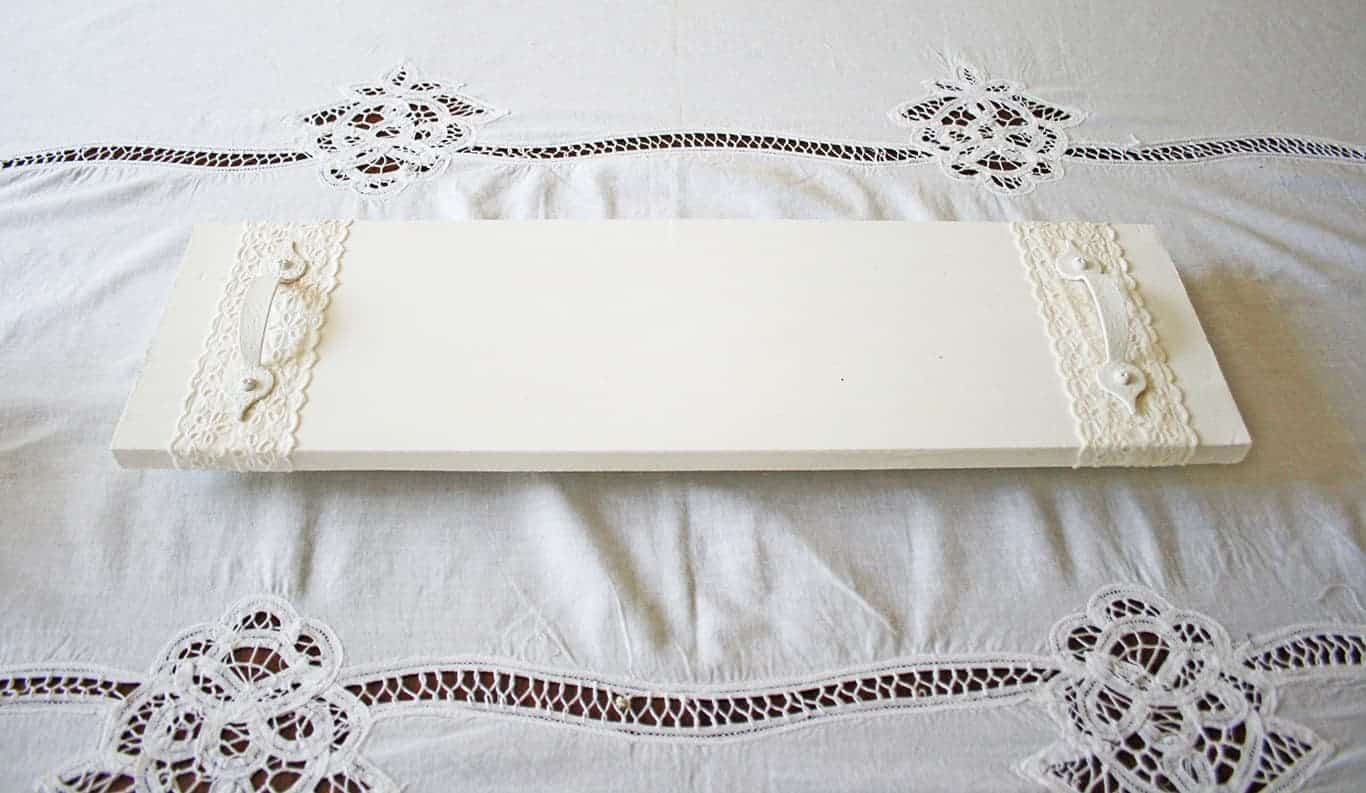
My old shelf was transitioning into a tray – yay!
Step 4: Adding lace to wood tray
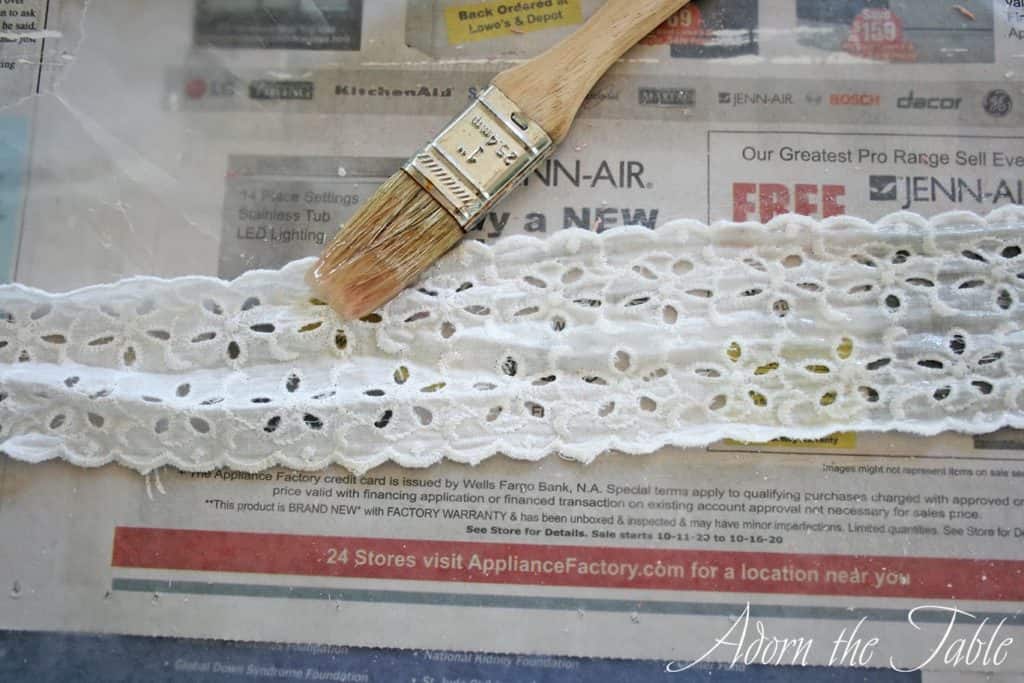
I wanted lace on the ends of my diy wood serving tray. The best option to attach the lace was with Mod Podge because it would adhere to the whole section of lace and lay flat.
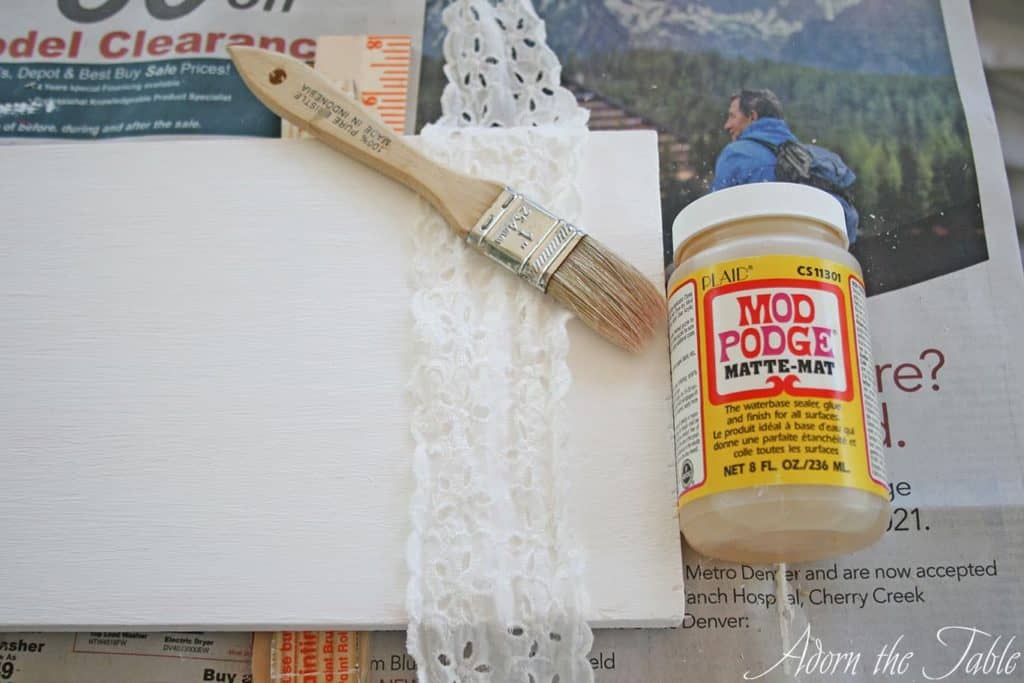
Measure the length of lace to wrap around your shelf and cut. Then get a piece of wax paper the length of your lace and put the lace onto the wax paper. Using a brush, apply Mod Podge to the backside of your lace.
Once the back of your lace is covered, carefully lay the lace on your painted tray where you want it to go. Wrap it around the bottom and pull taught. Smooth out any wrinkles and make it straight.

Do this on both sides of your tray.
Let dry completely.
Step 5: Attaching the wood serving tray handles and feet
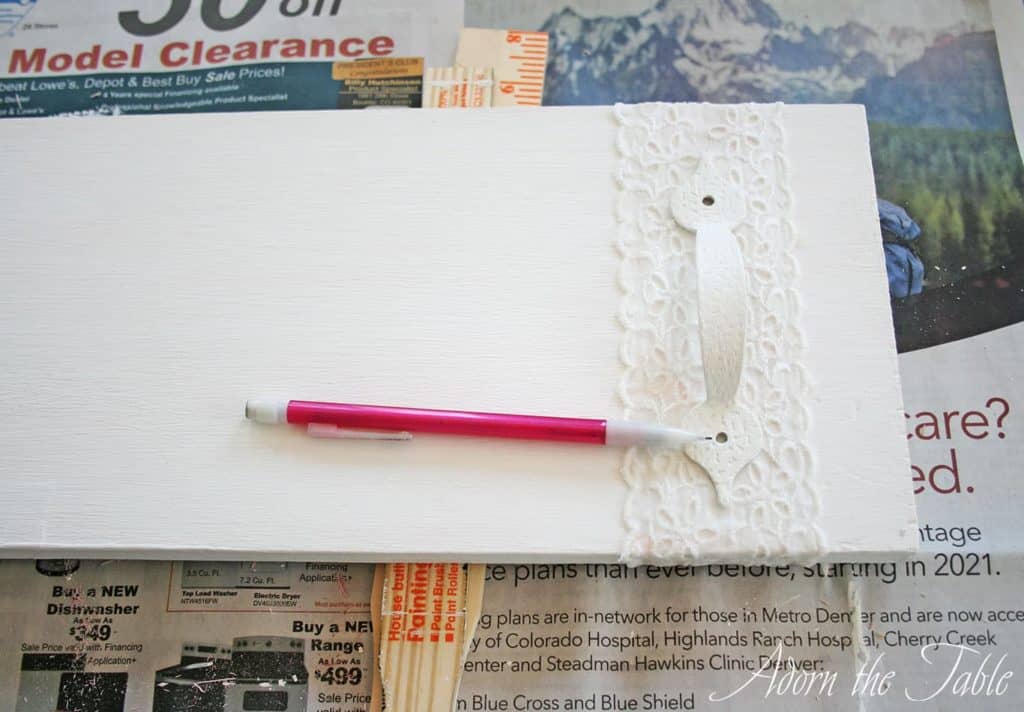
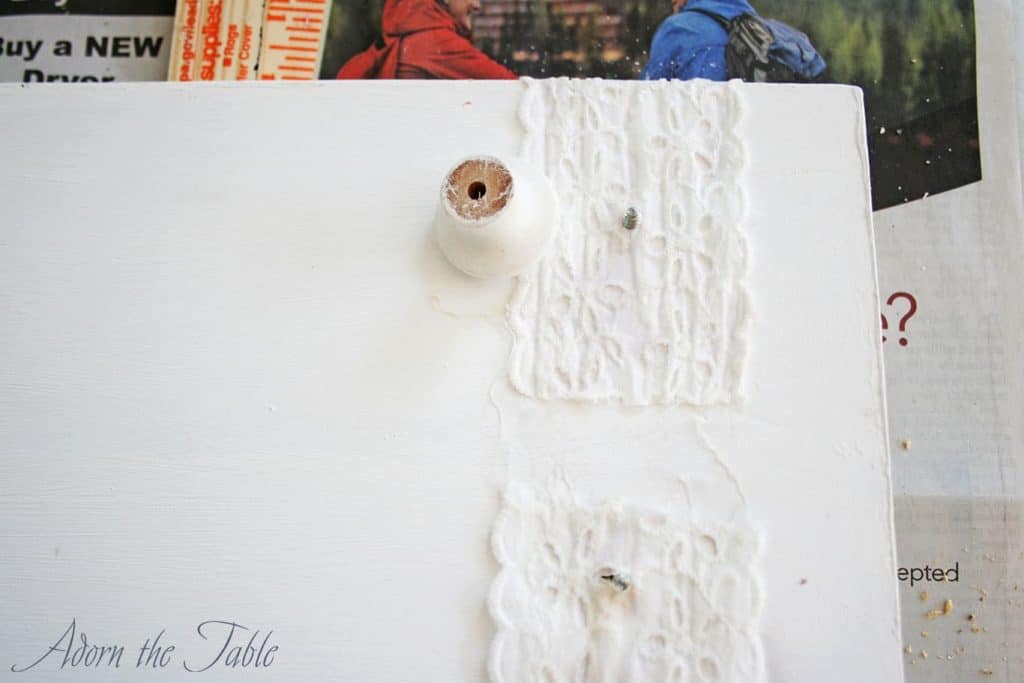
Place the handles on the top of the tray and mark the holes. Make sure they are lined up with each other and centered. Using a ruler to verify is a good idea.
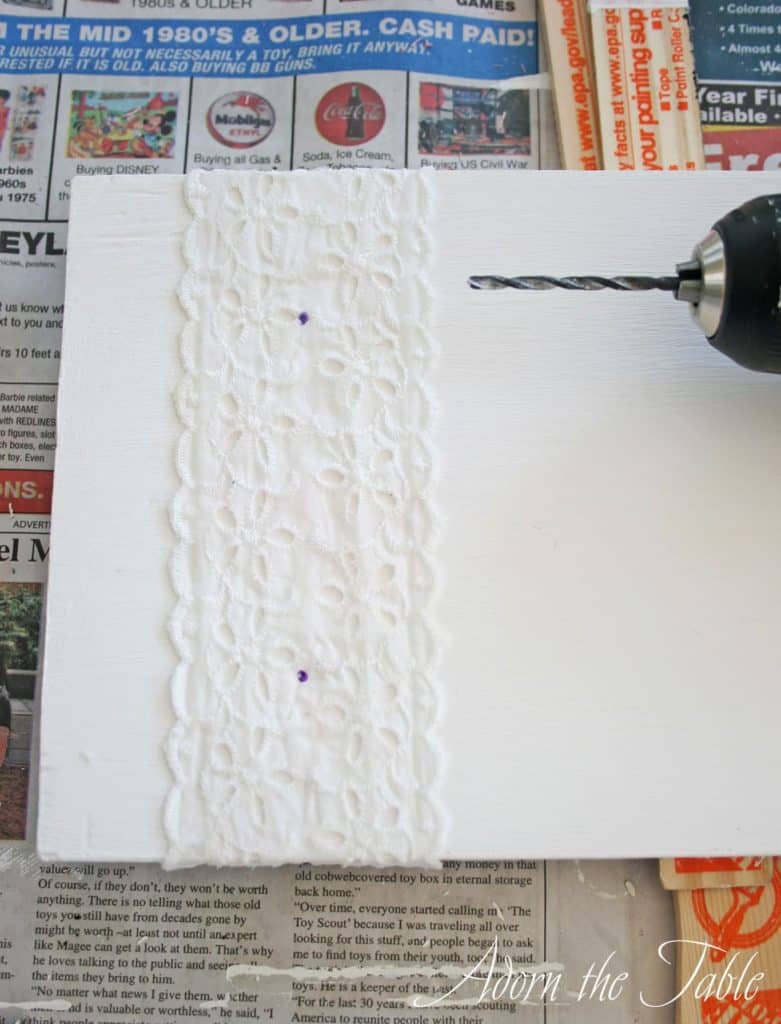
For the first hole – drill all the way through your shelf at the first mark. Attach a screw through the handle and the board. Verify that your second marked hole is correct before drilling the second hole for your handle. Drill the second hole all the way through the shelf.
Repeat on the other side of the tray.
Attach all the screws through the handles and the board. You should have at least ½” of the screws exposed on the underside.
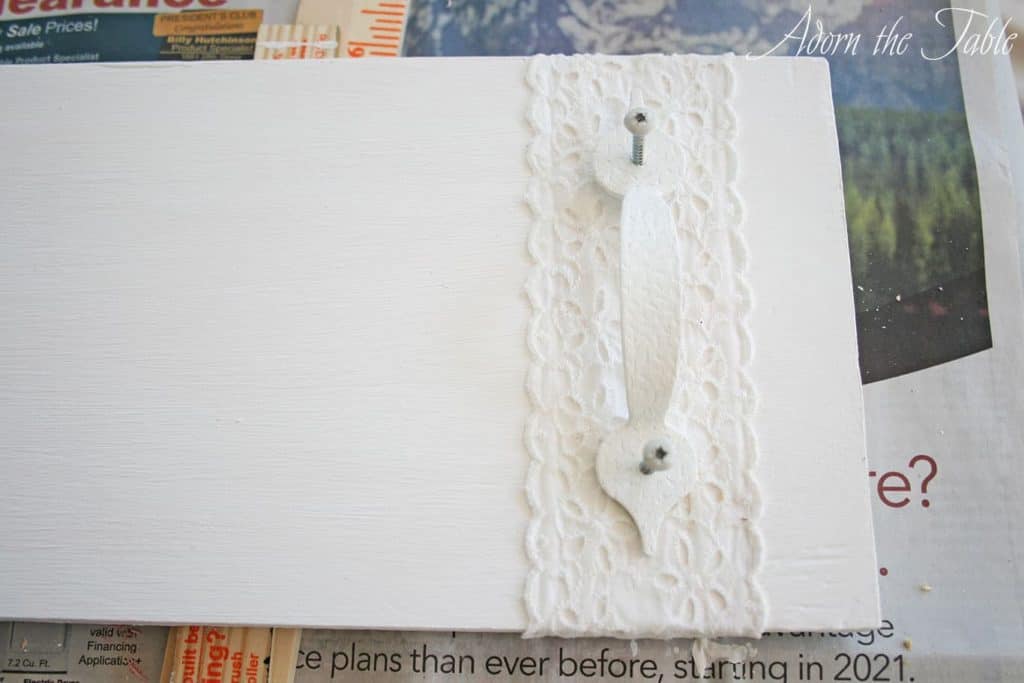
Now take your doorknobs and attached them to the exposed screws. Make sure they are nice and tight.
Flip over your wooden serving tray.
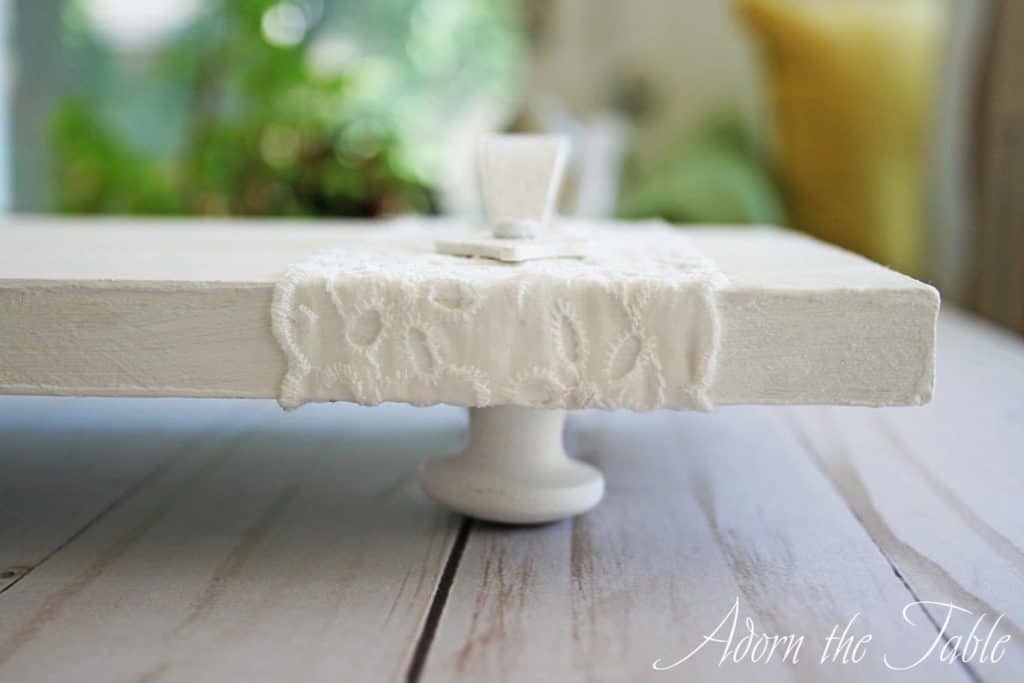
Check it out – you have made a fabulous simple diy wood serving tray with handles! And you upcycled an old shelf at the same time.
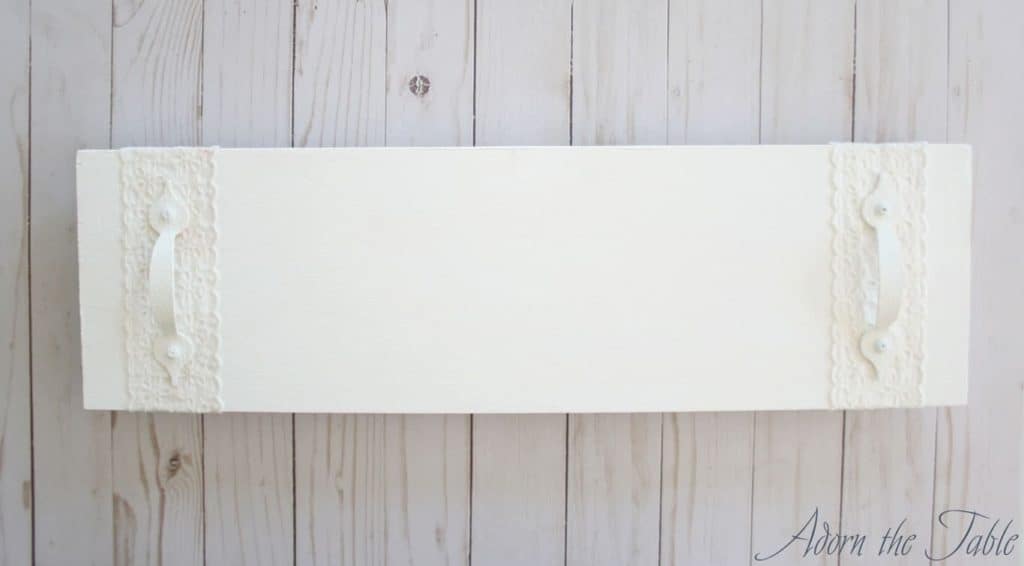
Yay!!
LOVE IT!
*Note: I learned the hard way that mahogany-stained wood doesn’t cover well with chalk paint if it wasn’t previously completely sealed.
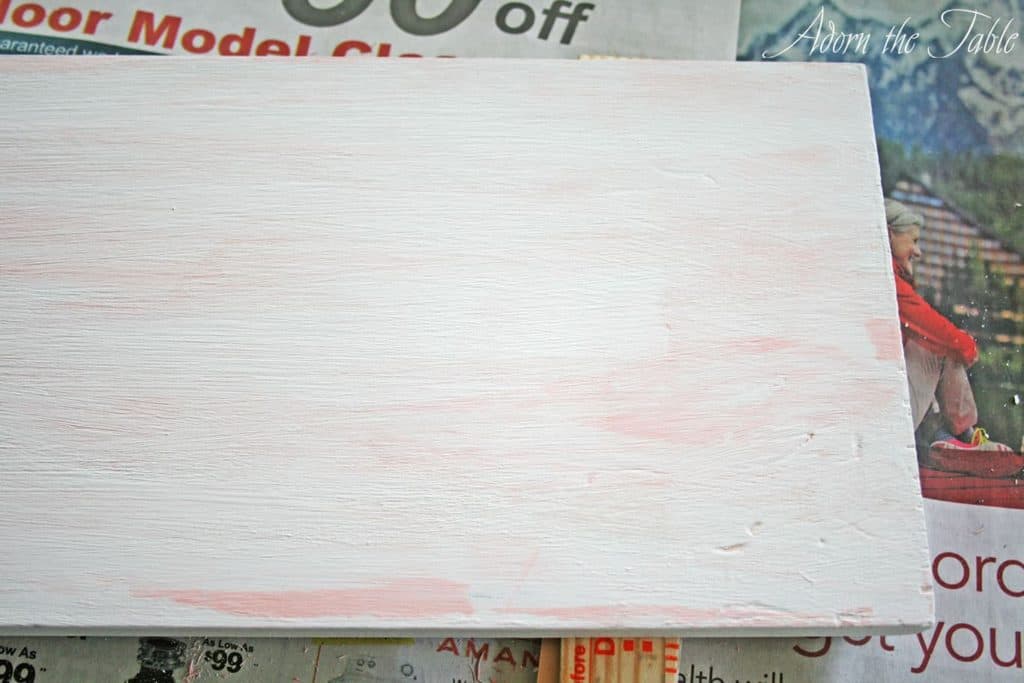
You can see how there is a pink color coming through the white chalk paint. That is the mahogany stain. It won’t matter how many coats of chalk paint I use, the pink will continue to show.
The only way to solve this problem is to cover the shelf with a stain blocker paint and then continue with a final coat of chalk paint.