Have you seen Halloween diy cheesecloth ghosts? They have been around for years. In fact, I made some about 12 years ago.
They were so fun to put around the house as part of my Halloween décor. I don’t know whoever originally came up with the diy project, but making ghosts out of cheesecloth – genius!
The cheesecloth gives the ghosts an ethereal quality. The way it drapes, and layers is perfect. Plus, making ghosts using cheesecloth is SO simple!
It’s a little messy, and your hands get sticky, but it’s a really fun project.
If you have little ones, it’s a great Halloween diy project for them too.
When I was going through my Halloween decorations, I realized that my diy cheesecloth ghosts (with just a few tweaks) would make SUPER cute place card holders.
The key was making the arms able to hold a place card. Easy-peasy!
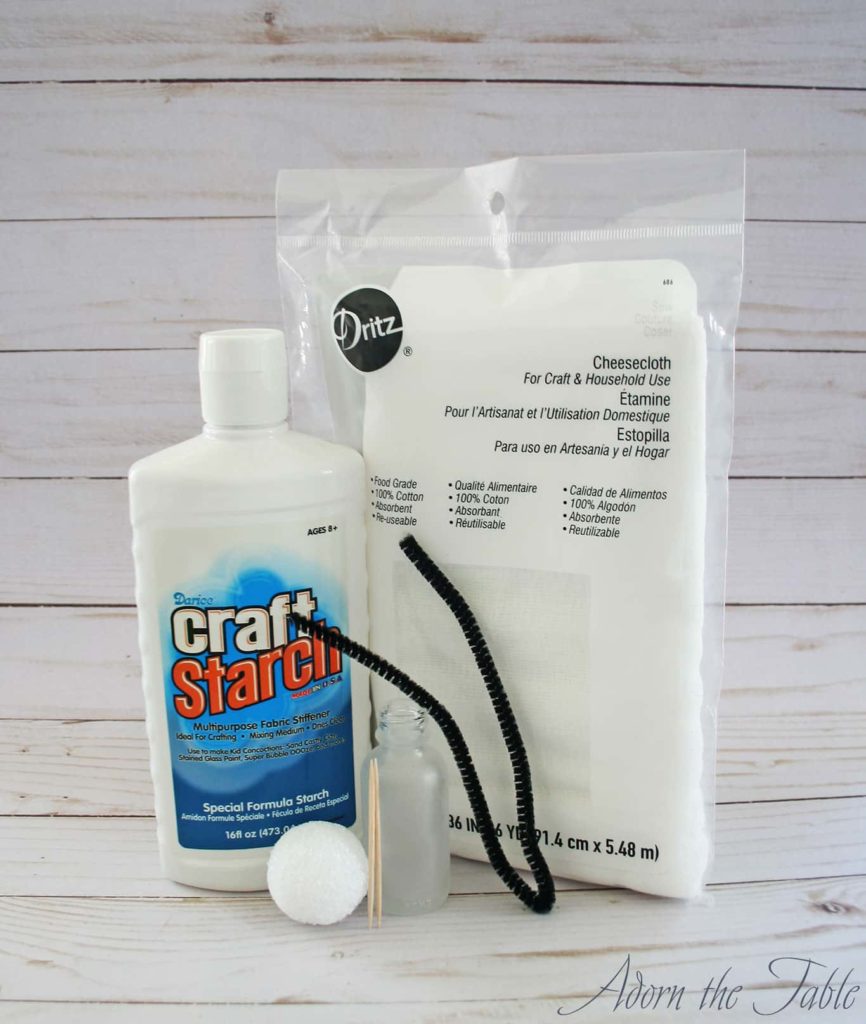
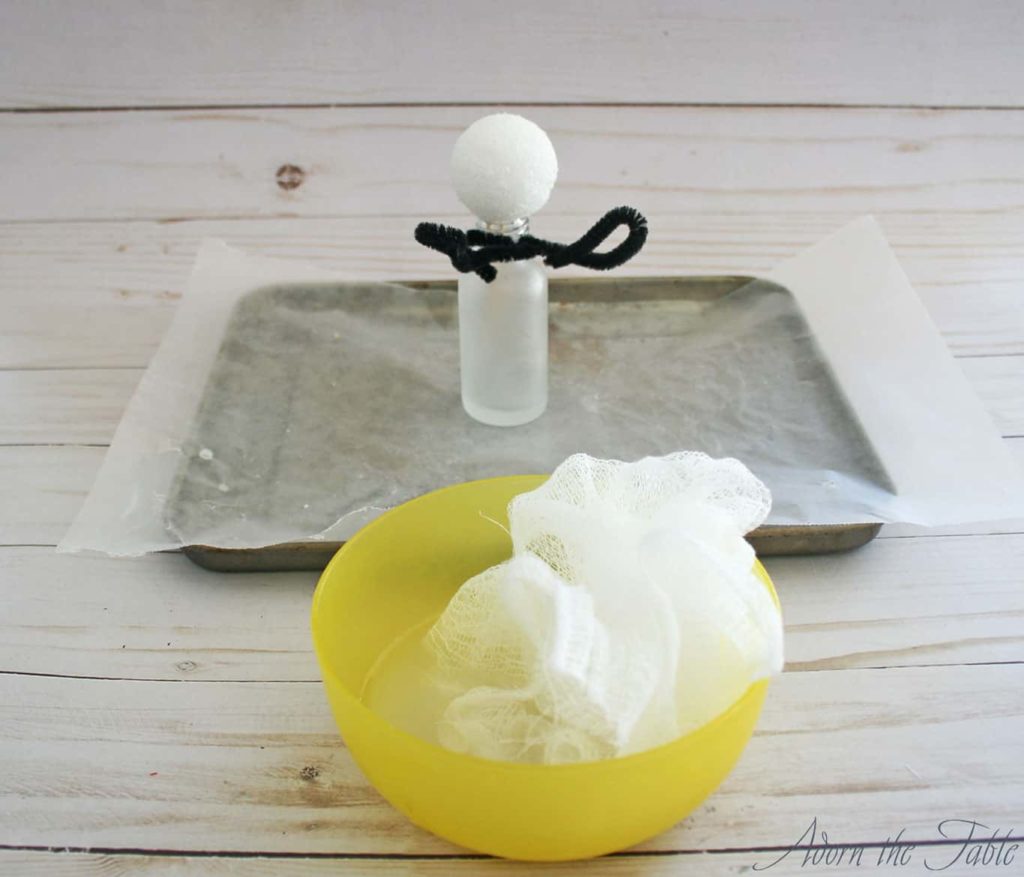
Supplies for Simple DIY Halloween Cheesecloth Ghost
Please note that this article may contain affiliate links. I may get commissions (at no cost to you) for purchases made through these links. You can read my full disclosure for more details.
- Liquid starch
- Cheesecloth
- Small Styrofoam ball
- Pipecleaner
- Toothpicks
- Short, small mouth jar
- Scissors, or cutting mat and rotary cutter
- (Optional)
- Black paper or felt
- Wax paper
- Cookie sheet
How to Make Small Halloween Ghost with Cheesecloth as Place Card Holders
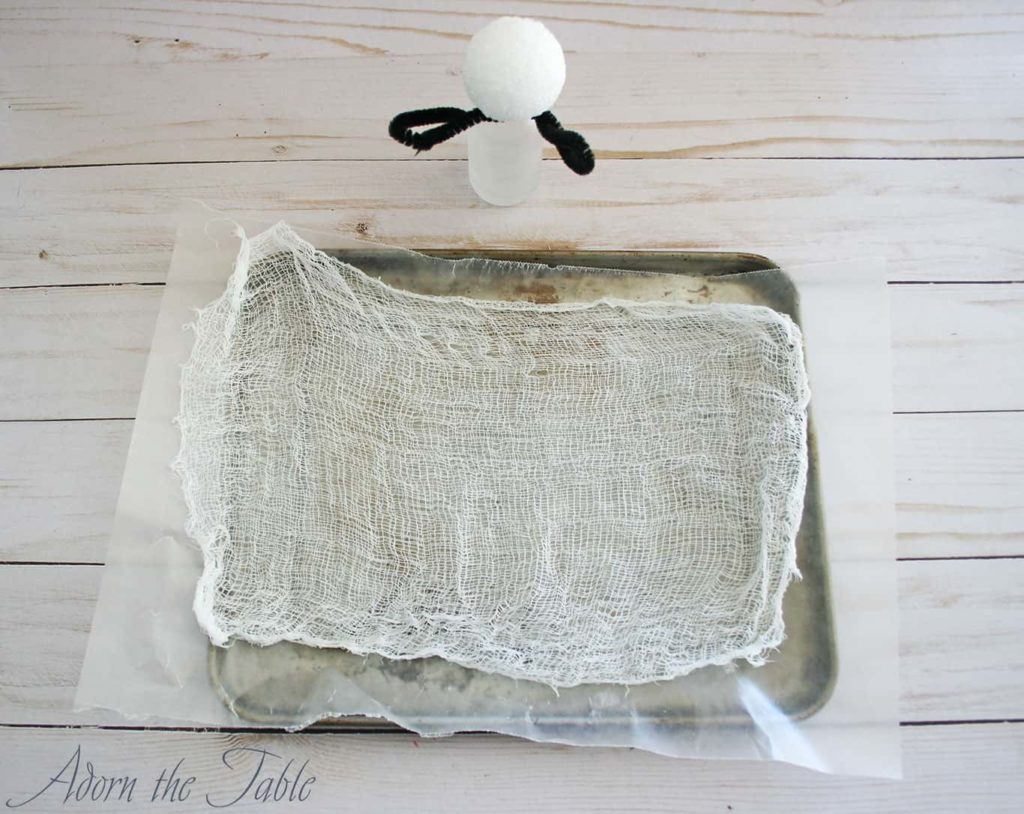
Step 1: Prep the Cheesecloth for the Ghosts
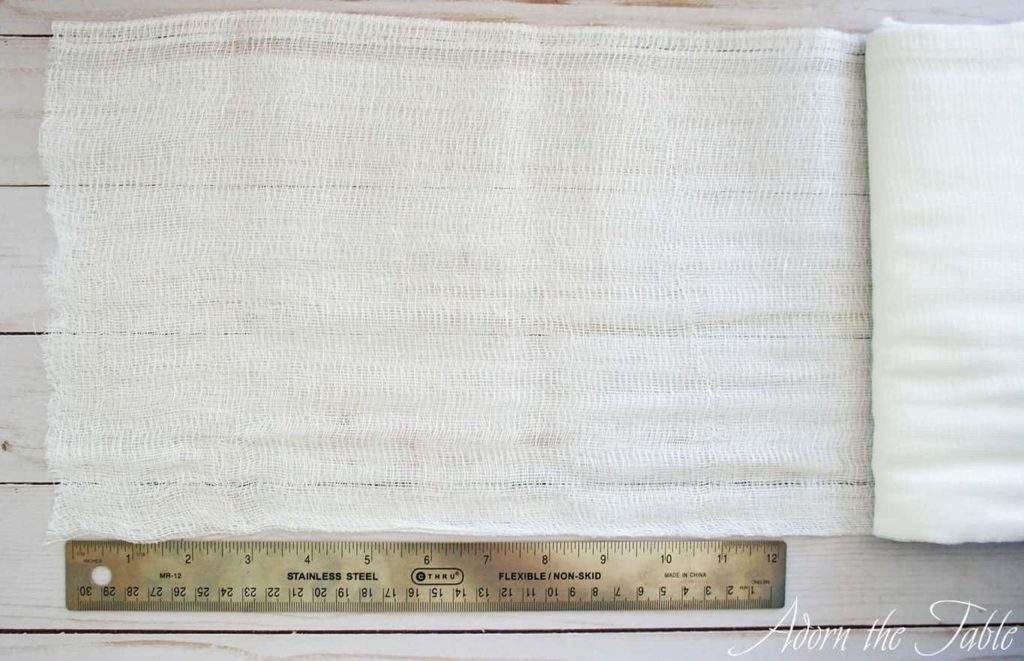
Unfold the cheesecloth and cut about 12”. That 12” section has most likely been folded 3 times.
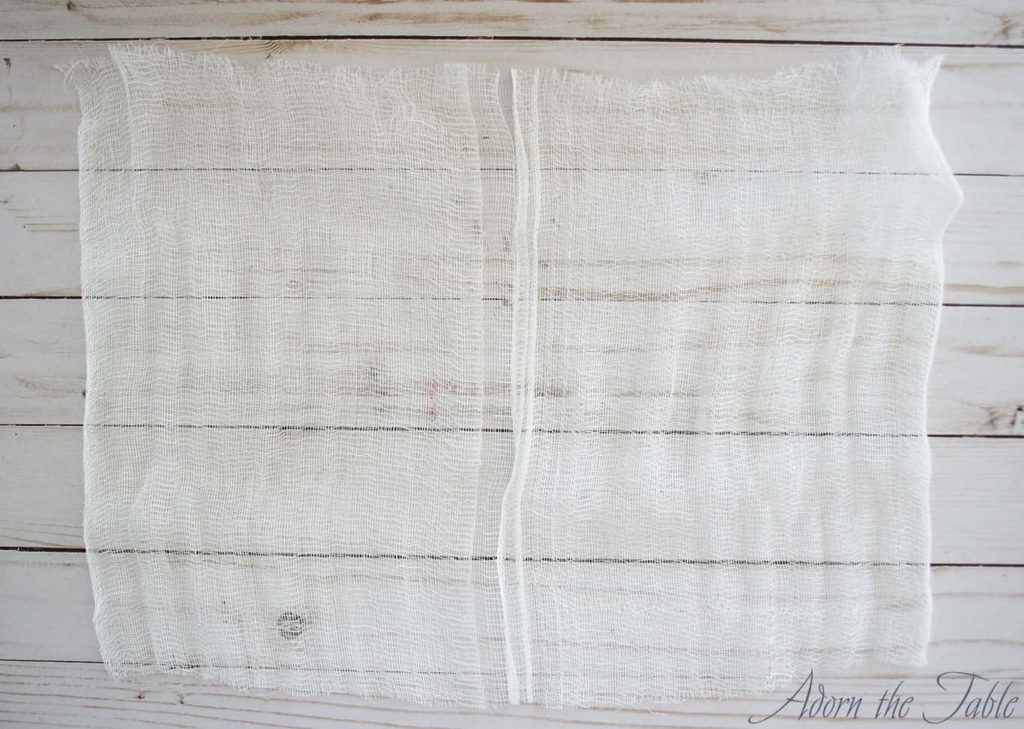
Unfold your 12” piece once and cut it in half. You should now have two 12” x approx. 9” pieces. Those pieces still have a fold in them, so the cheesecloth is doubled. Don’t unfold it any further.
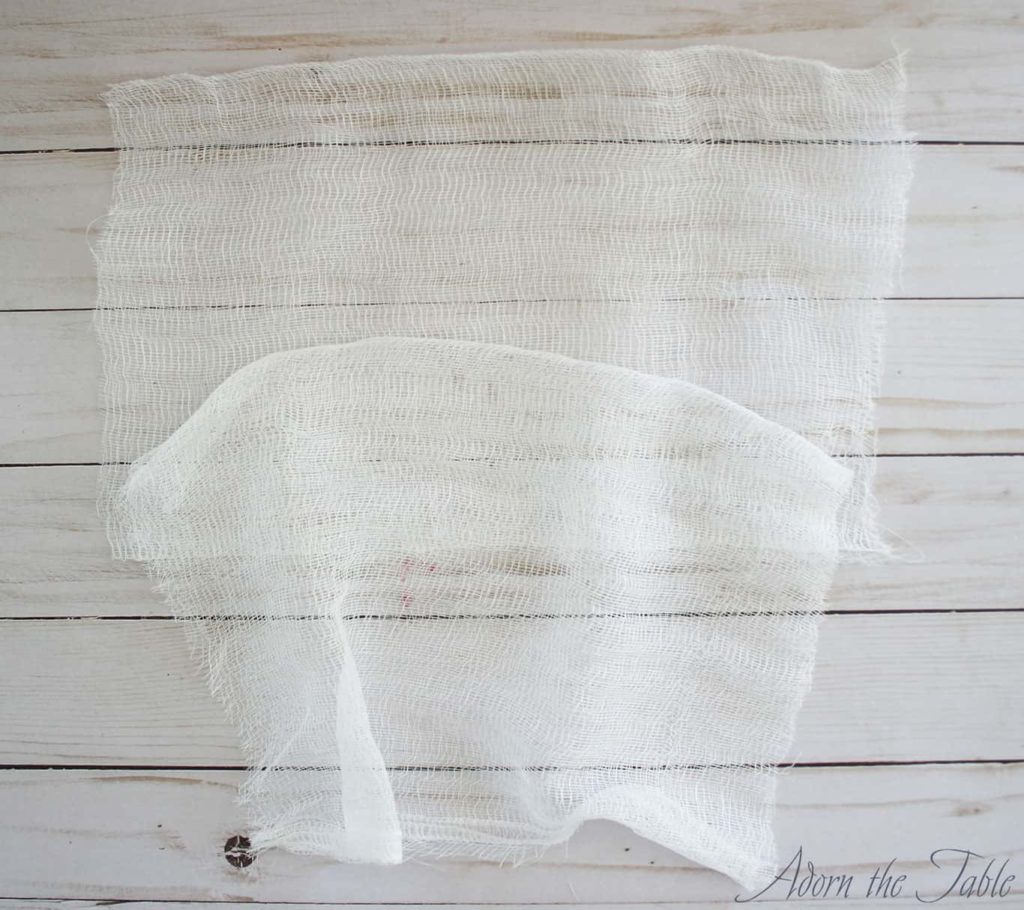
Cut another 12” piece and do the same thing. You will have four 12” x 9” pieces of cheesecloth.
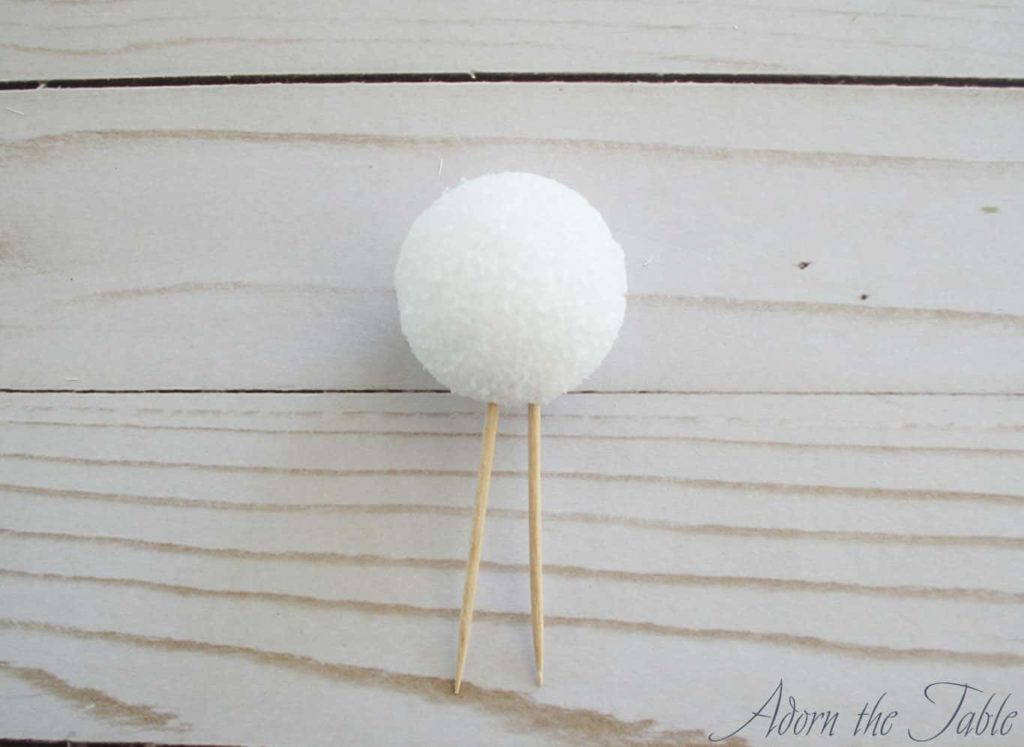
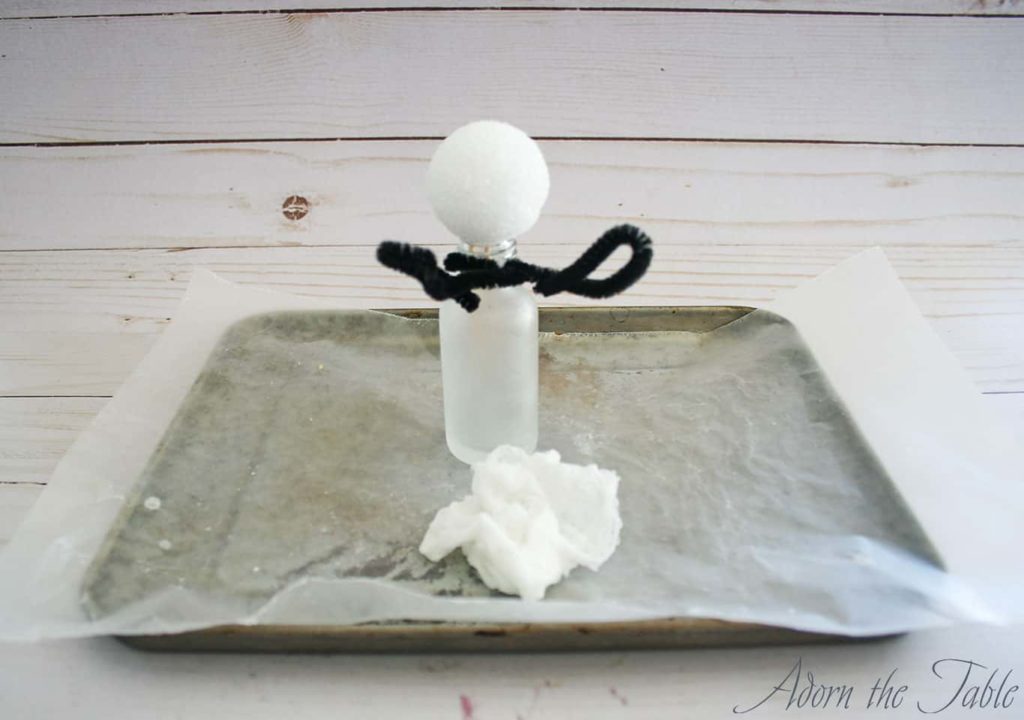
Step 2: Prep Your Cheesecloth Ghost Form
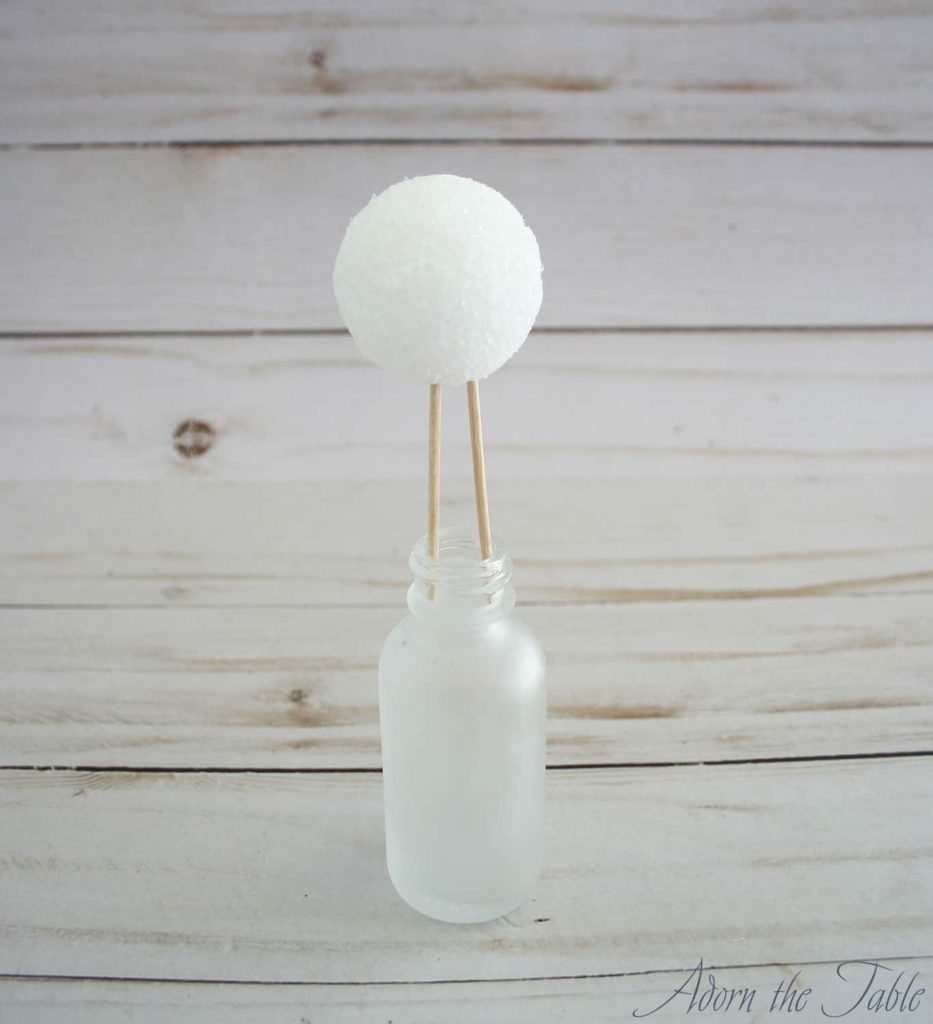
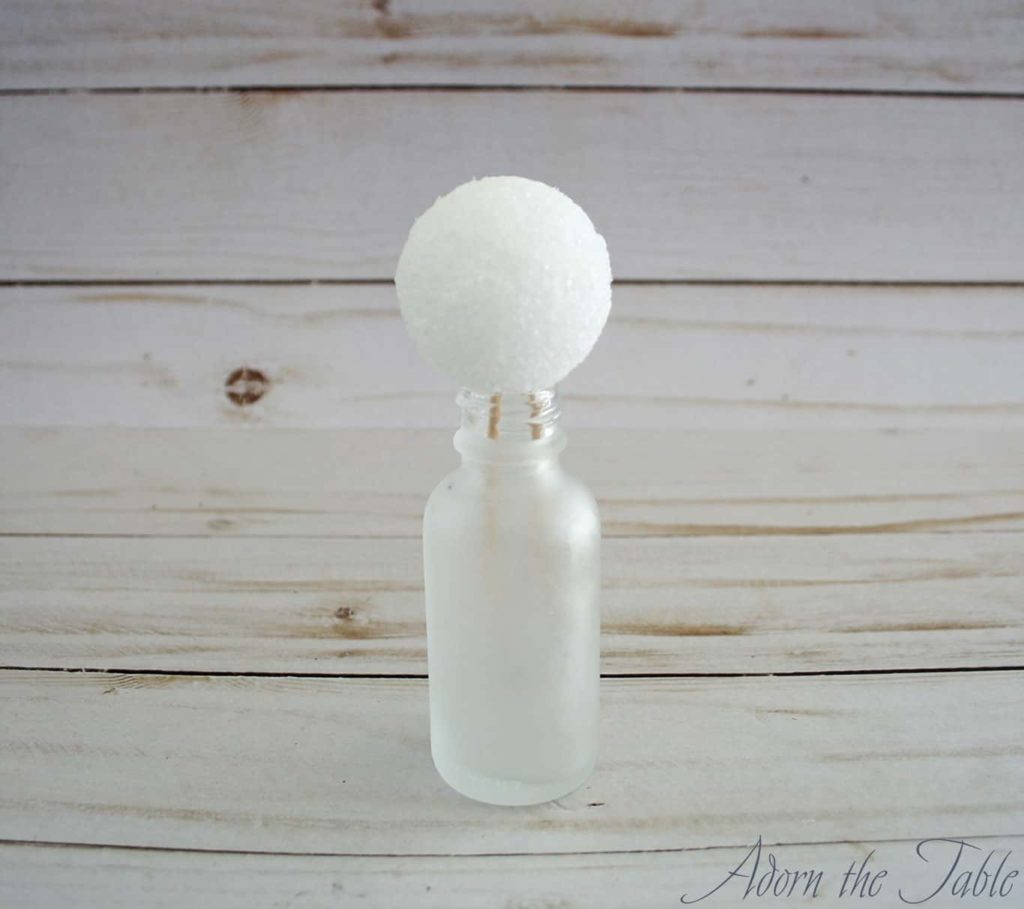
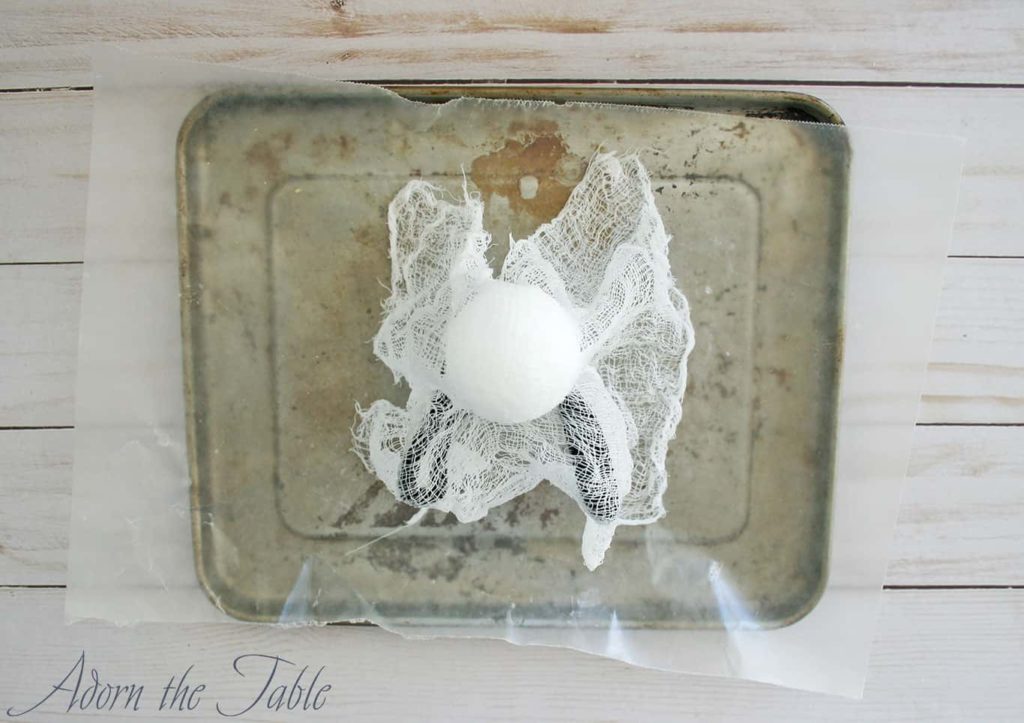
First, take a small Styrofoam ball and stick two toothpicks into it, close to each other.
Then put the toothpicks into the mouth of your small mouth jar. The toothpicks will help to stabilize the ball on top of the jar. Otherwise, it will just fall off when you add the cheesecloth.
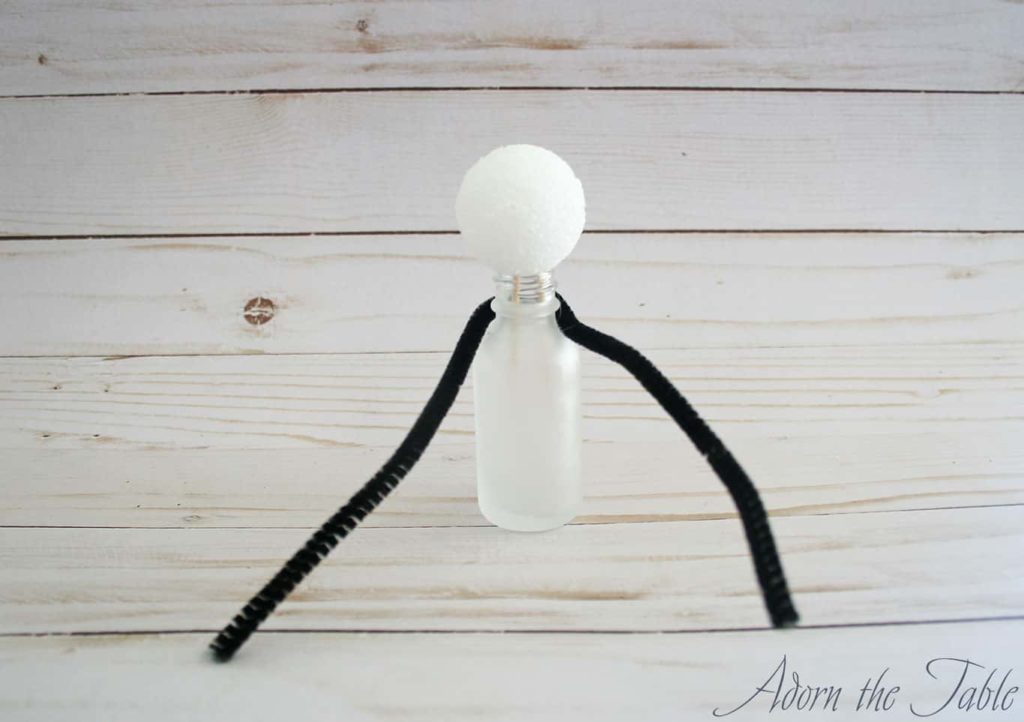
Next center the pipe cleaner at the jar’s mouth and wrap it around the jar once. Then take the ends and fold them in half. These will be your ghost’s arms. Note: fold the pipe cleaner ends, so the cheesecloth won’t get caught on them.
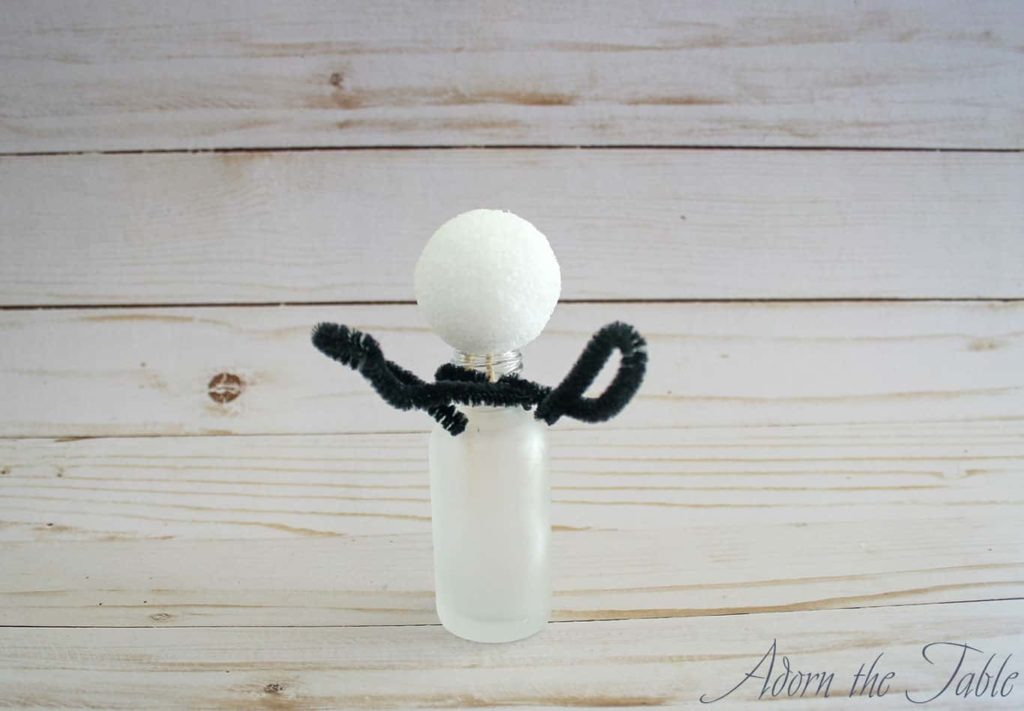
Lastly, position the pipe cleaner ends slightly upward and close enough to each other to hold a place card. *Tip: take a place card and put it on the arms to make sure they are correctly positioned. If not, make any adjustments now, as you can’t later.
Step 3: Putting the Cheesecloth on the Ghost Form
Here is where the magic happens, lol!
*Tip: before starting this step, lay down wax paper on your work surface, or on a cookie sheet. I did this on a cookie sheet, so I could easily move my diy cheesecloth ghost while I was waiting for it to dry.
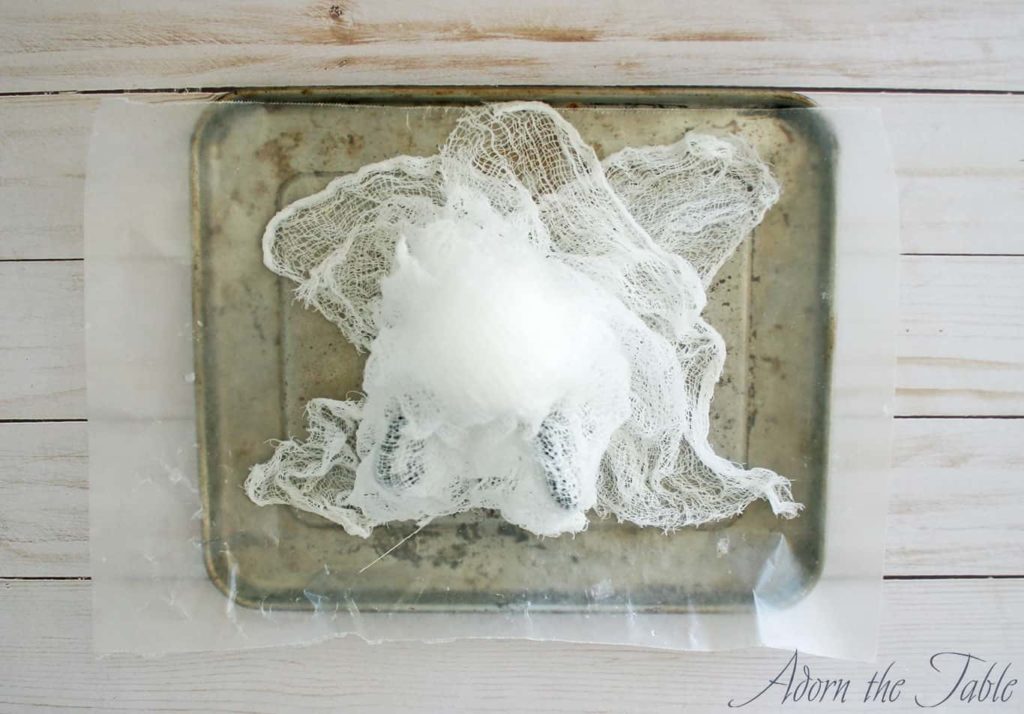
Put some liquid starch in a small bowl, then add 1 piece of your cut cheesecloth to the liquid starch. Get it nice and soaked.
Carefully take the soaked cheesecloth out of the bowl and wring the starch from the cheesecloth. You don’t need, or want the cheesecloth to be dripping liquid starch. It will just take a lot longer to dry.
You now have a wad of cheesecloth. Carefully open it up and pull it apart, getting it back into its rectangular shape. Cheesecloth does shrink up a little with the starch. That’s fine.
Now for the fun part …. Drape the cheesecloth over part of your diy Halloween ghost form. A few notes on this step:
- The 1 piece won’t completely cover your ghost form, and that is okay, as we want the layers from multiple pieces
- Be sure and pool the cheesecloth at the base. It needs to touch and rest on the bottom of the pan (or worksurface), so that once the starch is dry, the ghost will be able to stand on its own.
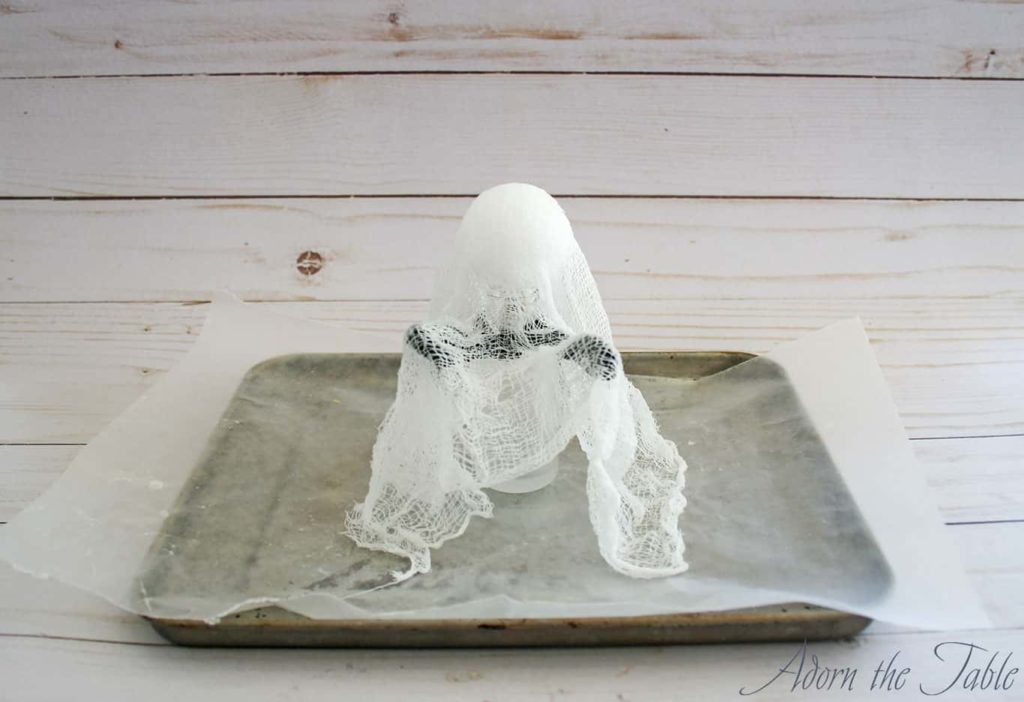
After you have the first piece of cheesecloth draped, continue the process with the other three pieces. Start in a new place, and lay the pieces in different directions than the first piece.
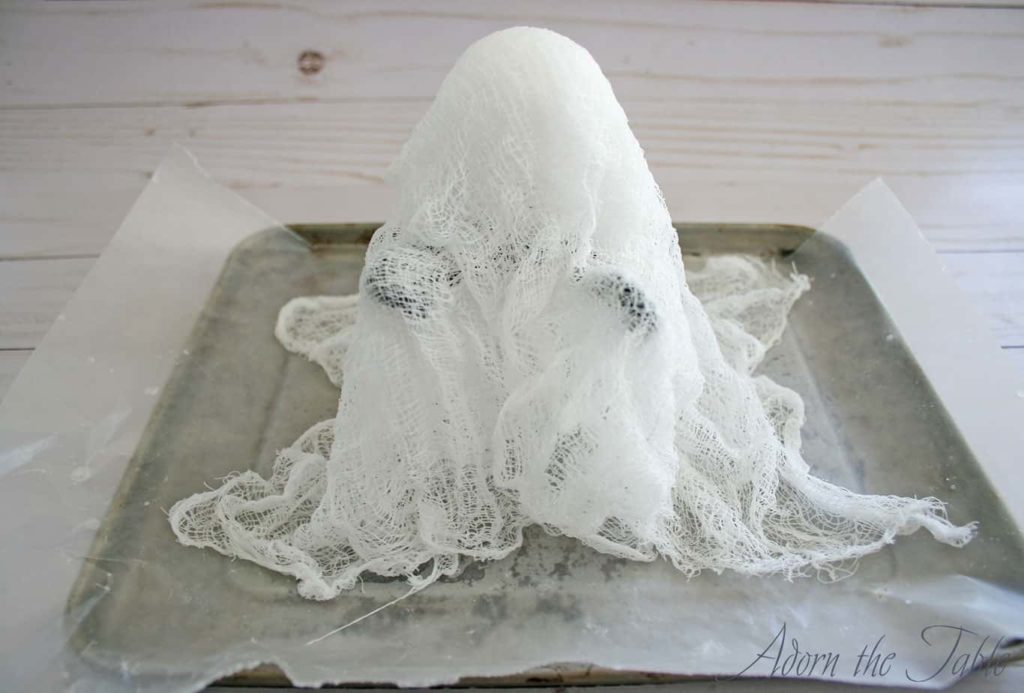
Make sure that the cheesecloth forms around the Styrofoam ball and sits on the inside of the ghost’s arms. You don’t want it to drape straight from the head to the fingers.
Step 4: Wait
Haha! Yep, once your Halloween diy cheesecloth ghost form looks good, you need to set it aside and wait for it to dry. At least 12 – 24 hours. It all depends on how long it takes for the liquid starch to dry.
Step 5: Finalizing your DIY Ghost Made from Cheesecloth
Once the cheesecloth is completely dry, carefully peel it away from the wax paper. As you lift up your ghost, the jar you were using as a base might detach.
Then very carefully, gently pull the pipe cleaner and Styrofoam ball away from the cheesecloth. Make sure you don’t stretch the cheesecloth, as it will lose its shape.
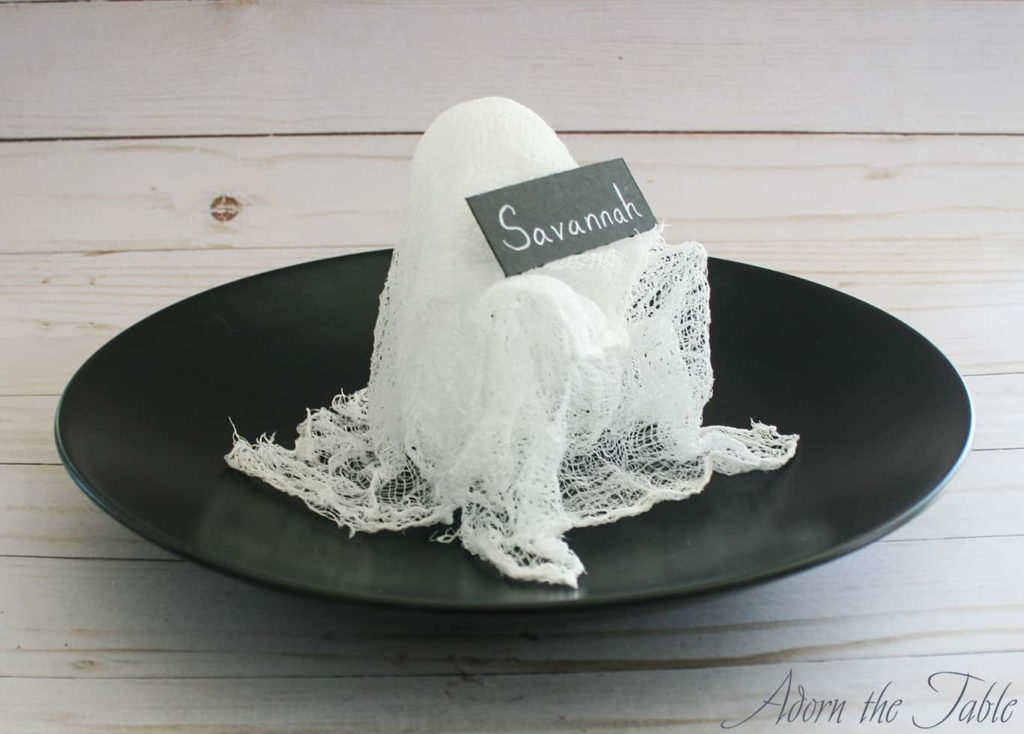
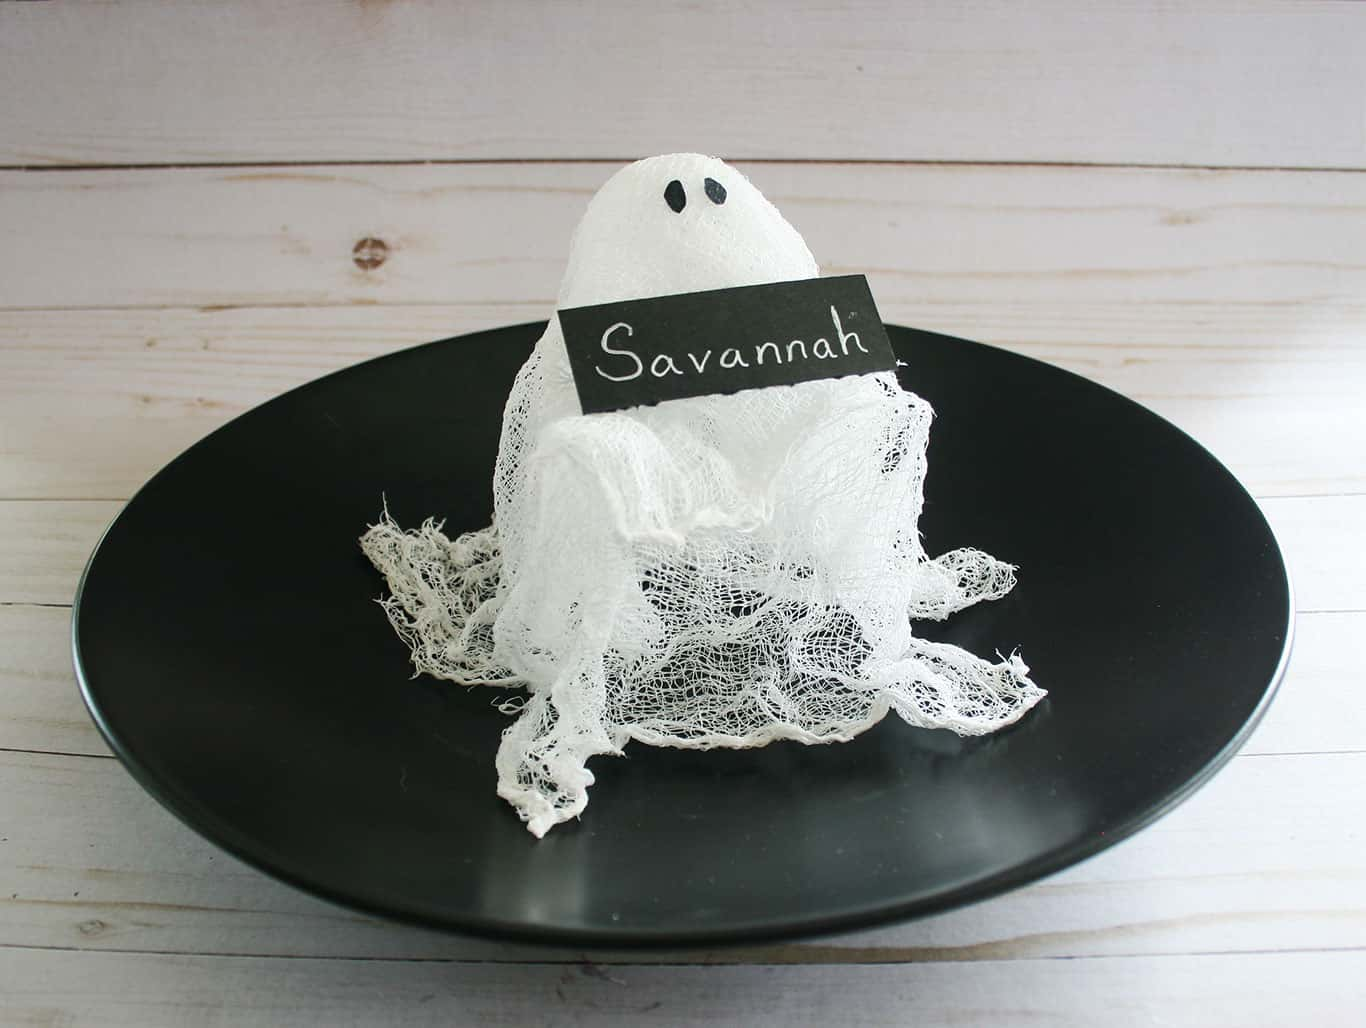
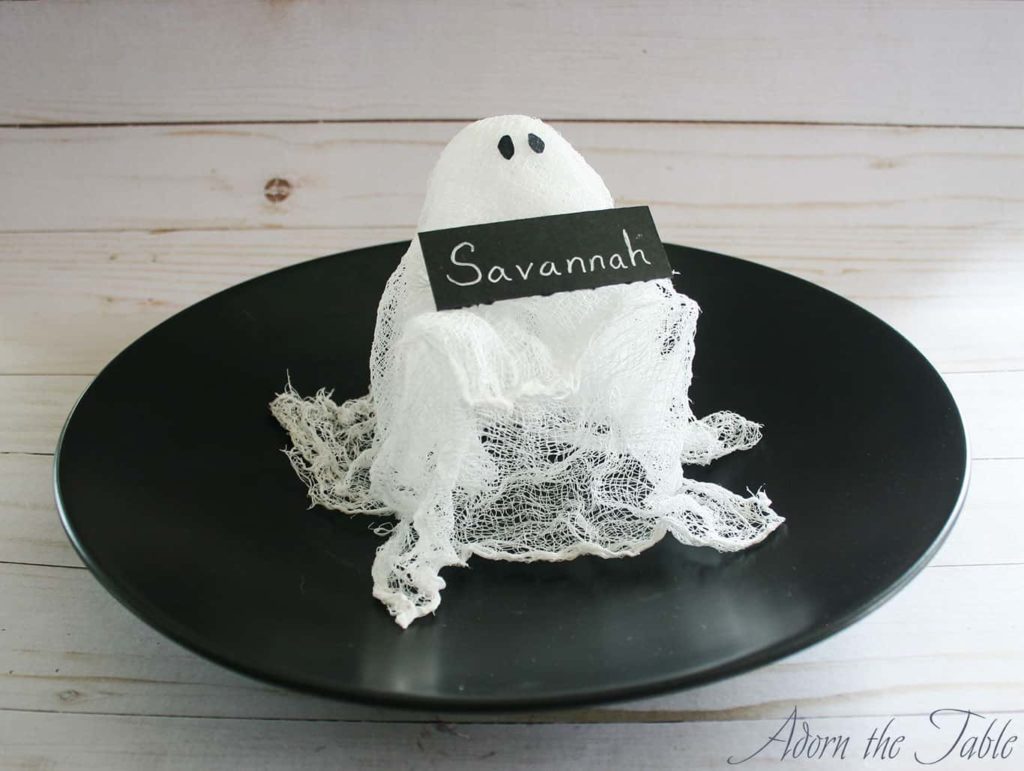
Take a look…you have a completed diy Halloween cheesecloth ghost, ready to hold a name card for your Halloween tablescape.
Love it!!!
Step 6: Finishing Touches on Your Halloween DIY Ghost Place Card Holders
Some people like their cheesecloth ghosts to be plain, with no embellishments. Others, like them to have eyes and a mouth. If that’s you, cut them out of black paper or black felt and glue them in place. You can also draw them on with a thick sharpie if you prefer.
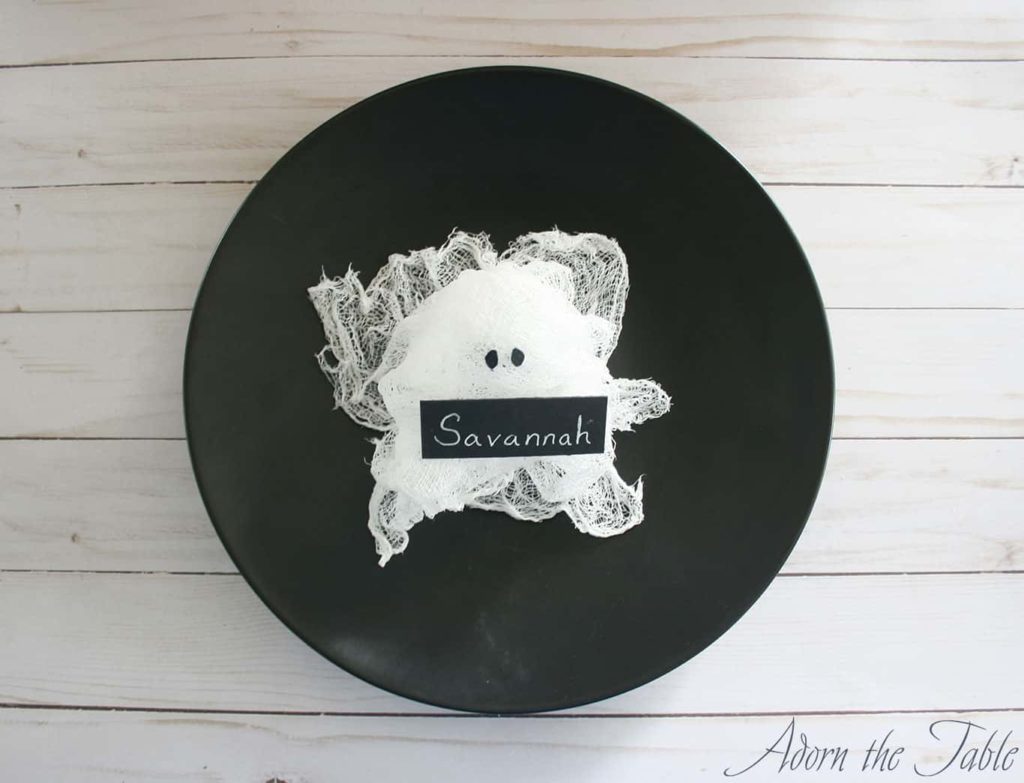
To showcase your Halloween diy cheesecloth ghost as a place card holder, use black cardstock and write on it with a white marker. Then place the name card on the arms of the ghost.
Too cute!!!
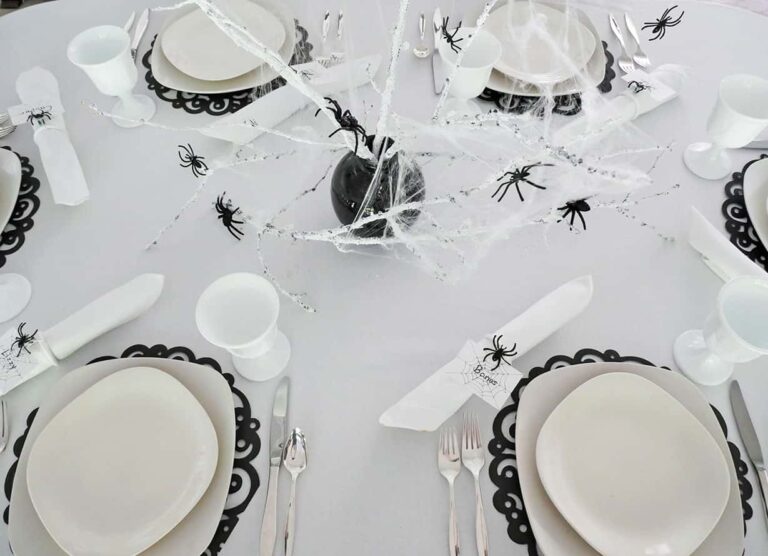
Can’t you imagine these ghosts place card holders on your Halloween table, or as Halloween decor around your house?
Your guests will love them!
Shop the DIY Supplies
Cheesecloth

Liquid Starch

Small Styrofoam Balls

Pipe Cleaner

Cutting Mat

Rotary Cutter