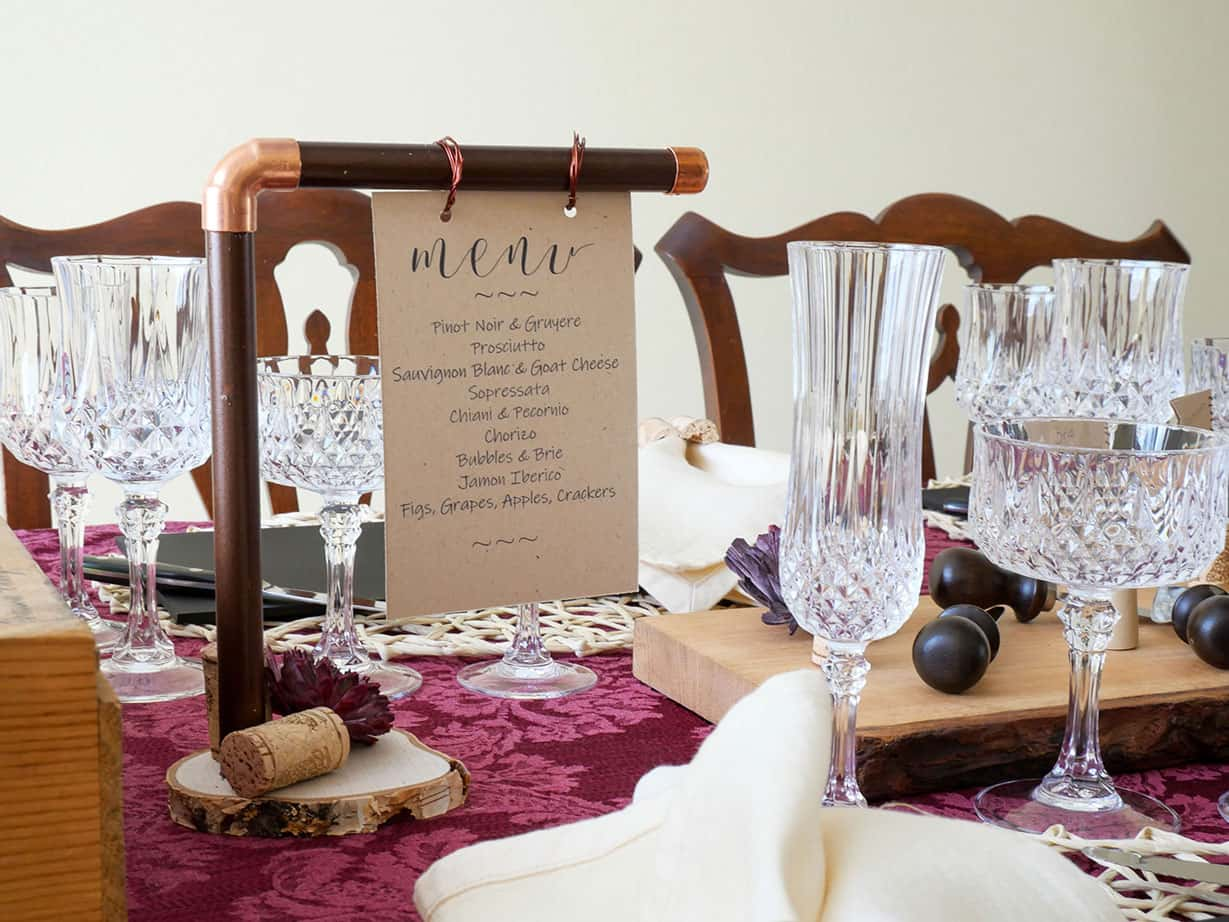
This diy unique menu holder came about out of necessity. I was hosting a wine and cheese pairing party and wanted to let my guests know what would be on the menu.
I wanted to display the menu in a unique way, but wouldn’t be in the way of them eating.
(A menu on each plate is cute, but where do you put the menu while you’re eating?)
A standing menu holder enables guests to see what’s being served without getting in the way.
Typically I see picture frames used as diy menu sign holders. I didn’t want that. I wanted something unique.
So I decided to walk the isles of my local hardware store, hoping for inspiration.
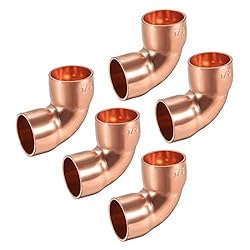
And there it was in the plumbing section ~ I found the cutest small copper pieces.
Lightbulb!
I knew how I was gonna create a unique table menu stand.
Check it out…
Supplies for DIY Unique Menu Holder
Please note that this article may contain affiliate links. I may get commissions (at no cost to you) for purchases made through these links. You can read my full disclosure for more details.
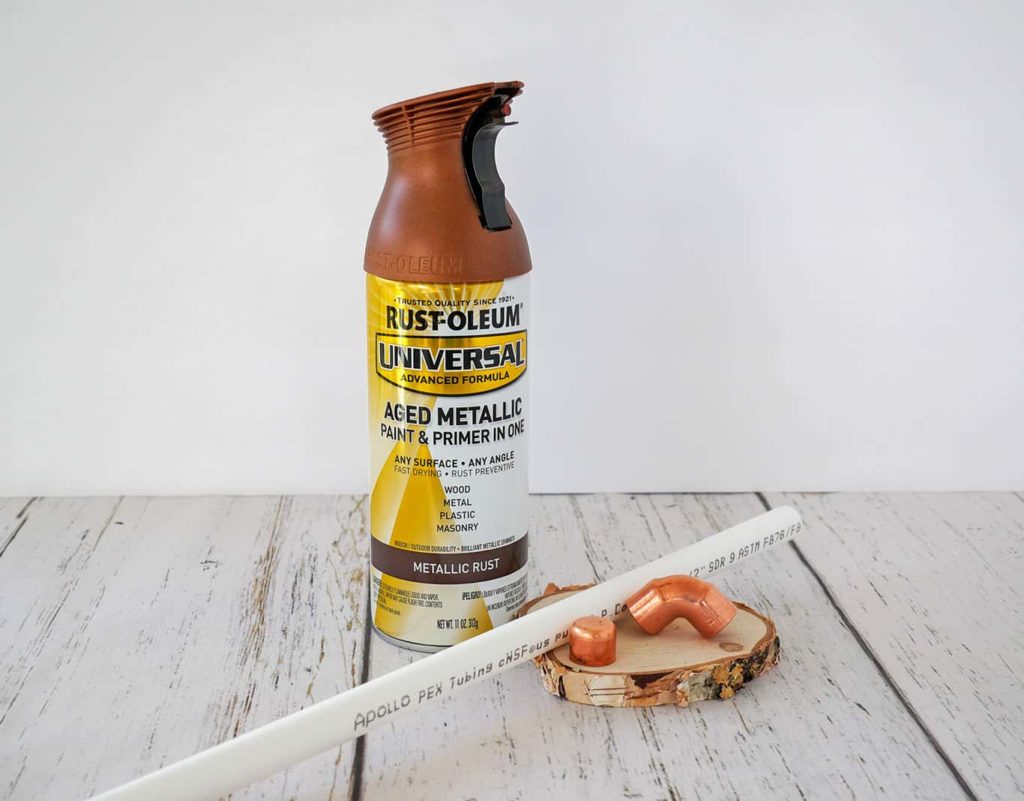
- 1/2″ copper cap
- 1/2″ copper 90*elbow
- 1/2″ PVC pipe (mine came in 24″ lengths)
- Spray paint
- Handsaw
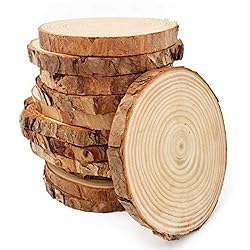
- Birch round (or other wood block)
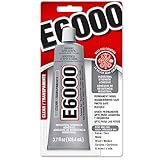
- E6000 glue
How to Make a Table Menu Holder
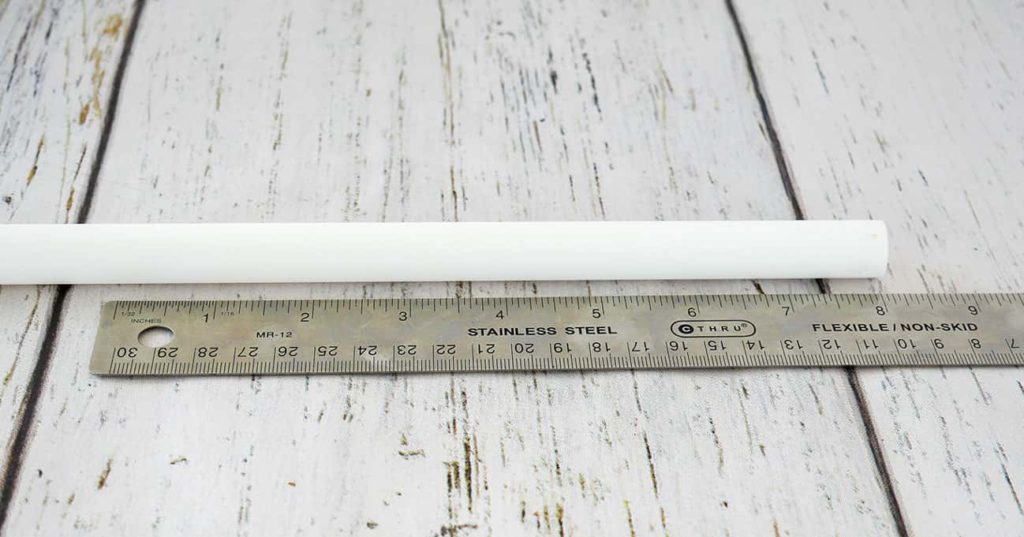
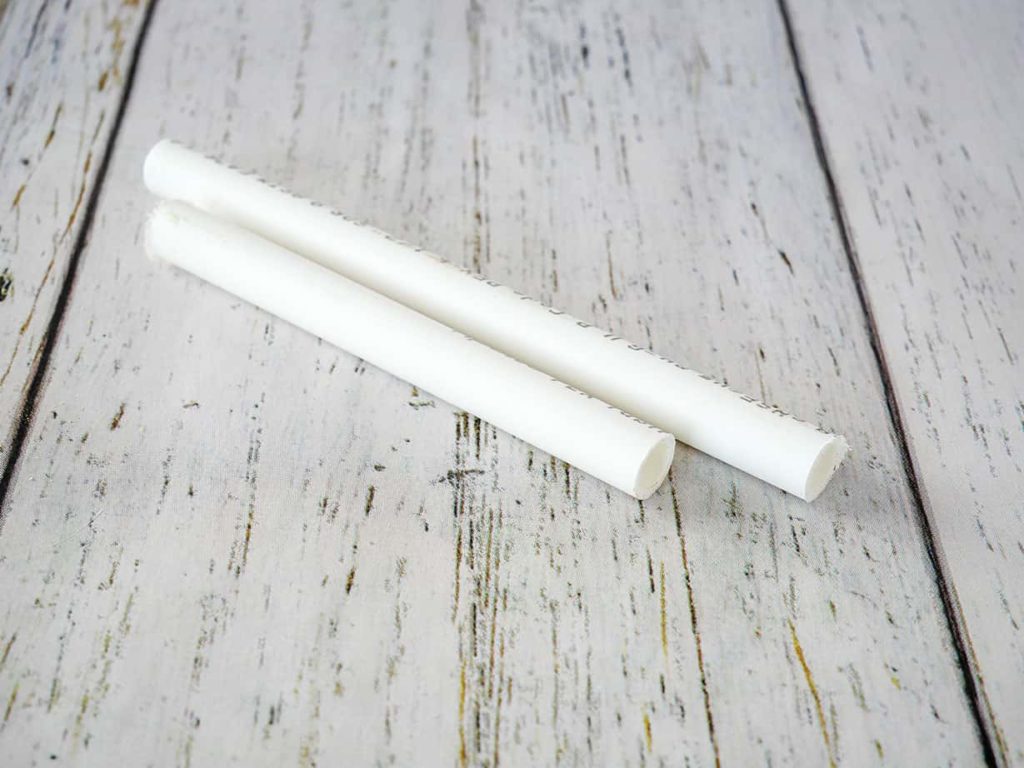
Step 1: PVC pieces for standing menu holder
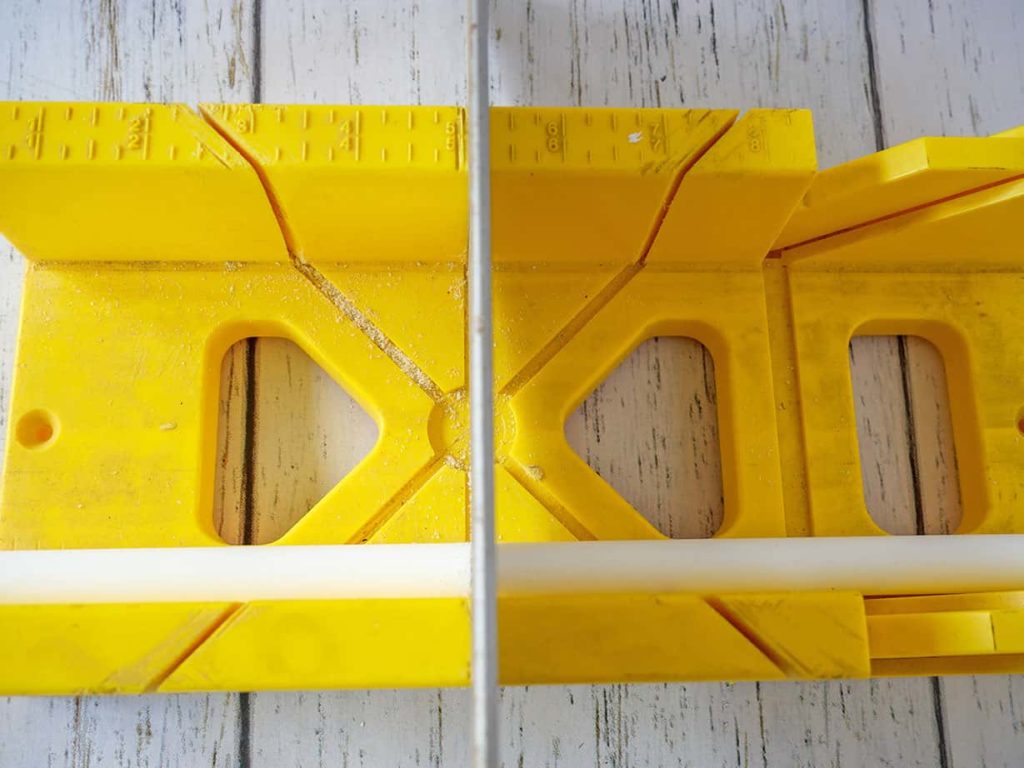
Measure and cut (using a handsaw) an 8-inch and a 6-inch piece of PVC pipe.
*Note: I used a miter box and saw to ensure that my cut was straight. I just held the PVC pipe against the side of the box as I cut.
Once you’ve cut your two pieces of PVC pipe, it’s time to spray paint them.
Be sure to spray paint in a well-ventilated room, or outside. Also, use a dropcloth or lots of newspaper to protect the surface where you’re painting.
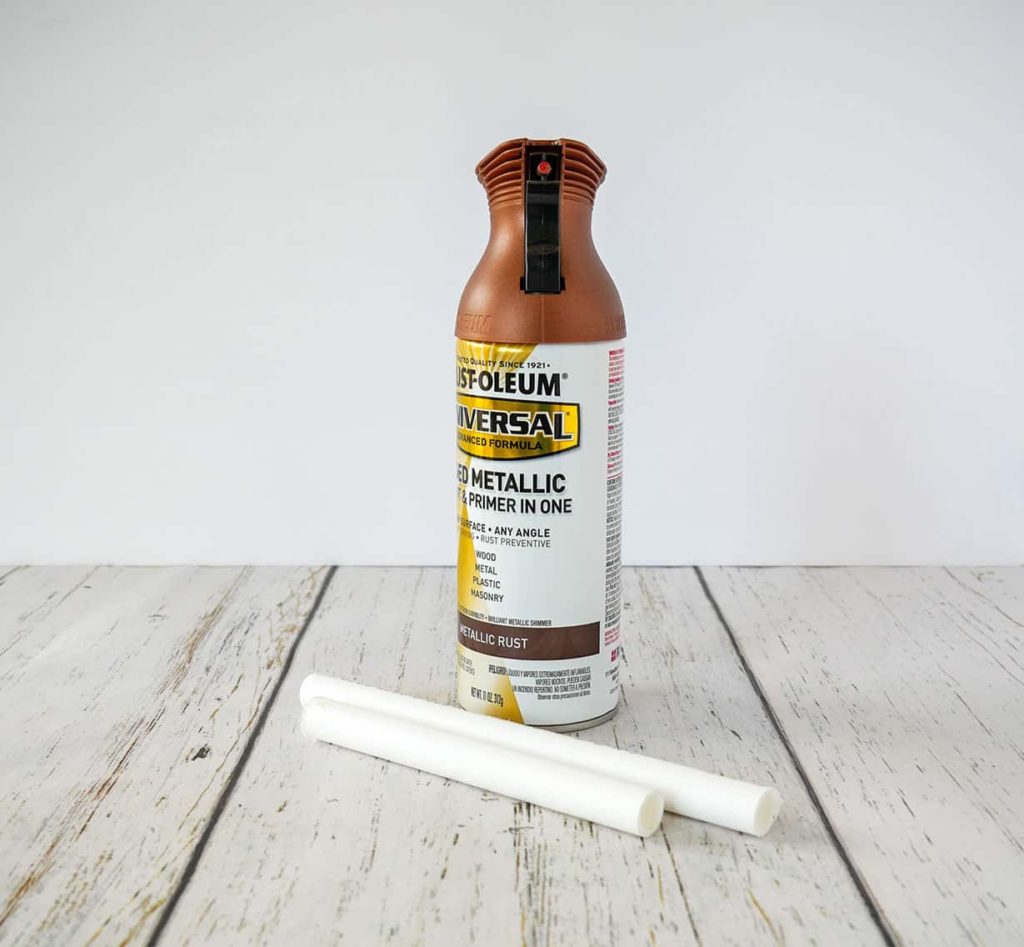
(I already had the Metallic Rust paint from a previous project and knew it would look great with the copper pieces.)
Tip: when spray painting the PVC pieces, rest them just inside two paint sticks. This will keep them from sticking to the newspaper or drop cloth and will prevent them from rolling as you spray.
Apply 2-3 thin coats of paint, letting the paint dry between coats.
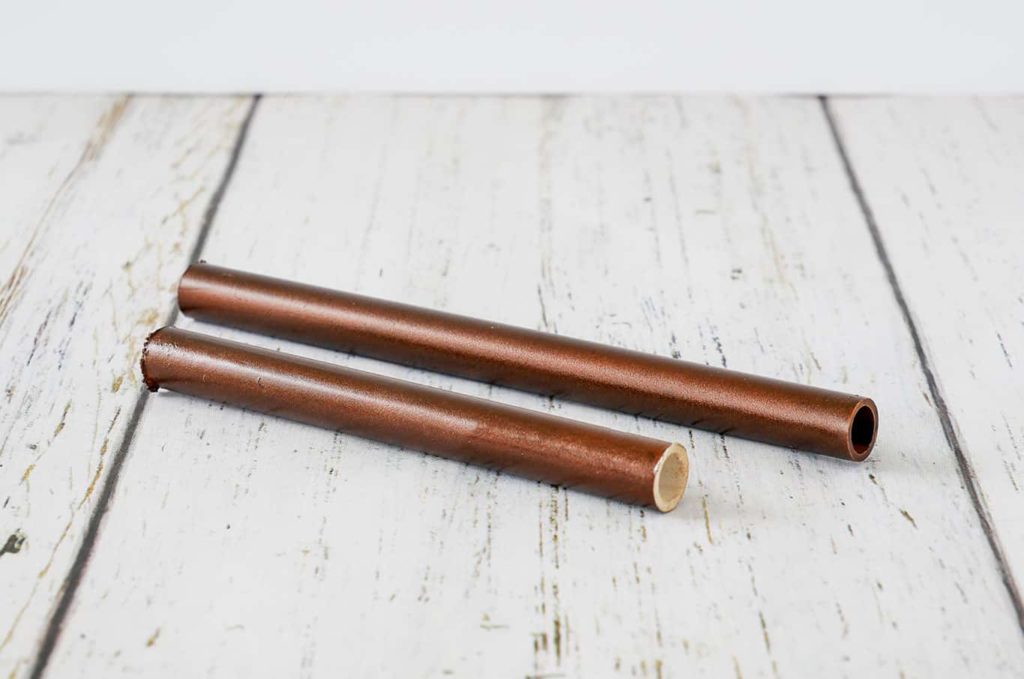
Step 2: Attaching PVC and copper pieces
Before attaching your pvc pieces to the copper pieces, you might need to sand the edges of the PVC pipe.
Just take medium grit sandpaper and give the edges a light sanding. This will help to slide the copper pieces over the pipes.
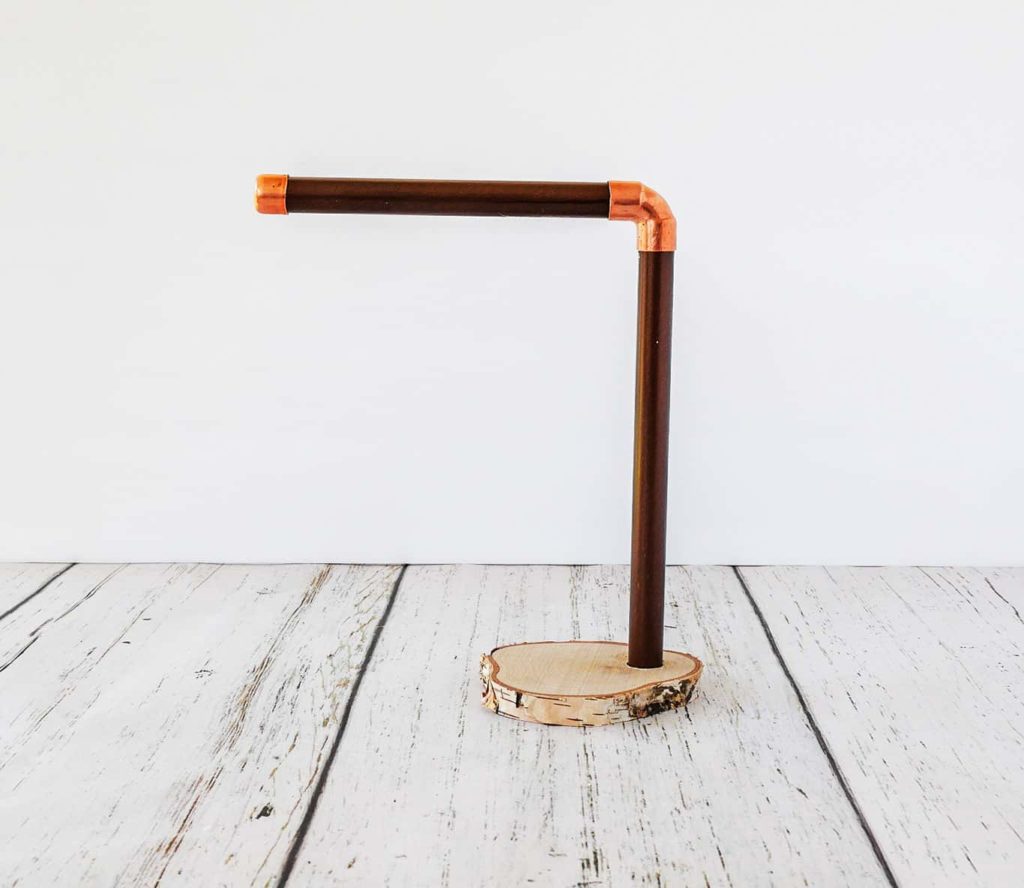
Take the copper elbow and slide one end of the 8-inch piece and one end of the 6-inch piece into it.

Then take the copper cap and slide it onto the open end of the 6-inch piece.
*Note: I didn’t feel the need to glue the copper pieces to the PVC pipe. They fit pretty snug. If you choose to, E6000 glue will work well.
Step 3: Attaching menu holder to sign base
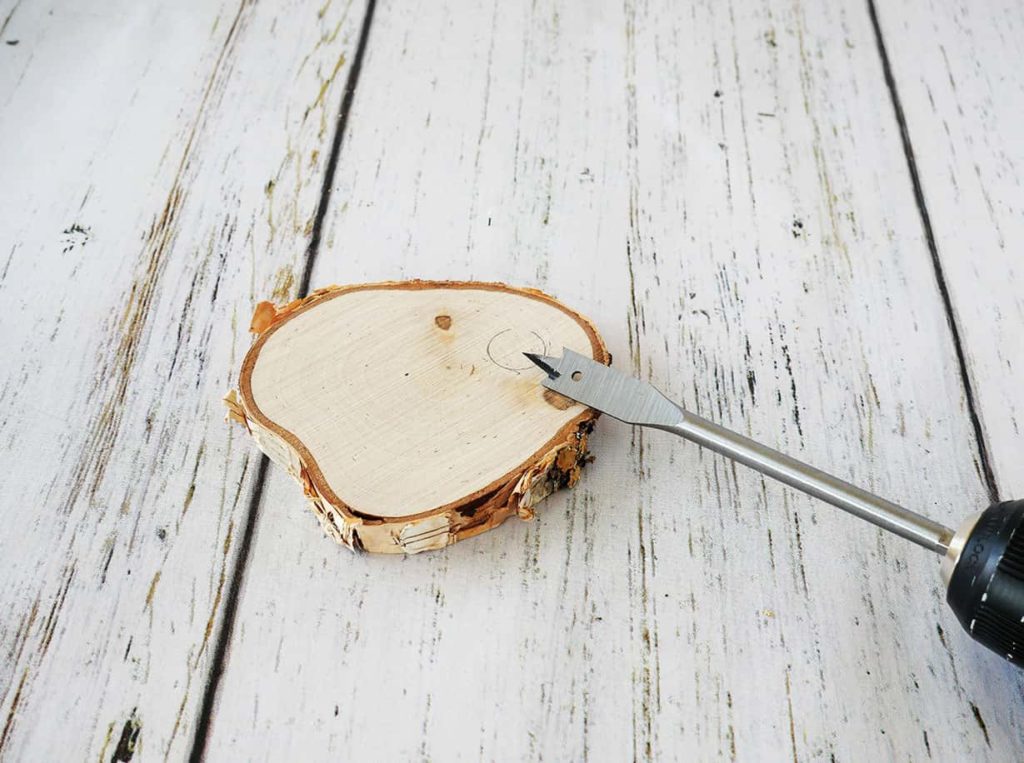
To attach the table menu holder to the base, you will need to drill a hole for the PVC pipe.
I chose to use a piece of birch for the base of my diy menu stand, but any piece of wood will work, depending on the finished look you are wanting.
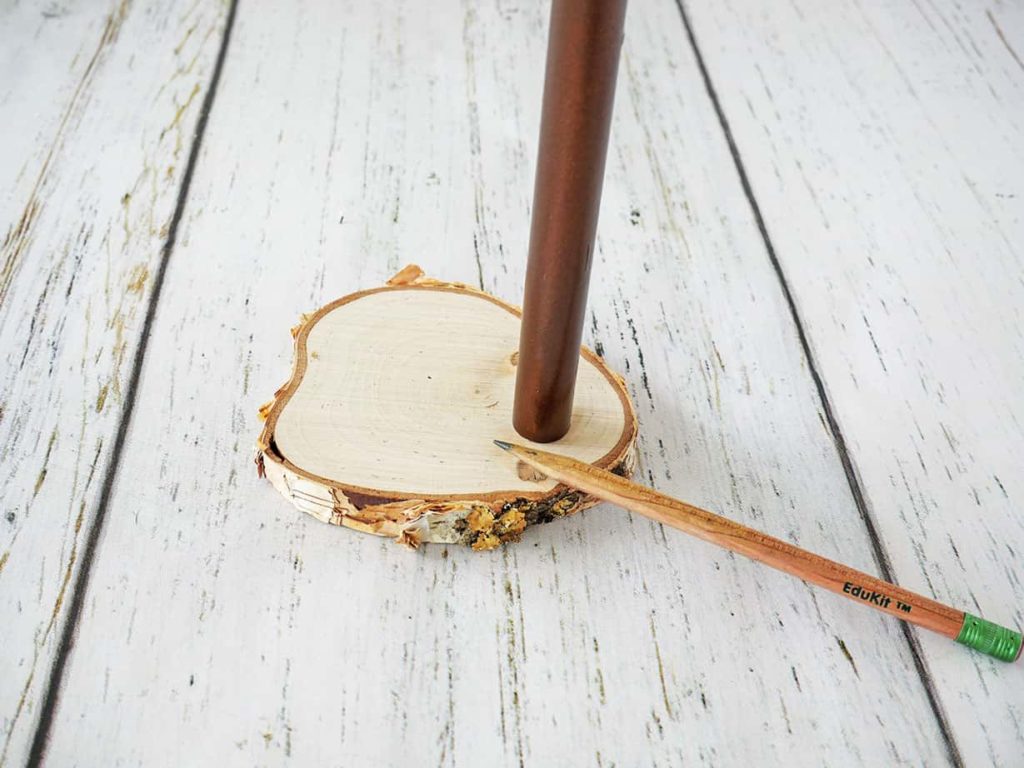
Since I was using 1/2-inch PVC pipe, I needed to use my 5/8″ drill bit to make the hole.
*Tip: start with a drilling smaller size hole first and then make it larger, if needed. Once it’s done, you can’t make the hole smaller.
After you have completed drilling the hole into your wood piece, add a little E6000 glue along the inside of it.
Place the open end of the 8-inch PVC pipe into the hole. Make sure your menu holder isn’t leaning and is standing straight.
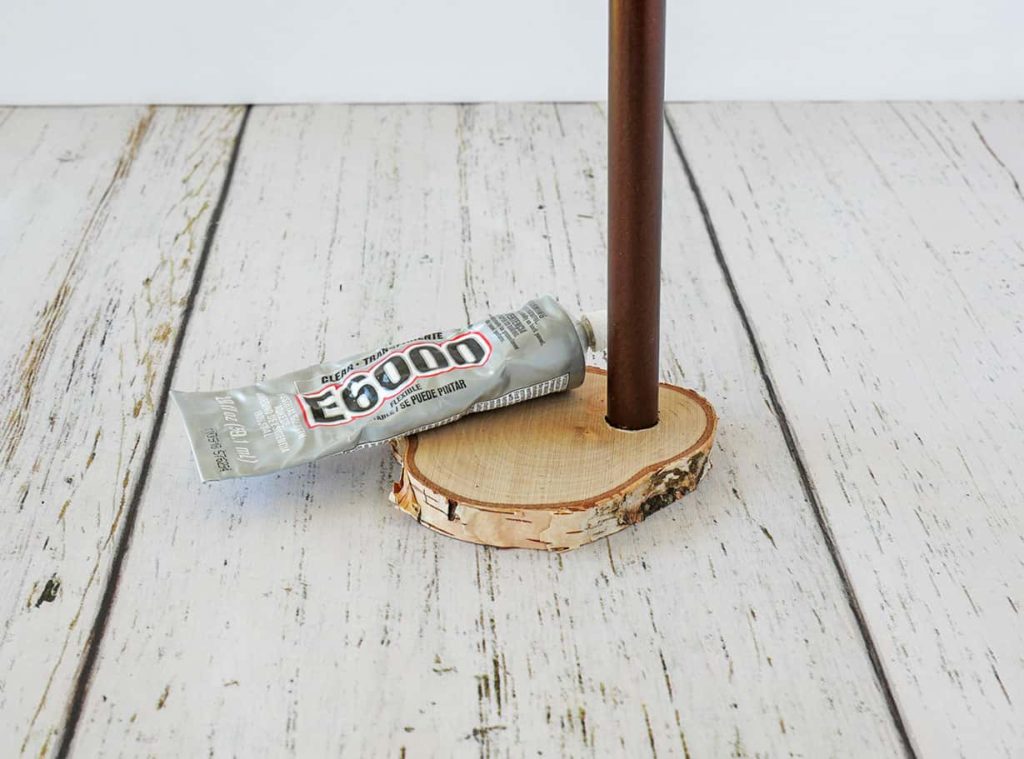
Wait for the glue to dry.
Step 4: Finishing touches to diy menu holder
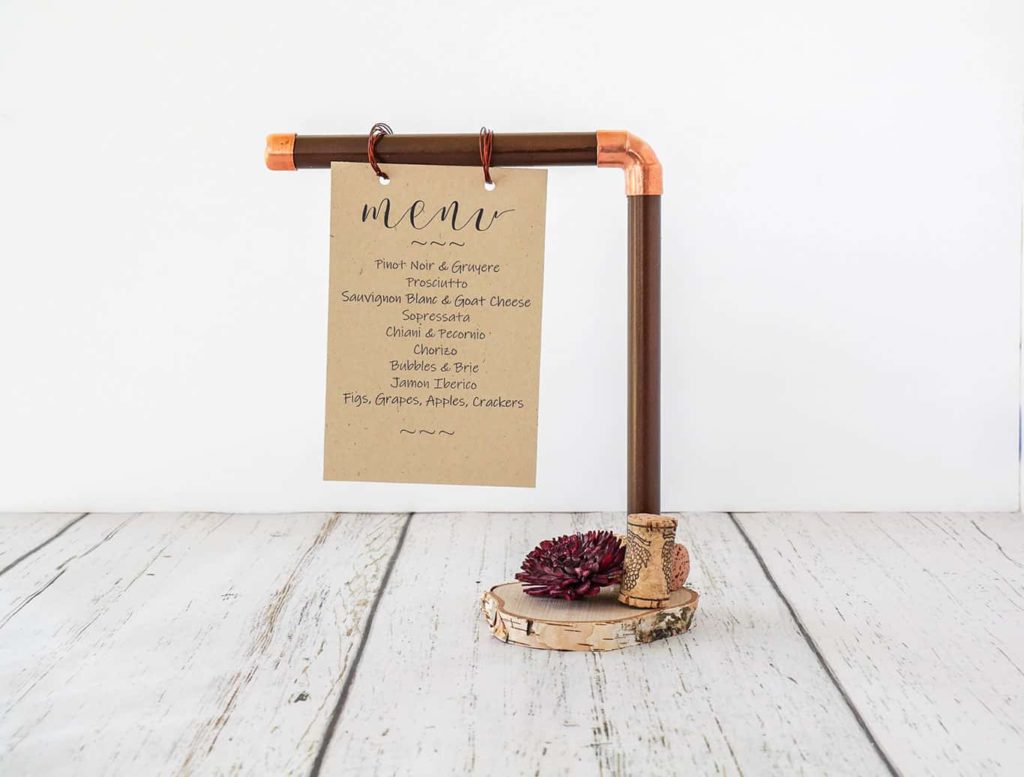
Your diy unique menu stand is done and now it’s time to add the finishing touches.
Add decor to the bottom of the menu stand that will complement your tablescape.
Since I was using the stand on a wine and cheese pairing table, I added wine corks and a wine-colored flower to the base.
Cute!
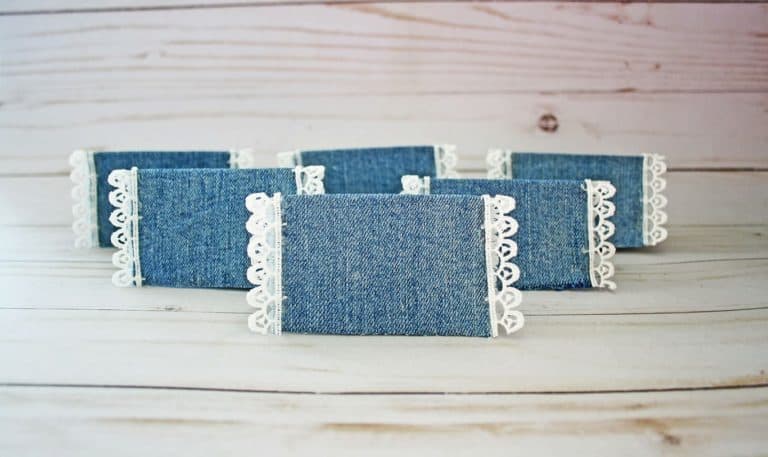
To hang your menu, you can use ribbon, twine, or binder rings.
I had floral wire that happened to match the color of my menu holder stand (totally unplanned!), so I looped it around and thru my menu.
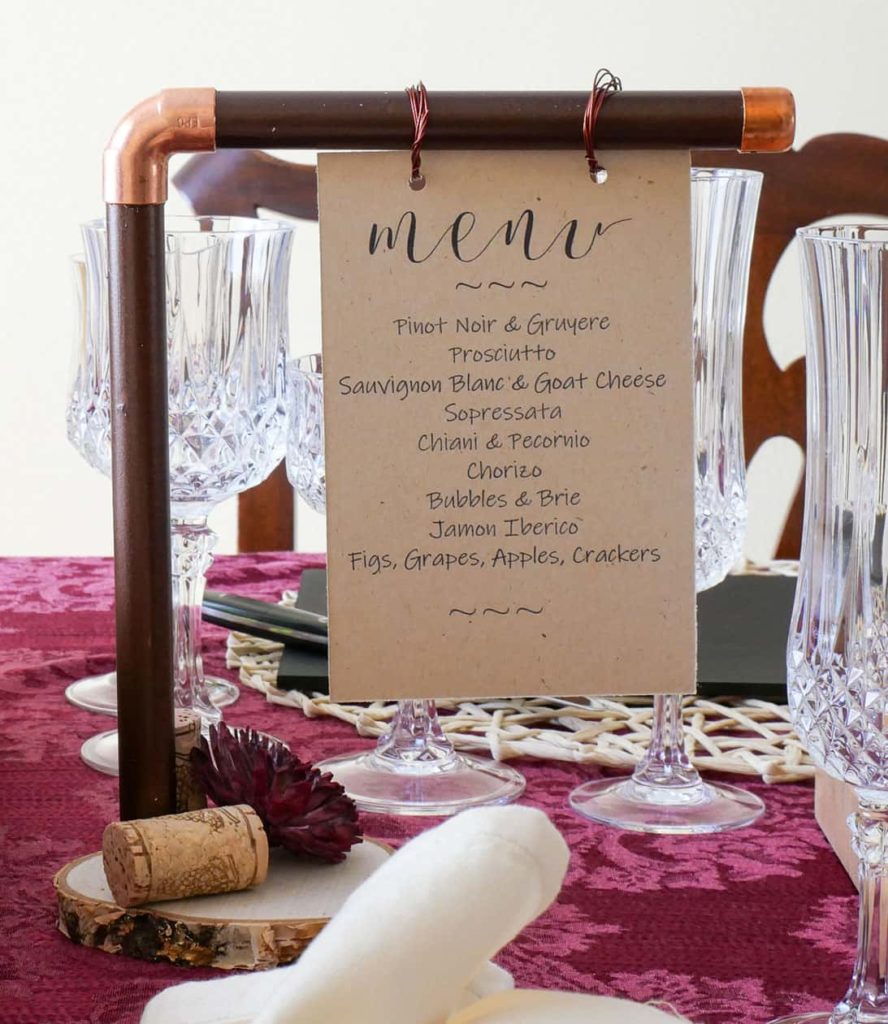
I LOVE the way it looks!!
Check out the unique menu holder on my Wine and Cheese Party tablescape.
Shop the diy supplies: