Are you looking for an indoor pot for Easter or Spring? Then look no further. This pretty lace flower pot diy project is what you want.
If you’re looking for a way to recycle your grandmother’s crocheted doilies or lace, this is a great diy upcycle project.
So often we inherit crocheted items that we won’t use, are stained, or have holes.
Why not find a new use for those items?
How about upcycling lace to decorate your flower pots?!
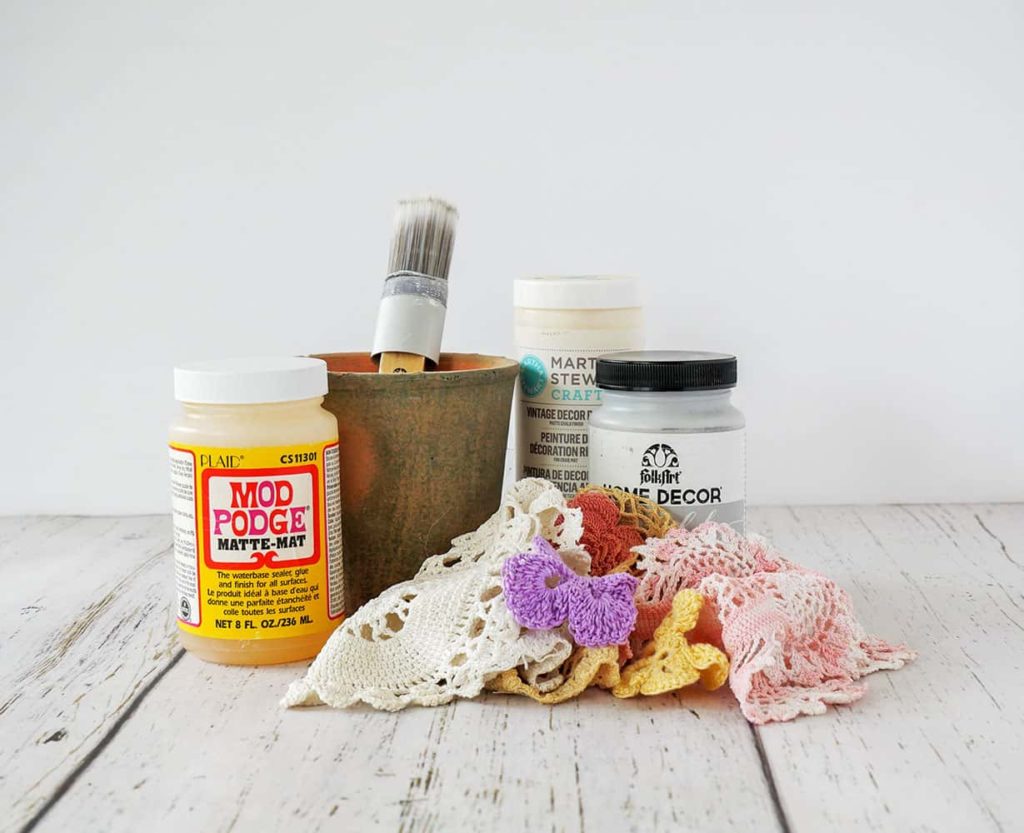
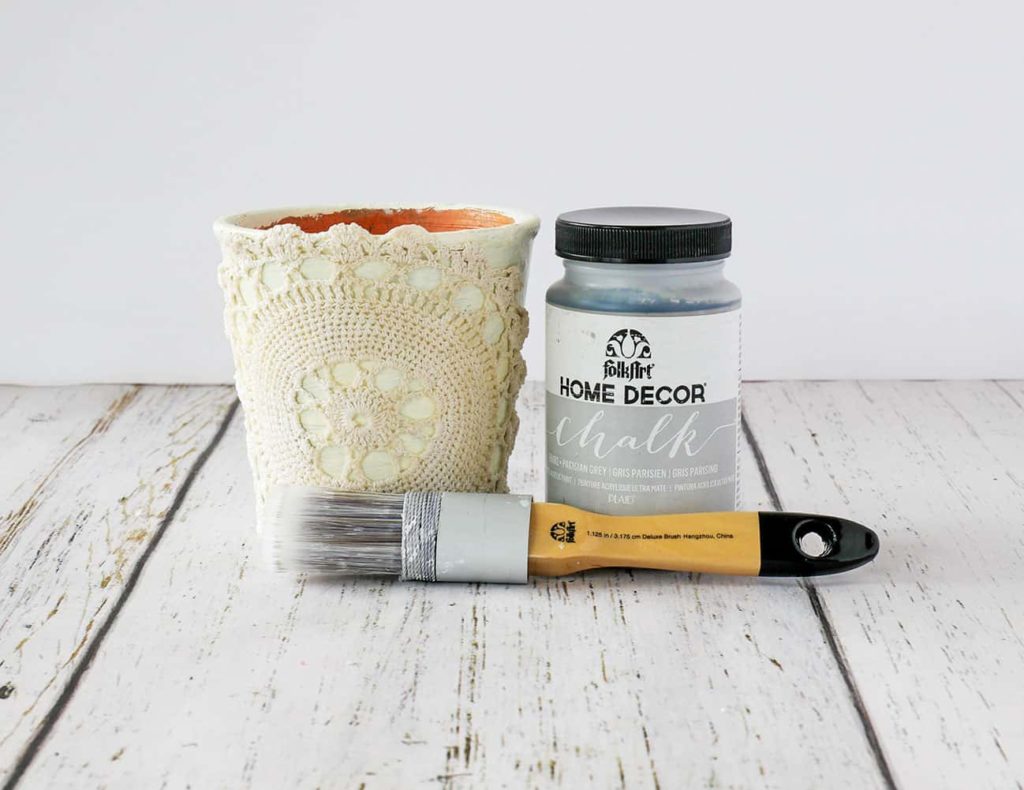
Supplies for Pretty Lace Flower Pot DIY
Please note that this article may contain affiliate links. I may get commissions (at no cost to you) for purchases made through these links. You can read my full disclosure for more details.
How to Make a DIY Lace Flower Pot
Step 1: Painting your terracotta flower pot
Choose the base color for your diy lace flower pot.
I selected an ivory paint color.
Then lay out enough newspapers to cover your work surface. Apply 1-2 coats of paint to the outside of your pot.
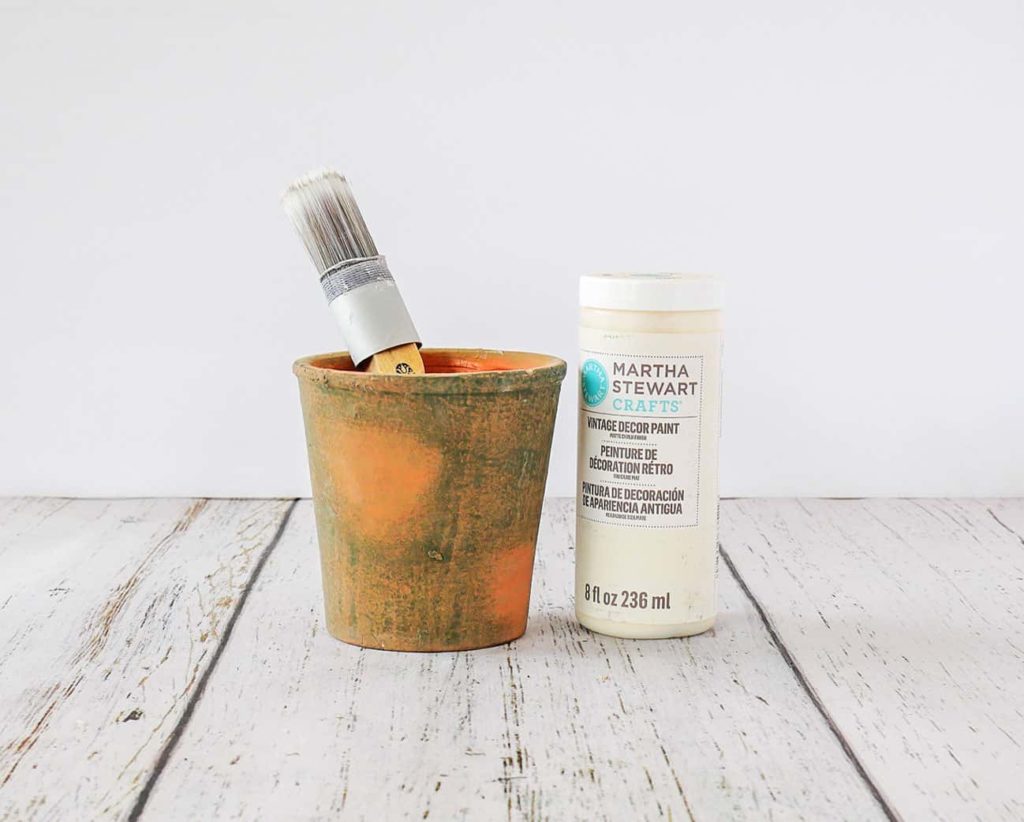
I applied just one coat to my flower pot, as I like how the terracotta color peeked through and gave it a worn look.

It’s up to you if you want your terracotta pot completely covered, or not.
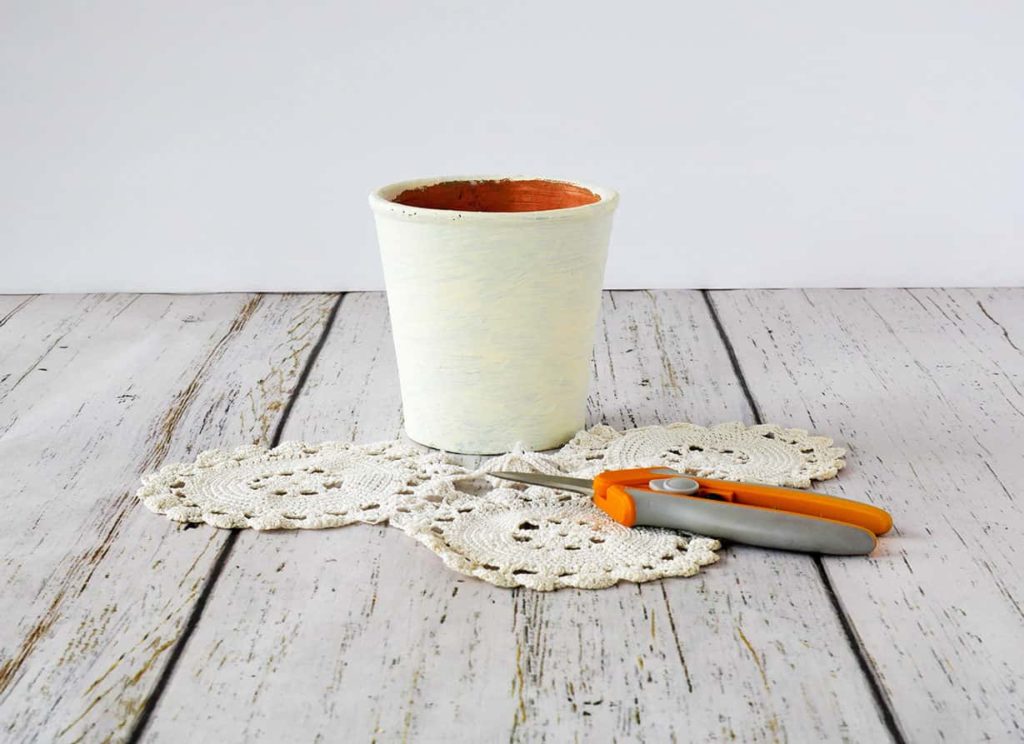
Step 2: Prepping the lace for your diy flower pot
While the paint on your diy lace flower pot is drying, prep the lace for it.
This diy flower pot project is perfect for old, inherited, and/or slightly ruined crochet pieces.
I had a few old doilies that had broken threads and odd stains that I couldn’t get out. They were perfect for this upcycled diy project.
I decided to cut out lacy sections from a piece that was broken. And from another piece, I cut out the center flower.
(I did feel a little sad cutting apart all the hard work someone had put into crocheting these pieces. But they were being repurposed into something I would be using. Otherwise, they would have been tossed.)
I also beached the center flower piece, as it was originally pink, and I wanted my lace to be white or ivory. Fortunately, it bleached to light ivory.
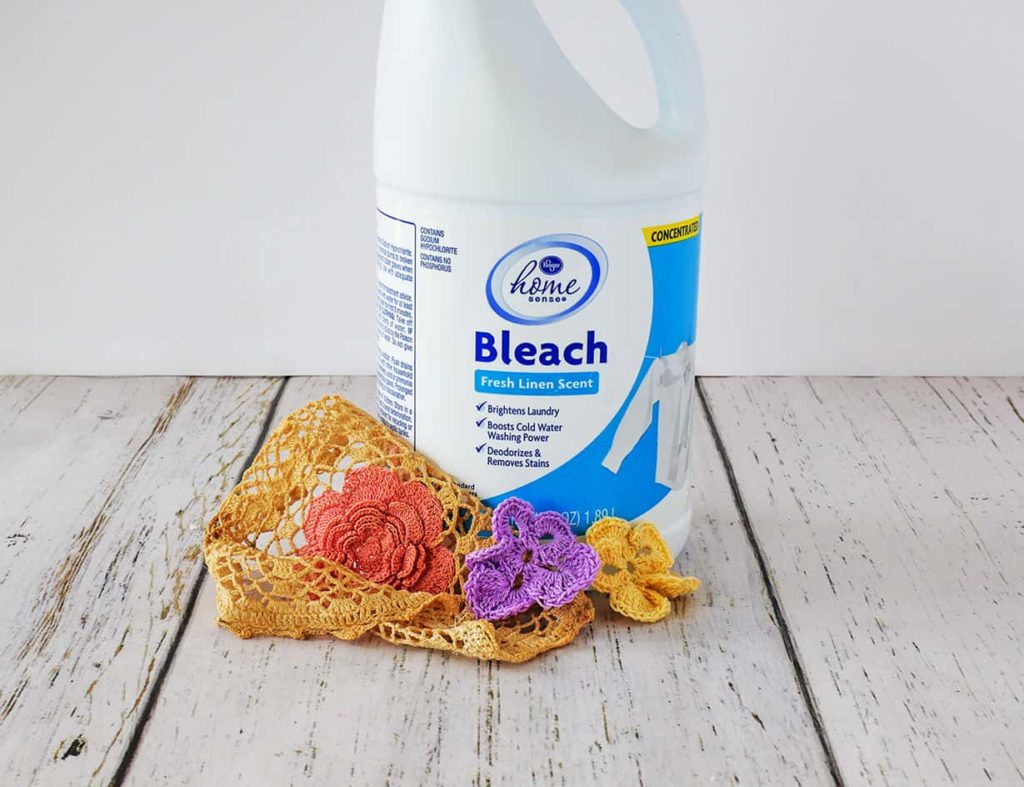
Be sure and follow the instructions on the bleach bottle. Dilute it first and if that doesn’t remove the color from your items, then try it full strength.
*Note: I discovered that not all inherited crocheted items can have the color removed from them. I tried SO MANY ways (in addition to trying bleach) to remove the color from some cute flower pieces, but in NO WAY was that color coming out. Crazy!
After you have trimmed all of the sections or pieces for your lace diy flower pot and bleached them to white or ivory, it’s time to attach them to the flower pot.
Step 3: Attaching the lace to your flower pot
To adhere your lace pieces to the flower pot, use a paintbrush and lightly coat the area of the pot where you want the lace to go with Mod Podge.
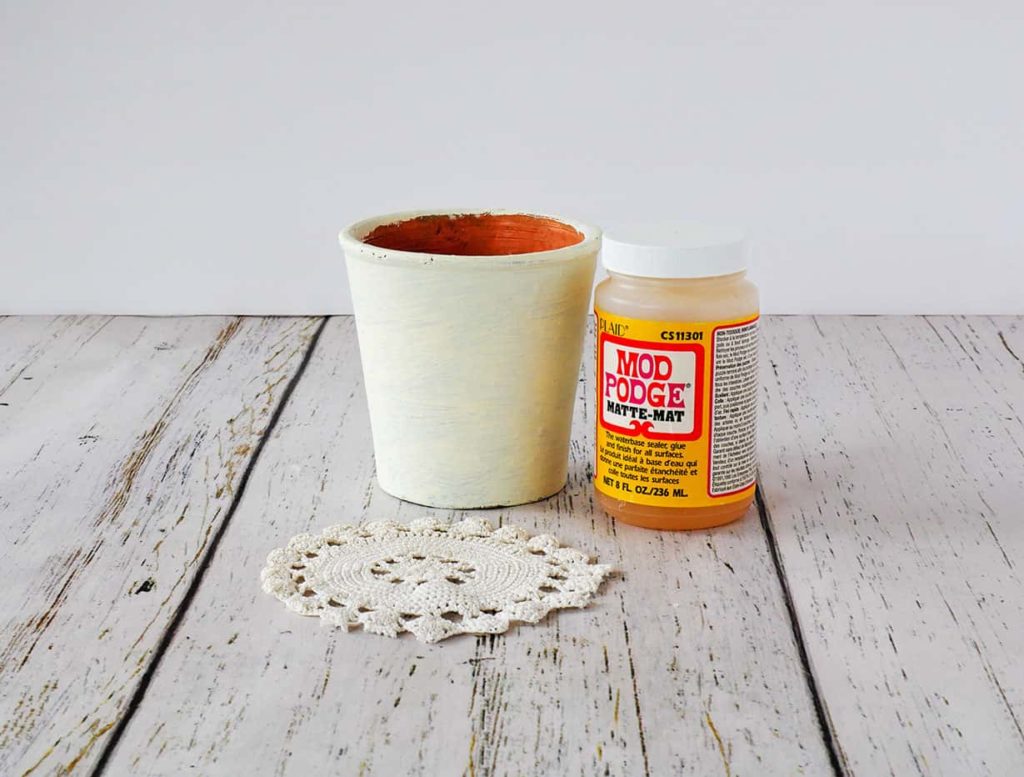
Now lay the lace piece on the wet Mod Podge. Stretch it out until you are happy with how it looks.
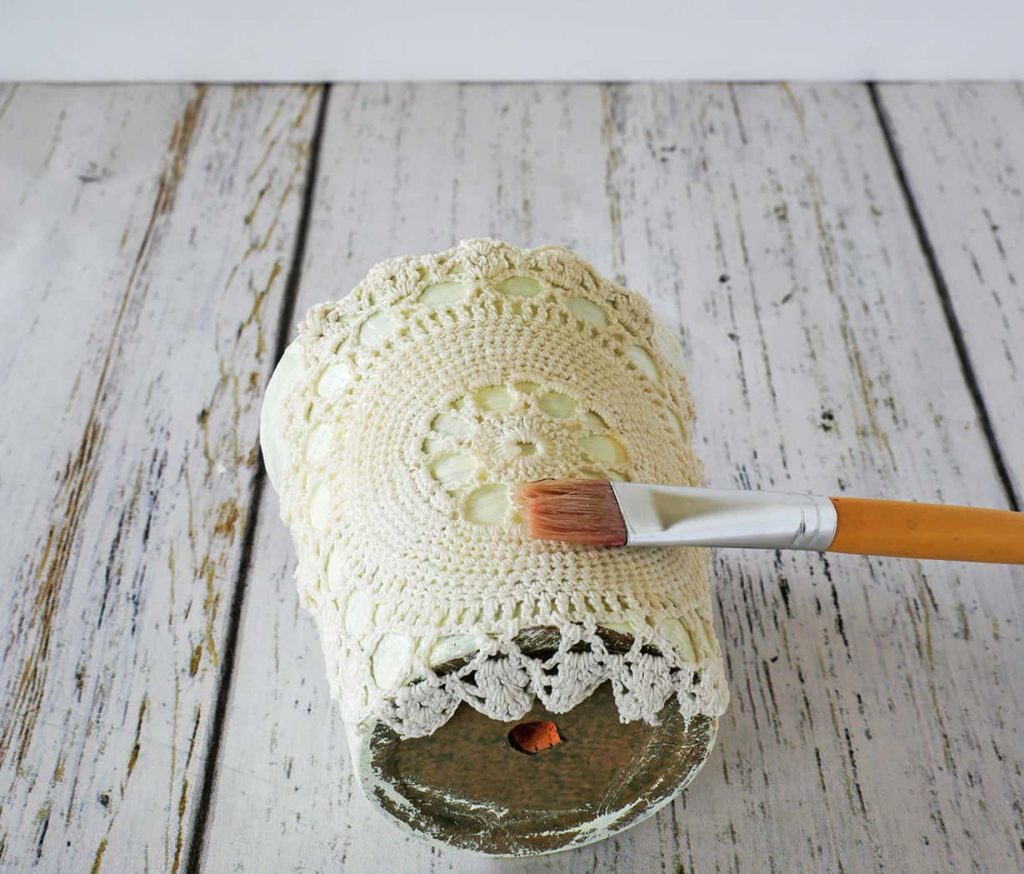
Then add a layer of Mod Podge over the lace.
Be sure it is completely covered.
Step 4: Finish your diy lace flower pot
The final step to completing your lace flower pot is the topcoat of paint.
You will be dabbing the paint on with the top bristles of your paintbrush.
Not “painting” it on.
To do this, take your paintbrush and dab it in the paint (or the lid of the paint). Then dab a little of the paint off by dabbing it on a paper towel, or scrap piece of paper.
Now lightly tap the paintbrush on the flower pot.
*Tip: do a few practices dabs before doing it directly on the upcycled flower pot.
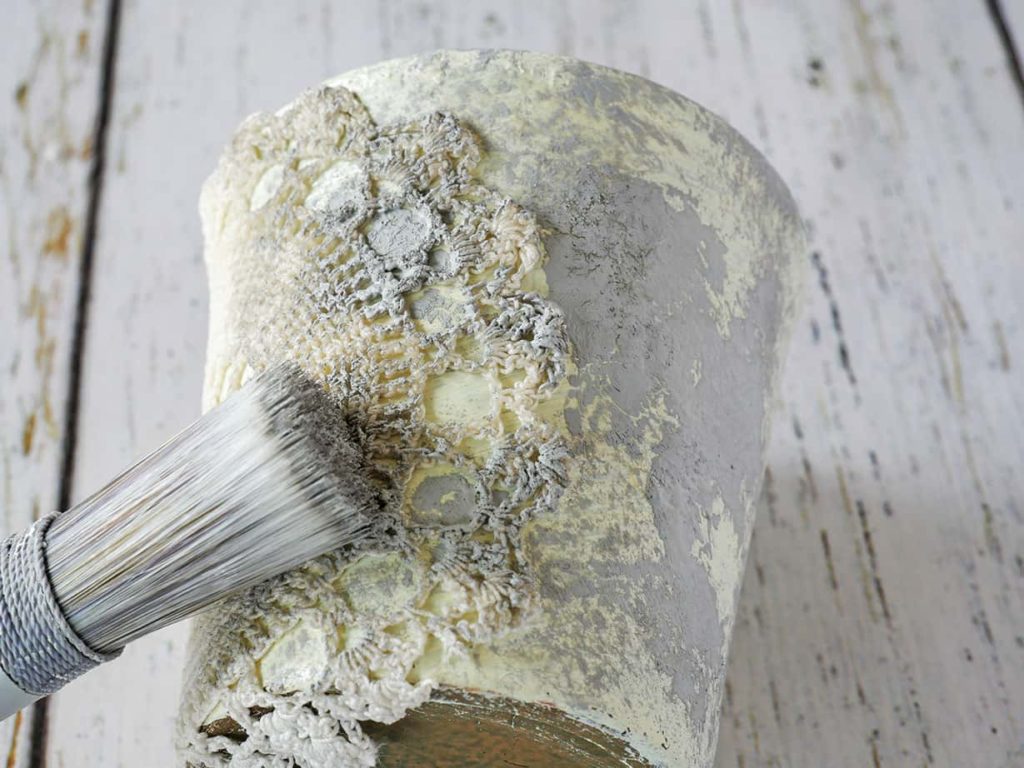
Continue to dab paint on the pot and lace, all around your pot until you are happy with how it looks.
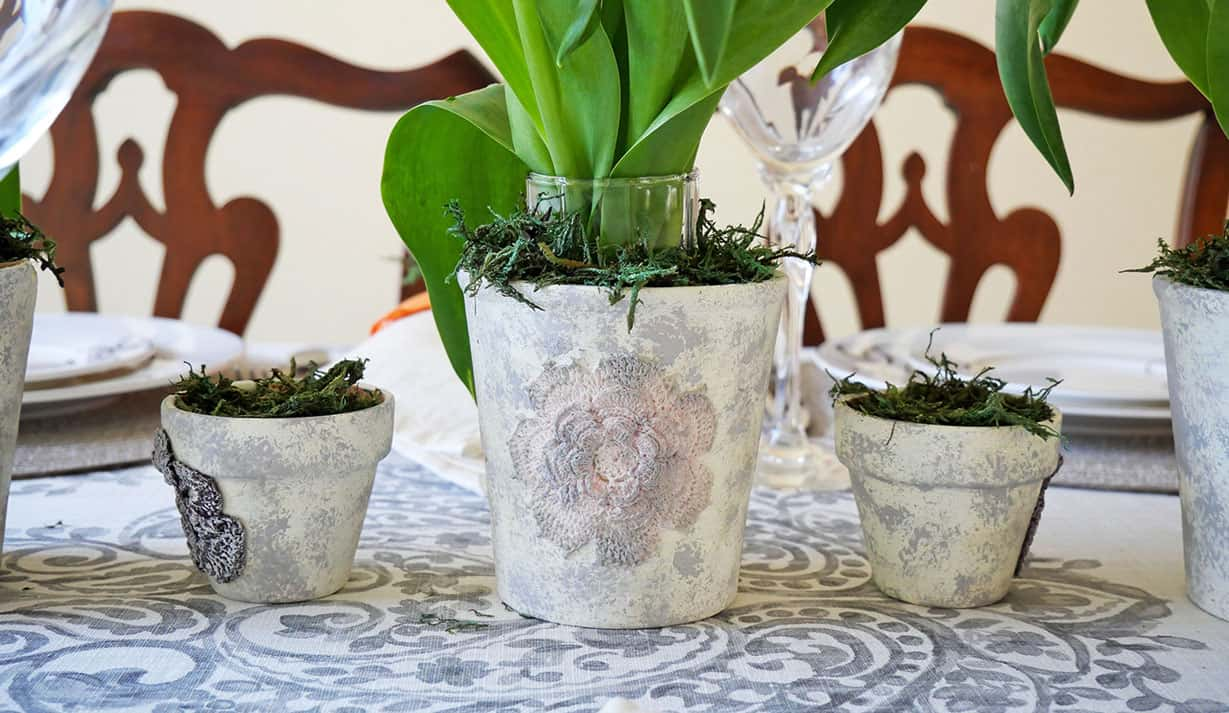
Take a look.
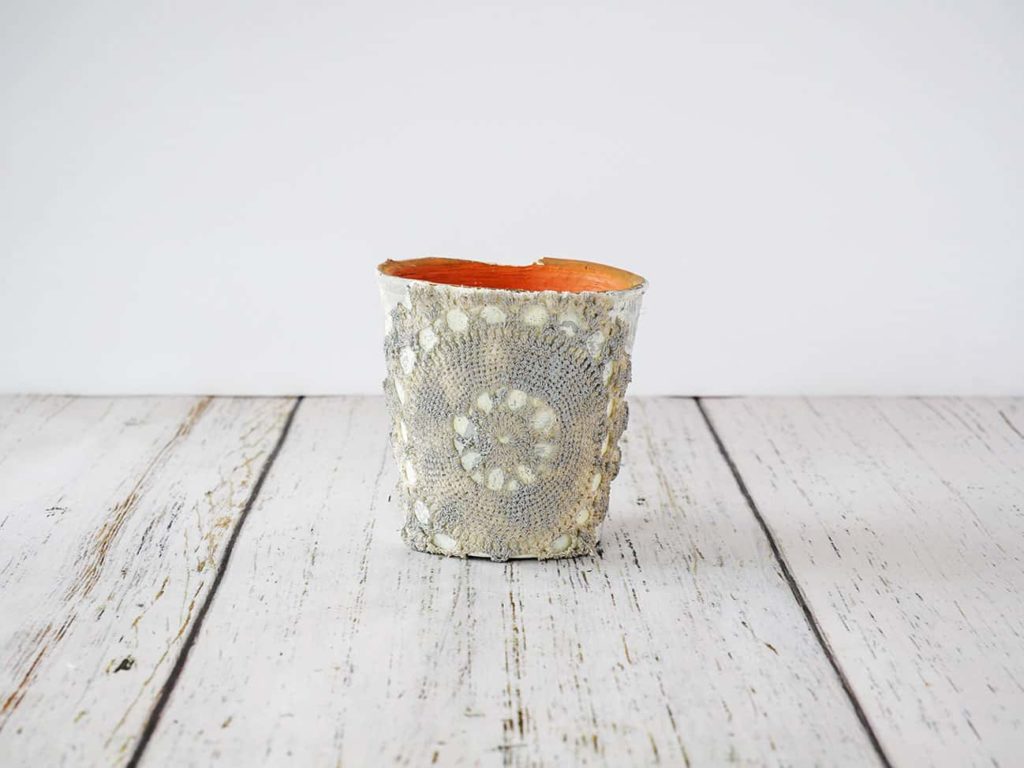
Doesn’t your diy lace flower pot look awesome!
A great way to upcycle old crochet pieces!!
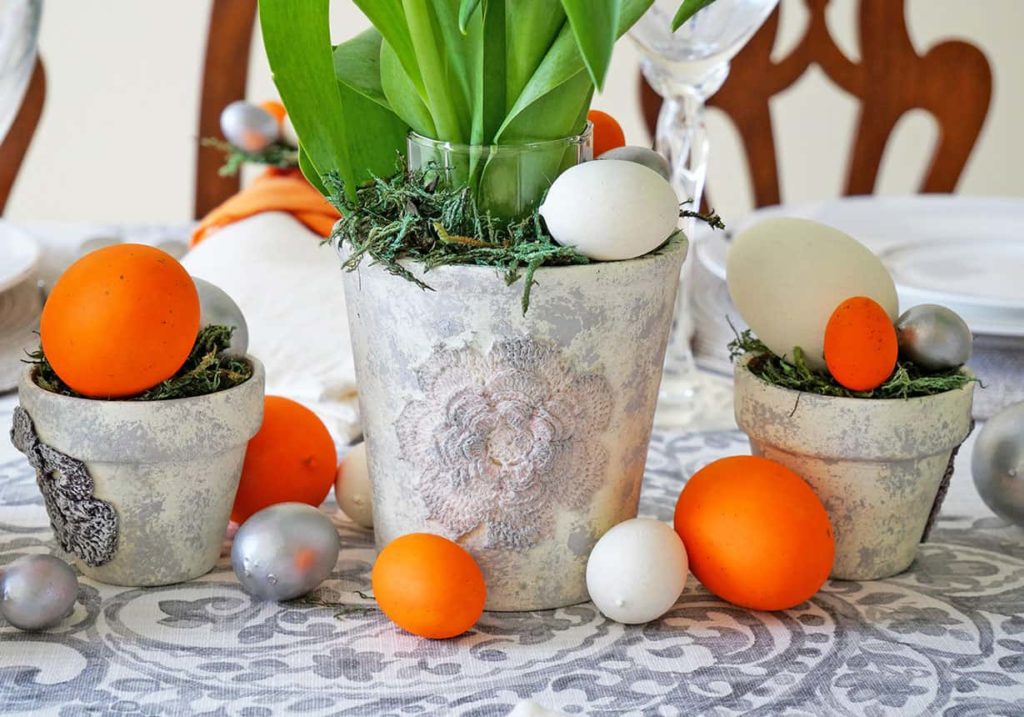
Check it out on my simple Easter lunch tablescape.
Shop the diy supplies: