I love these simple diy leaf place cards for a Fall or Thanksgiving Day table setting. They are about the easiest project you will ever do! Plus, they are SUPER cheap!
Ya know why?
Because they’re from Dollar Tree! 8 for $1!
Can’t beat that!!
Also, you can do it with any of the “create-your-own ornaments” from Dollar Tree.
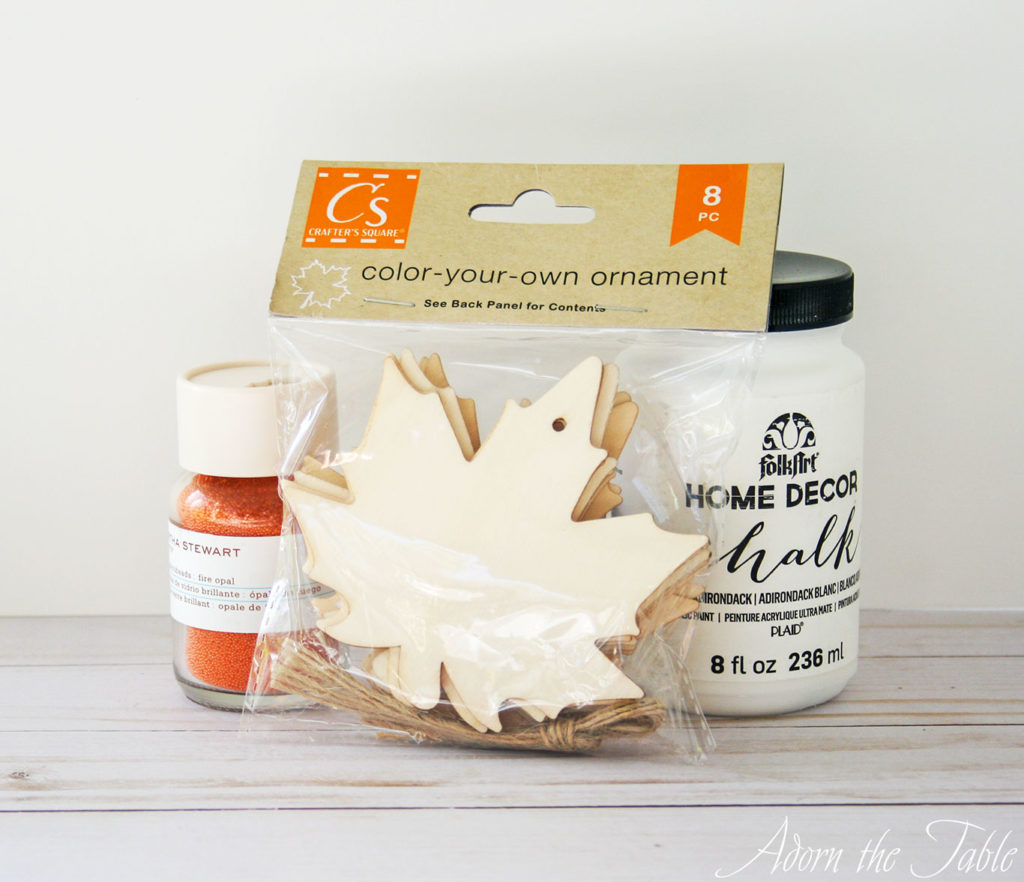
Supplies for Simple DIY Leaf Place Cards
Please note that this article may contain affiliate links. I may get commissions (at no cost to you) for purchases made through these links. You can read my full disclosure for more details.
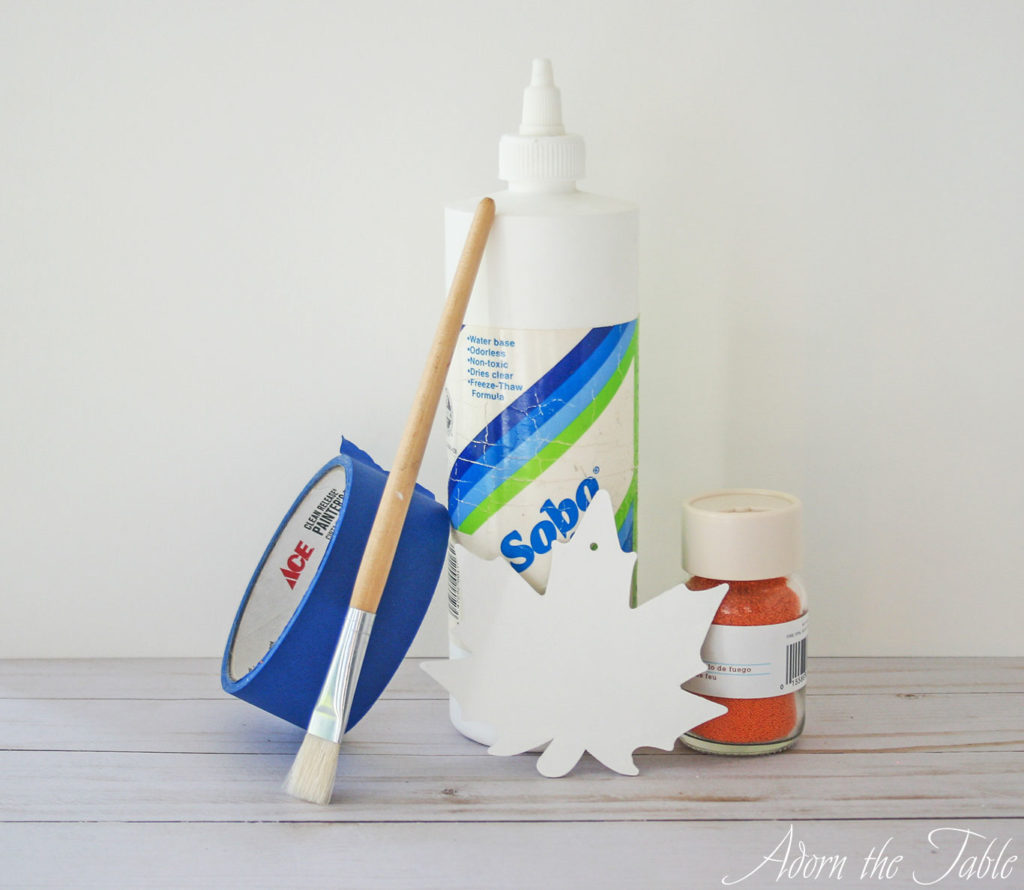
- 1 pack of “color-your-own ornament” from Dollar Tree
- White chalk paint
- Glitter or Microbeads
- Sobo glue
- Painter’s tape
How to Make Simple Leaf Place Cards
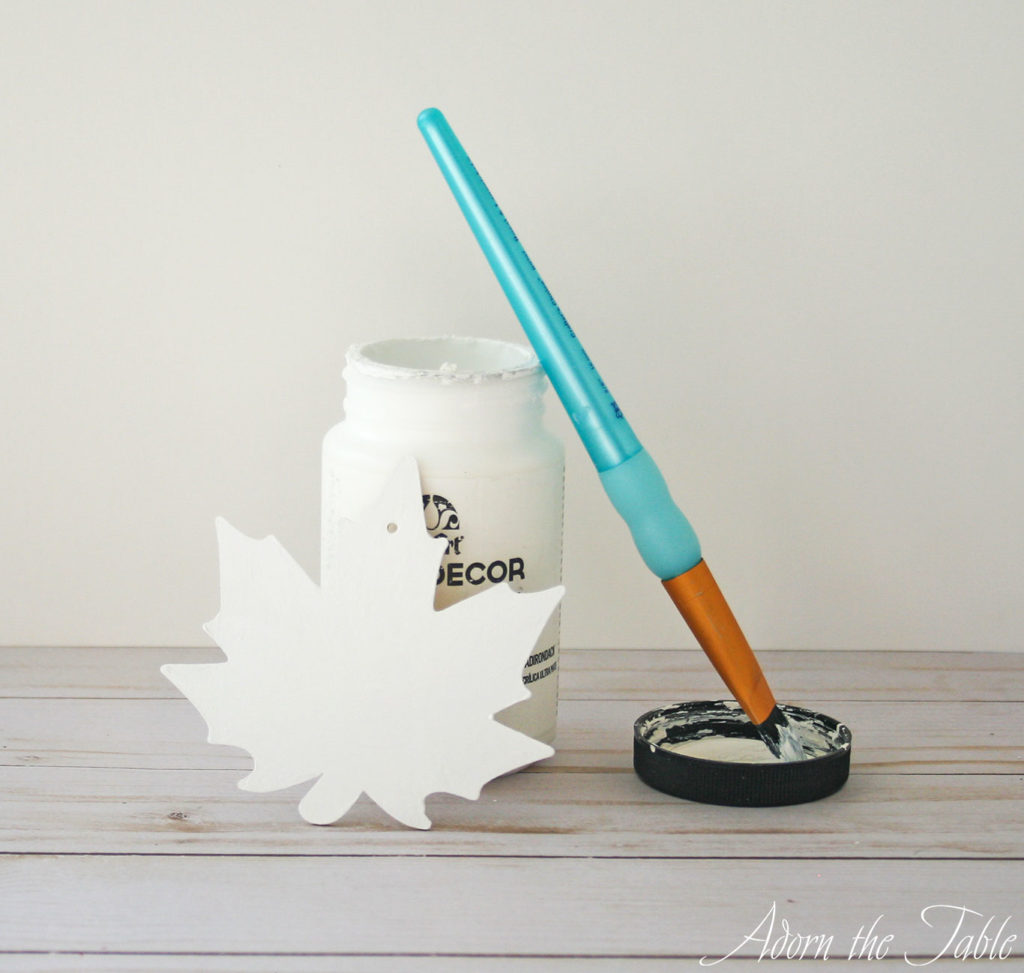
Step 1: Painting Your Leaf
First, get your work area ready by covering the surface with newspaper (or other craft paper).
Next, paint one side of the leaf white. You might need to use two coats of paint to achieve a nice solid white color.
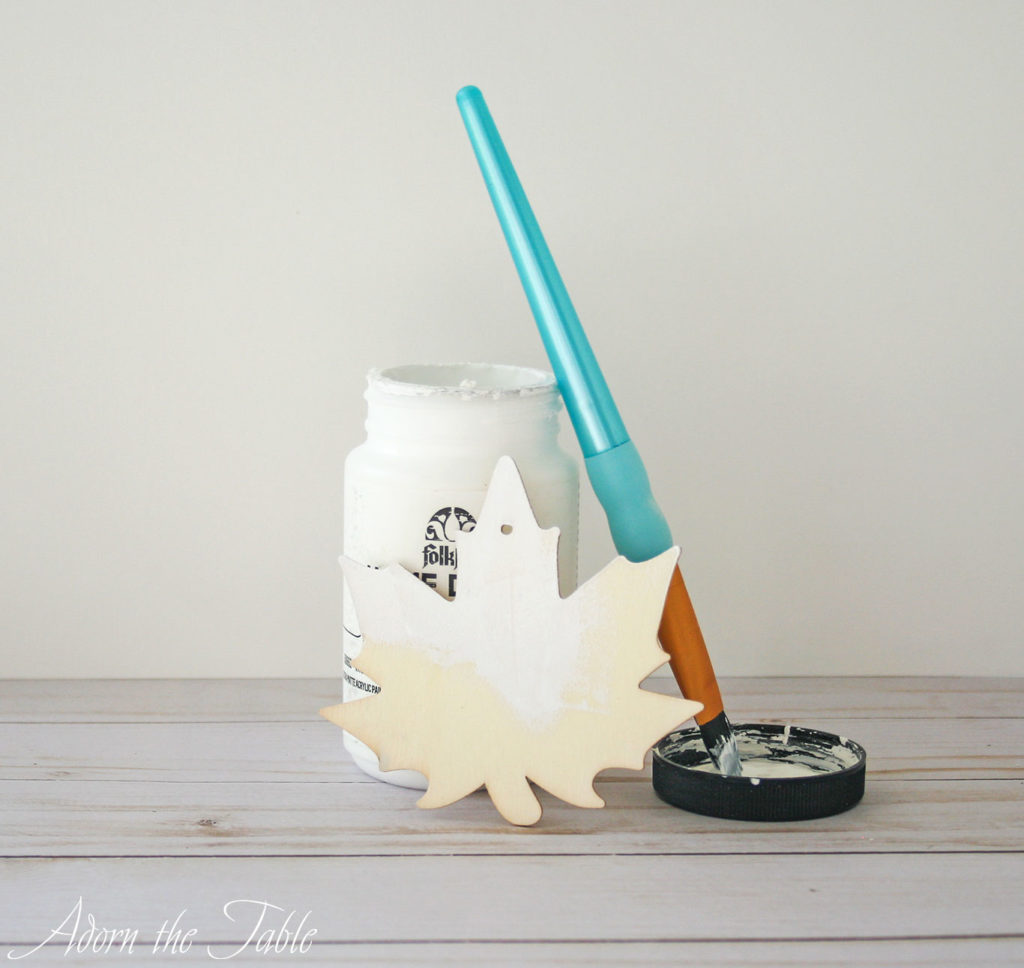
I really like white chalk paint because it has a nice matte finish. Plus, it’s SO easy to use.
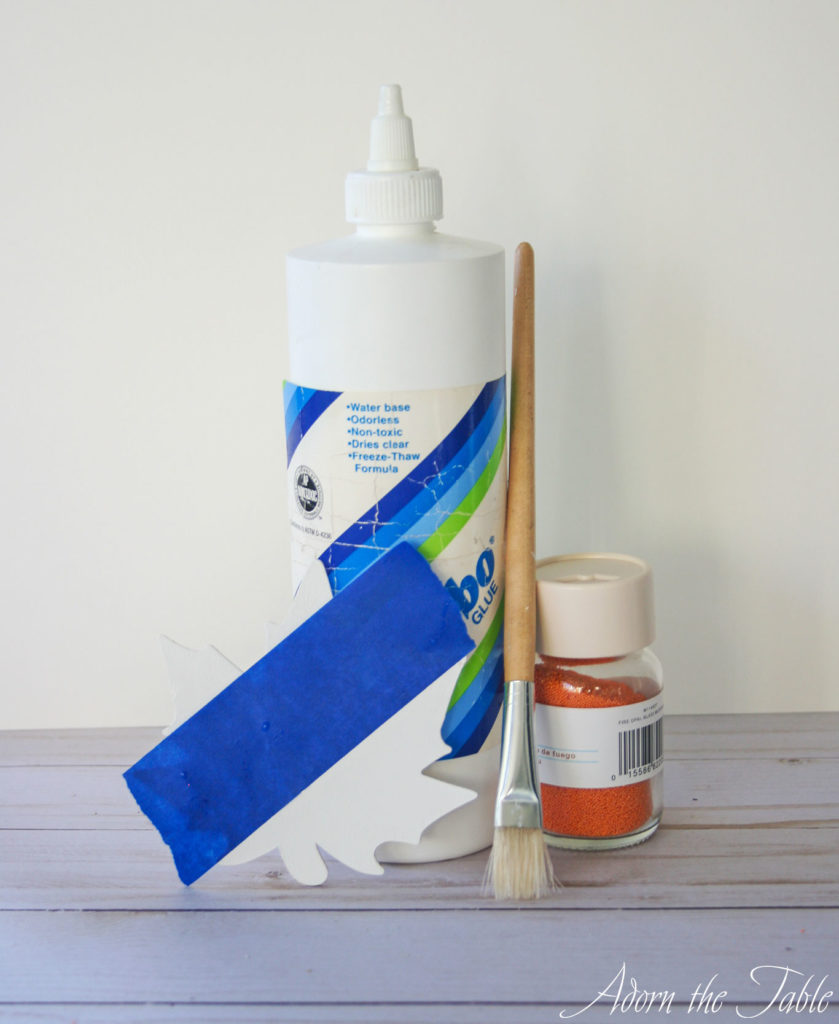
Step 2: Add Glitter to Fall Leaf Place Cards
After the paint has dried on the place cards, tape off the area of the leaf you would like to have glitter.
Painter’s tape is perfect for this, as it won’t stick to the painted leaf place cards, and it will ensure a nice straight line.
Gently press down the edge of the tape. You want to ensure the glue won’t get under it.
Next, using a small brush, add Sobo glue to the area where you will add the glitter.
Lay the glue on kinda thick, so the glitter has something to stick to.
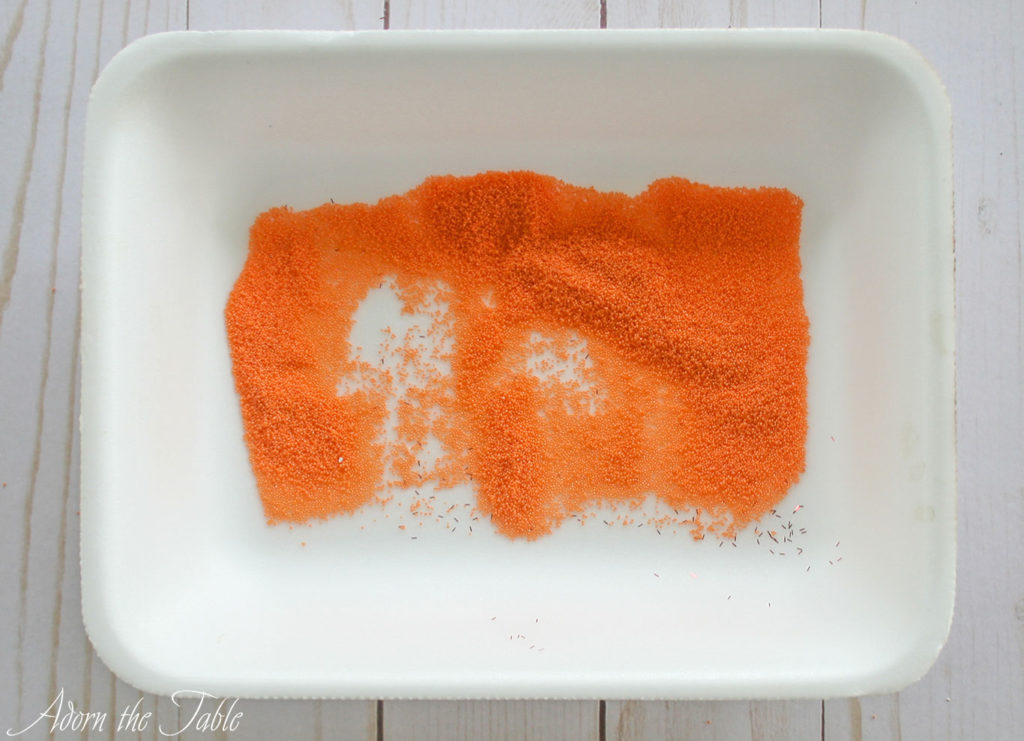
Before you add the glitter, I found that putting down a new piece of paper, or a Styrofoam food tray (like the ones food comes on at the grocery story) under the DIY place card, would help catch all the glitter that doesn’t stick to the leaf.
Now, while the glue is still wet, tap the glitter (or microbeads in my case) onto the leaf place card.
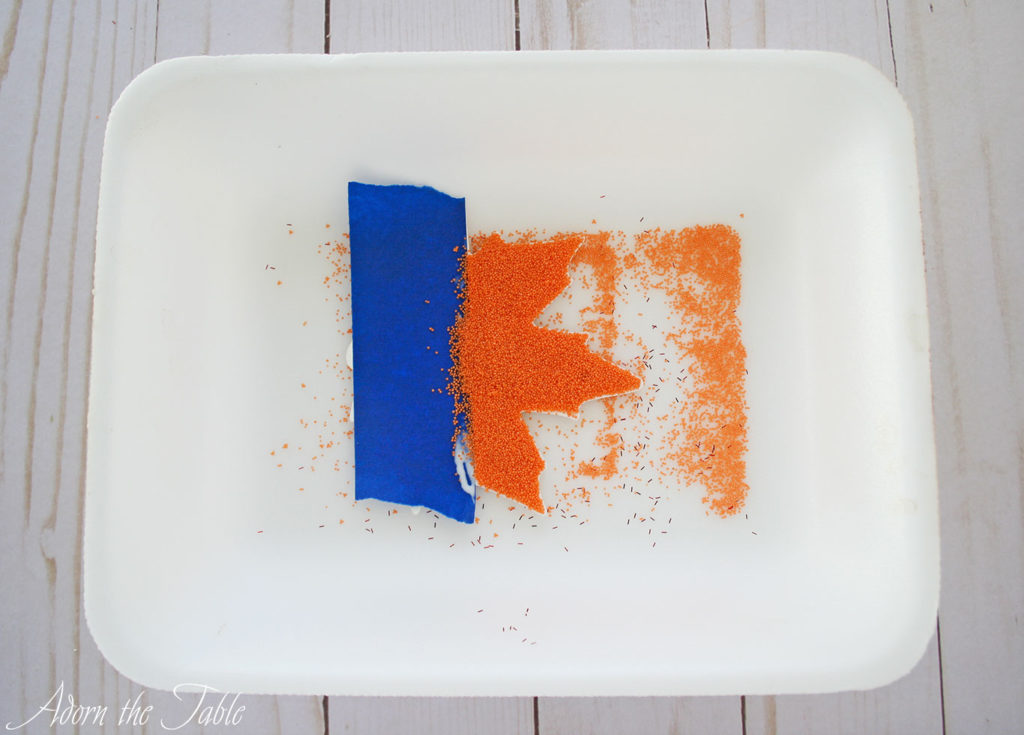
Be generous with the glitter and completely cover all the wet glue.
Don’t worry about the glitter that falls onto the paper, or the tray. It’s there so you can use it to funnel all the excess glitter back into the container, so you can use it for another project.
Turn the place card slightly and tap off the extra glitter onto the paper or tray.
If you have any areas that are missing glitter, then just add a little more glue and glitter.
Put the Fall leaf place card aside and wait for the glue to dry.
Once the glue is dry, slowly remove the painter’s tape.
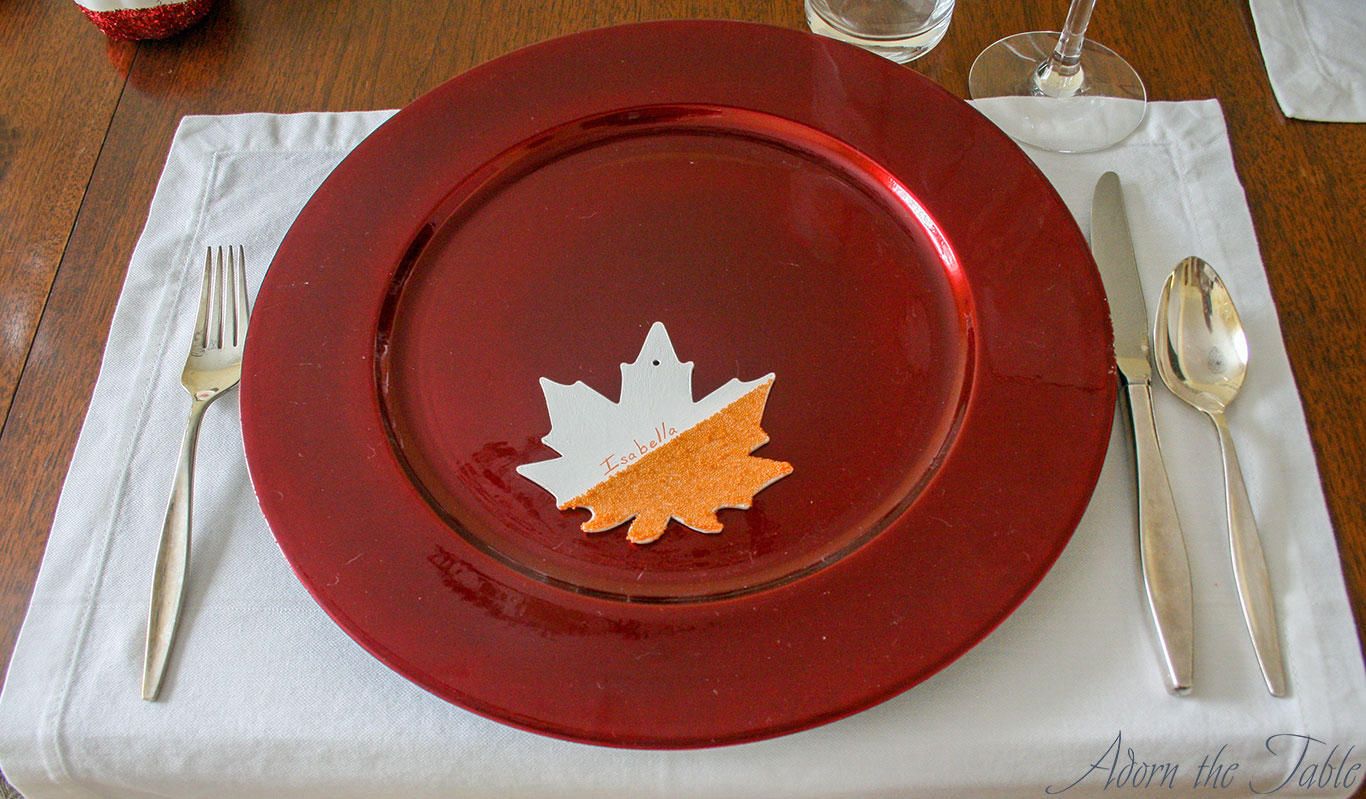
Check it out – a chic DIY leaf place card!
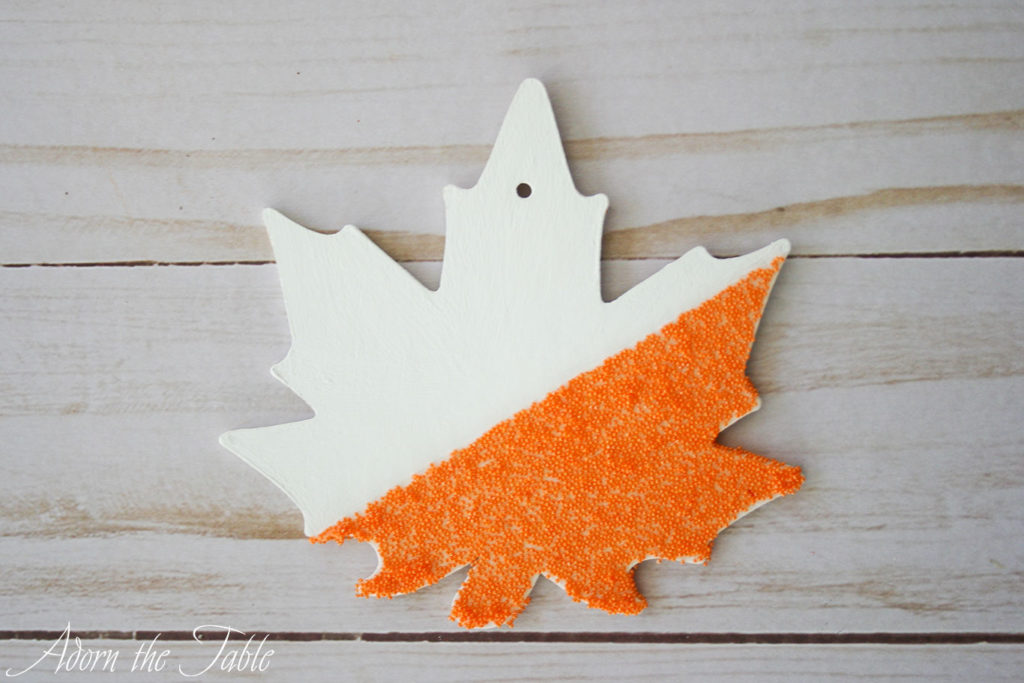
Isn’t it cute!!
*Tip: to help prevent the microbeads from coming off, spray your DIY leaf place cards with a clear sealer.
Step 3: How to Use Your Leaf Place Cards
I know it might seem kinda “duh” as to how to use your new chic leaf place cards but thought I would give you a few other ideas.
Obviously, you can write your guest’s name on the front of the leaf, like I did below.

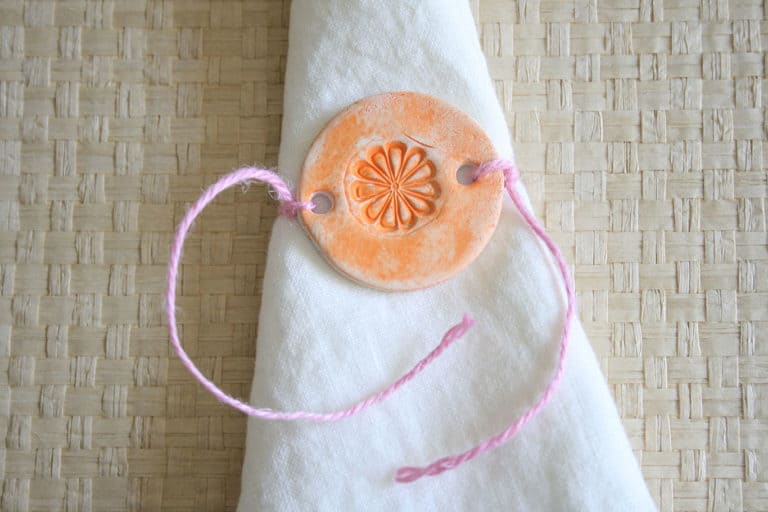
Since these are sold as “color-your-own ornaments”, you could use matching embroidery floss (instead of the twine provided), so your guests can put them on their tree.
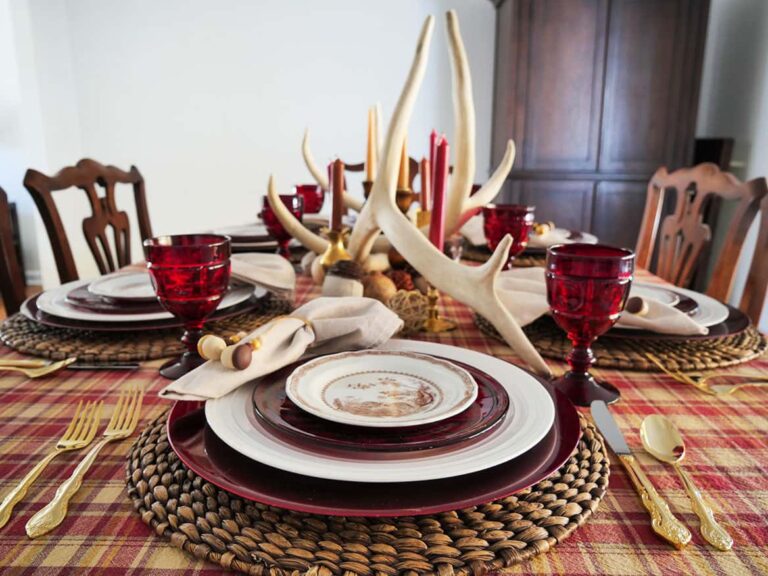
Or, if you use them at Thanksgiving like I did on my Thanksgiving Day tablescape, you can add a thoughtful message on the back of the easy leaf place card and date it. Something that would make it special.
Or you can ask your guests to each sign the back of each person’s place card and date them, as a unique memento of the occasion.
Aren’t these simple Fall leaf place cards awesome! And SO cheap, too!
Load up on different ornament designs from Dollar Tree and then use them for any future gathering or dinner party.
Shop the DIY Supplies
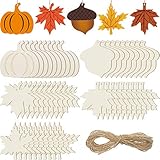
Leaf Ornament

Sobo Glue

White Chalk Paint

Orange Microbeads
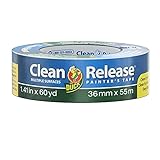
Painter’s Tape

Mod Podge Sealer
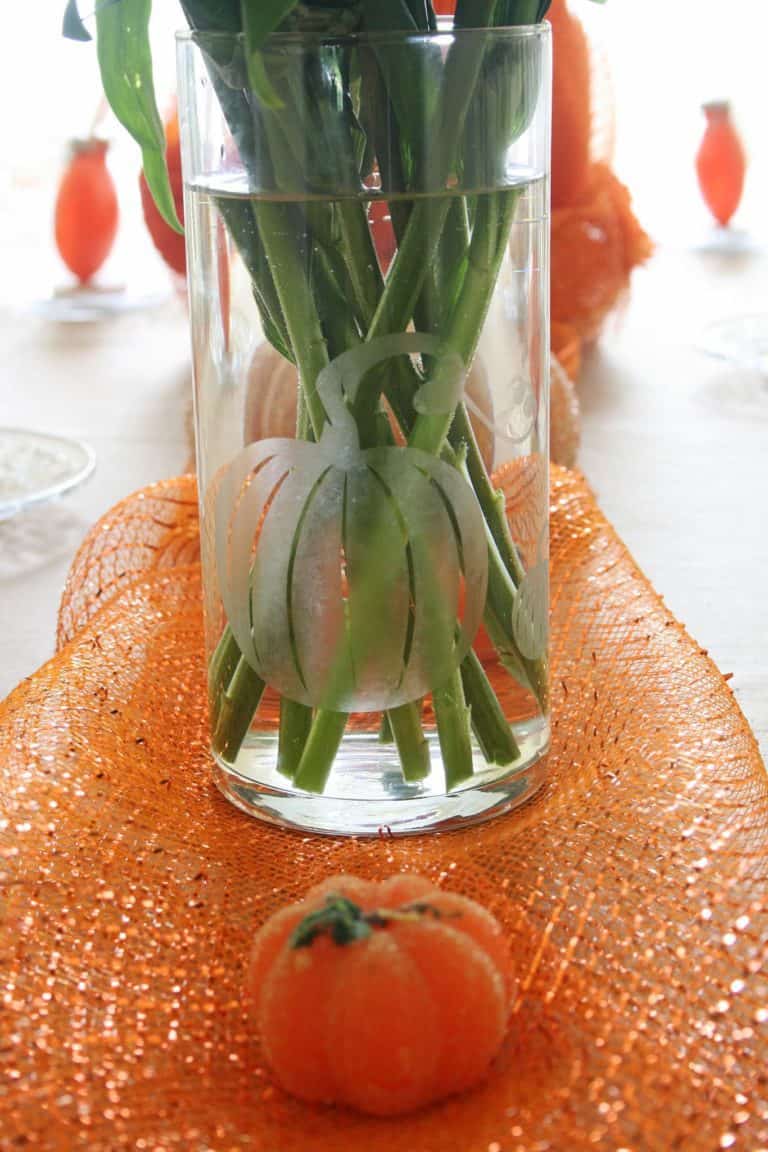
Check out other easy Fall diy projects
- Modern Glitter Pumpkins
- Unique Pumpkin Place Card Holder
- Easy Glass Etched Vase
- Easy DIY Tall Candle Holder