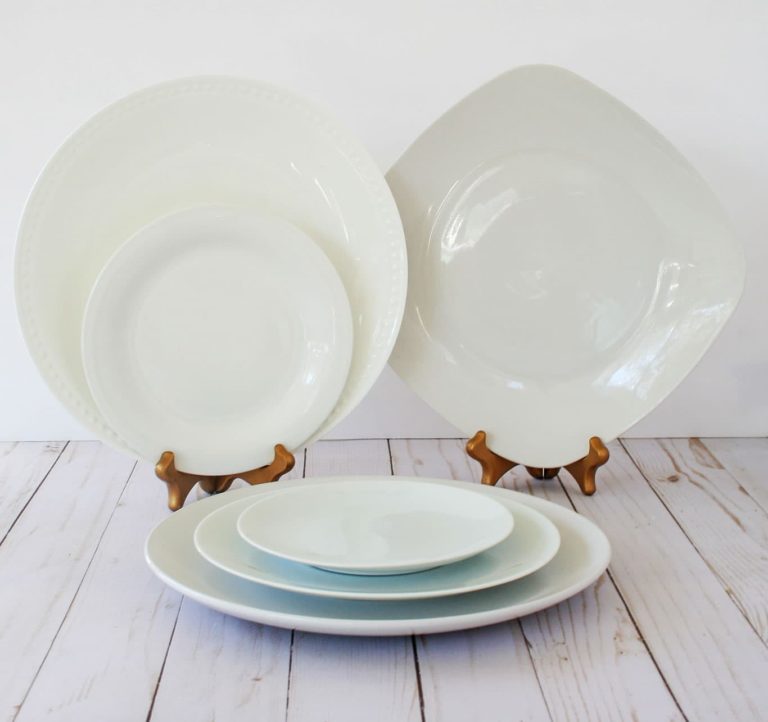
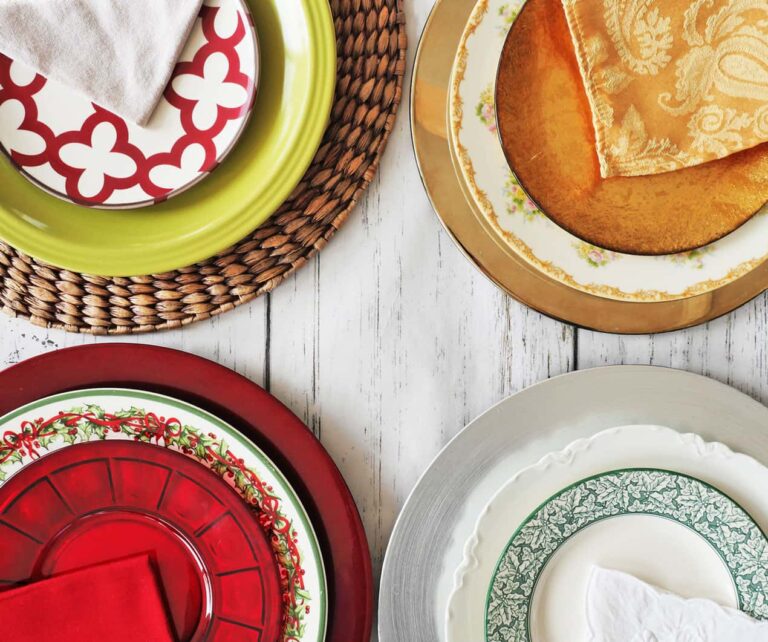
I had to create this ode to 1970’s vintage Fall tablescape, because of these dishes.
Don’t they just scream 1970!
They were left over from an estate sale, so I got them for FREE!
Now, they aren’t my style. At all! But, it’s impossible for me to walk away from free dishes.
So when I was mulling over ideas for a unique Fall table setting, I kept getting the pull to use them. I needed to incorporate them into the Autumn tablescape.
But how?
That’s when I decided to go all in and embrace their 1970s color and design. The Fall tablescape needed to honor these vintage 1970s plates.
It also occurred to me that you might have inherited similar dishes from that decade. And that you might be struggling to create a table setting to use and highlight your plates.
So why not copy me and create a throw-back vintage table setting? It’s SUPER FUN!
How to Create a 1970’s Vintage Fall Tablescape
Step 1: Use a popular 1970’s color for your vintage tablescape
When you’re creating a 1970’s vintage Fall tablescape ~ color is key.
Think about it. It’s a decade that’s totally associated with specific colors: avocado green, beige, brown, harvest gold, and mustard yellow. When you see those colors combined it’s hard to not connect them to the 1970s.
But did you notice those are also colors associated with Fall? So it makes perfect sense to use those colors when you create a 1970’s inspired Fall tablescape.
What 1970s color tablecloth are you going to use?
I wanted to use orange, as that’s the color that stands out in my dishes.
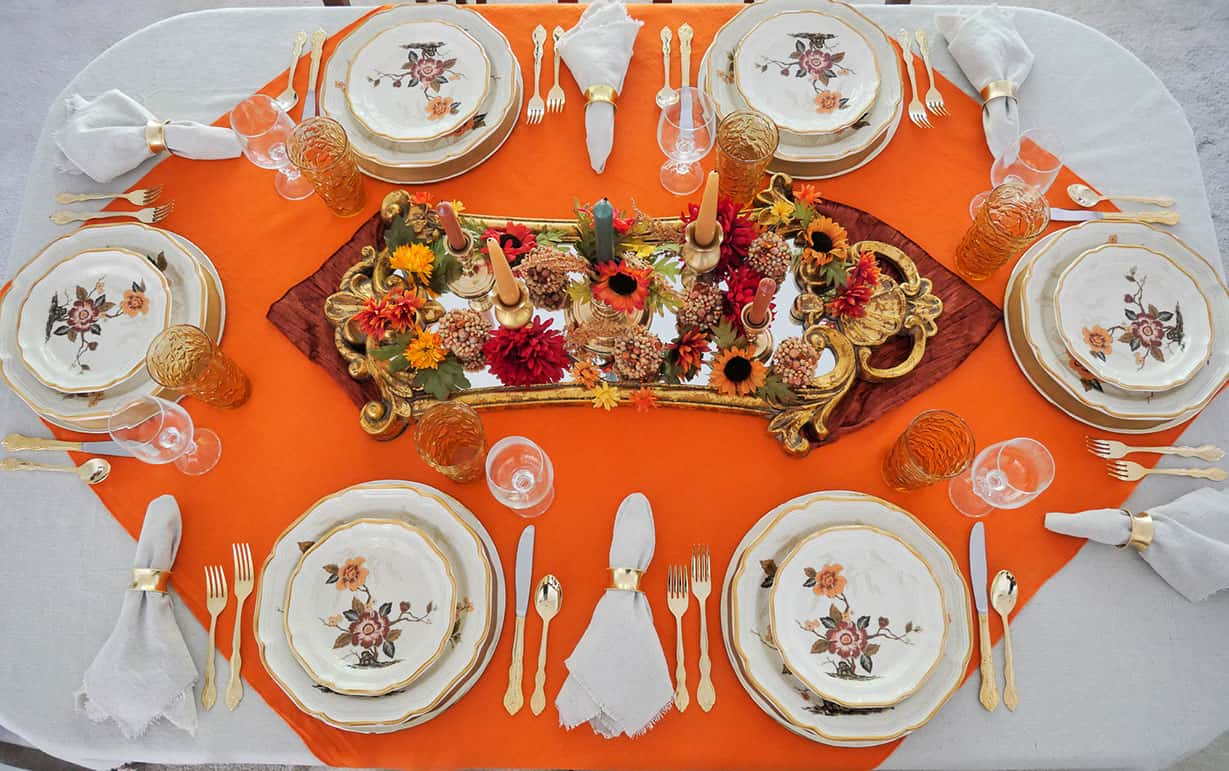
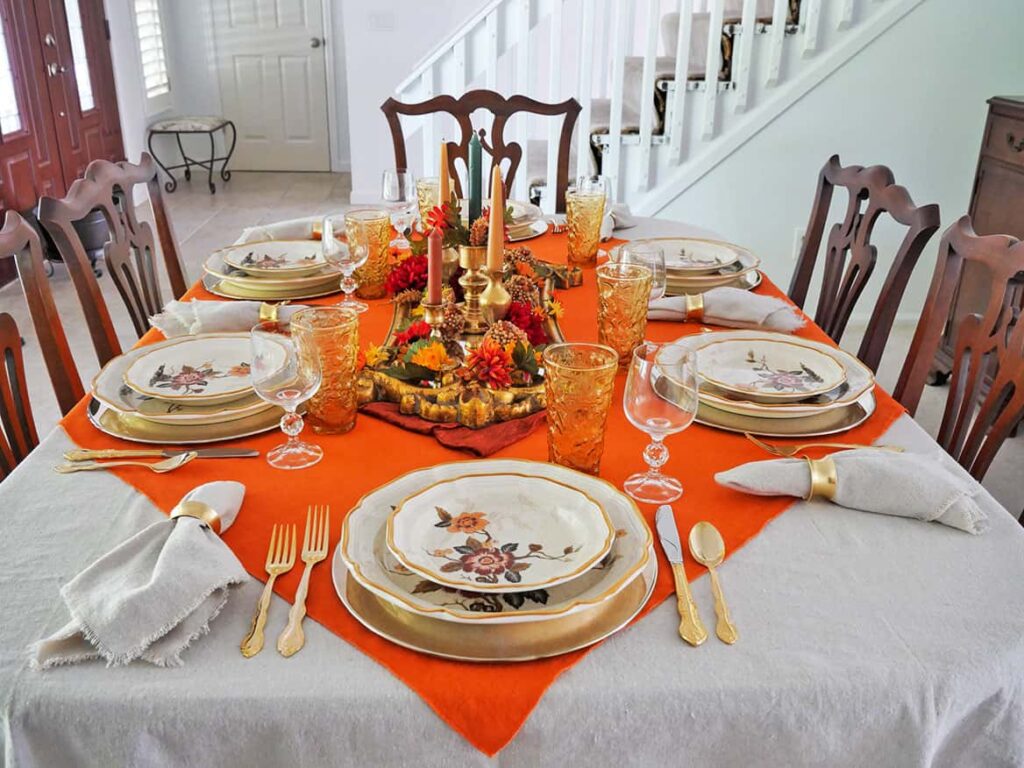
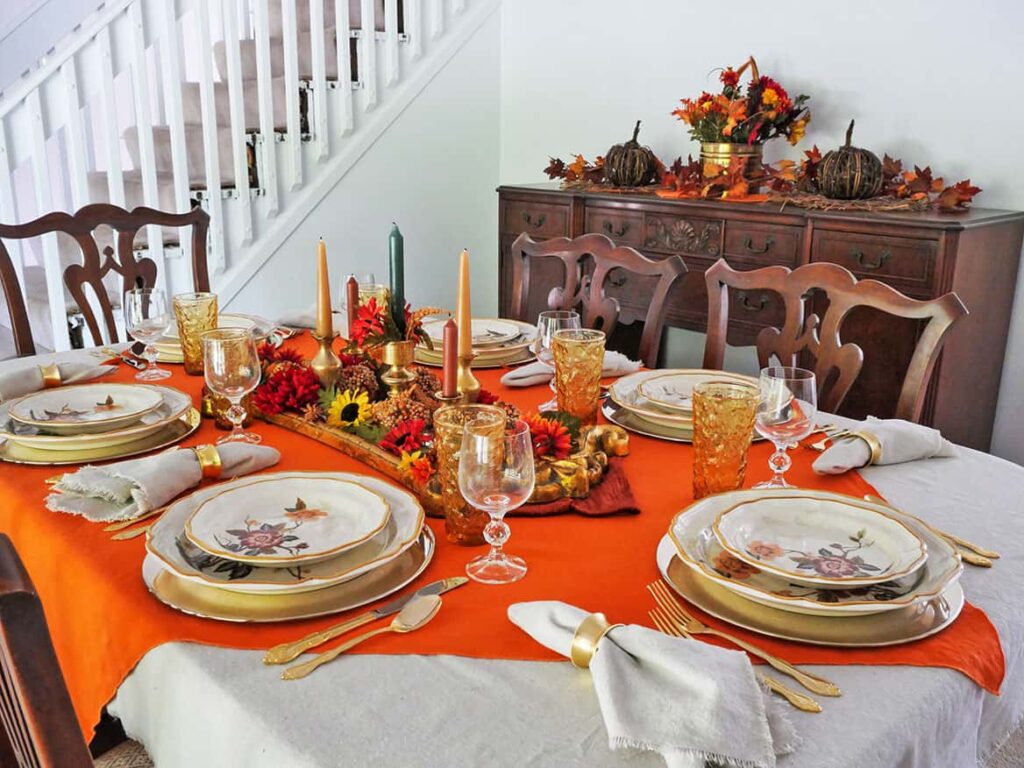
I chose to combine two tablecloths for this 1970s table setting. Mostly because my orange tablecloth was square, so it needed to be placed diagonally on the table with the corners on the ends.
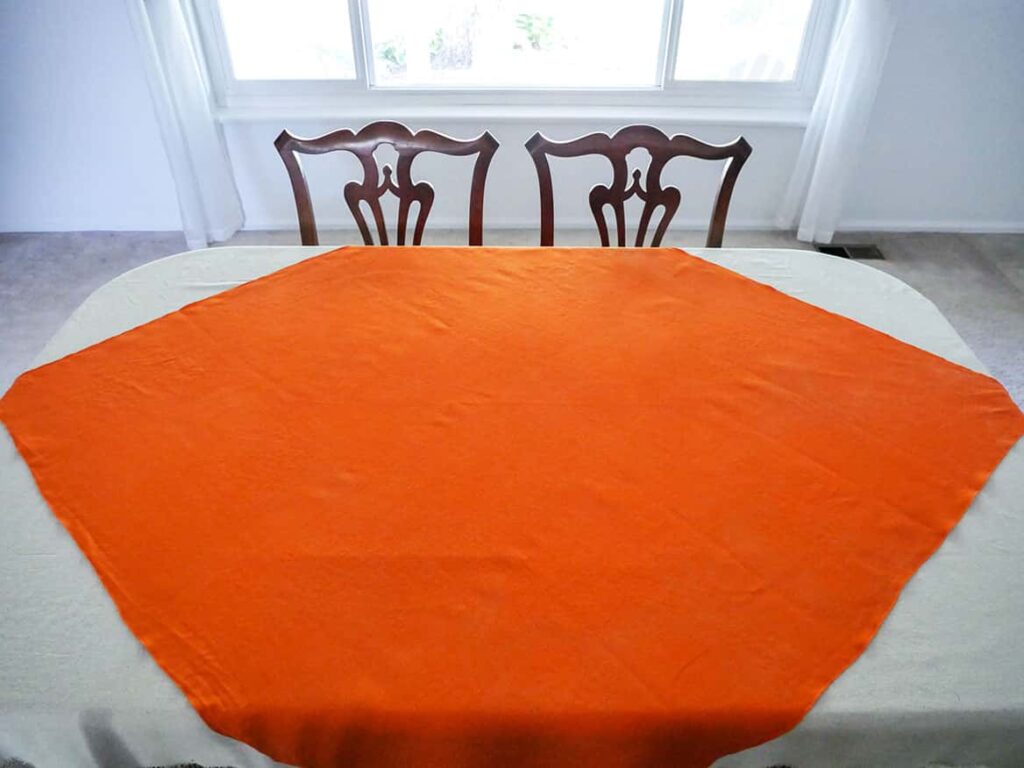
Under the orange tablecloth is my totally easy diy drop cloth tablecloth. (In fact, I used the same tablecloth on my cozy Fall table setting. You should check it out.)
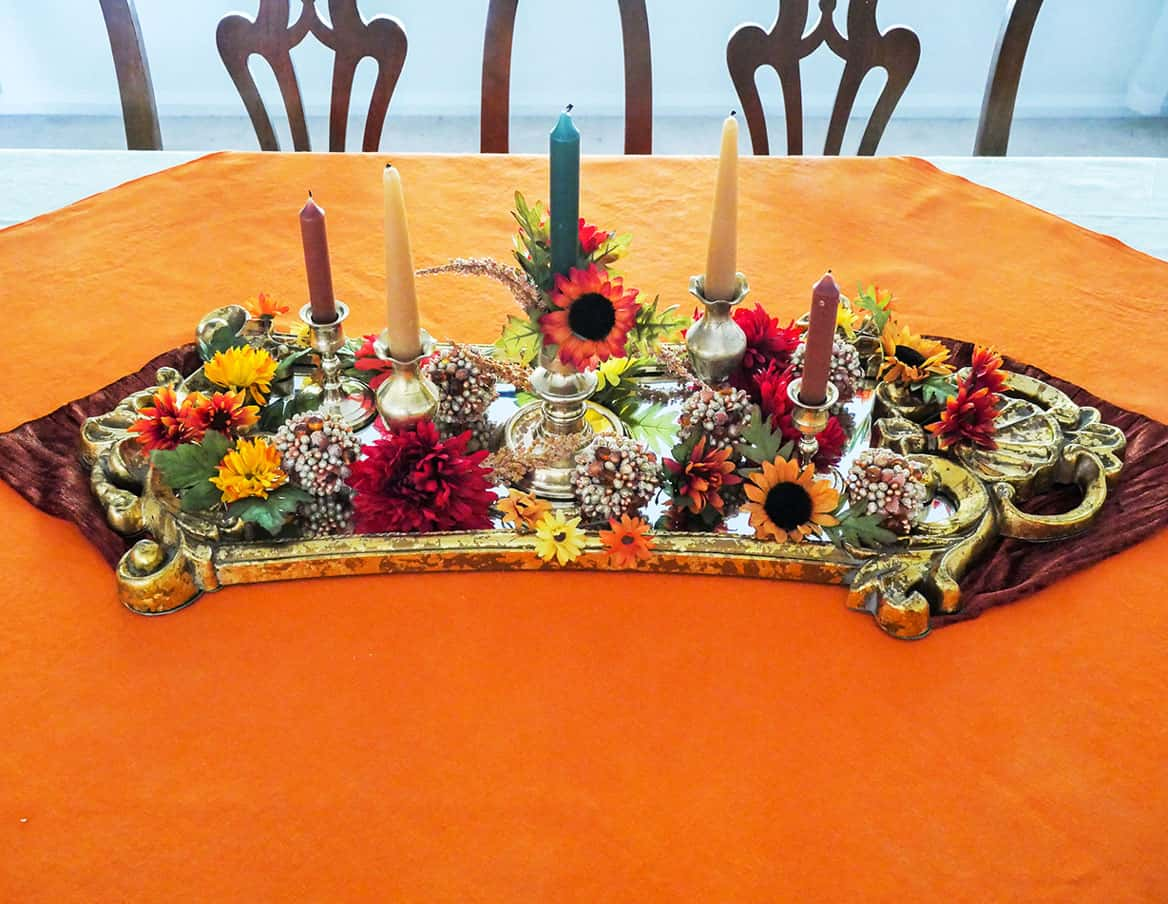
Step 2: Create your 1970’s Fall centerpiece
Besides the colors associated with the 1970s, there are also metals and fabrics associated with the 1970s.
I totally think of velvet and terrycloth fabrics with I think of that decade. I also think of bronze and gold, as their yellow tones compliment the Fall colors of that time.
So creating a 1970’s centerpiece using some of those elements was a no-brainer.
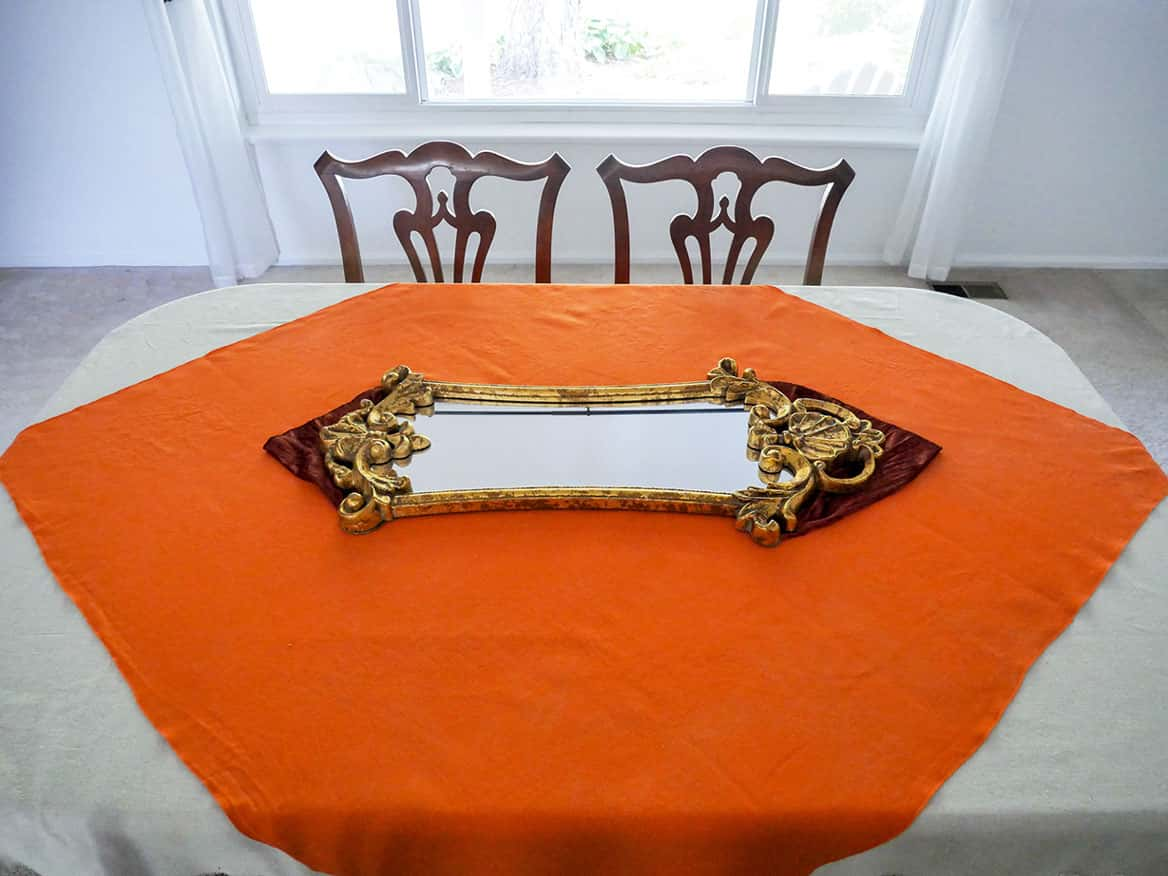
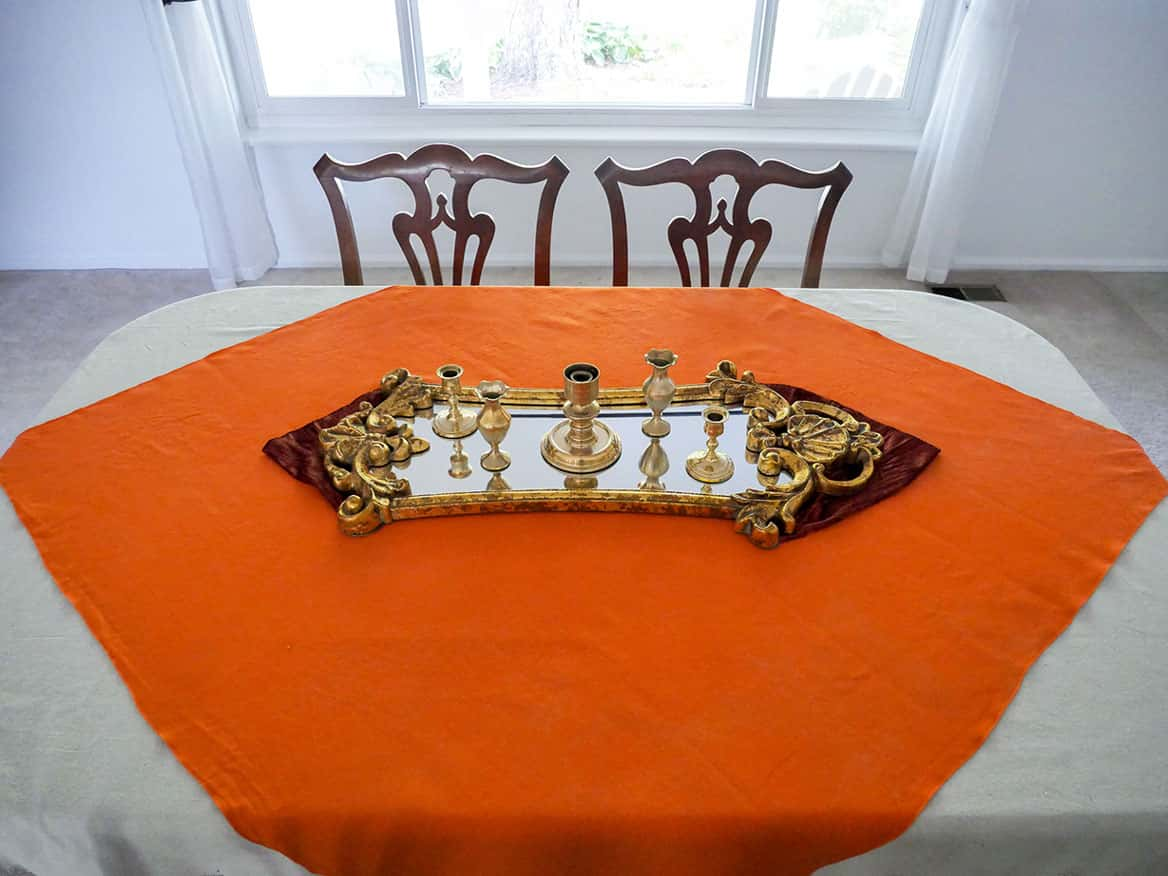
I found a skinny gaudy gold-framed mirror at an estate sale months ago that totally looked like it was from the 1970s. Perfect for this table setting!
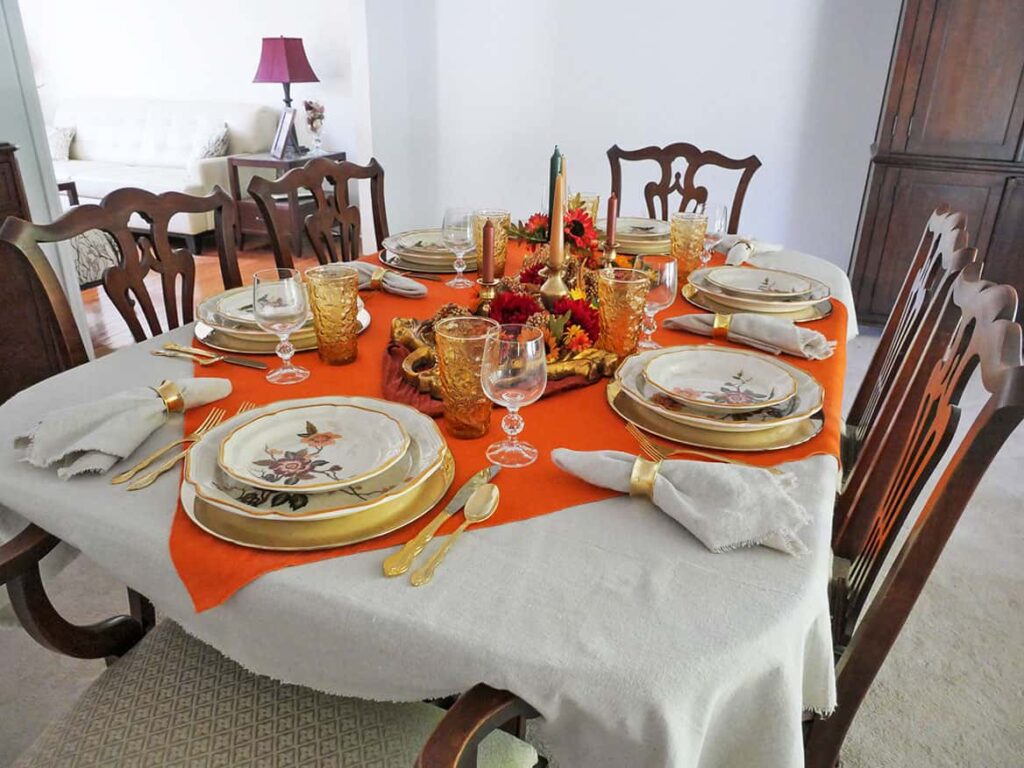
I placed the gaudy mirror in the middle of the table to be the base of the centerpiece. However, I felt the table needed more color.
I had two pieces of dark orange crushed velvet material from an old craft project that I really wanted to incorporate into the centerpiece. (I really wanted to have some velvet on the table!) But they were too small to use as a focal point, so I strategically placed them on the table, under each end of the mirror.
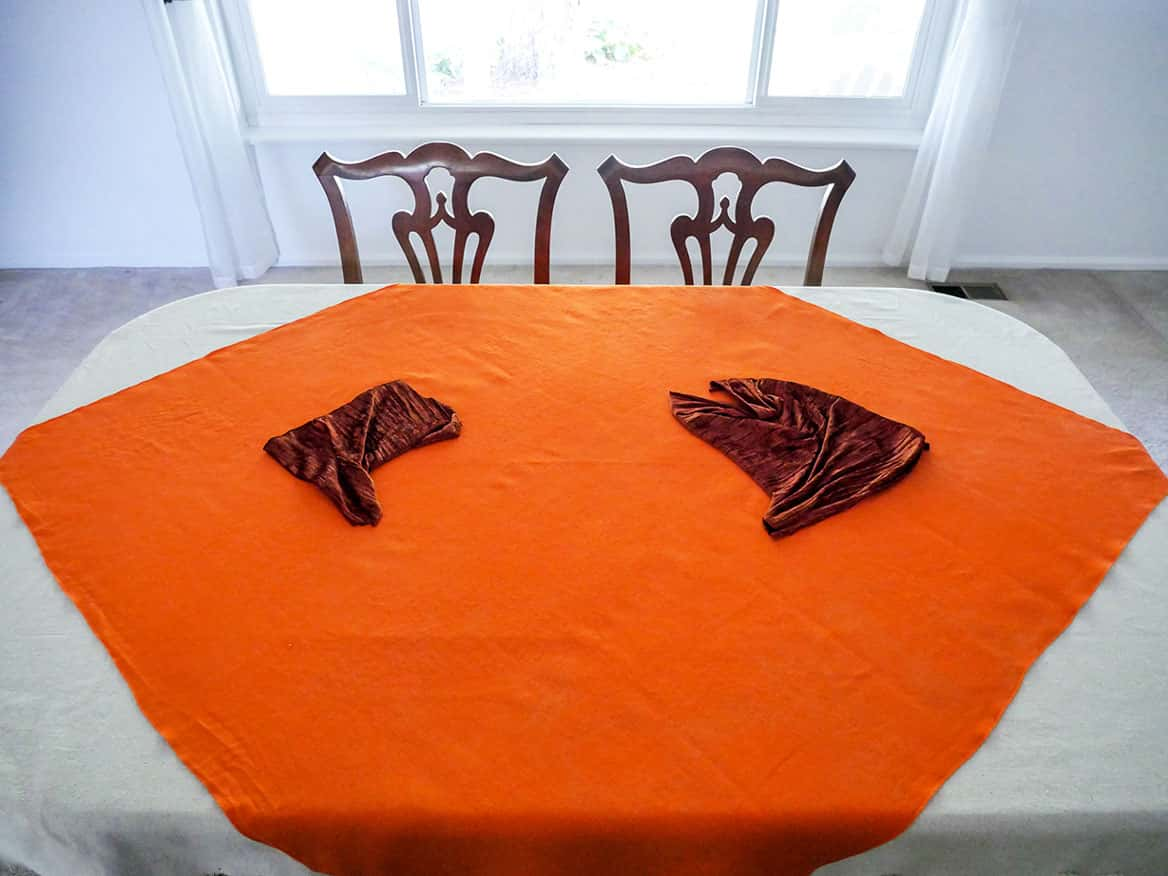
The crushed velvet provided a little texture and grounded the mirror to the tablecloth. Yay!
*Don’t forget to look around at what you already own that represents the theme for your table setting. You often have items that can be used.
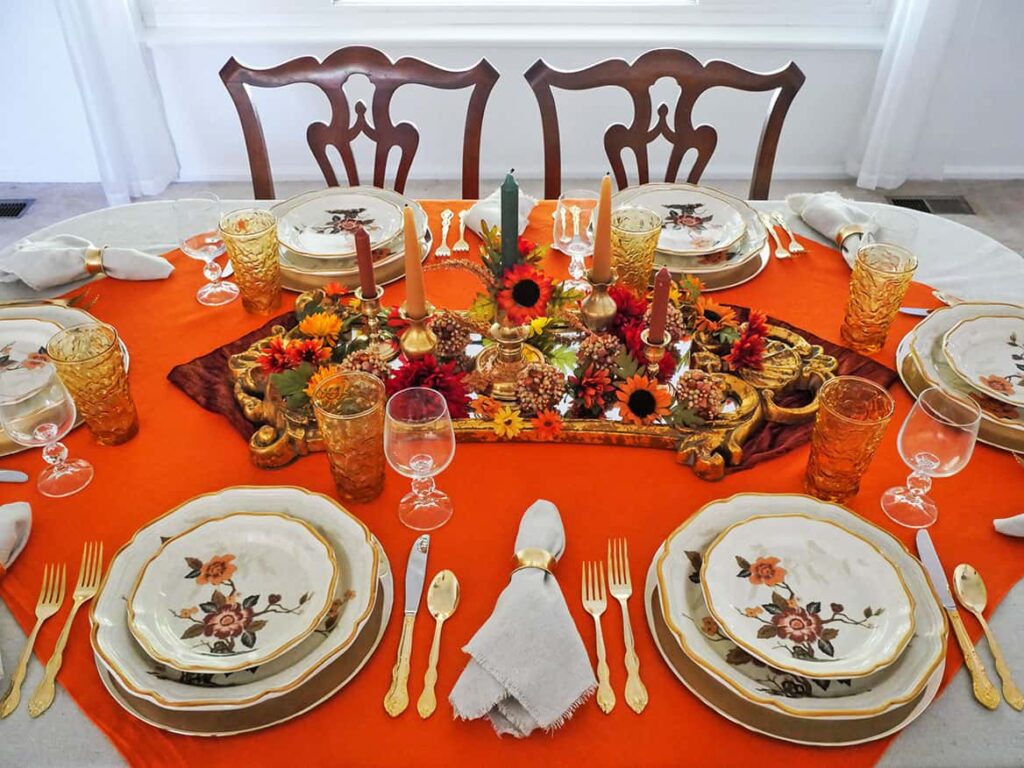
On top of the mirror, I placed three brass candlesticks and two brass vases. I staggered them on the mirror to create dimension in the centerpiece.
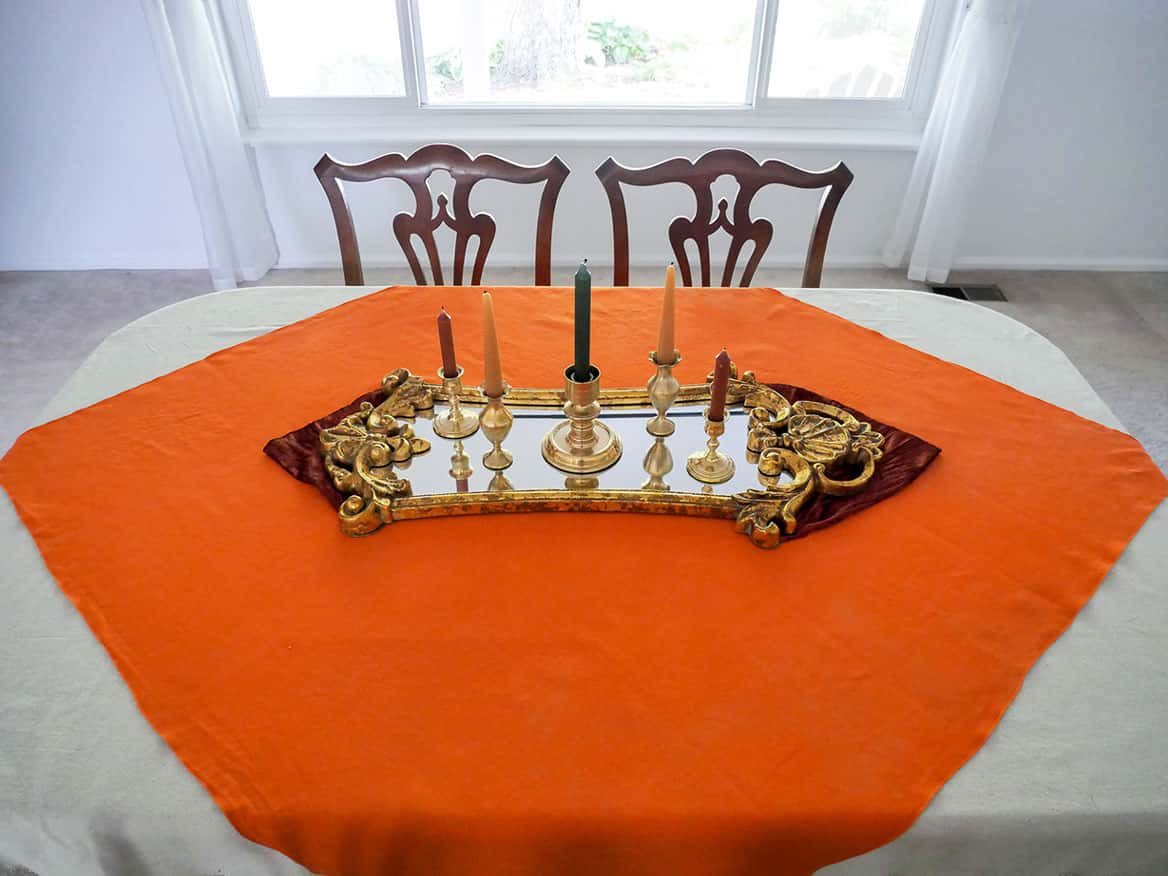
Then I added 1970’s colored candles to the candlesticks and vases. (If the opening is the right size, small bud vases also make cute candle holders.)
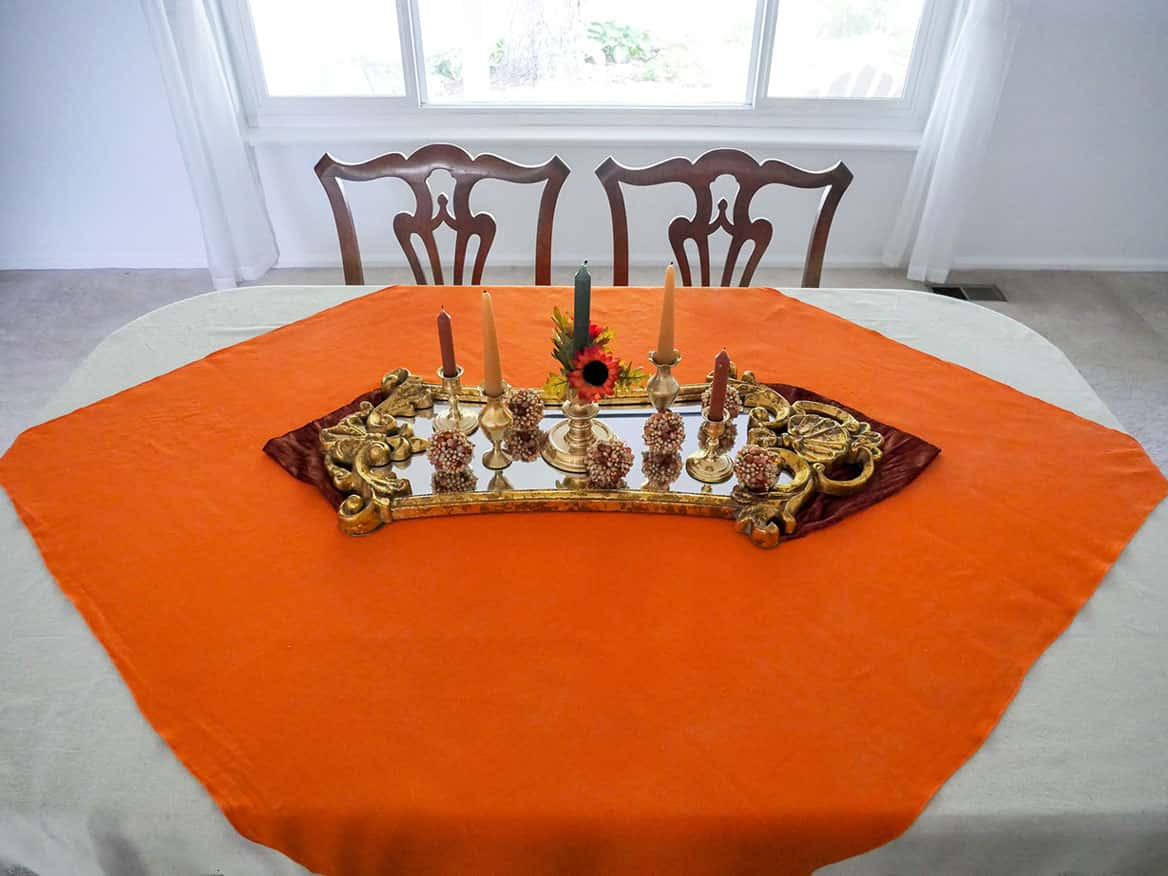
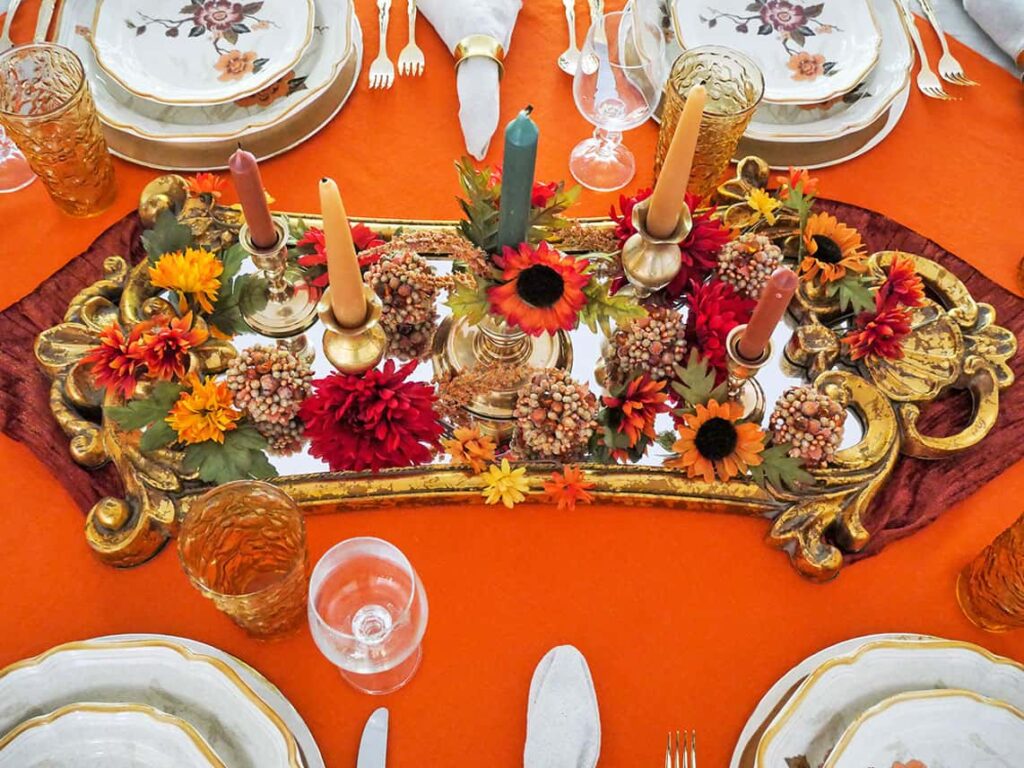
To create the Fall theme on the centerpiece, I added artificial flowers around the middle candle, and shiny balls scattered around the candle holders.
Then I filled in the base of the mirror with more artificial flowers. Strategically placing them around the centerpiece.
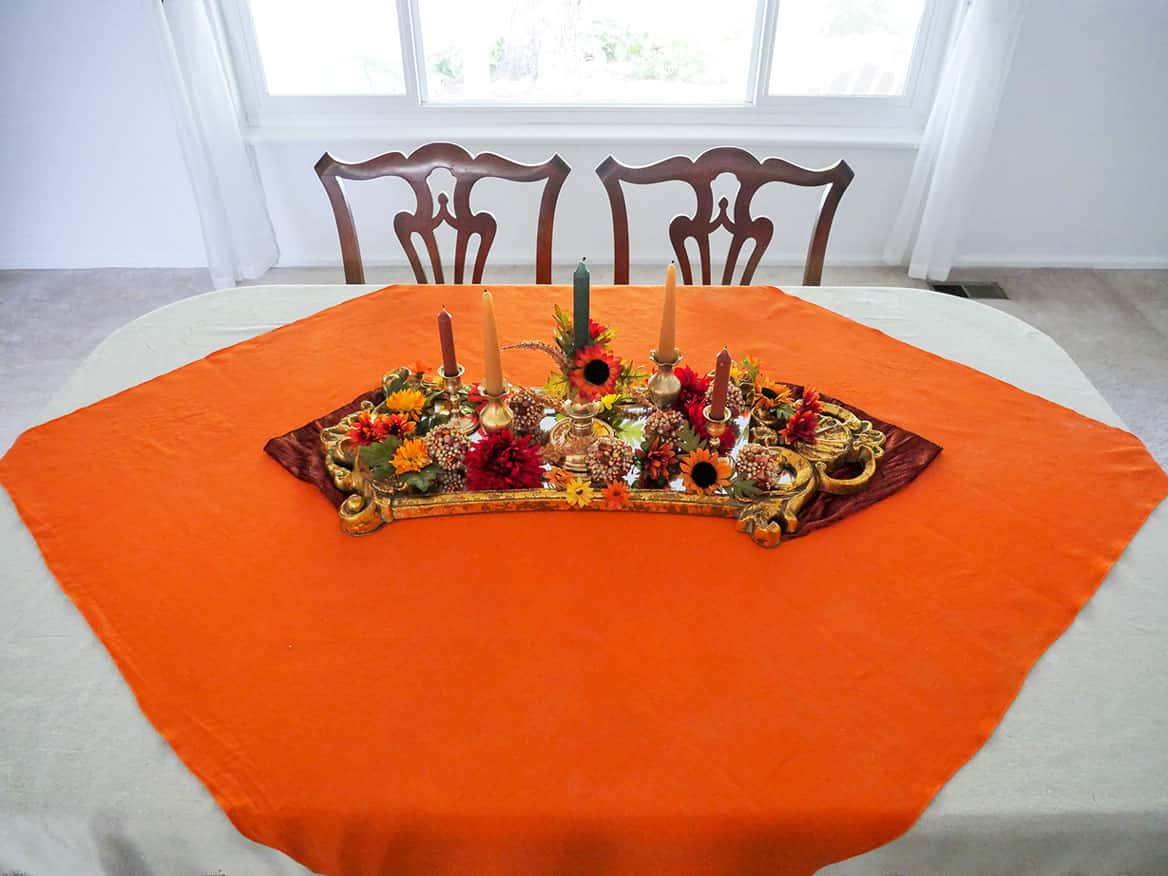
*Note: when placing your fake flowers, walk around your table and view it from every angle, then adjust the flowers so they look attractive from every direction. Also, try to stagger the color of the flowers, so the same colors aren’t all bunched together.
When you’re arranging the base of your Fall centerpiece, don’t completely fill it up or hide the mirror underneath. You want the mirror to show thru. That will make it easier for your guests to really see all the elements of your 1970’s centerpiece.
Step 3: Arrange your 1970’s inspired place settings
Now that your vintage-inspired Fall centerpiece is complete, it’s time to set out the 1970’s place settings.
If you’ve inherited (or can borrow) a set of dishes from your grandmother then you’re all set. If not, I bet you can easily find a set at your local thrift store. People are always donating vintage dishes – and they’re super cheap.
First, I was fortunate to find vintage brass charger plates at a secondhand store. But before using them, they needed to be clean and polished. Check out the before and after…
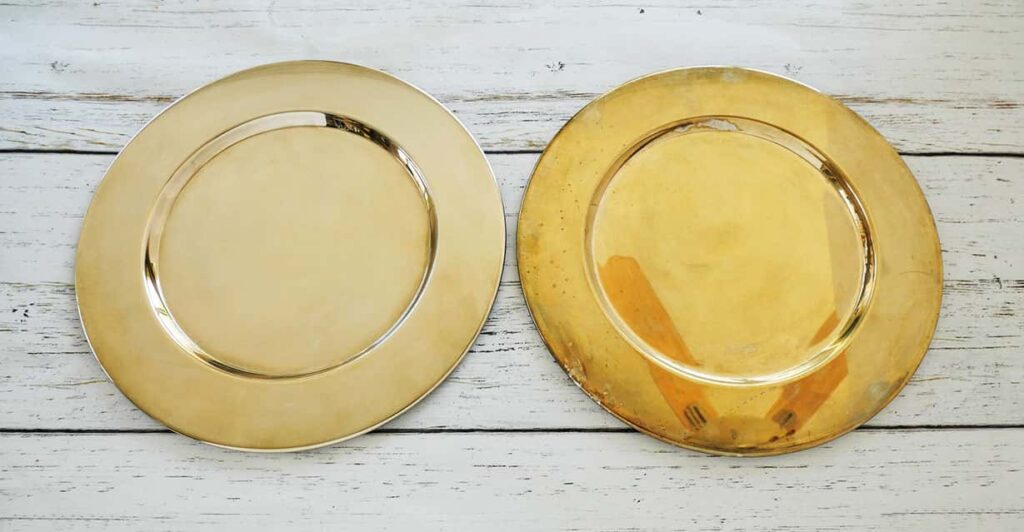
Crazy how much they changed!
*I have a post on how to clean and polish brass. It’s much easier than you might expect.
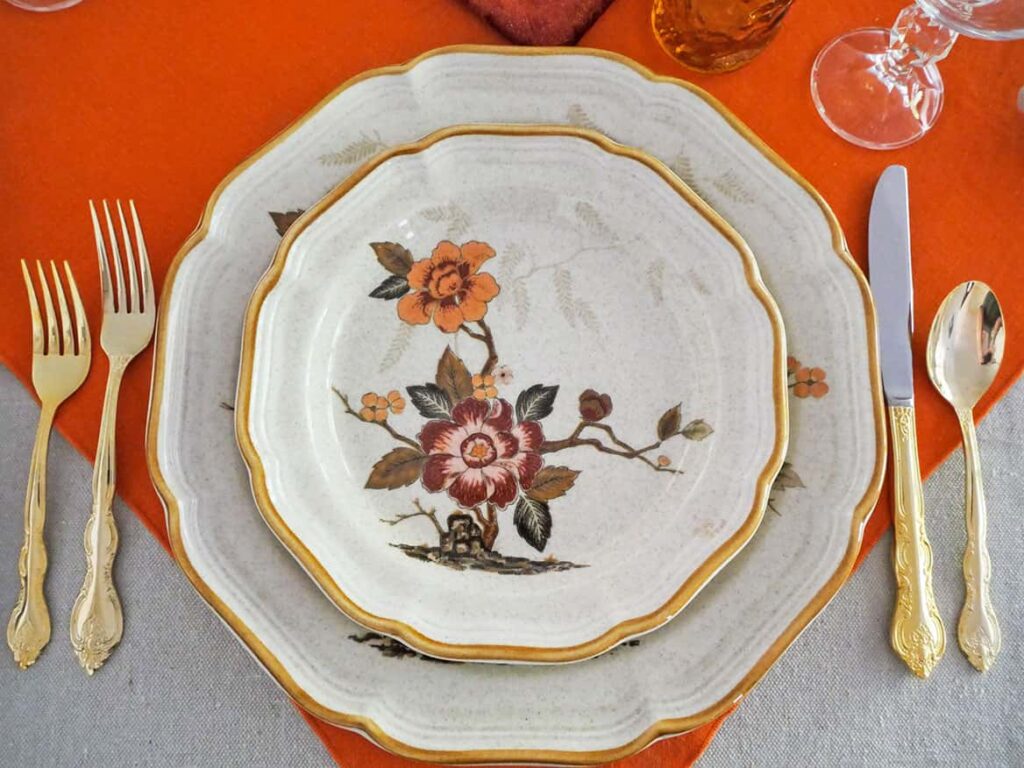
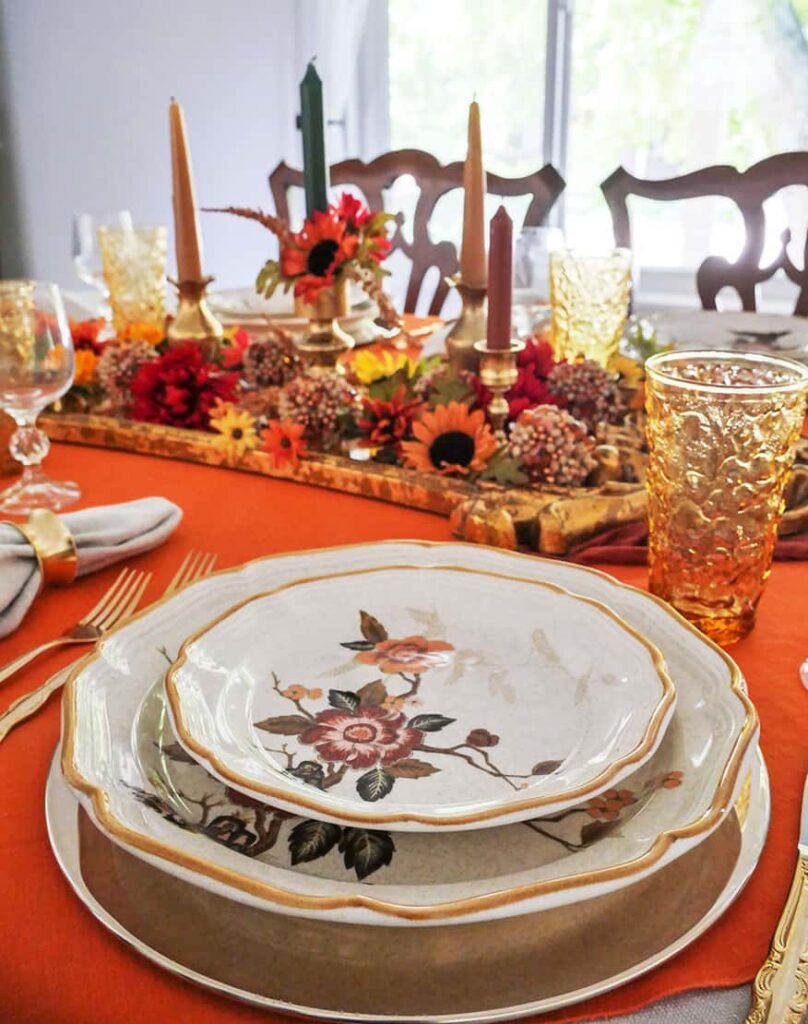
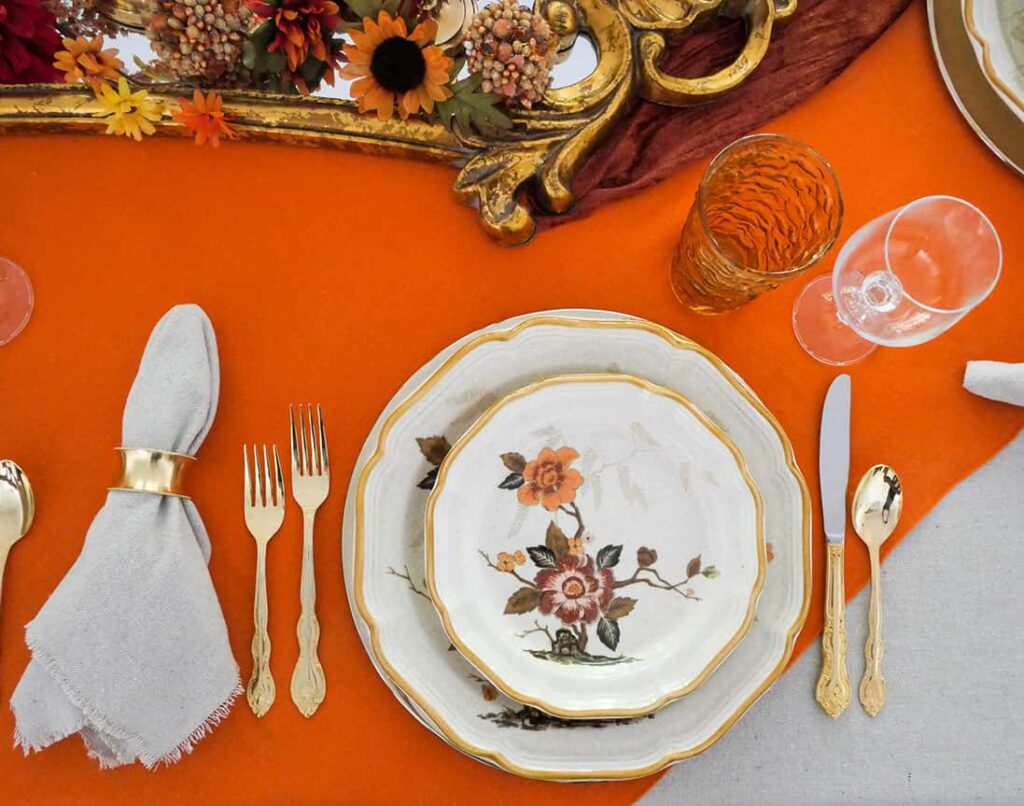
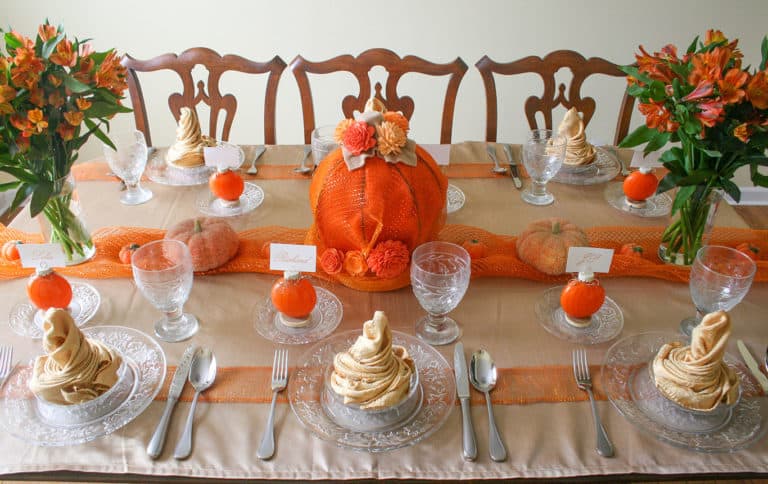
I placed the charger plates in front of each chair. Then I added the dinner plate and matching salad plate.

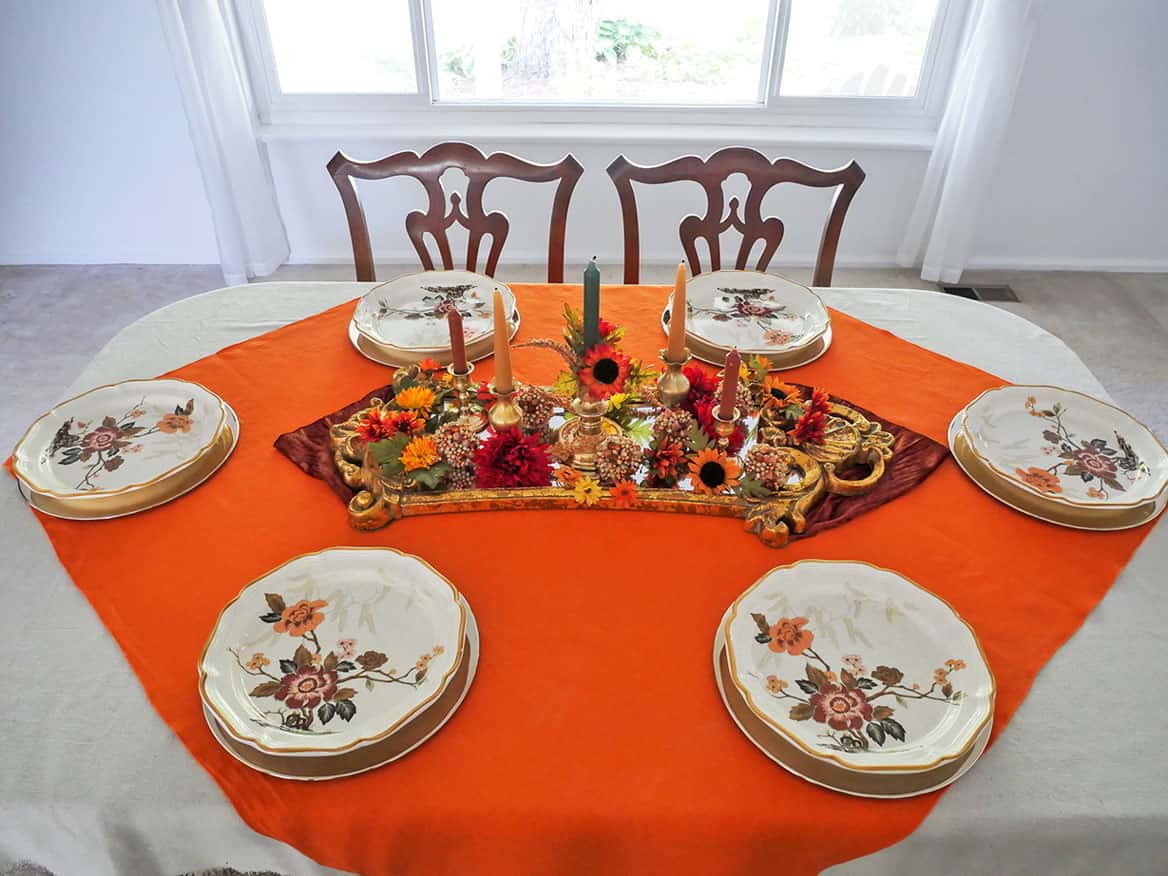
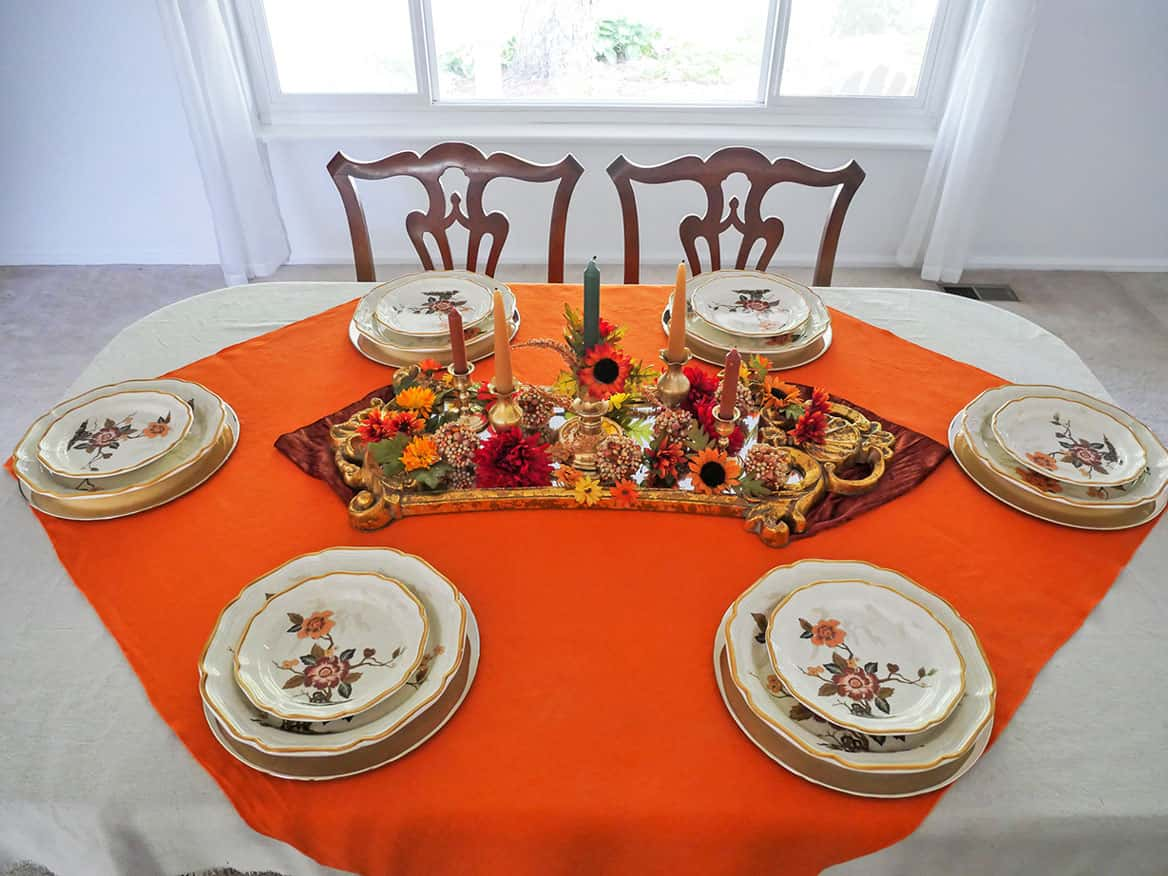
These plates are SO from the 1970s. I mean, look at those colors and the pattern! Perfect for this vintage Fall tablescape.
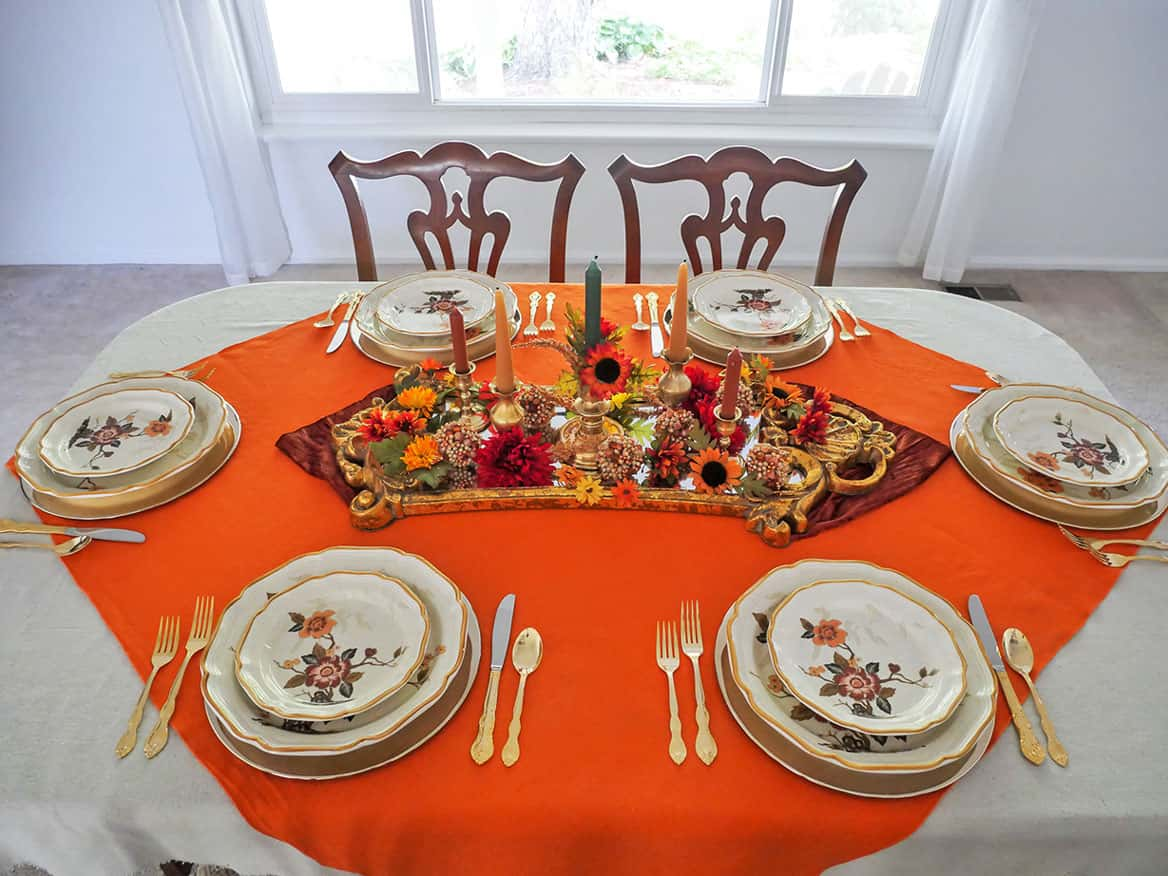
Next, I added gold flatware to match the Fall centerpiece and keep with the warm tones on the table.
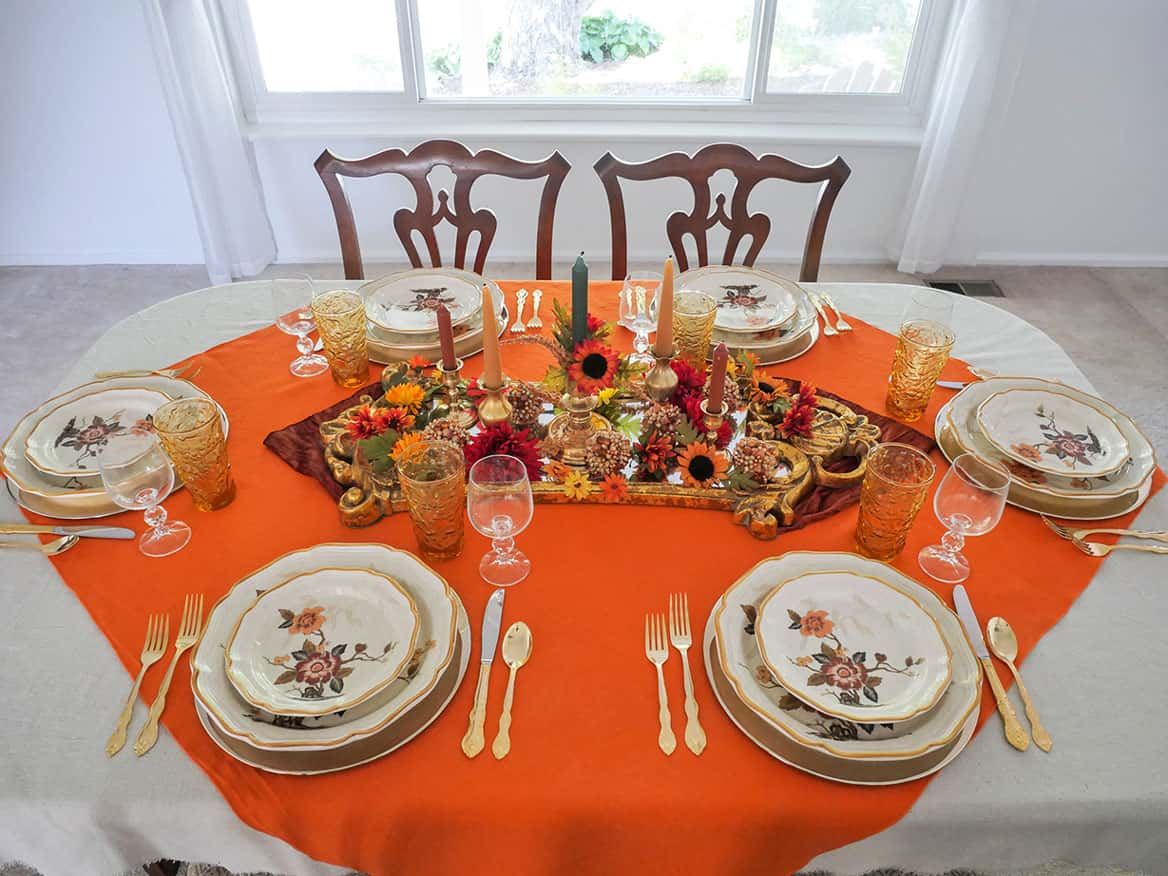
Then I placed vintage amber water glasses and clear wine glasses on the table. *Note: the wine glass goes to the right of the water glass.
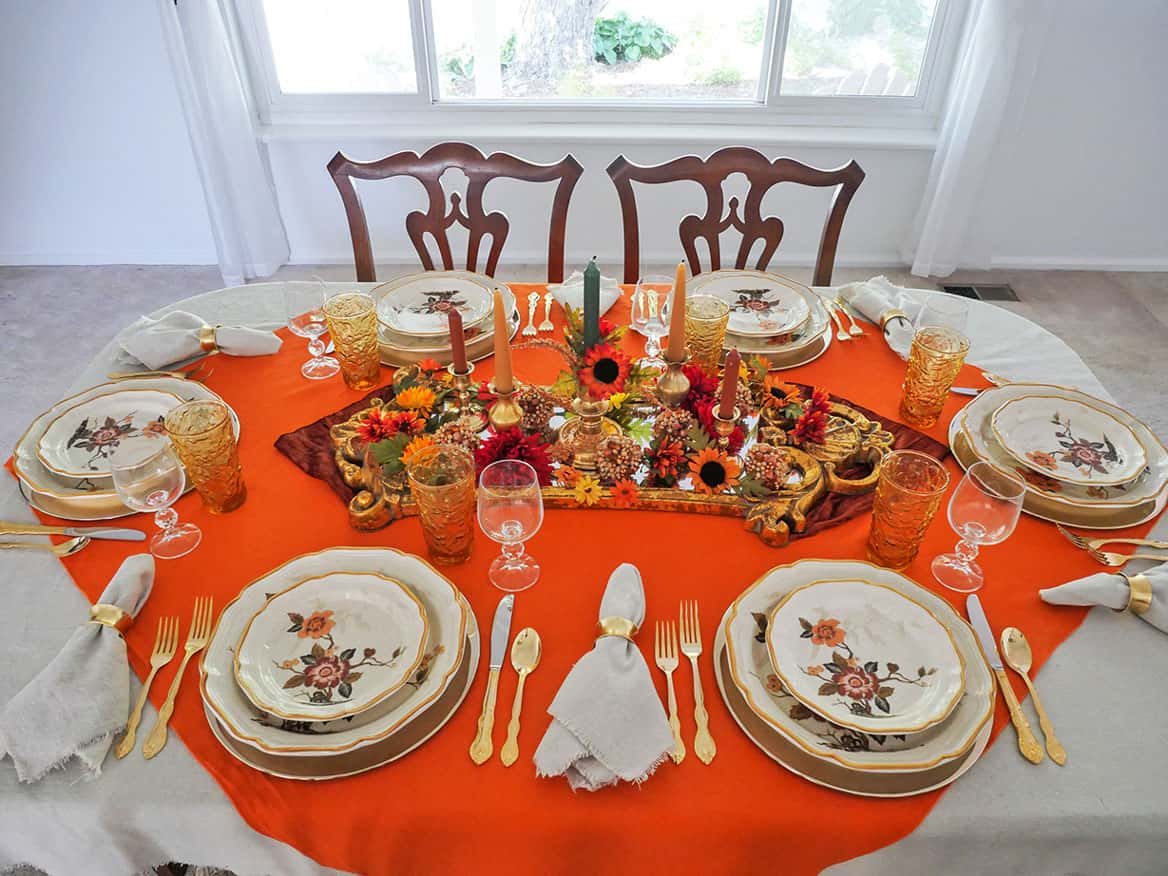
And finished off the 1970’s Fall place setting with a beige napkin that matches the tablecloth, surrounded by a gold napkin ring.
Step 4: Add Fall decor to other areas of your room
I’m sure you have other areas next to your dining table that could use a little Fall decor.
Incorporate those areas when creating your ode to 1970’s vintage Fall tablescape. It will enhance the look of your table setting and bring the room design together.
You don’t need to do much.
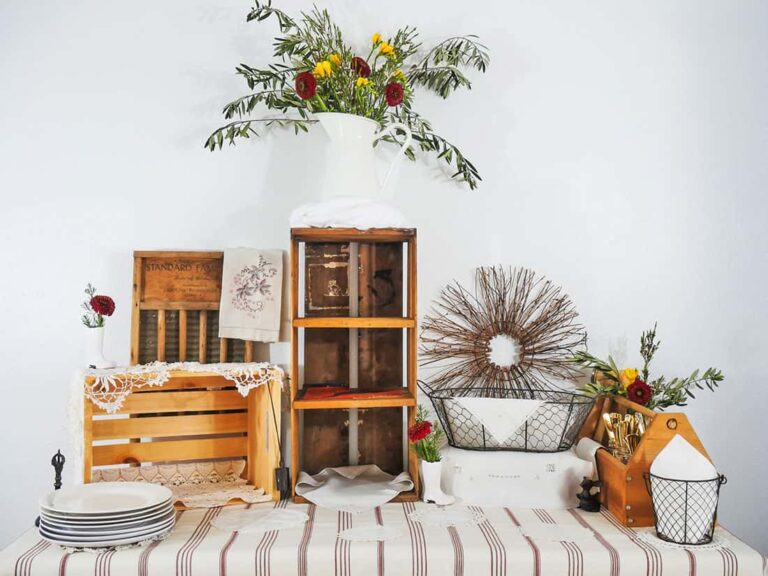
I have a buffet table next to my dining table, so I added Fall decorations that tied into my 1970s Fall table setting.
First I laid four small orange napkins diagonally down the buffet. Then I placed a bronze bucket filled with the same artificial flowers as on my centerpiece, in the middle of the buffet.
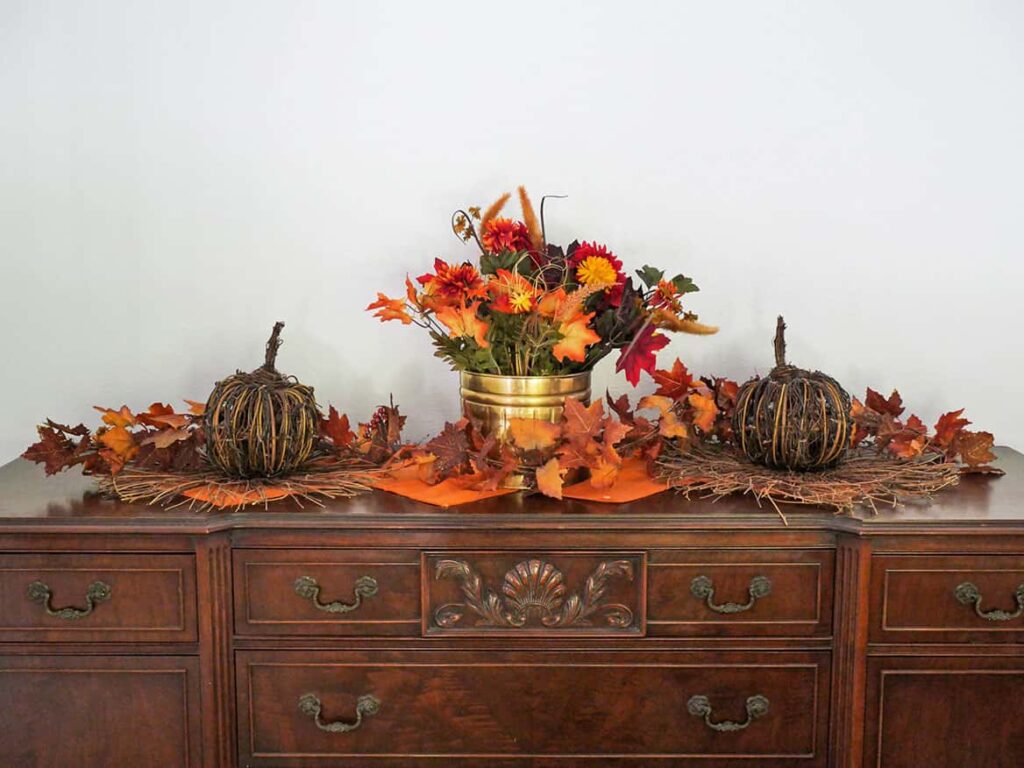
To complete the buffet centerpiece, I flanked each side of the bucket with a twig wreath and grapevine pumpkin and wound a Fall leaf garland around the pieces.
A super simple Fall centerpiece.
And it totally works and ties in with the Autumn table setting.
Did you notice that this 1970’s Fall tablescape doesn’t integrate any of the typical symbols of Fall?
There aren’t any pumpkins, gourds, apples, straw, baskets, dried leaves, or corn stalks.
Nope.
You can tell this is a Fall-inspired table setting purely by the colors used.
When creating your Fall tablescape, don’t feel pressured to include Fall symbols. Using Autumn colors is all you need.
Beautiful, creative and fun as always!
Aww – thank you!!!
I was born in 1973 so these plates look down right familiar! I love your idea of using a mirror for the center piece. Everything looks beautiful. Thank you for participating in the Home Imagined link party!
Anna ~ Thank you SO MUCH for your kind comments. Love the link party!