
I absolutely love super easy and cheap DIY projects. These DIY skull napkin rings are exactly that.
Cheap and super easy to make!
Like $1.25 cheap ~ for 4 skull napkin rings!
That’s ridiculously budget-friendly.
And the best part ~ they look AMAZING on a Halloween tablescape!
As in, I gave myself a pat on the back for how awesome they looked.
I know you’re gonna love them, too.
Check out what an easy Halloween diy decor project this it…
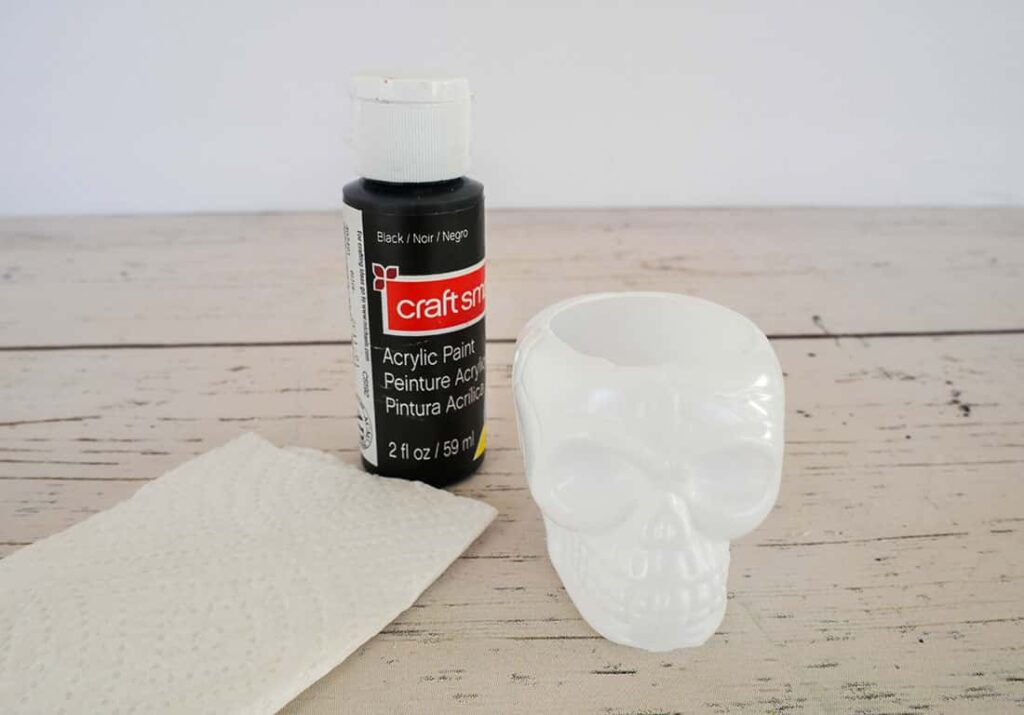
Supplies for Easy DIY Skull Napkin Rings
Please note that this article may contain affiliate links. I may get commissions (at no cost to you) for purchases made through these links. You can read my full disclosure for more details.
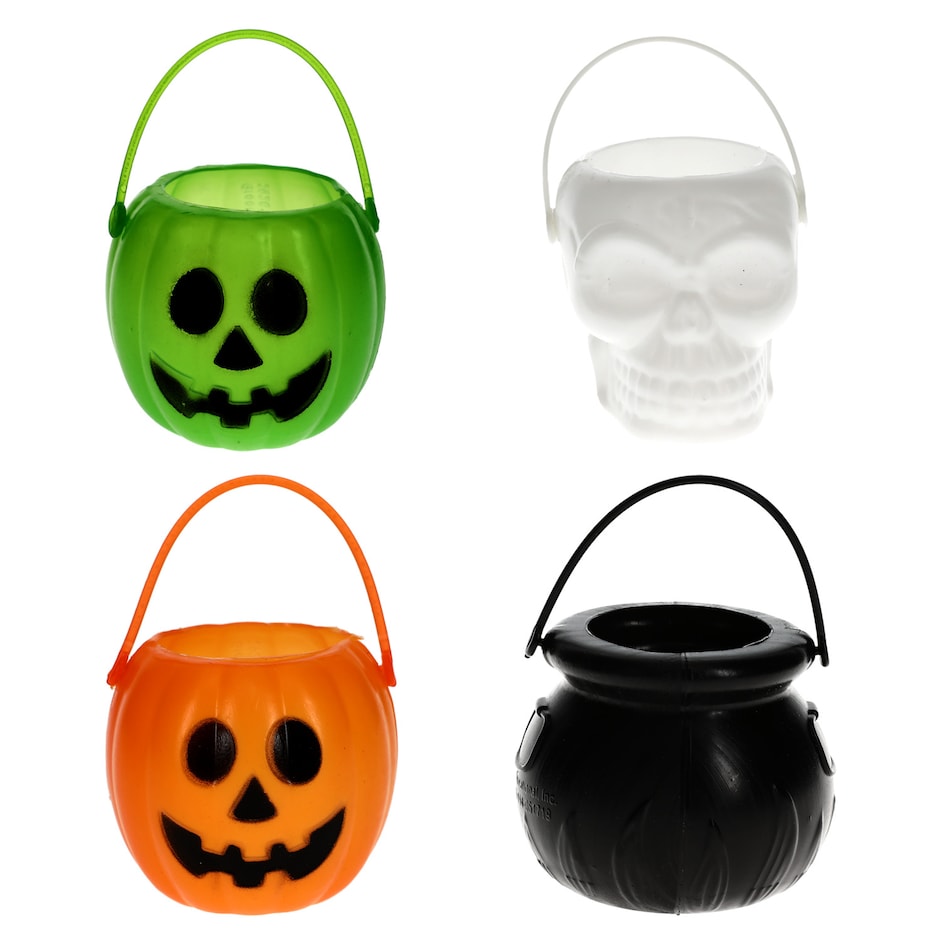
- Skull mini buckets
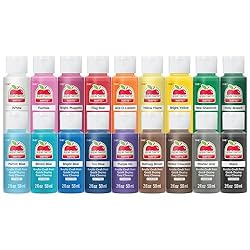
- Black paint
- Scissors
- Craft knife
- Candle lighter
- Paper towel
How to Make Budget-Friendly Skull Napkin Rings
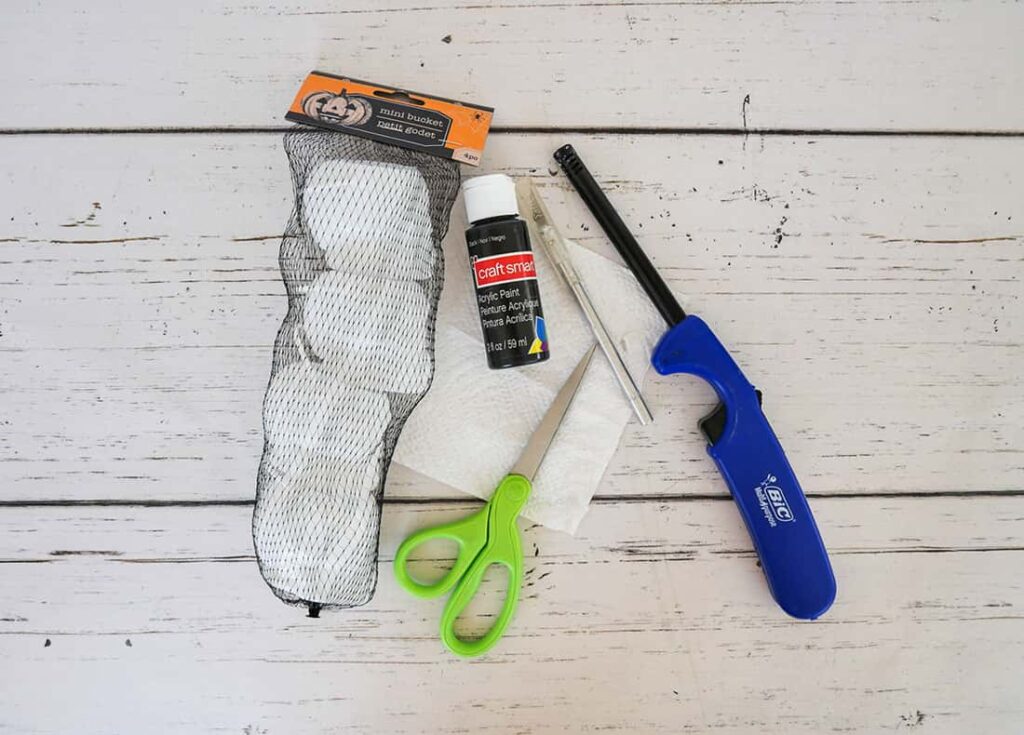
Step 1: Gather skull napkin ring supplies
First, you’re gonna need to get all the supplies together to make your easy diy Halloween napkin rings.
You can find the 4-pack of skull mini buckets at Dollar Tree.
Then you’ll need standard black acrylic paint, scissors, a craft knife, and a paper towel piece.
That’s it.
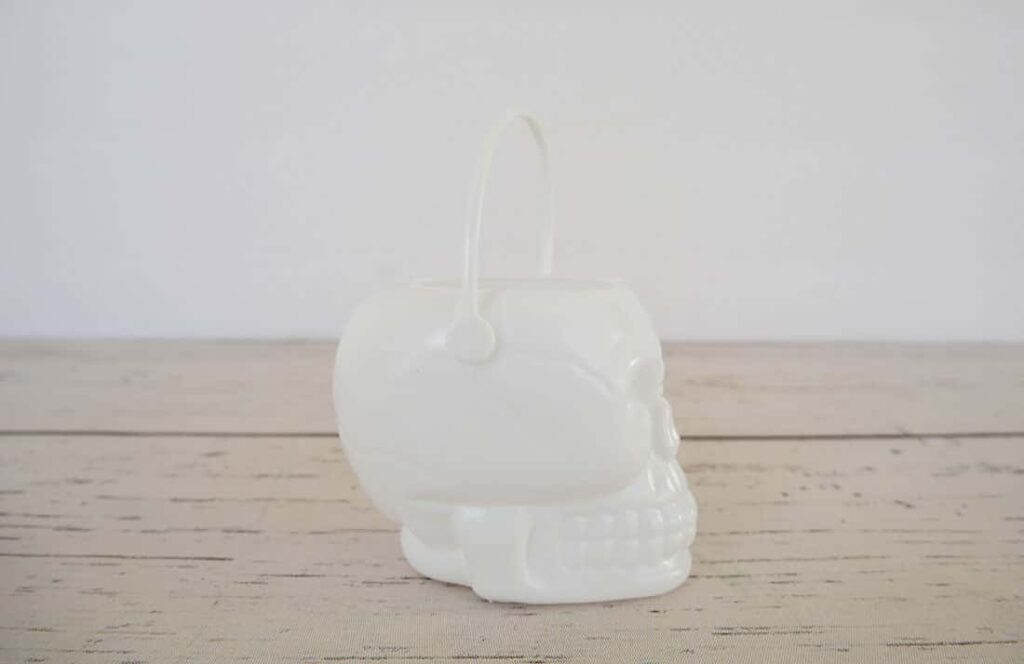
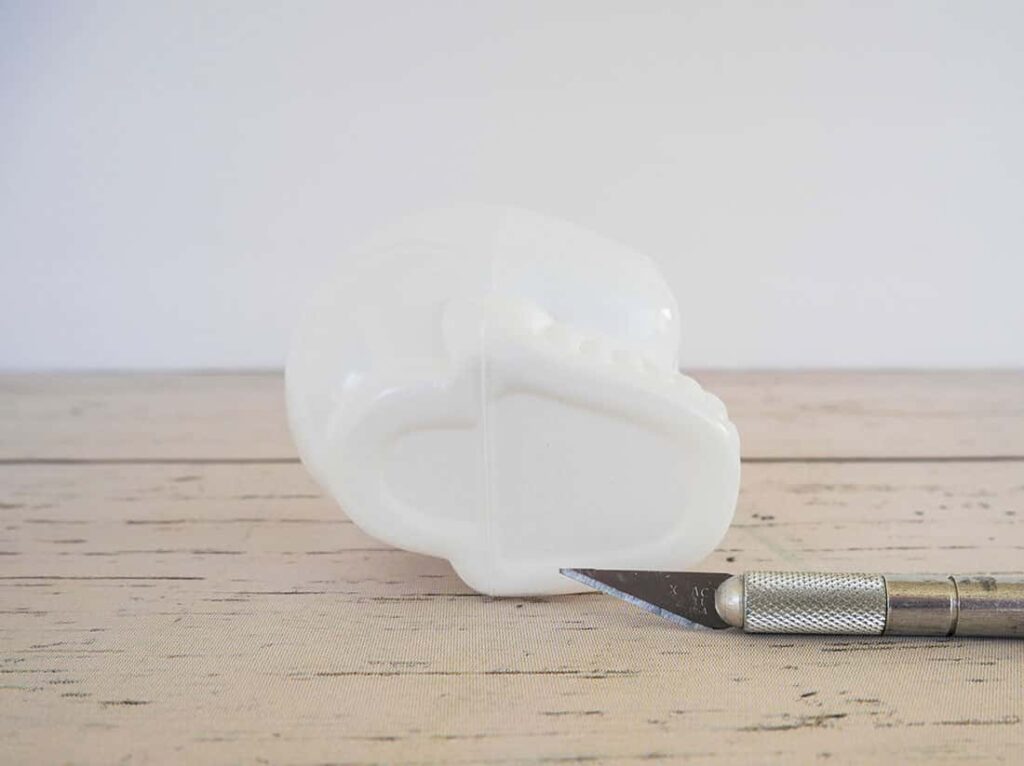
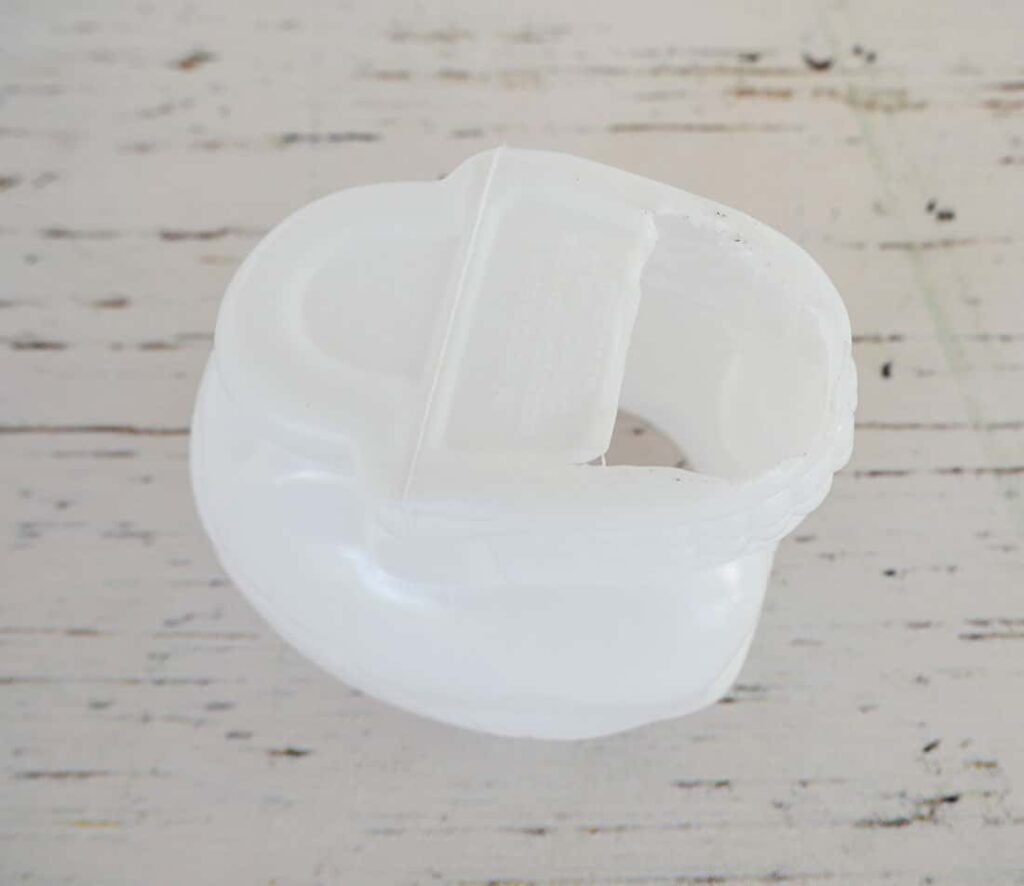
Step 2: Prep the mini buckets
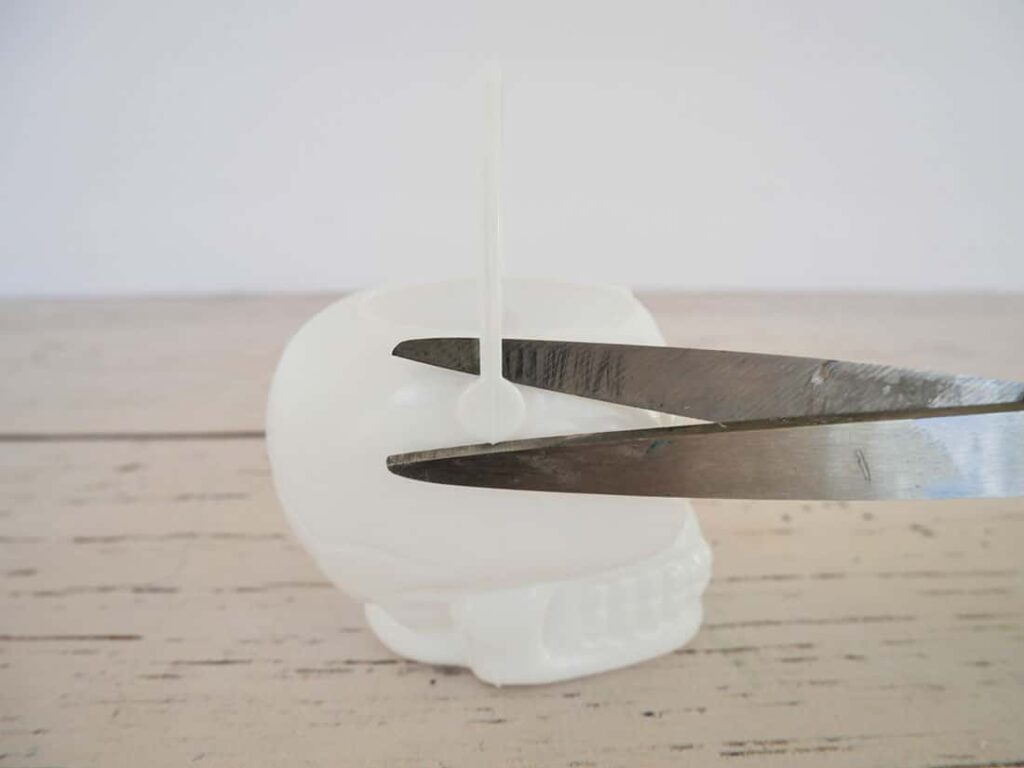
To prepare the mini skull buckets, start by removing the bucket strap. Just snip where it connects on each side of the bucket.
Then you’ll want to create a hole in the bottom of the bucket for your napkin to go through.
You’re gonna need to be VERY careful on this next step.
With your craft knife facing AWAY from you, carefully push the tip of the blade through the indentation of the bottom of the bucket.
Note: I found that it was easier to start in the middle, not the front or back of the bucket base.
Then carefully cut along that indentation. Turn the bucket as you cut, so your knife is always facing away from you.
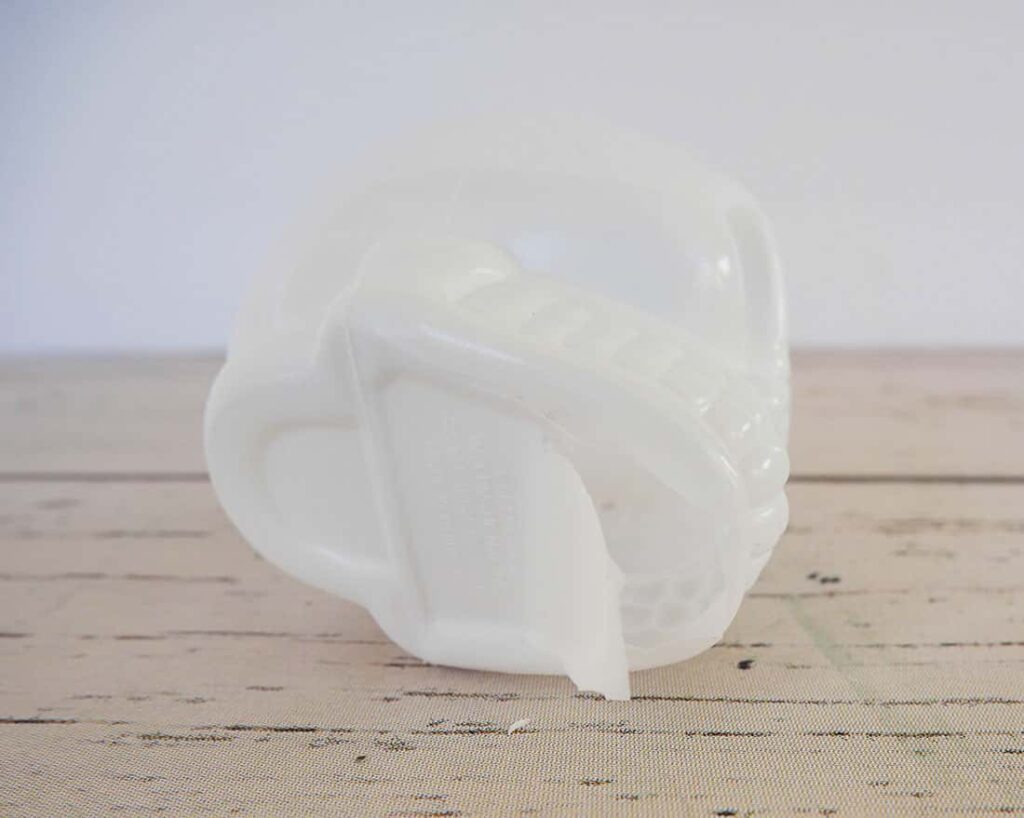
(I was easily able to cut about halfway around, until the plastic got too thick to easily cut.)
Once you cut what ends up being about a half-circle shape, Pull the cut end up so you can slide your scissors under the plastic and cut off what you have just cut with your craft knife.
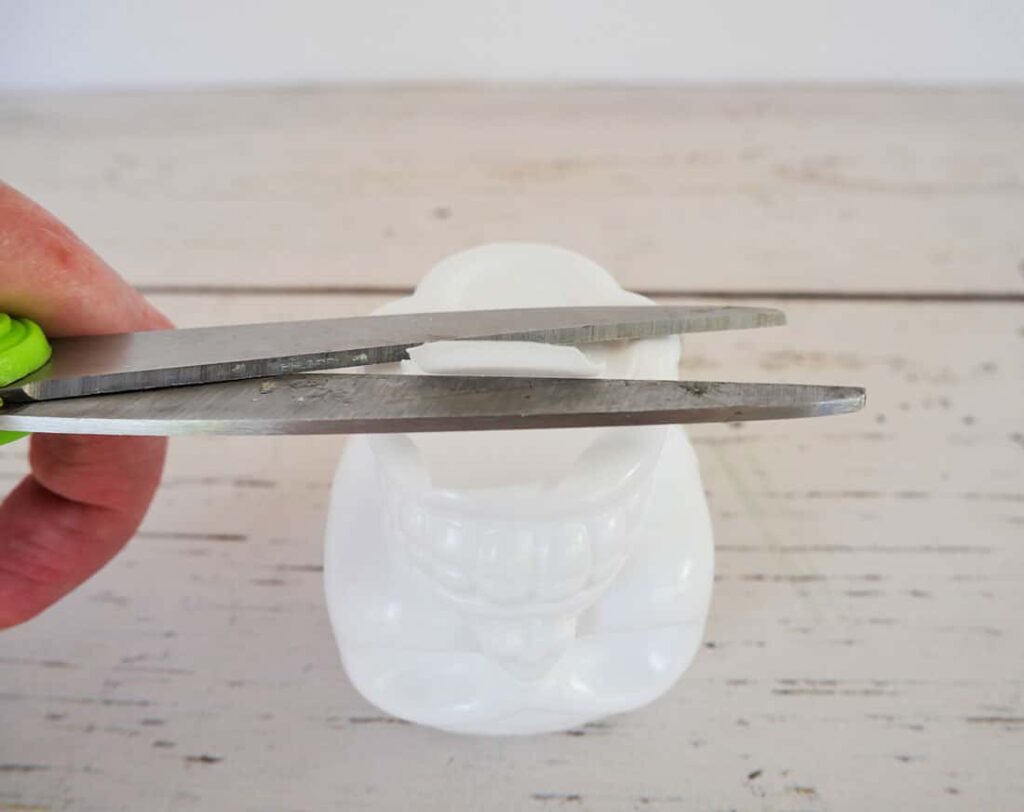
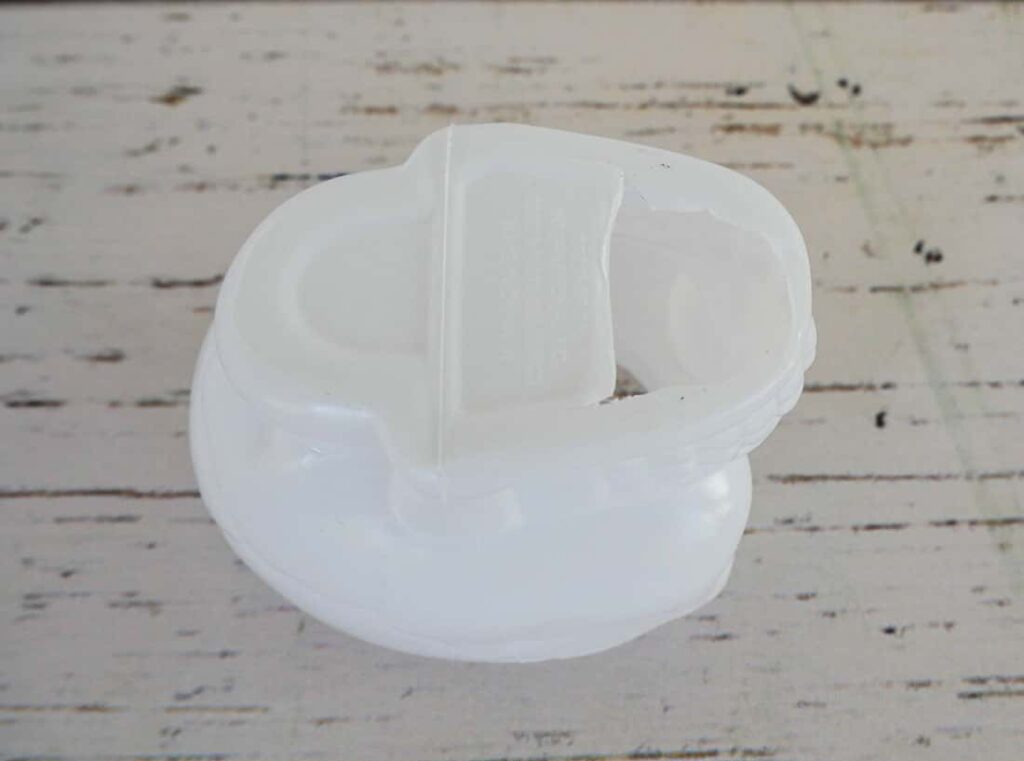
You wanna make sure that the opening you’ve created will be big enough to slide the tip of a napkin through.
Next, you’re gonna want to soften the rough plastic edges created by cutting the bucket.
I used a candle lighter.

*Warning: you will be using a flame, so be prepared with a bowl of water, or do this step over a sink. Do NOT do this close to any flammable surface or easily ignitable items.
Carefully wave the lit candle lighter under the rough plastic edges until they begin to melt. This will soften those edges.
*Warning: don’t touch the plastic while it’s hot. You could burn yourself.
If part of the plastic catches a flame, simply blow it out, dunk the bucket in water, or run it under water from your sink.
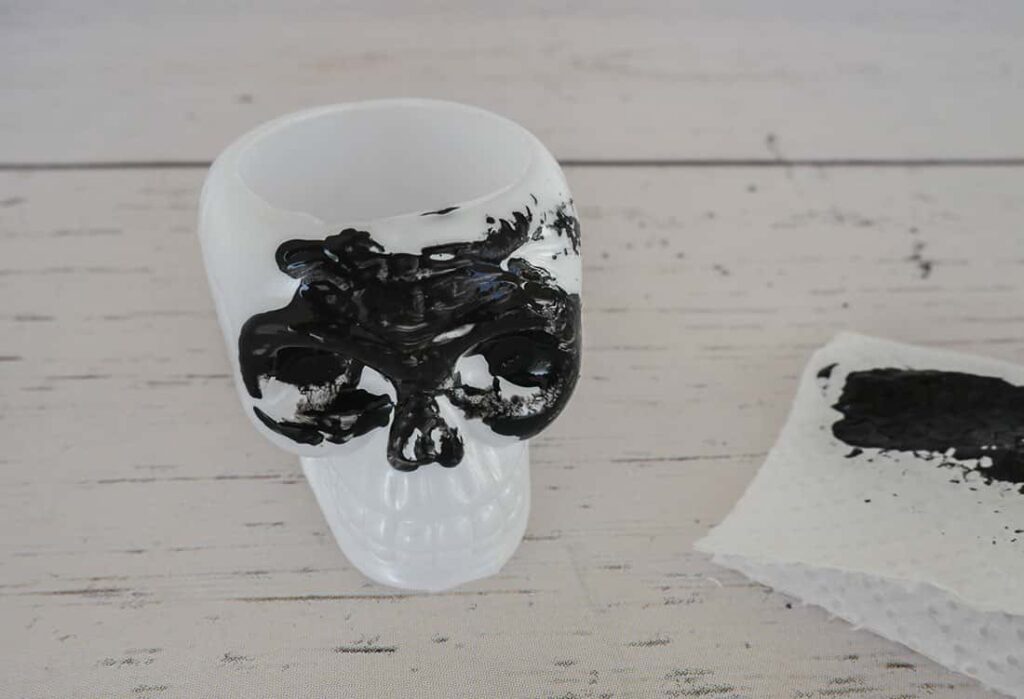
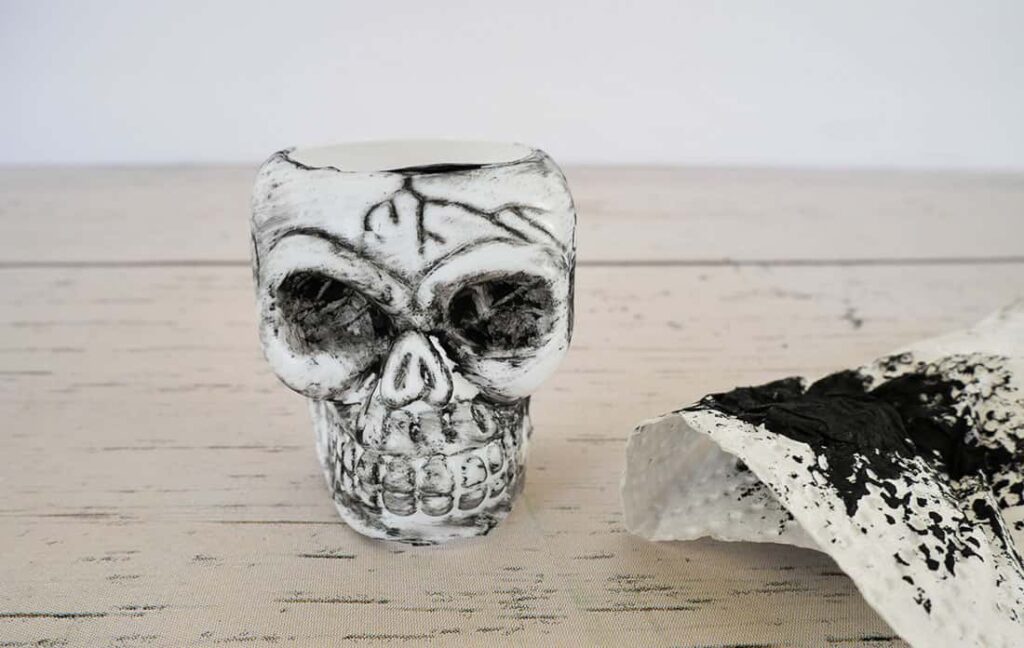
Step 3: Paint your diy skull napkin rings
Now you’re gonna paint the skull.
This will enhance the character indentations in the bucket and highlight the skull’s features.
First, take a paper towel piece and add a small amount of black paint to it.

(I chose to do this next step using a paper towel instead of a paintbrush as I found it easier to remove and control how much paint was on the skull.)
Then start to rub the black paint on the skull and inside the indentations.
Continue to wipe the paint around the skull and into the crevices.
As you work around the skull, wipe the black paint off, leaving just a little on the skull, but keeping the paint inside the crevices.
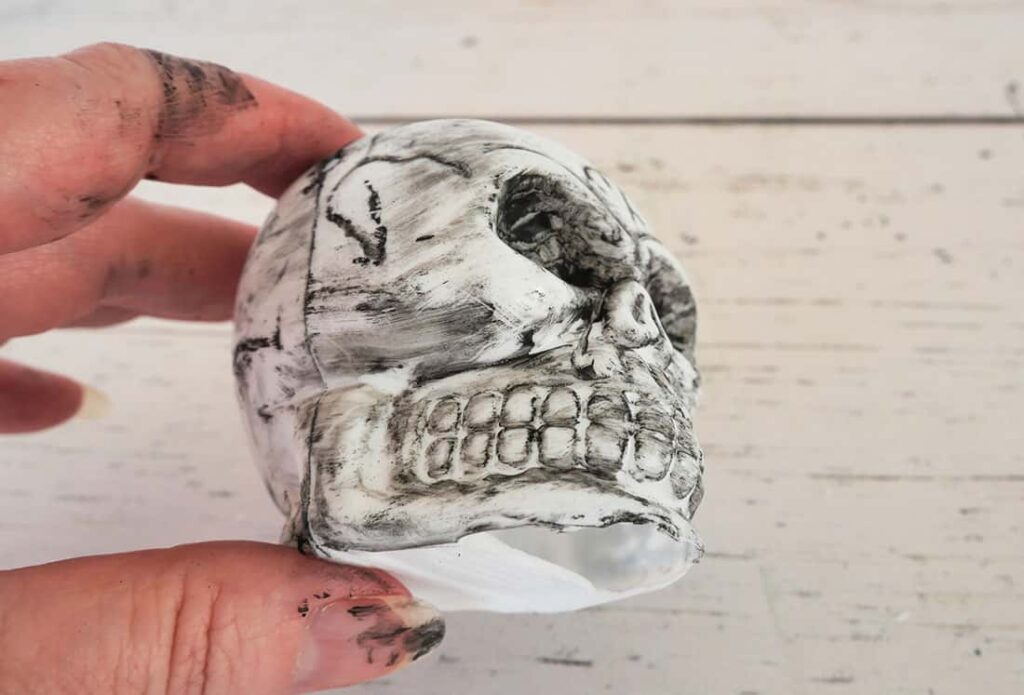
Be careful to not wipe off the paint completely. The goal is to make the skull have an aged look and to bring out its features.
Also, don’t remove the black paint inside the eye sockets. That black really enhances the eyes and the spooky look of the skull.
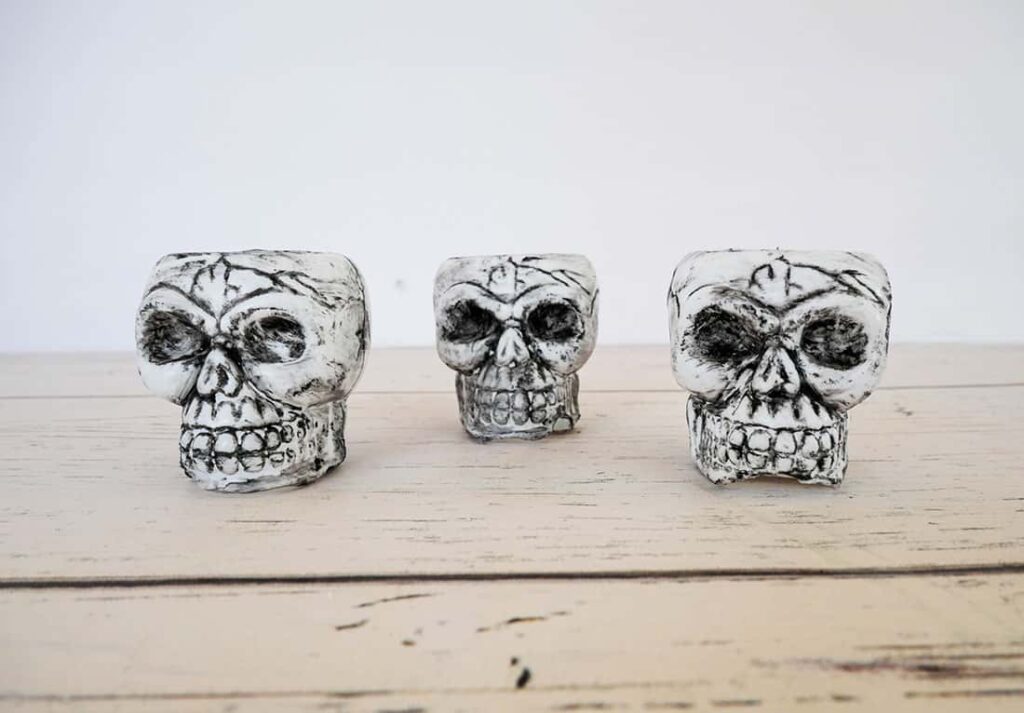
Continue adding and wiping paint until you’re happy with how your skull looks.
Then let it dry.
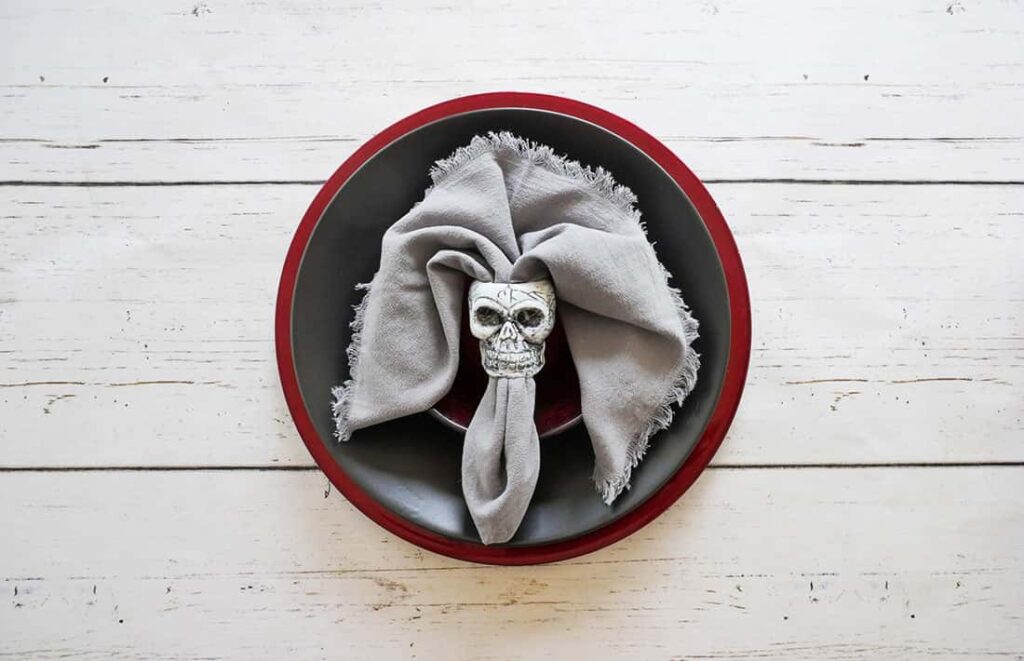
That’s it! Your diy skull napkin ring is now complete and ready for your spooky Halloween tablescape.
*Note: the mini skull buckets are a smooth plastic, which means acrylic paint might not adhere permanently. For me, that was okay, as I was using the napkin rings once, and they were SO CHEAP to make. If you want yours to be more permanent, you can rough up the plastic with a little sandpaper and spray them with a clear primer.
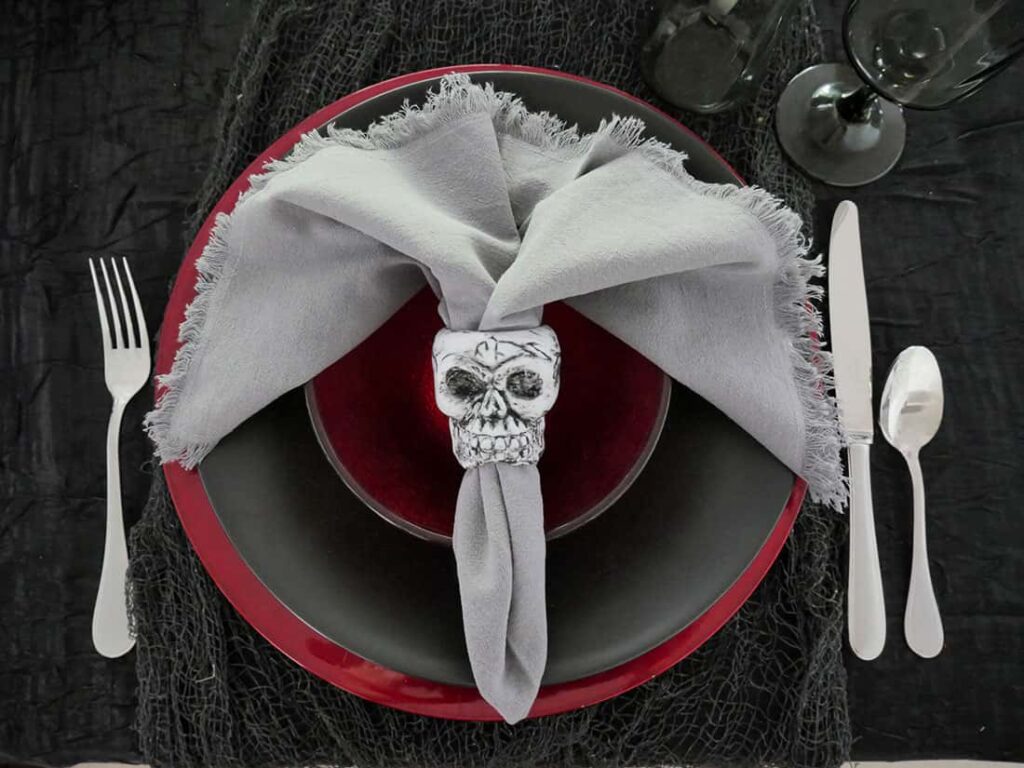
Step 4: Add them to your spooky table
Once your spooky diy napkin rings are done, it’s time to add them to your table setting.
I used mine on a skeleton Halloween tablescape this year.
This is how they looked…
Wondering why skulls and skeletons are associated with Halloween? Check out this article: “The Medieval History Behind Our Halloween Fascination With Skeletons“.
Shop the diy supplies:


Check out other easy diy projects:
- DIY Spider Napkin Rings
- Acorn Table Decor
- DIY Enamel Place Cards
- Halloween Spider Centerpiece DIY
- Fall Wreath Centerpiece DIY
- How to Dye White Fake Flowers
- How to Stencil Cloth Napkins: Easy DIY
- Easiest DIY Napkin Rings for Everyday
- DIY Unique Menu Holder


Your ideas are so easy and clever.
Awww ~ thank you!!!