Do you wanna learn how to dye white fake flowers using RIT dye?
It’s SUPER easy
I was recently working on a diy project and needed teal or light blue fake flowers. So I headed to my local craft store.
Have you gone to your local craft store, looking for the perfect color fake flowers to use in a diy project? Only to find they don’t have anything close to the color you need.
Yep, that’s what happened to me. It’s SO frustrating!
Not a single blue flower that was close to what I needed.
After all, you’re at the mercy of the store for color options.
But there are a ton of white flowers. Which come in a lot of different flower shapes and sizes.
So why not change the color of white flowers to the color you really need?
That’s what I decided to do – to dye white fake flowers.
It’s SUPER EASY. All you need is RIT dye.
Check it out…
Supplies to Dye White Fake Flowers
Please note that this article may contain affiliate links. I may get commissions (at no cost to you) for purchases made through these links. You can read my full disclosure for more details.
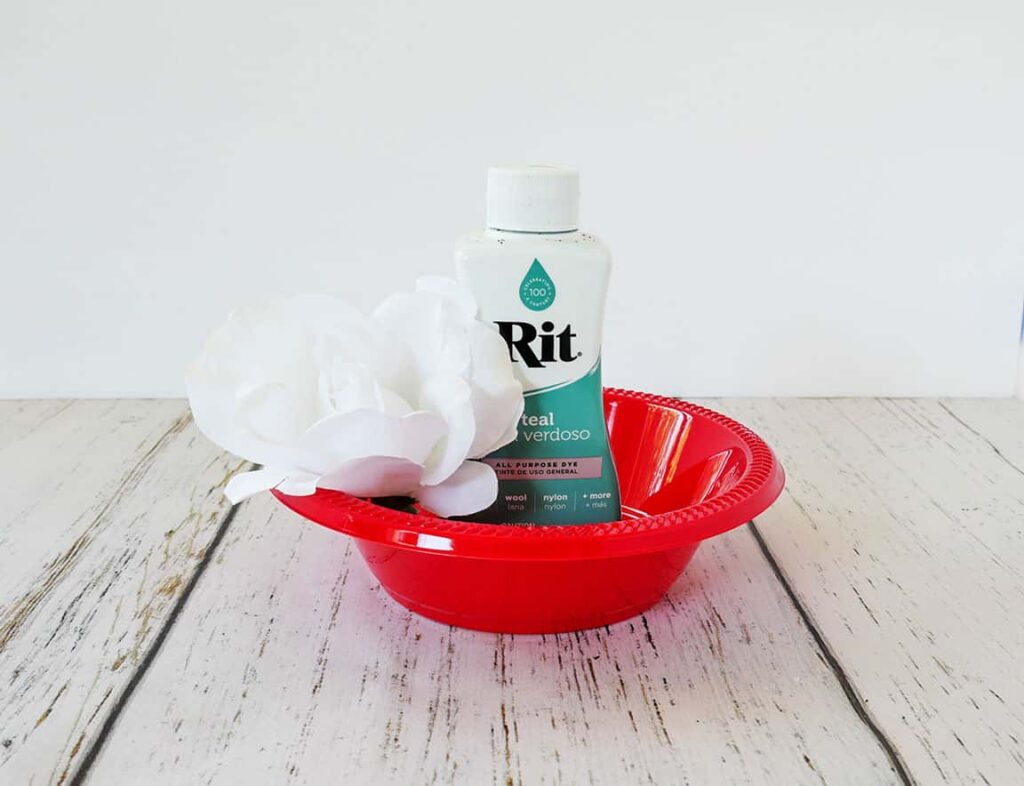
- Artificial white flowers
- RIT dye
- Plastic bowl and stirrer
- Dish soap, salt, and rubber gloves
How to Dye White Artificial Flowers
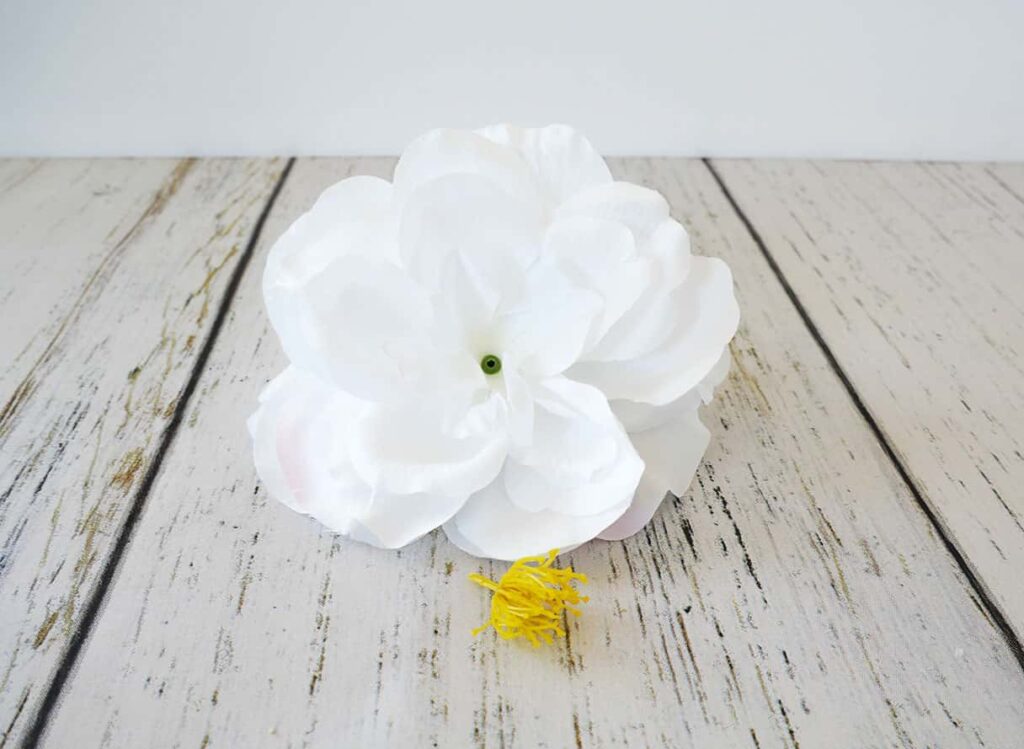
Step 1: Prep your white fake flowers for dyeing
To prepare your fake white flowers for dyeing, first remove the flowers from the stems.
Next, if your flowers have a stamen or pistil (the middle) section, remove that, too. You don’t want the middle section of the flowers to get dyed and change color. Just the flower petals.
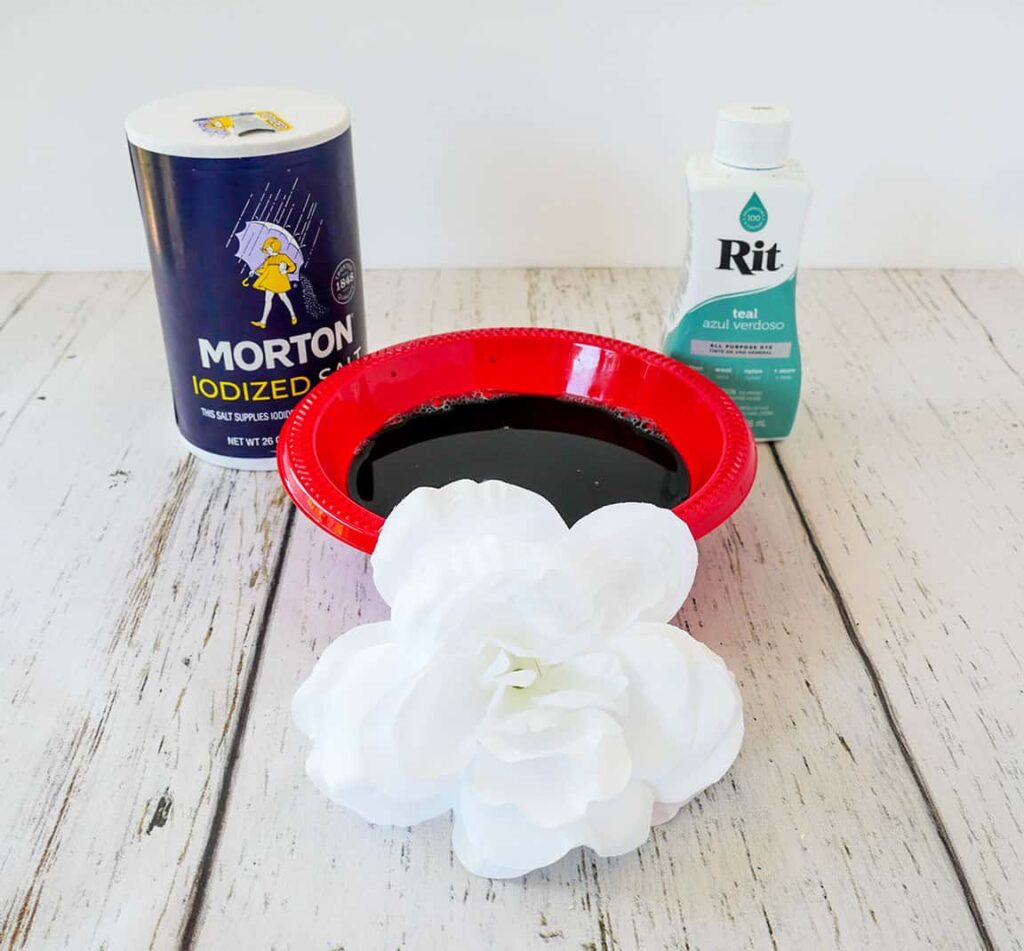
Step 2: Create your RIT dye bath
Most likely your faux flowers aren’t that large, so you won’t need a large tub or sink for dyeing.
I found that using a plastic bowl worked well.
Be sure to read and follow the instruction on the RIT dye container.
For my dye bath, I boiled 1 cup of water and added it to a plastic bowl. I then added a few drops of dish soap and about 1 tablespoon of salt. Then mixed it until the salt was dissolved.
Next, I added about 3 tablespoons of RIT dye to the water mixture and stirred until the dye was completely blended with the water.
The great thing about using RIT dye is that you can create your own custom color by mixing dyes to obtain the color you want.
*Tip: take a paper towel and dip it in the dye bath. The color on your paper towel will be very close to the final dye color.
Step 3: Dye your white artificial flowers
To dye your fake flowers, hold the base of the flower (the piece that was connected to the flower stem) and place it in the dye bath.
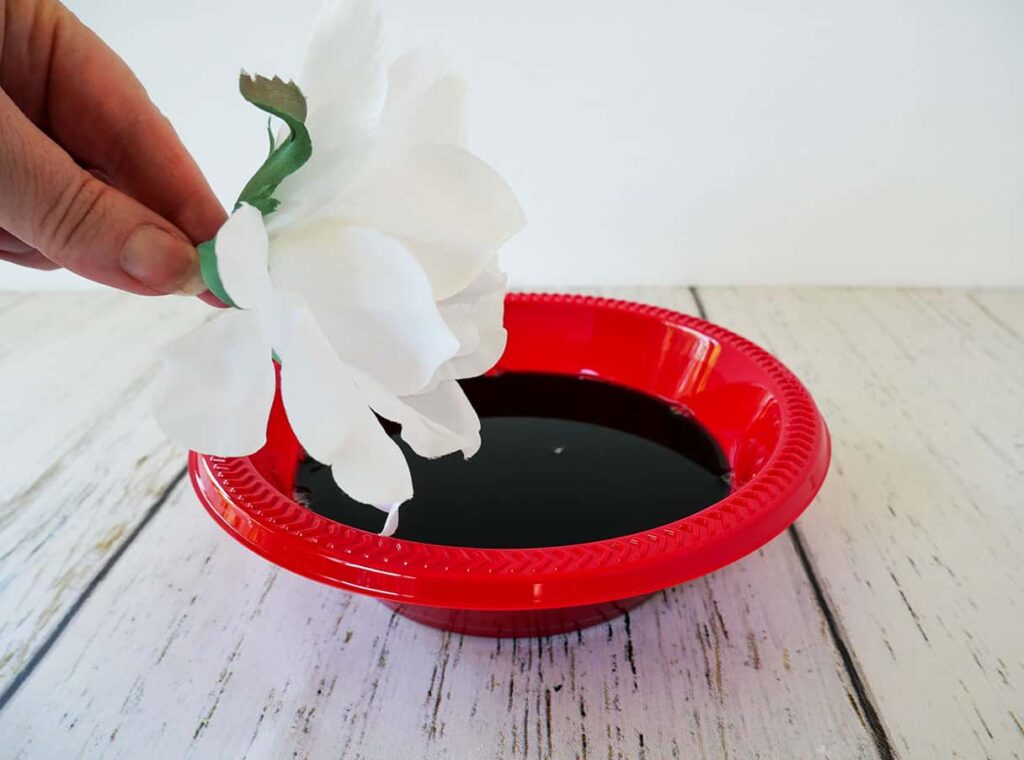
Be sure and turn over the flower so that it is completely covered in dye.
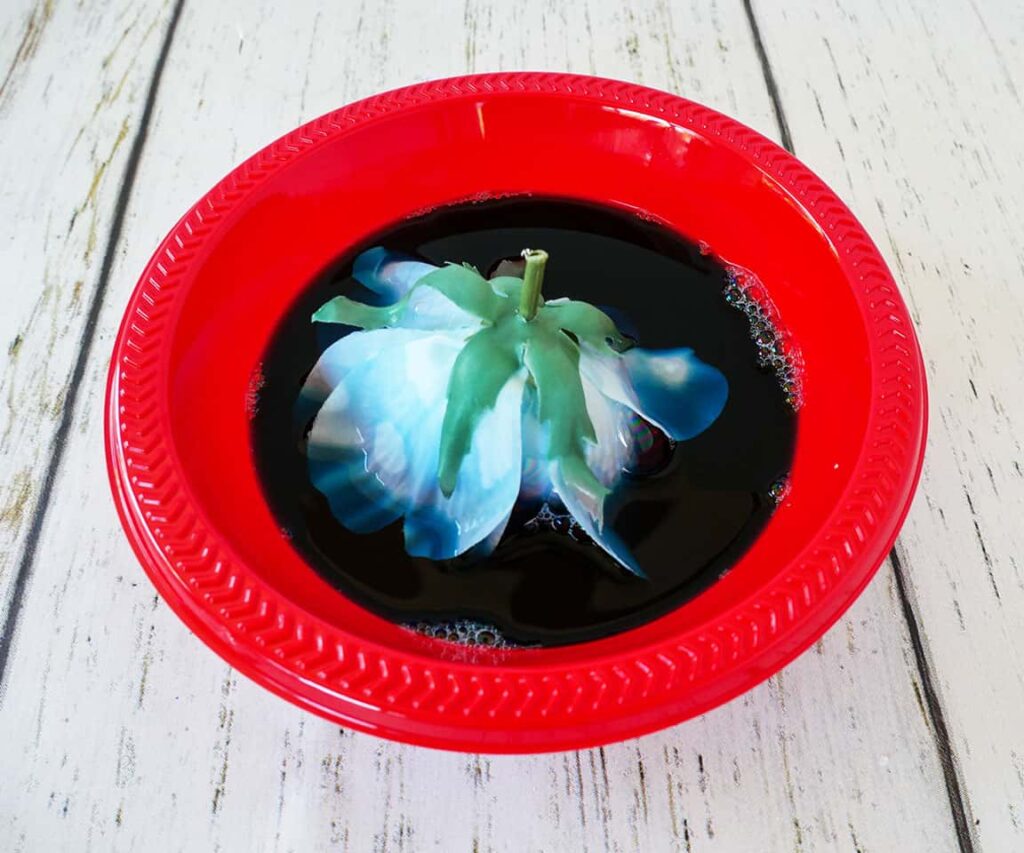
It’s good to stir the dye bath occasionally while the flower is soaking.
Depending on how dark you want to dye your artificial flower will determine how long to keep it in the dye bath. Longer means darker.
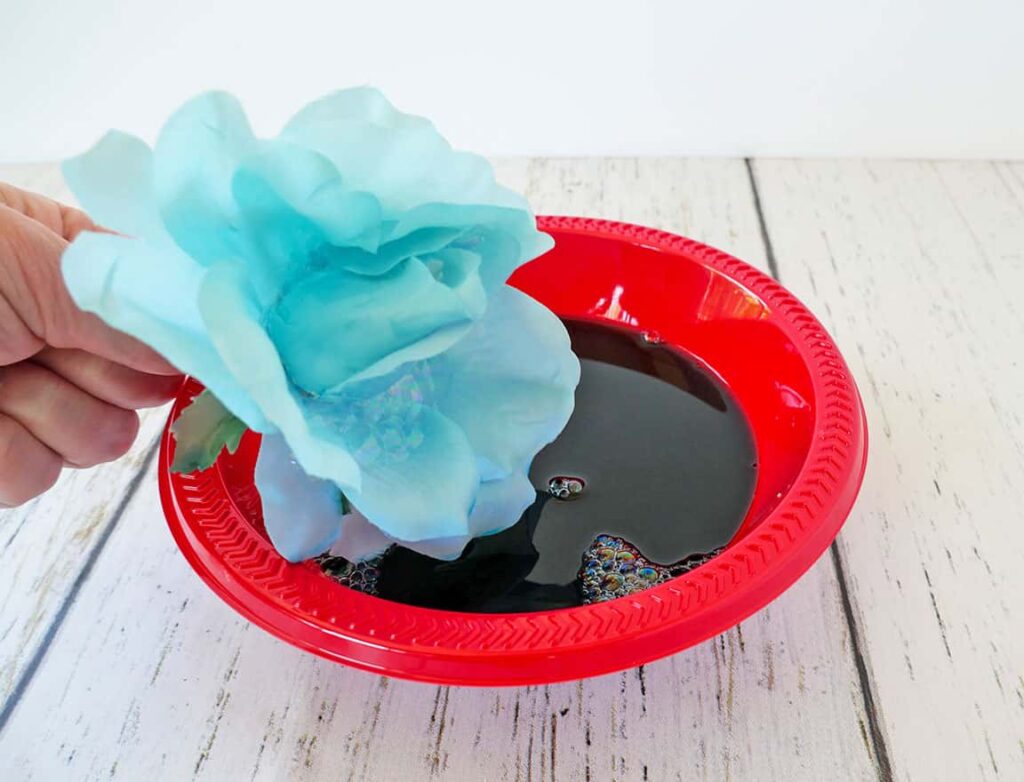
*Note: your flower will be a few shades lighter than when it’s in the dye bath.
Carefully remove the RIT dyed fake flower from the dye bath using rubber gloves, or tongs. (My fingers turned blue, haha!)
Then rinse the flower under cool water until the water runs clear. That’s how you know there’s no more dye that could bleed onto anything later.
Finally, place the newly colored flower in a safe place to dry. A cookie sheet covered with wax paper works well.
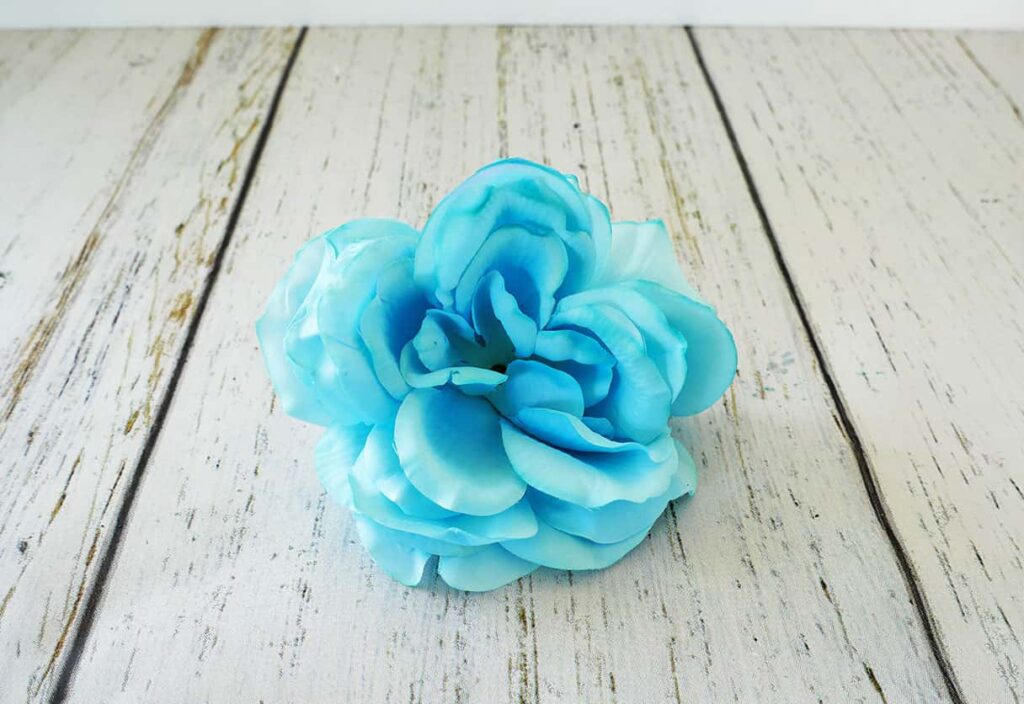
Once the dyed diy flower is dry. add the middle piece back in place.
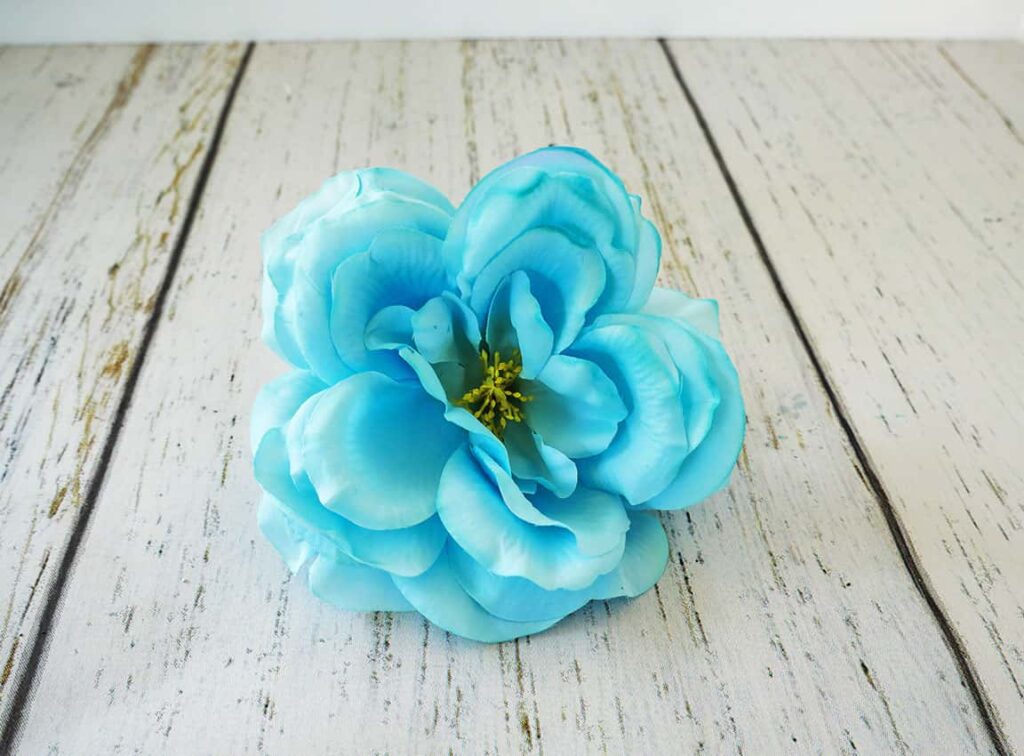
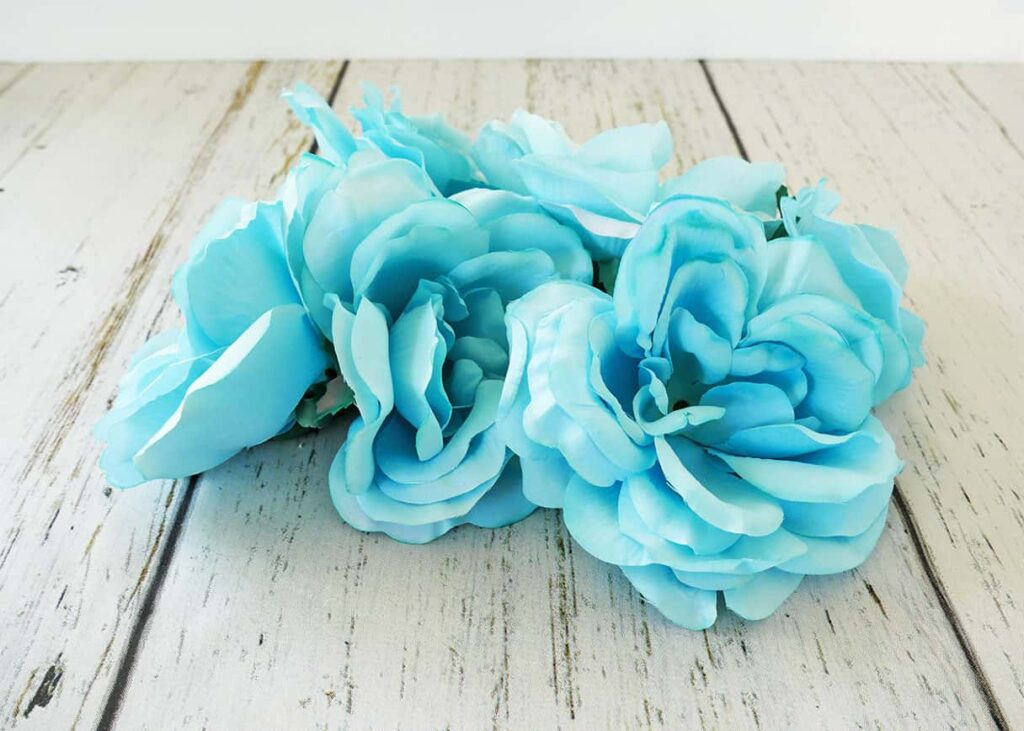
Isn’t pretty cool how your flowers changed from white to a new color of your choosing?
I love the blue that mine became.
Step 4: Use your dyed diy flowers
Once your RIT dyed artificial flowers are dry, you can use them for any craft project.
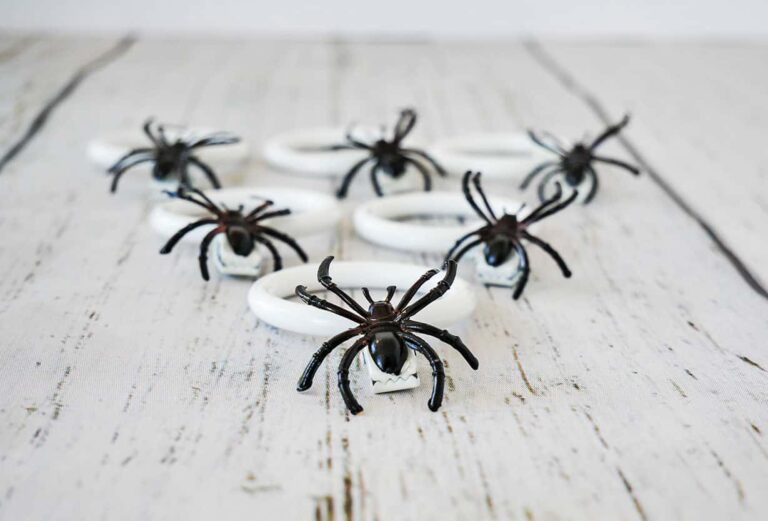
I used mine for diy napkin rings. You should check ’em out. They’re SUPER CUTE!
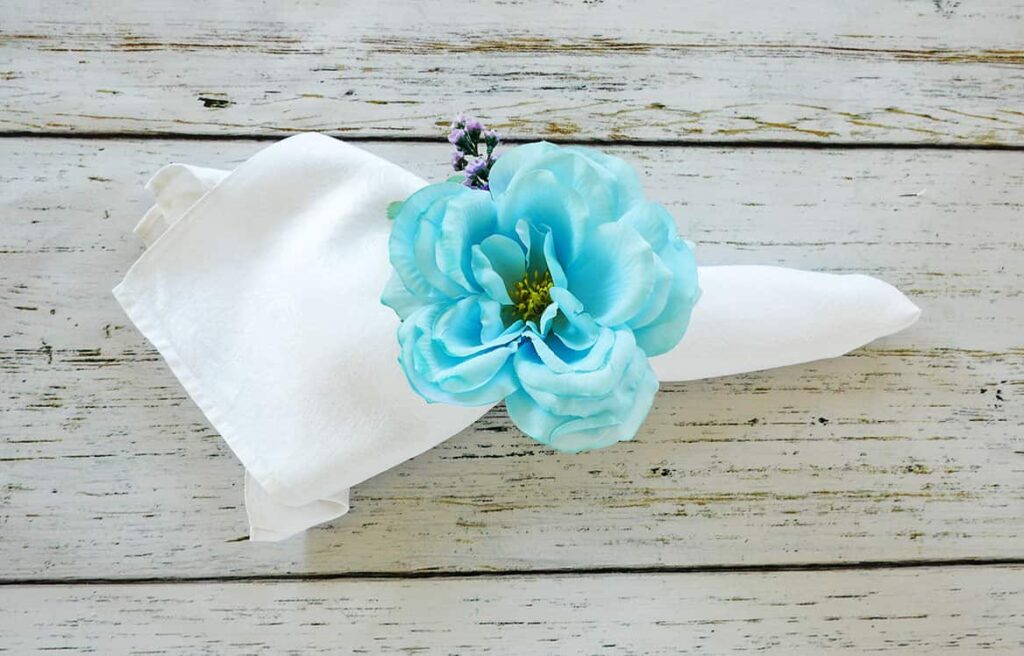
Of course, you can use them for anything thing you want: wreaths, flower bouquets, wall decor, etc… Just have fun using your newly recolored artificial flowers!
Shop the diy supplies: