I’m not sure why, but I’ve had this idea for a Halloween spider centerpiece diy for quite some time.
It’s a little different than your typical diy Halloween centerpiece. It isn’t spooky, black, or scary. There aren’t ghosts, witches, ghouls, or other ominous elements.
But I do think it’s a little creepy.
It’s the spiders.
I don’t know about you, but spiders creep me out. Especially the big black ones. I can deal with Daddy Longs Legs and small white ones. But if they’re hairy or black – nope!
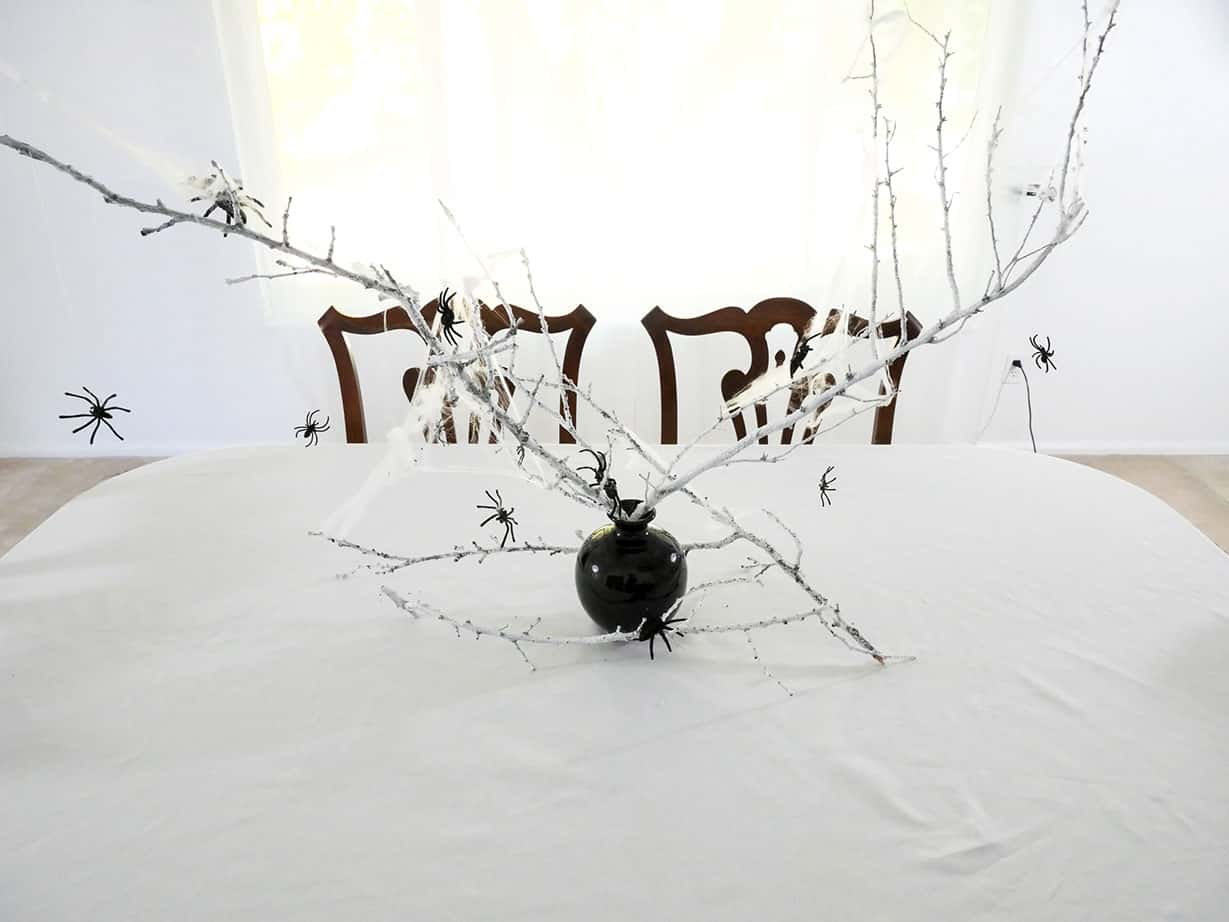
So, I have no idea why I thought creating a bare tree of hanging spiders as a Halloween centerpiece was a good idea. Except that it creeped me out. So I thought you might appreciate being creeped out, too. LOL!
Luckily, I didn’t need to spend a lot of time making this creepy Halloween centerpiece. If you have the branches, it’s super quick and easy.
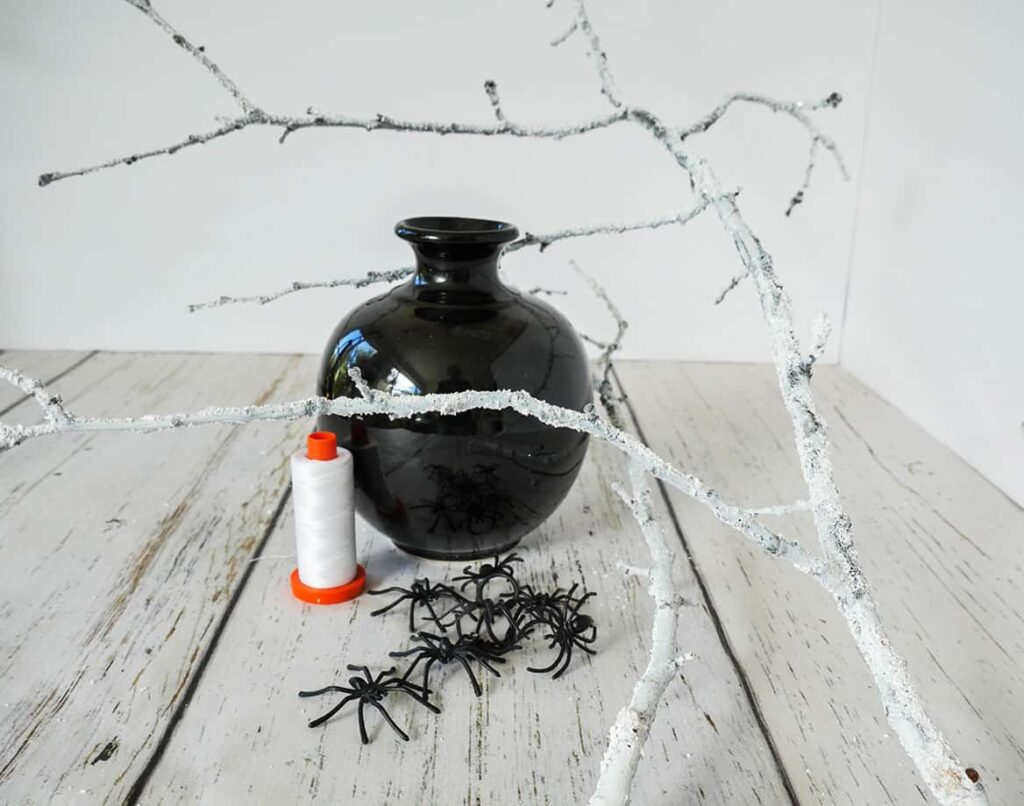
Supplies for Halloween Spider Centerpiece
Please note that this article may contain affiliate links. I may get commissions (at no cost to you) for purchases made through these links. You can read my full disclosure for more details.
How to Make a Halloween Spider Centerpiece
1. Arrange your branches in the vase
Because this is a Halloween diy centerpiece, and Halloween is not associated with living things, you want to use dead or preferably white branches.
My white branches are from a diy project I did last year: realistic snow-covered branches. They’re really easy to make, and as you can see, they can be used for multiple projects.
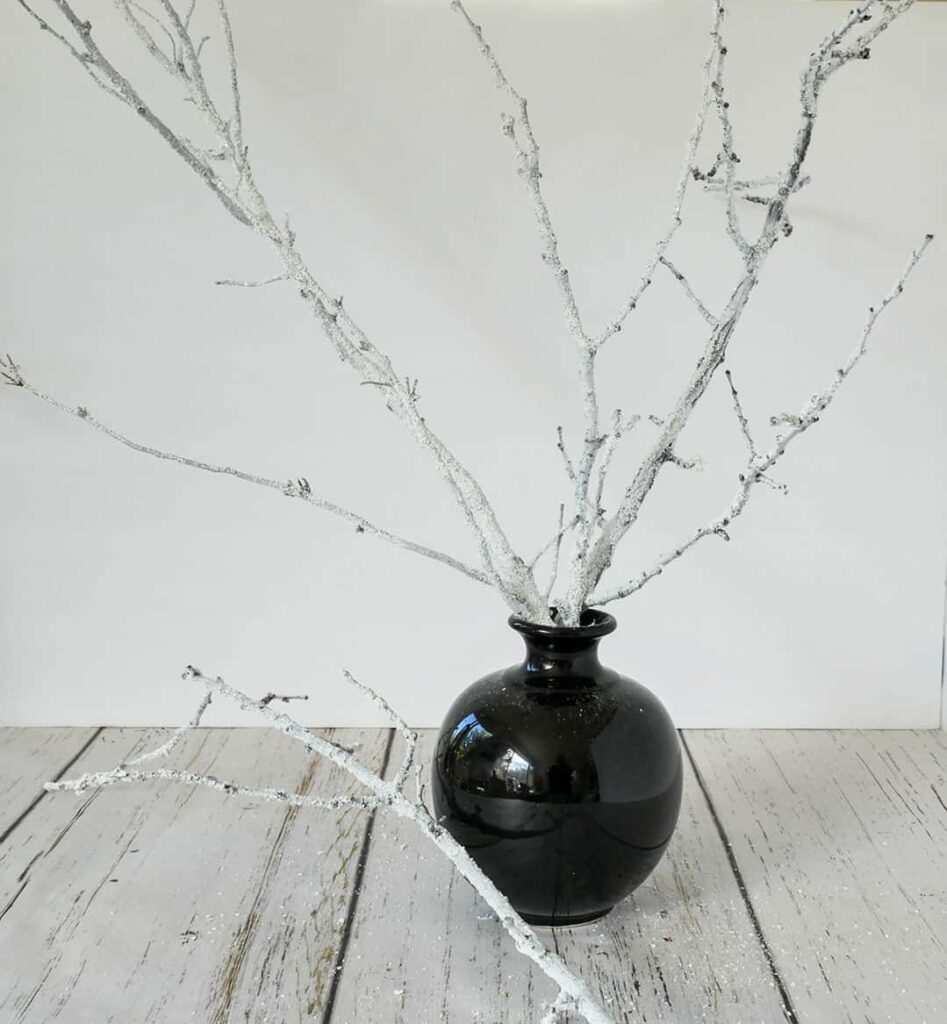
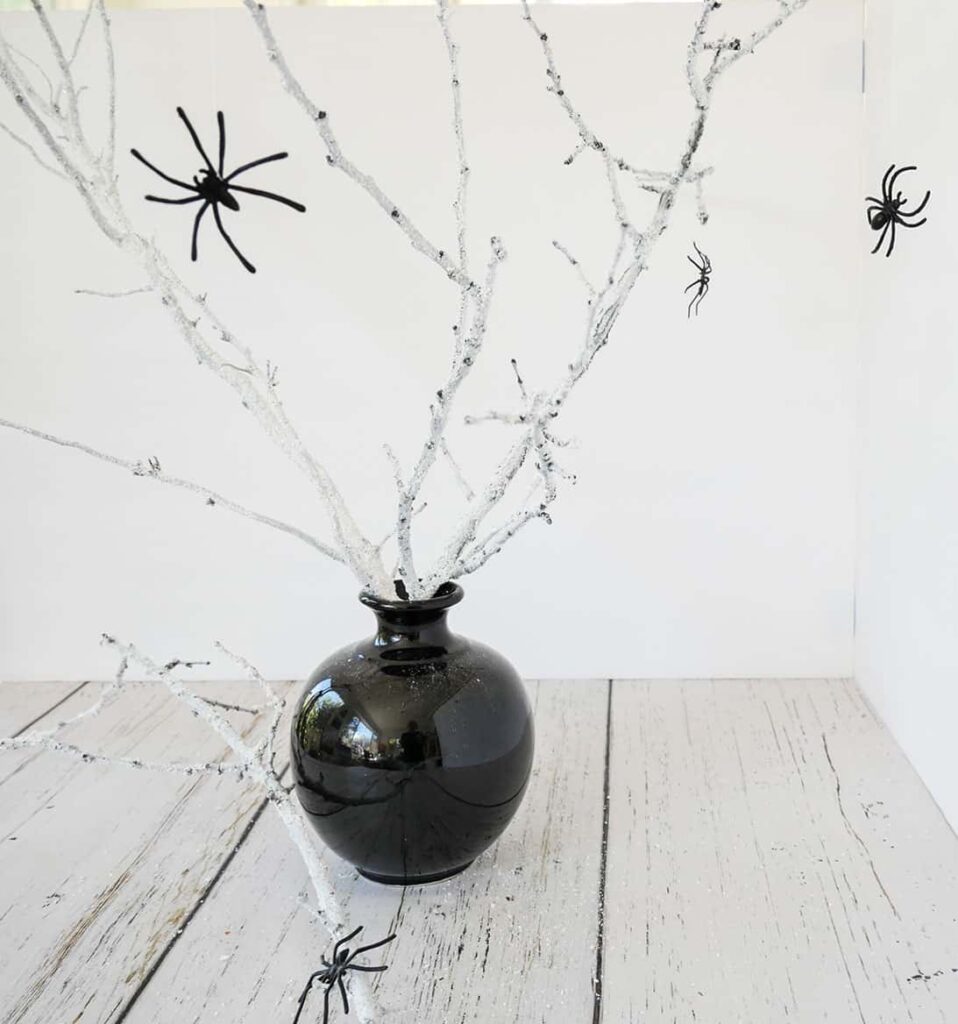
Place your branches in your black vase, so they’re high and go out in multiple directions.
I used 3 branches inside my vase.
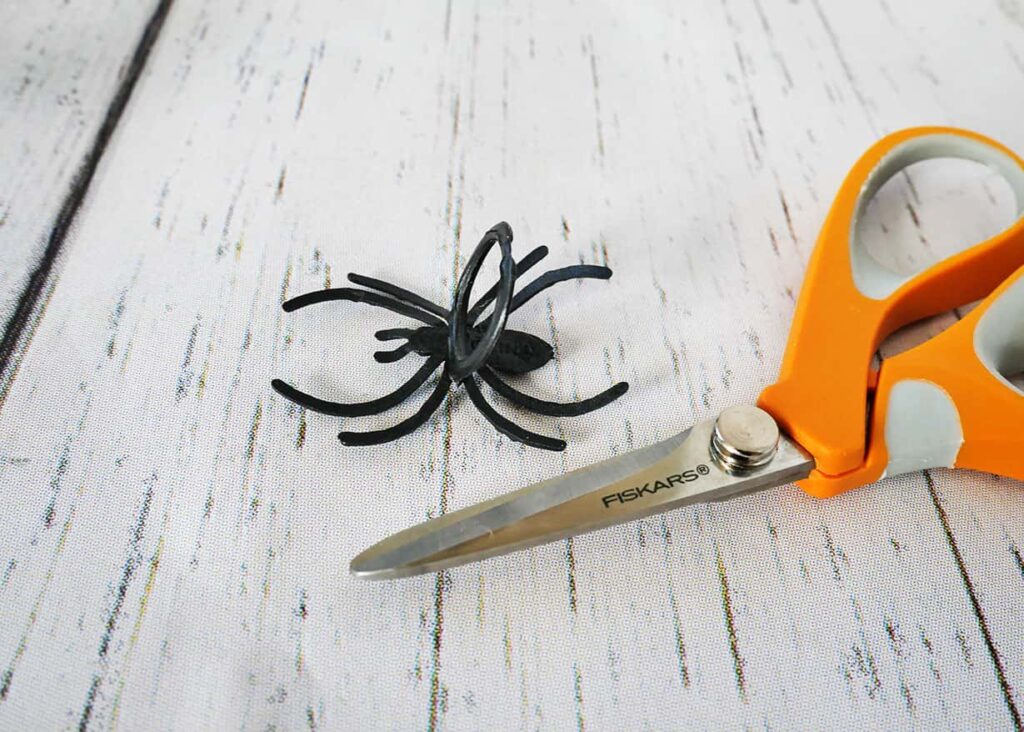
2. Create a way to hang the spiders from the branches
*Note: If you could only find black spider rings, cut off the ring as far down as possible.
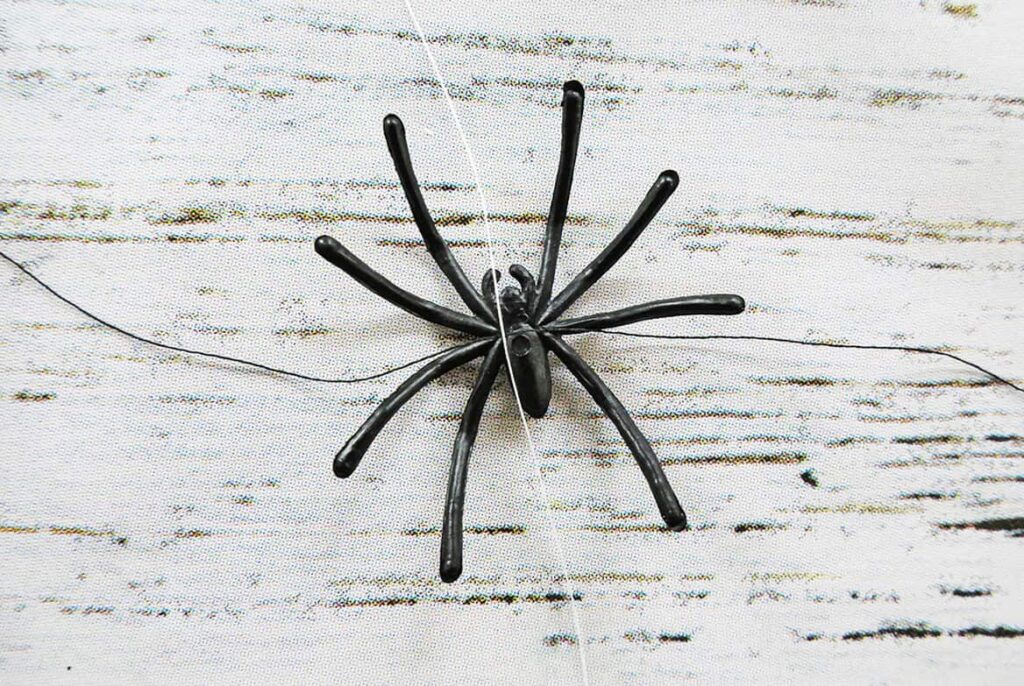
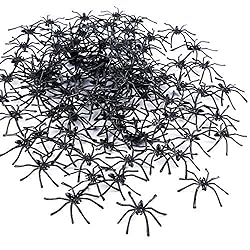
To hang the fake spiders from your branches, you’re first gonna use the black thread.
Take about 3-inches of thread and lay the spider upside down on the thread. Then take about 12-inches of white thread and lay it across the belly of the spider.
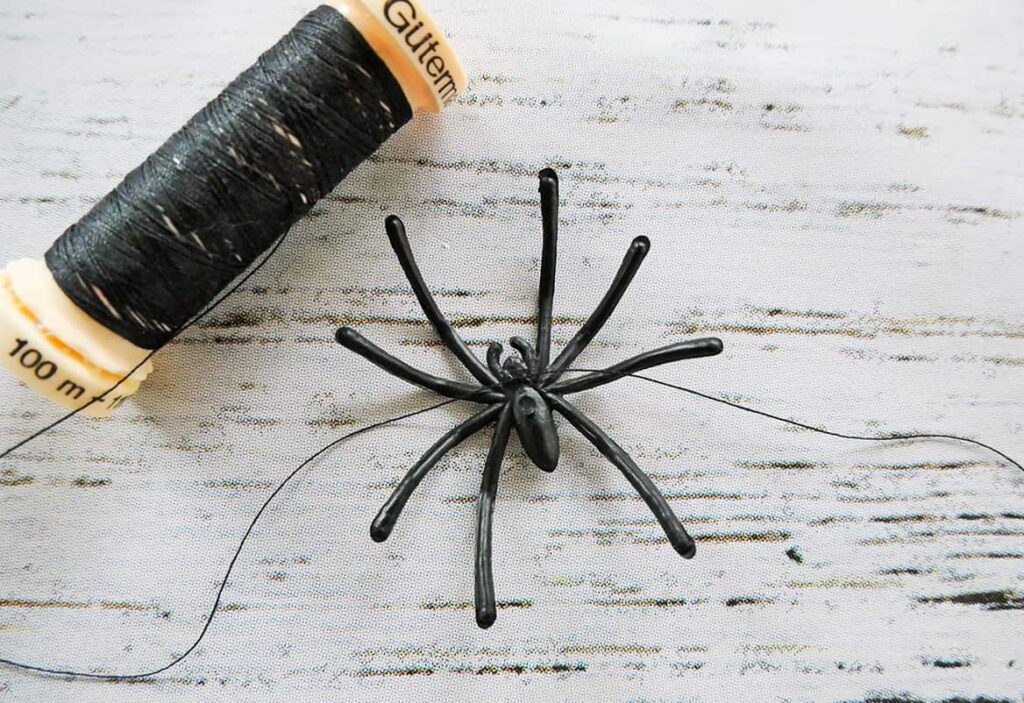
You are going to be tying the white thread to the spider, by first tying the black thread to the spider, and then the white thread to the black thread.
Confused?
No worries – you’ll see in just a sec.
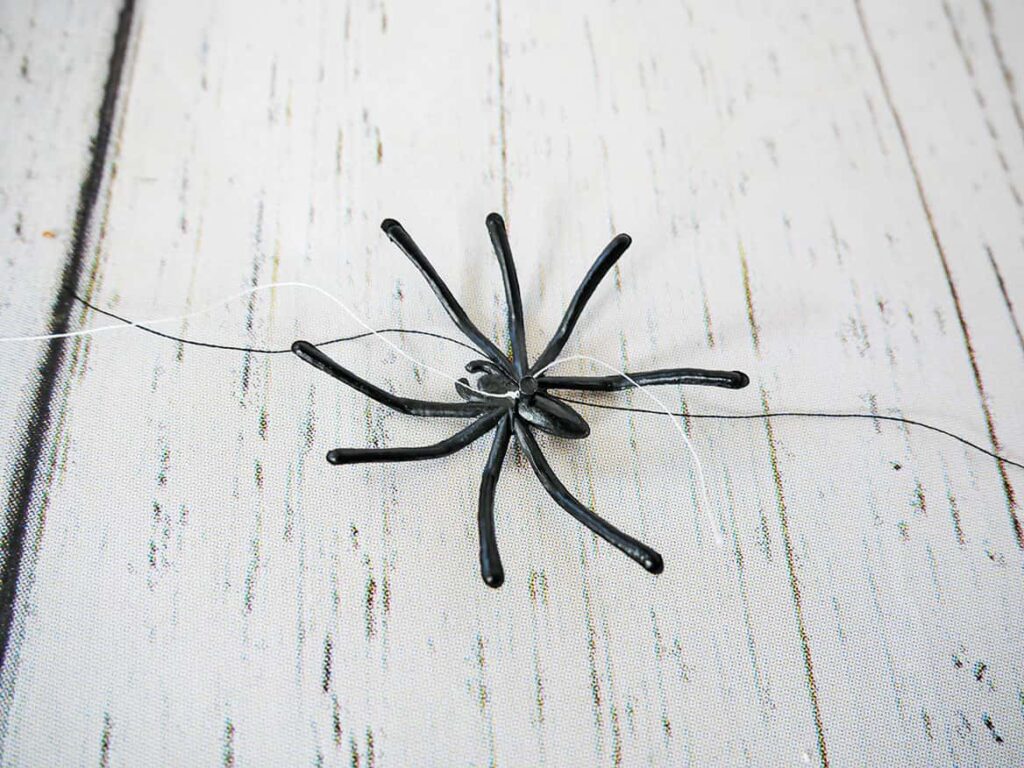
With the spider upside down, and the white thread laying across the spider, take your black thread and tie a knot across its belly.
Your white thread is now between the spider’s belly and the black-knotted thread.

Now take the white thread so you have about 10-inches on one side and 2-inches on the other side. Tie a knot around the black thread knot.
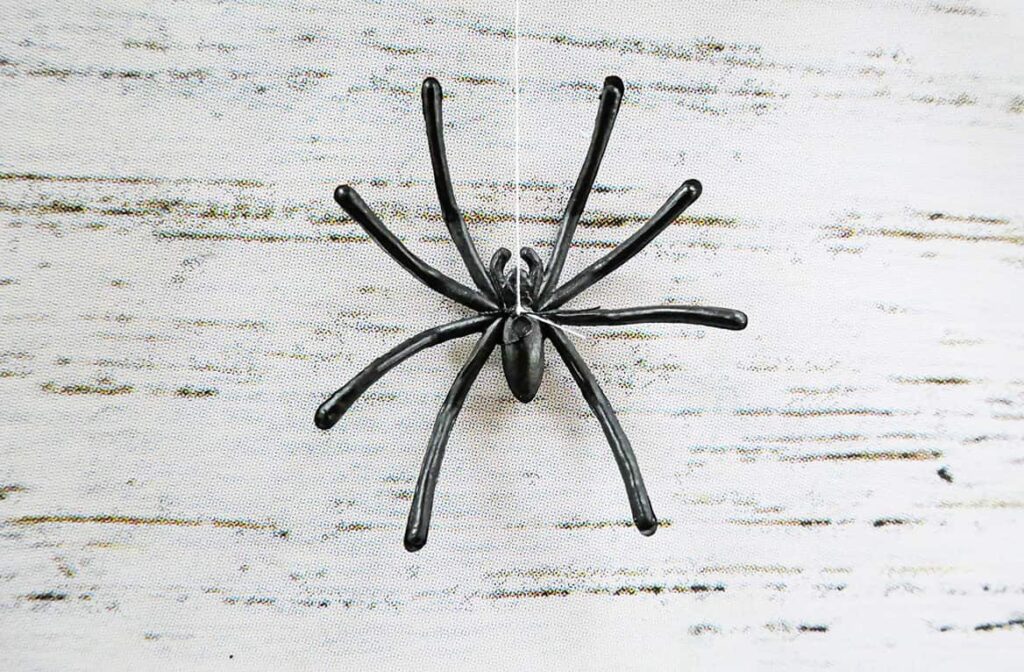
Cut the two ends of the black thread close to the knot and cut the shorter end of the white thread, too. You will use the remaining long end of white thread to connect the spider to the branches of your diy Halloween centerpiece.
Your spider should be dangling by the white thread, but none of the white is showing on the front of the spider.
3. Attaching the spiders to the Halloween centerpiece branches
To attach the hanging spiders, tie the white thread to the branches.
Vary how far they hang down from the branches. You want it to be inconsistent and random. As if the spiders are crawling up, or falling down.
*Since the fake spiders are so light, you can also wind the thread around the branches. No knot needed. This will make them easier to remove later (if you want).
That’s it. Your Halloween spider centerpiece diy is done.
And SO EASY! Gotta love it.
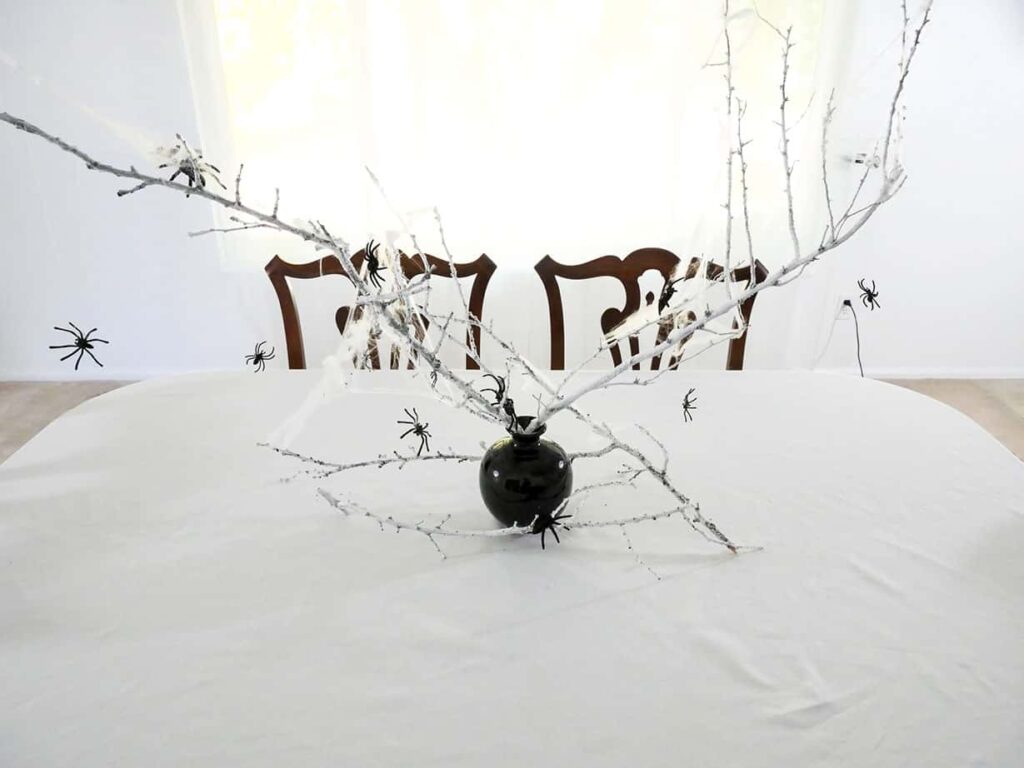
*To make your diy Halloween centerpiece even creepier, add stretch webbing and a few larger spiders.
EW!!
Shop the diy supplies:


Check out other easy diy projects:
- Realistic Snow-Covered Branches DIY
- Fall Wreath Centerpiece DIY
- How to Dye White Fake Flowers
- DIY Ice Cream Place Card Holders
- Easy DIY Centerpiece for an Umbrella Table
- DIY Wooden Target Tray Transformation
- How to Stencil Cloth Napkins: Easy DIY
- Easiest DIY Napkin Rings for Everyday
- DIY Unique Menu Holder
- DIY Wine Cork Napkin Rings
- Simple Moss Bowl Centerpiece DIY