OMG! Did you know how to stencil cloth napkins was SO easy?
And quick!
Stenciling is a fantastic way to customize your cloth napkins into something you can’t buy at a store.
If you want to transform your plain napkins into something unique, stenciling is the easy (no-brainer) answer.
Your only limitation is which stencil and paint color you choose.
DIY Stencil Cloth Napkin Supplies
Please note that this article may contain affiliate links. I may get commissions (at no cost to you) for purchases made through these links. You can read my full disclosure for more details.
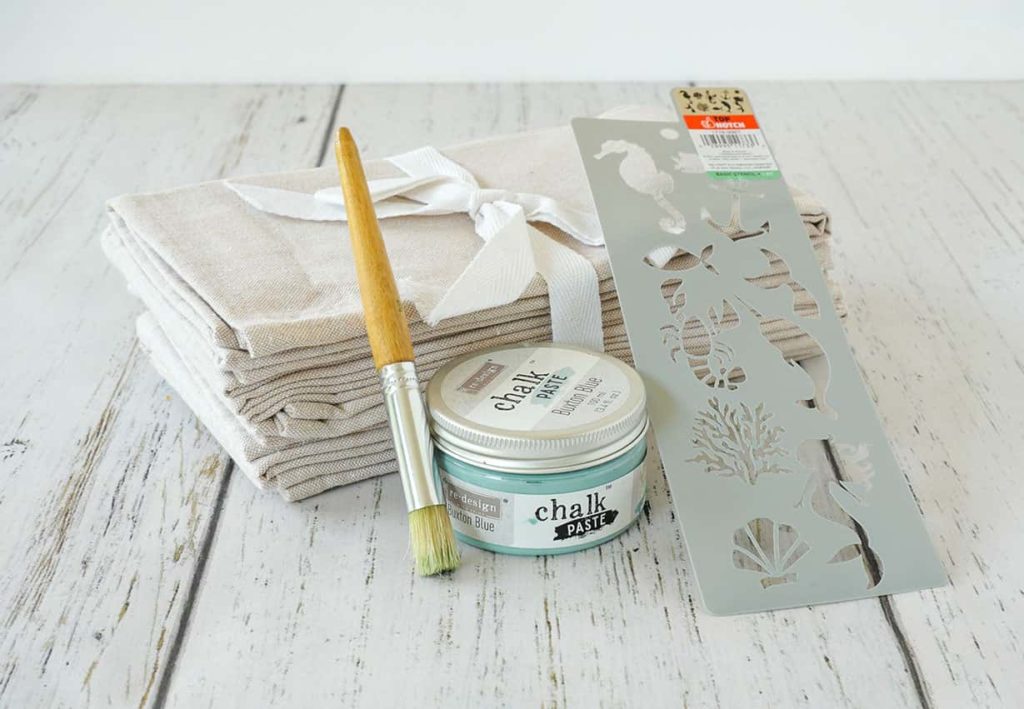
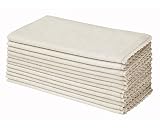
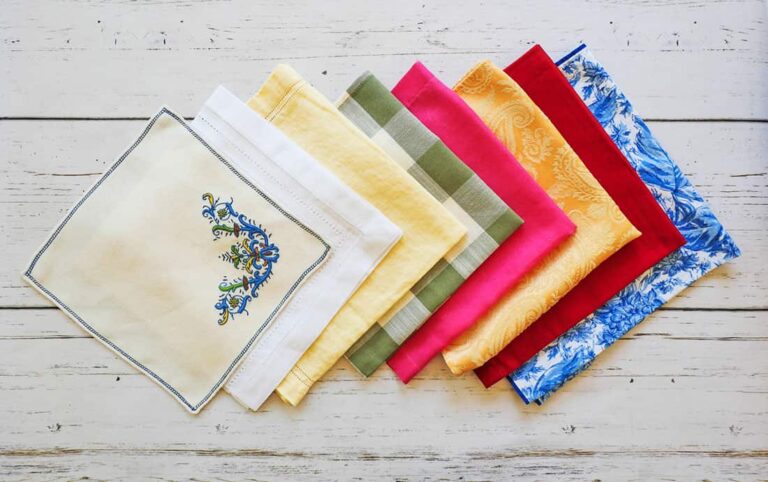
- Cloth napkins
- Stencil
- Chalk paste or acrylic paint
- Stencil brush
- Tape, iron, and paper towel
How to Stencil Cloth Napkins: Easy DIY Instructions
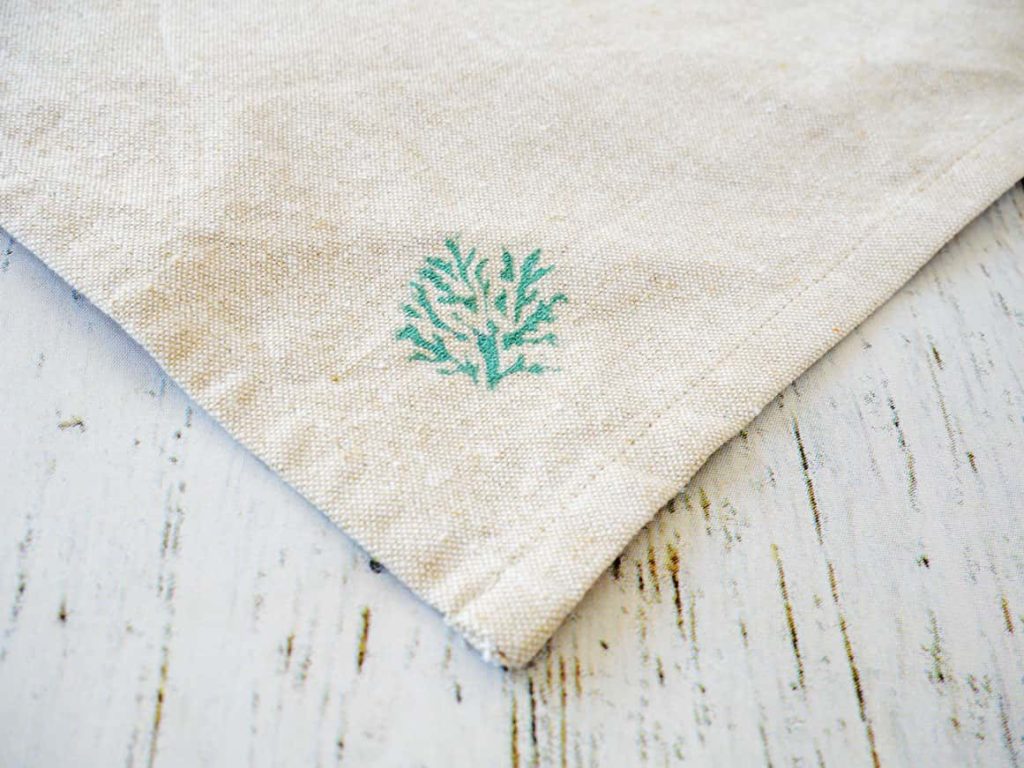
When deciding to stencil cloth napkins, look at the size of the stencil and consider how it will look on your napkin.
Many stencil designs are too large for a dinner napkin.
Also, using stencils that are thinner, not thick plastic, will work best for this diy project.
The best stencils are almost like a thin mesh and have a sticky backing.
Step 1: Prep your cloth napkins for stenciling
In full disclosure ~ I didn’t do what I am suggesting you do. I just started at step 2.
Before you start stenciling cloth napkins, you should wash them, based on their care instructions. That way, if there is any shrinkage, it will happen before you stencil your napkins.
Then iron them, to remove any creases. Otherwise, those creases might impact the finished look of your stenciling.
Step 2: Prepping the stencil design for painting
First, you will want to tape over any stencil shapes that are next to the design you plan to use. The tape will prevent the chalk paste (or paint) from going through the other design.
Next, decide where on your napkin you would like the stencil design.
Then tape the stencil to the cloth napkin ~ making it as flat as possible.
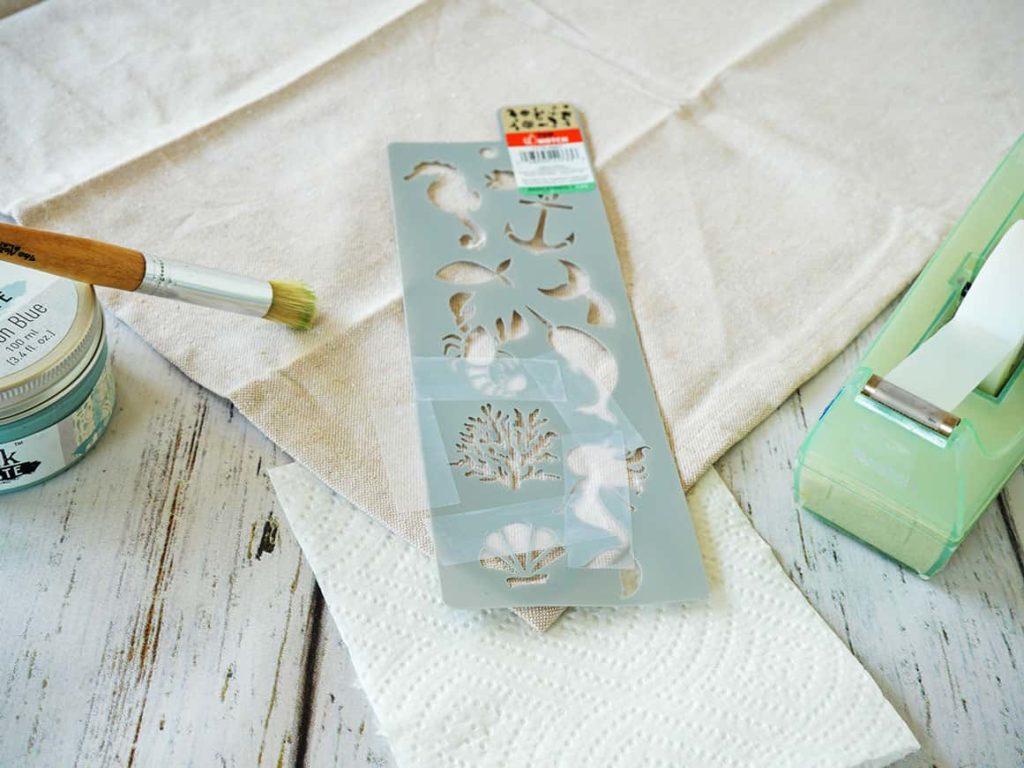
Place a paper towel between your napkin and your work surface.
This will prevent any paint from bleeding through the napkin and onto your surface. Which can happen with thinner and looser weave napkins.
Step 3: Stenciling your cloth napkins
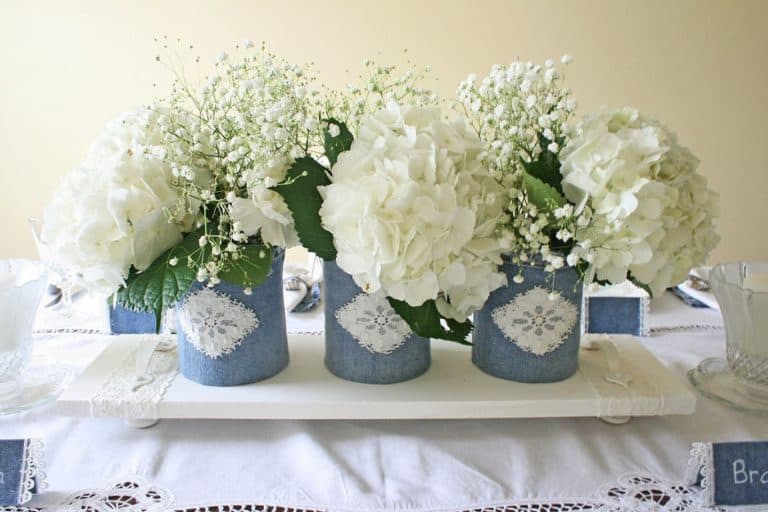
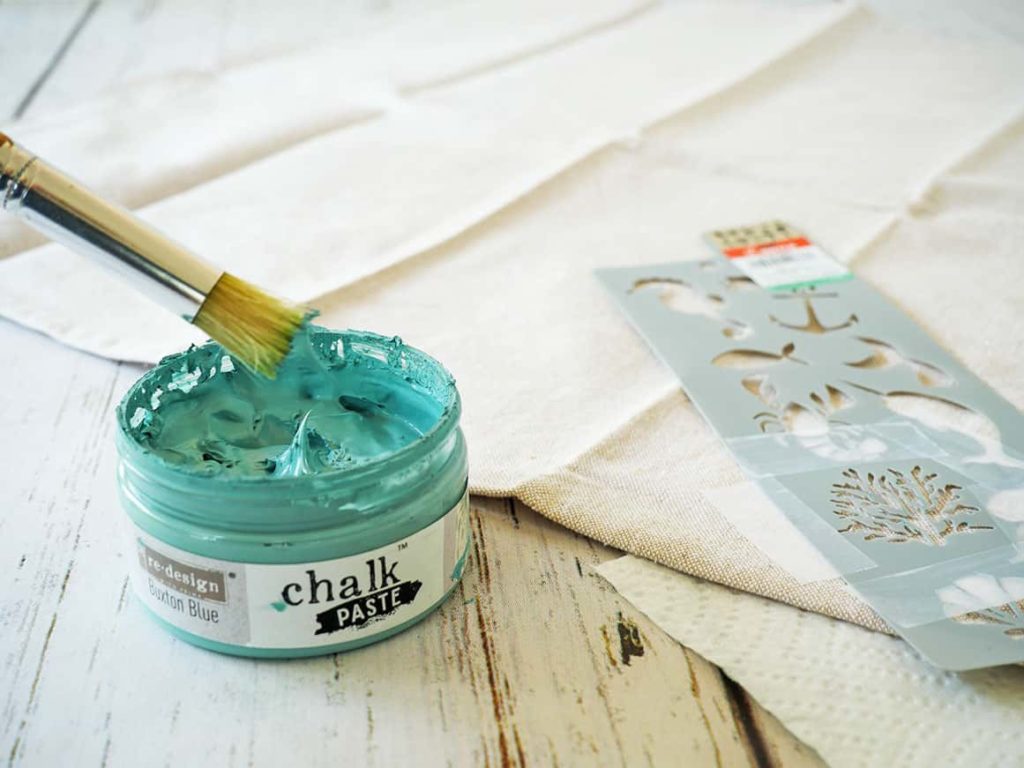
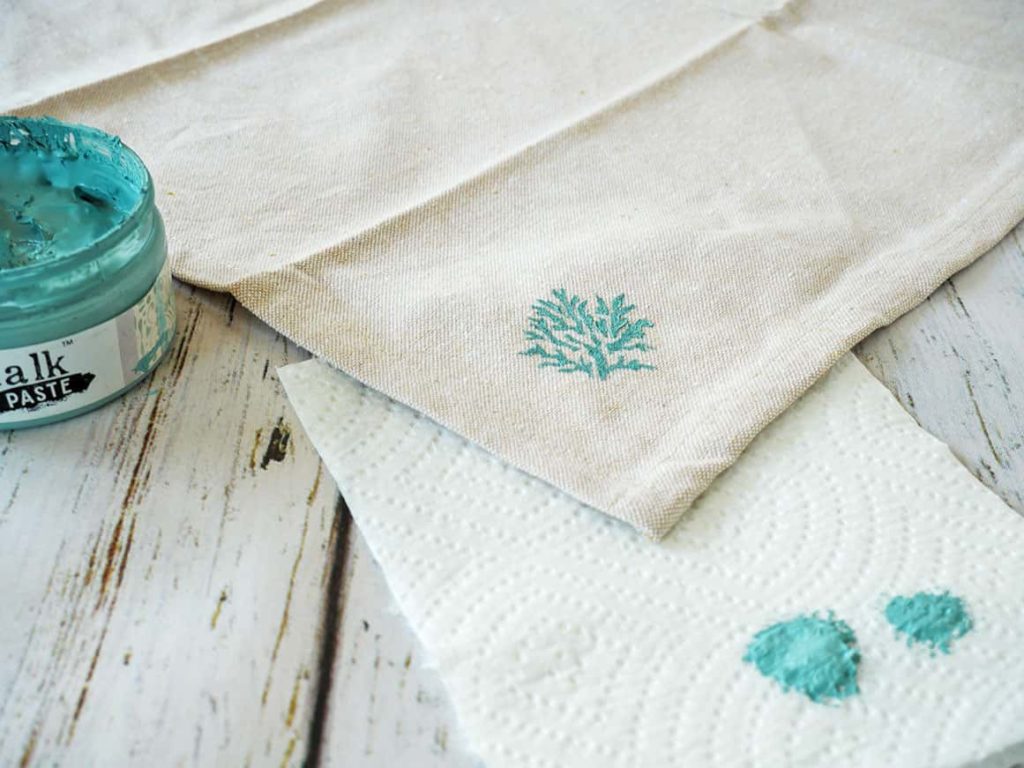
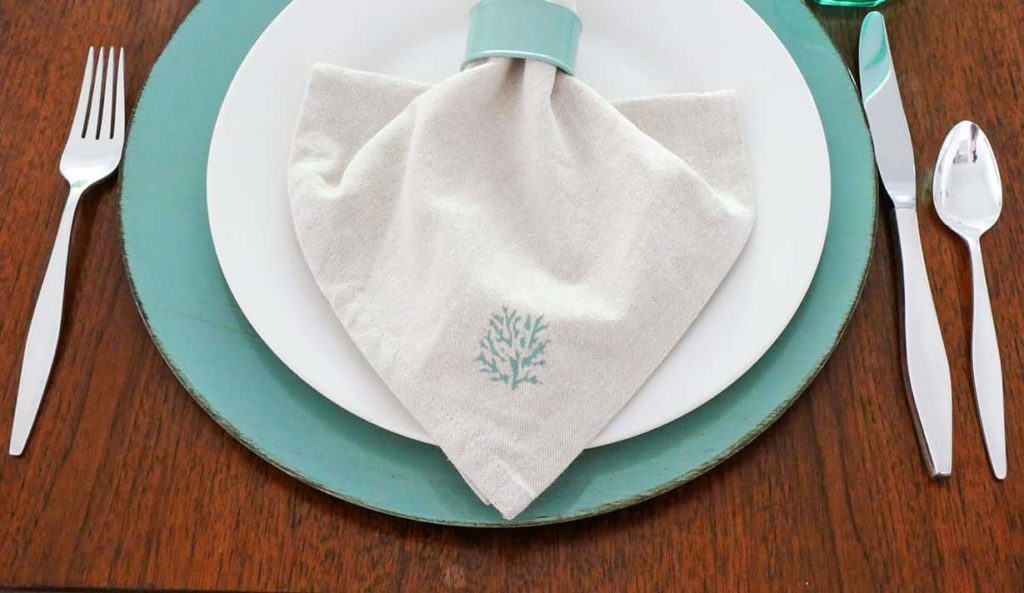
Note: I used chalk paste that I already had in my craft stash, as it was the perfect color to match the coastal table setting I was planning. However, acrylic paint will work just as well for stenciling cloth napkins.
Before you paint your stencil, be sure that the chalk paste is the correct creamy consistency (similar to smooth frosting), or your paint is well mixed.
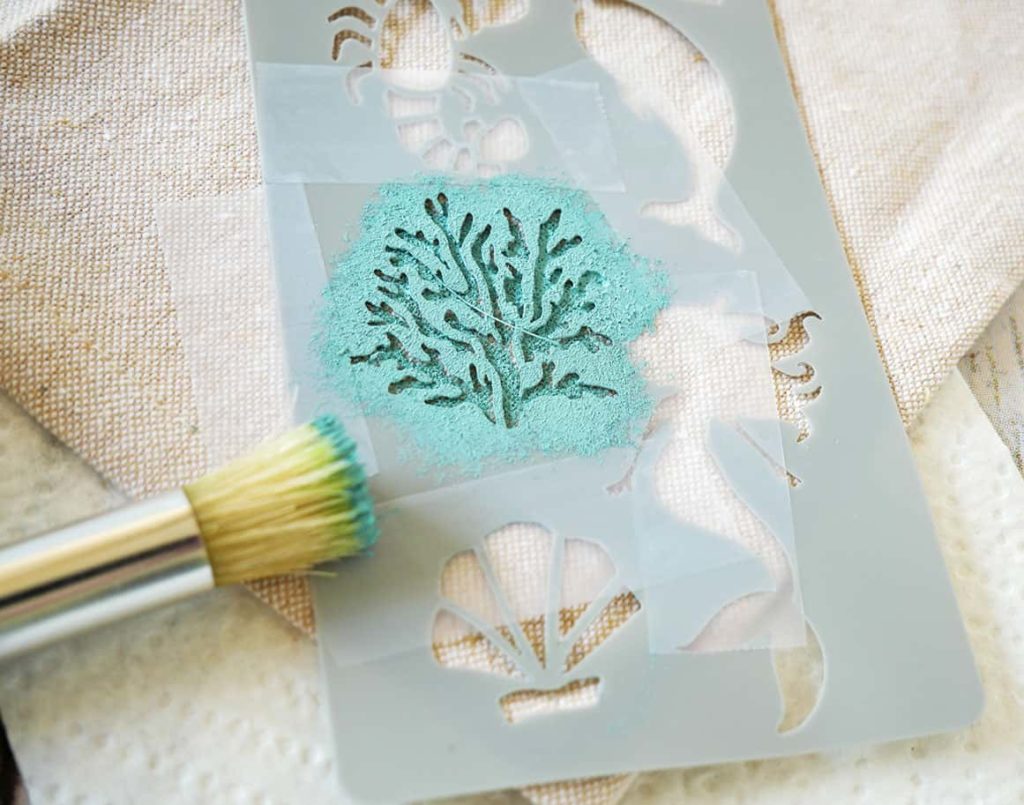
Then load your stencil brush.
To load your brush ~ you will first dab it into the paste, and then dab it on a paper towel. This will remove some of the chalk paste, which is what you want.
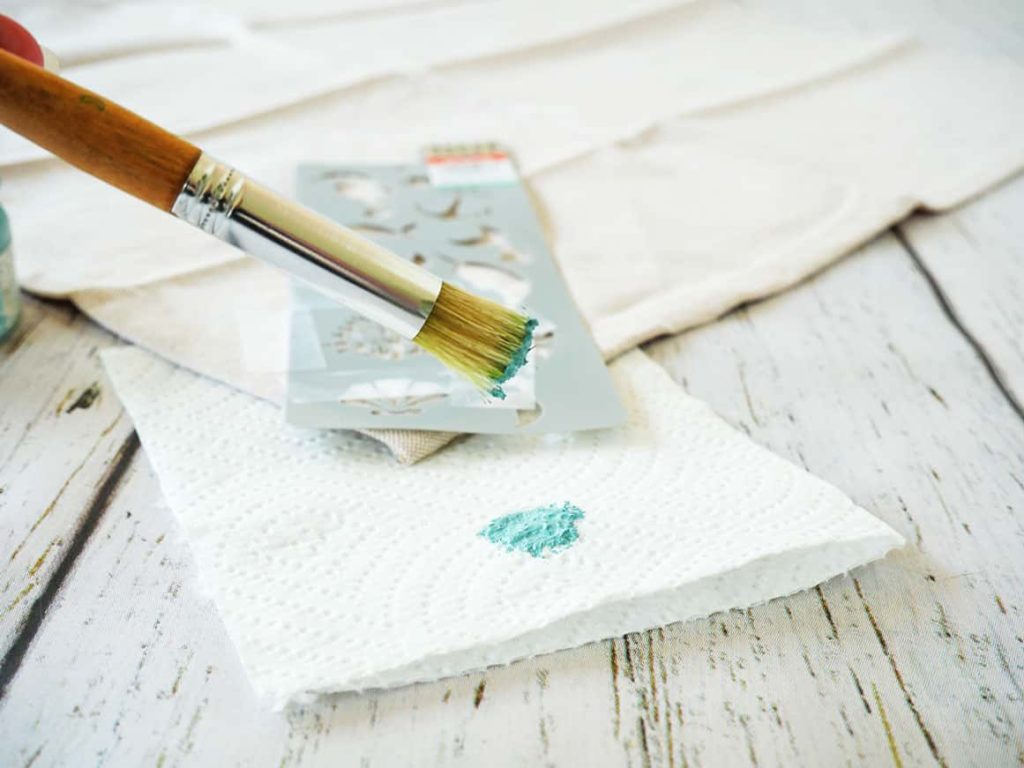
You want your brush to have a small coat of paint. No clumps or large globs of paste.
Then, with your stencil brush straight up and down ~ not at an angle ~ dab the paste onto the stencil.
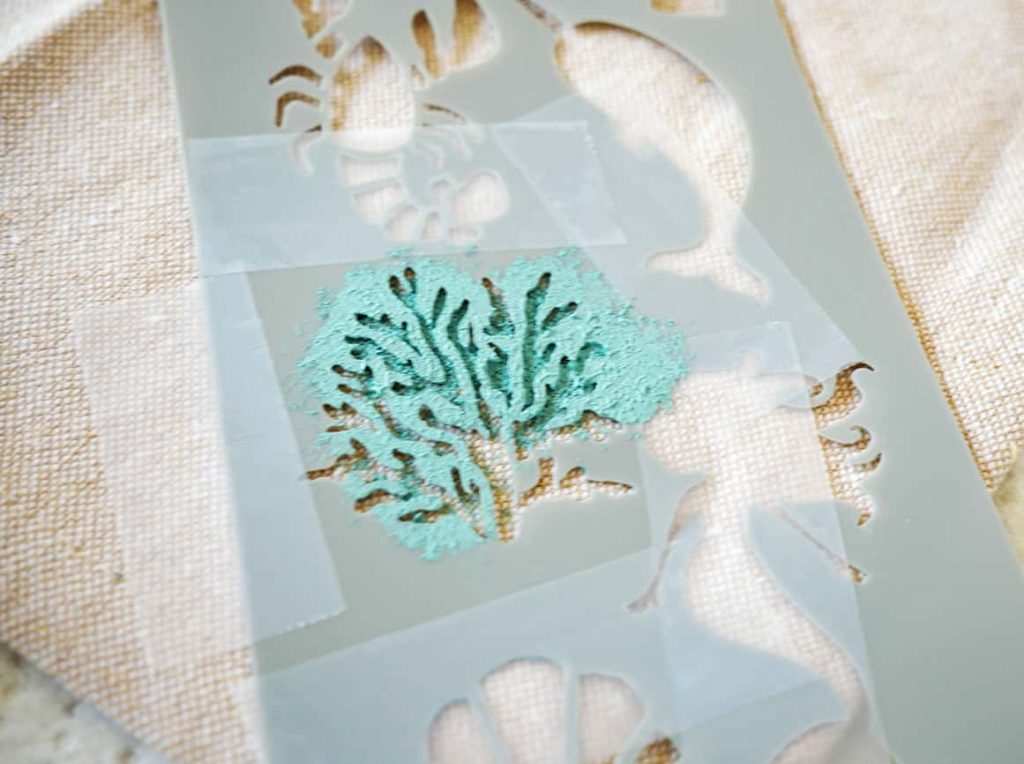
Reload your brush and continue dabbing on the chalk paste until your stencil is covered.
*Don’t dab the paste on too thick. You will lose any detail from the stencil and your diy stenciled napkins won’t look good.
Once your stencil design is covered, carefully peel the stencil off your cloth napkin.
Step 4: Making your diy cloth napkin stencil permanent
After you have stenciled all of the cloth napkins, let the paint dry completely.
Once the paste is dry, heat your iron to the temperature setting for your cloth napkins. This will differ, based on the fabric content, if your napkins are cotton or polyester.
Don’t use the steam setting.
Cover your painted stencil with a clean cloth or rag and iron over your stencil.
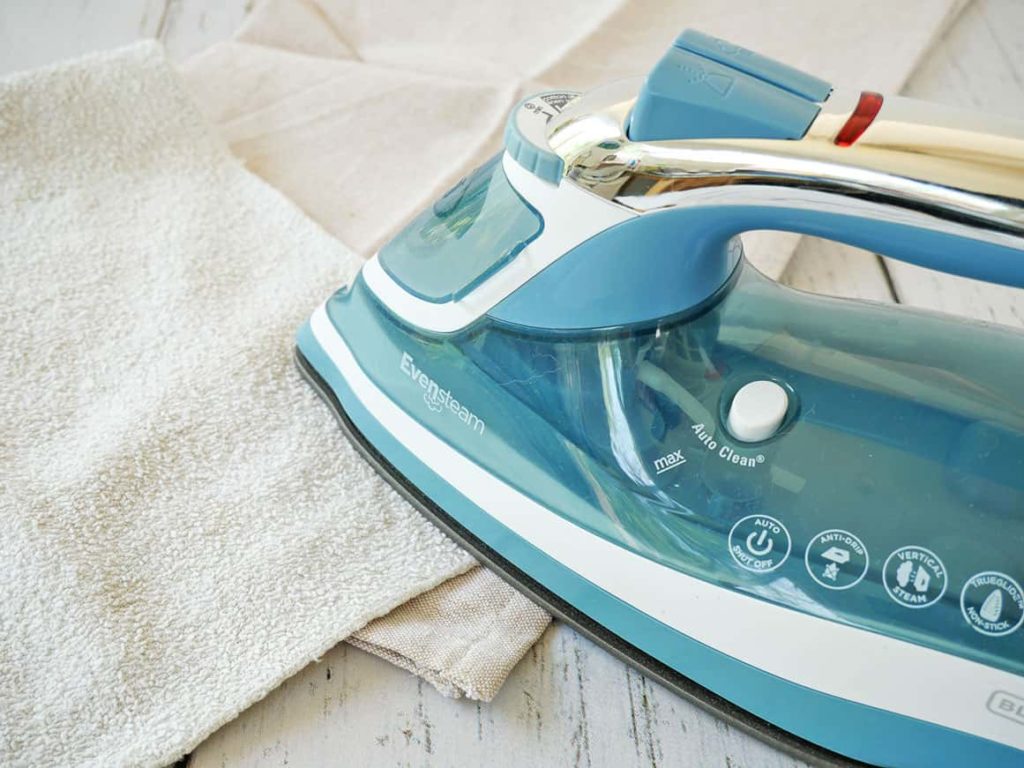
Make a couple of passes and see how your stencil looks. Then press the iron for 15-20 seconds on the stencil. The heat from the iron will set the paste (or acrylic paint) into the cloth napkin.
Now turn the napkin over and press the underside for another 15-20 seconds.
Turn your cloth napkin over, remove the clean cloth or rag, and iron directly on the stencil.
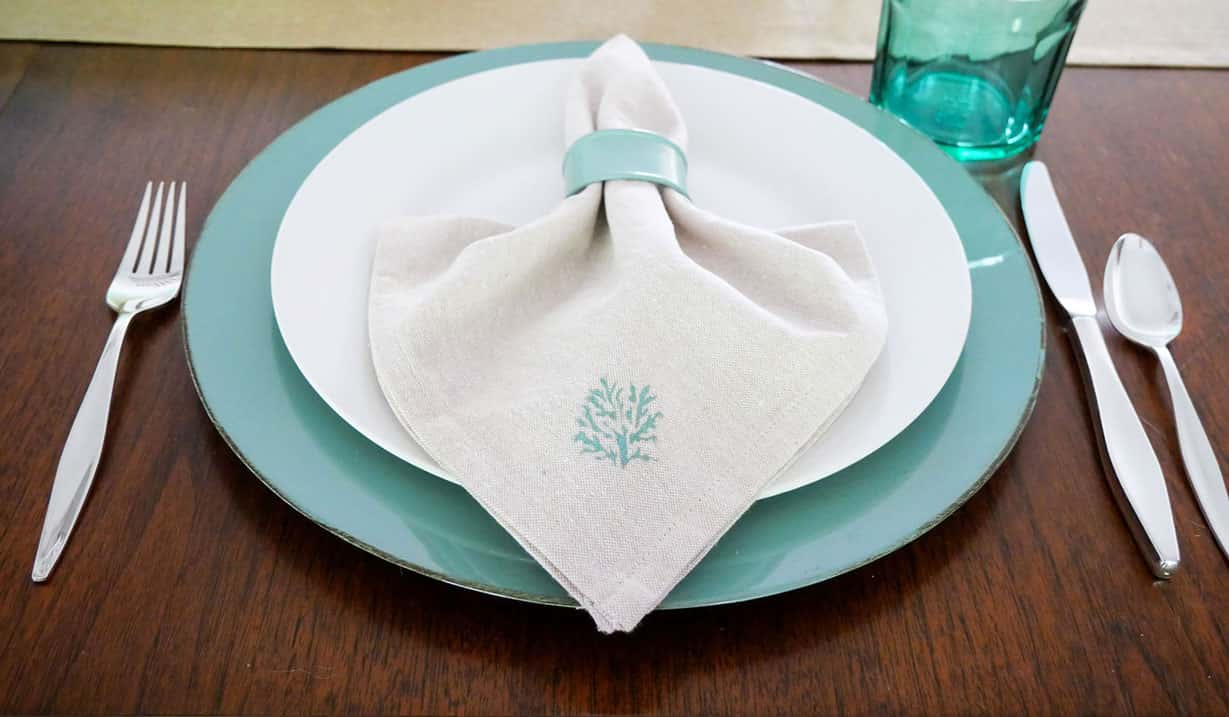
That’s it, your stencil cloth napkin is now permanent.
Yay!
Feel free to wash them.
Additional tips for how to stencil cloth napkins
Tip 1: Wash the stencil between painting each napkin, or after the second napkin. I wouldn’t do more than two napkins before cleaning the stencil, as the paint will begin to stick to the stencil and the design will look worse as you stencil additional napkins.
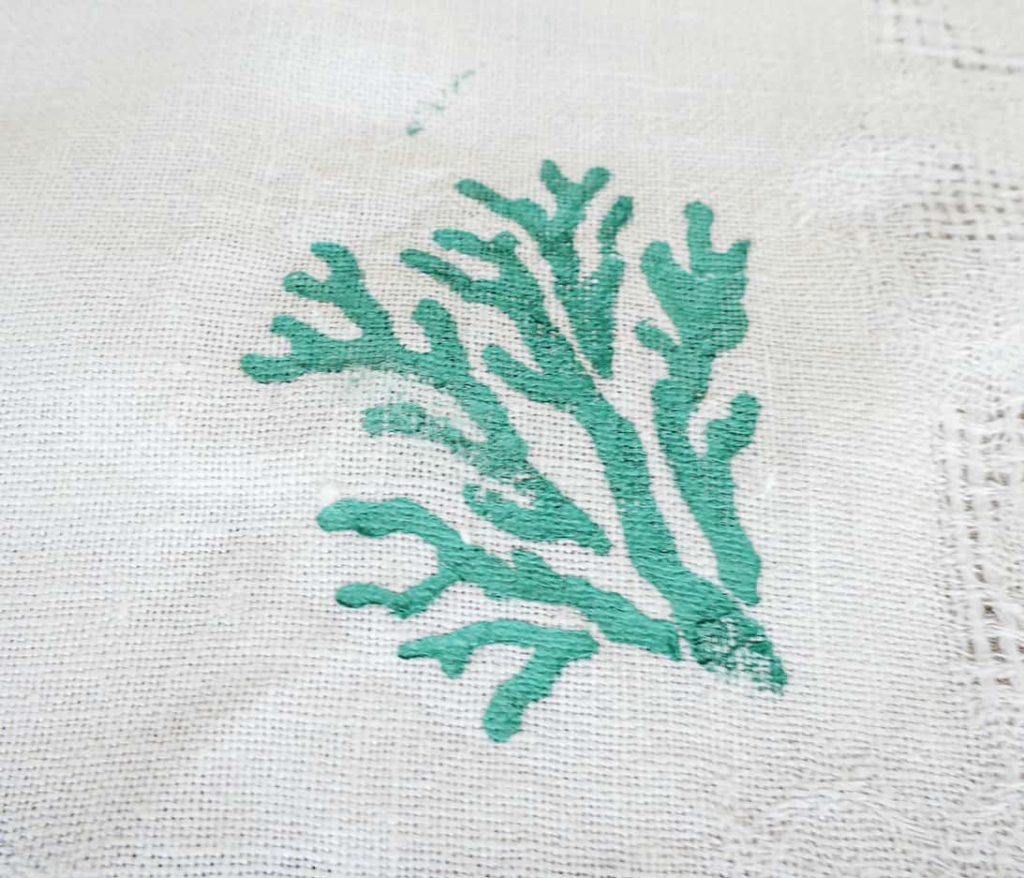
Tip 2: If you don’t iron the chalk paste, it will come off easily, as you can see in this image where I scraped off part of the paste on a test piece.
Tip 3: I would suggest washing your napkins in cold water and line drying them to extend the life of the painted stencil design.
Shop the diy supplies: