This glass fishing float diy project is SUPER easy, and makes for awesome coastal decor.
Have you seen antique Japanese fishing floats?
They’re beautiful colors and look fantastic as part of your beach-themed decorations.
Plus, making glass fishing float balls is a fun and easy project upcycling Christmas ornaments.
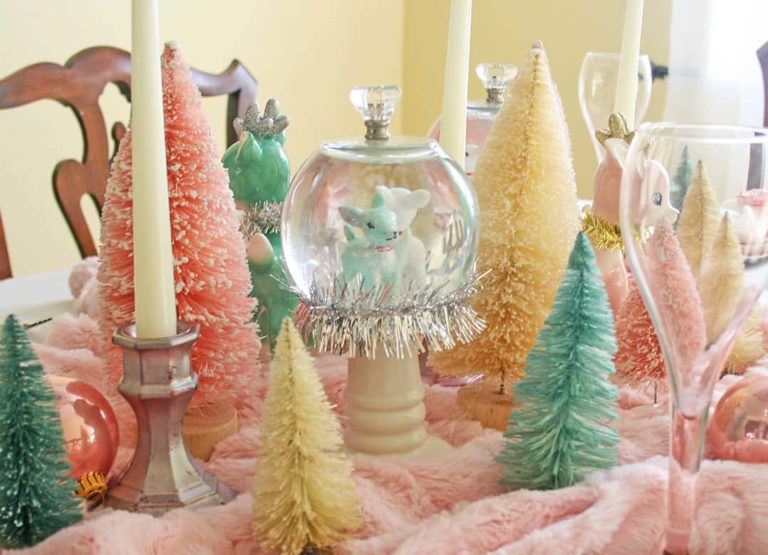
Check out how cute they look on my coastal grandmother table setting.
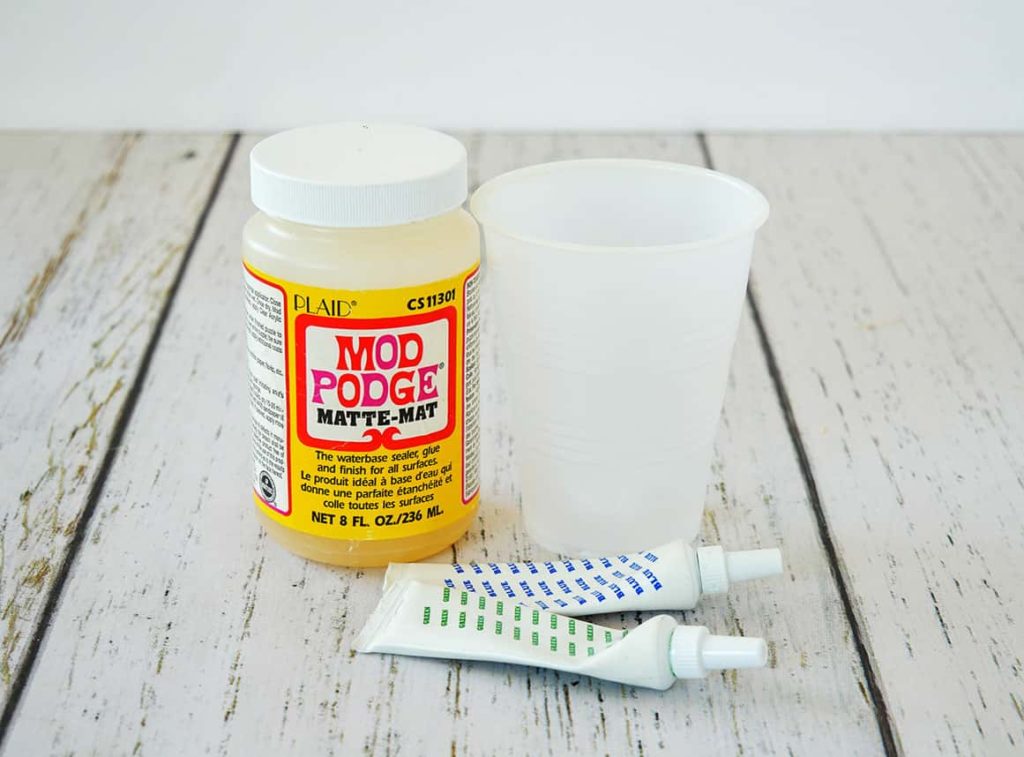
Supplies for Glass Fishing Float DIY
Please note that this article may contain affiliate links. I may get commissions (at no cost to you) for purchases made through these links. You can read my full disclosure for more details.
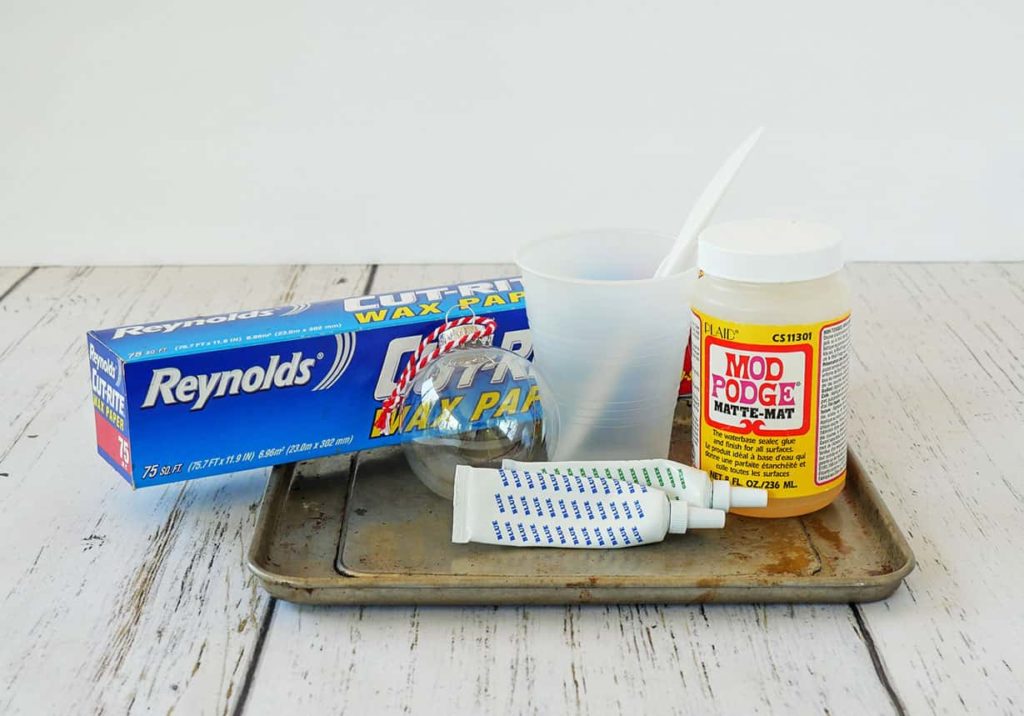
- Clear round Christmas ornaments
- Mod Podge
- Food coloring (blue and green)
- Plastic cup and stirrer
- Rubbing alcohol
- Wax paper
- Cookie sheet
How to Make Glass Fishing Floats
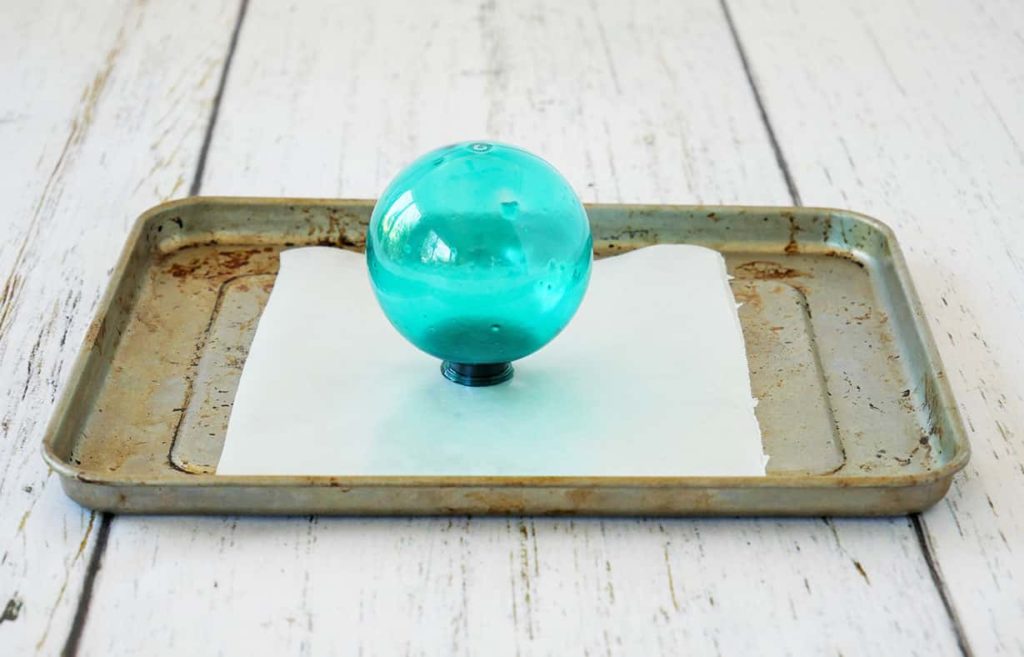
Step 1: Prep your ornaments to make glass fishing floats
Whether you are using clear glass or clear plastic Christmas ornaments, it’s best to prep them before starting this diy project to turn them into Japanese fishing floats.
You will want to remove the tops from the ornaments and then wash the inside and outside with warm soapy water.
Once they’re dry, pour a little rubbing alcohol into each ornament, swirl it around and let them dry.
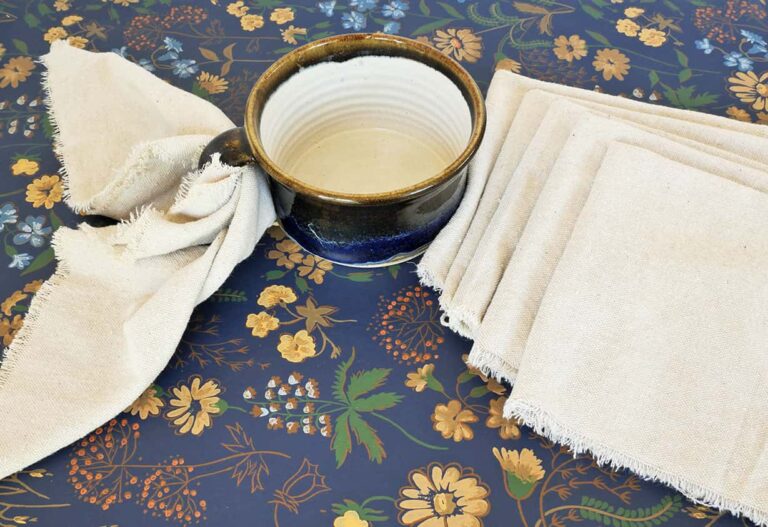
Before you start coloring your glass fishing floats, cover the bottom of a cookie sheet with two layers of wax paper. You will be using this later toward the end of step 2, but you will be glad you have it ready now.
Step 2: Coloring your clear ornaments to look like Japanese fishing floats
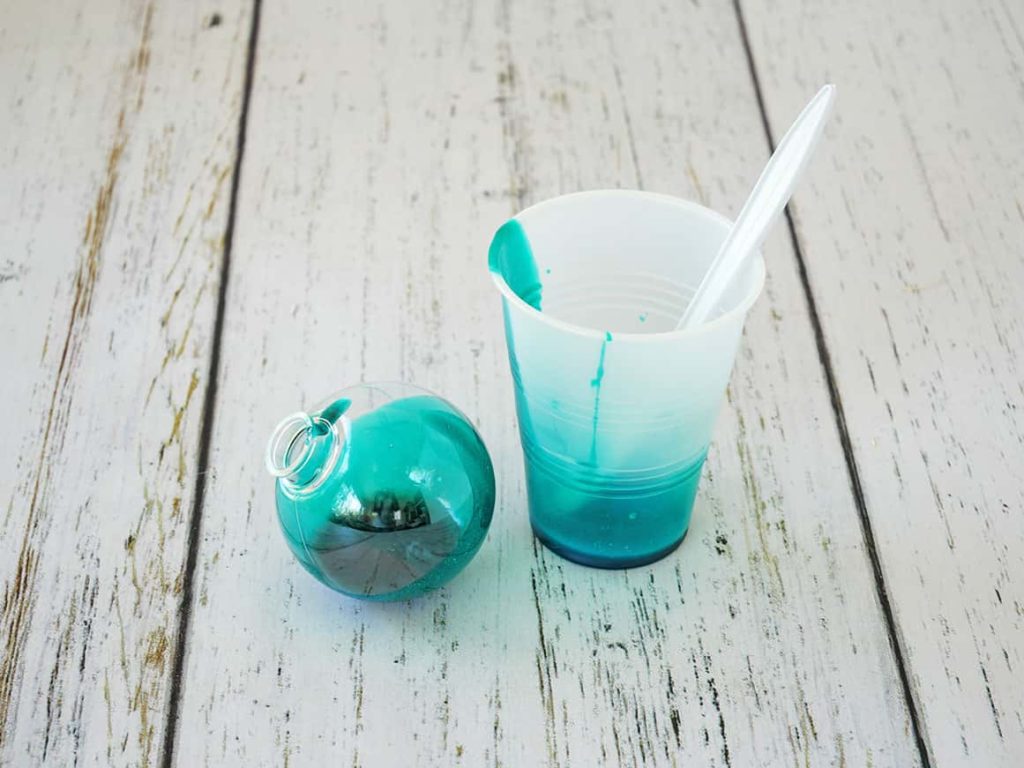
To make your clear ornaments look like colored glass, you will pour approximately 1/8 cup of Mod Podge into a plastic cup.
Then add 1-2 teaspoons of water to the Mod Podge and mix them together.
You want to thin down the Mod Podge, so it will be easier to pour into the ornaments. But you don’t want it too watery that the Mod Podge won’t adhere to the inside of the ornament.
Next, add a few drops of food coloring to the mixture.
You want your color mixture to be about 3-5 shades darker than the final color you are wanting to achieve.
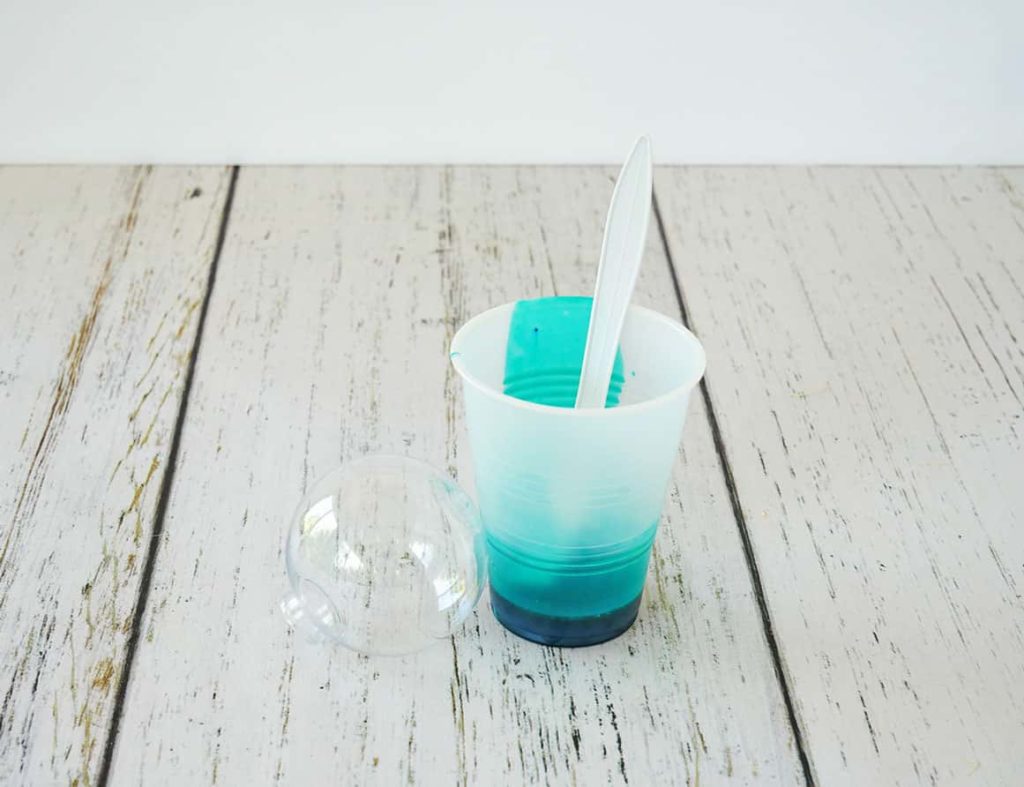
If you are wanting an aqua color, I found that about 10 drops of blue mixed with 5 drops of green was a good combination.
It’s best to mix a few cups of different color combinations until you find the one you like best. (Be sure and take notes on how much food coloring you added to each cup.)
Once you have the Mod Podge colored, slowly pour it into an ornament.
Next, slowly swirl the mixture around, inside the ornament, being sure that the entire inside is well coated.
Then pour the excess colored Mod Podge back into the cup. Twist the ornament as it drips back into the cup so that it continues to coat the inside.
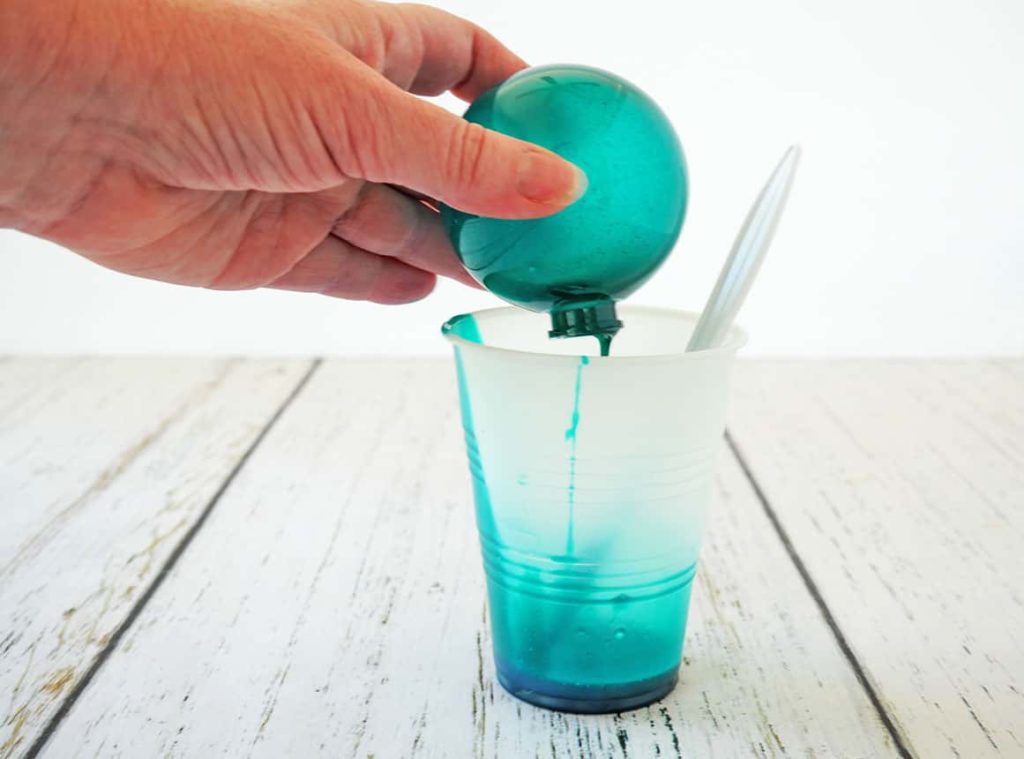
Hold the ornament over the cup until no more of the Mod Podge drips out. Then place the newly colored ornament upside down on the wax paper covered cookie sheet.
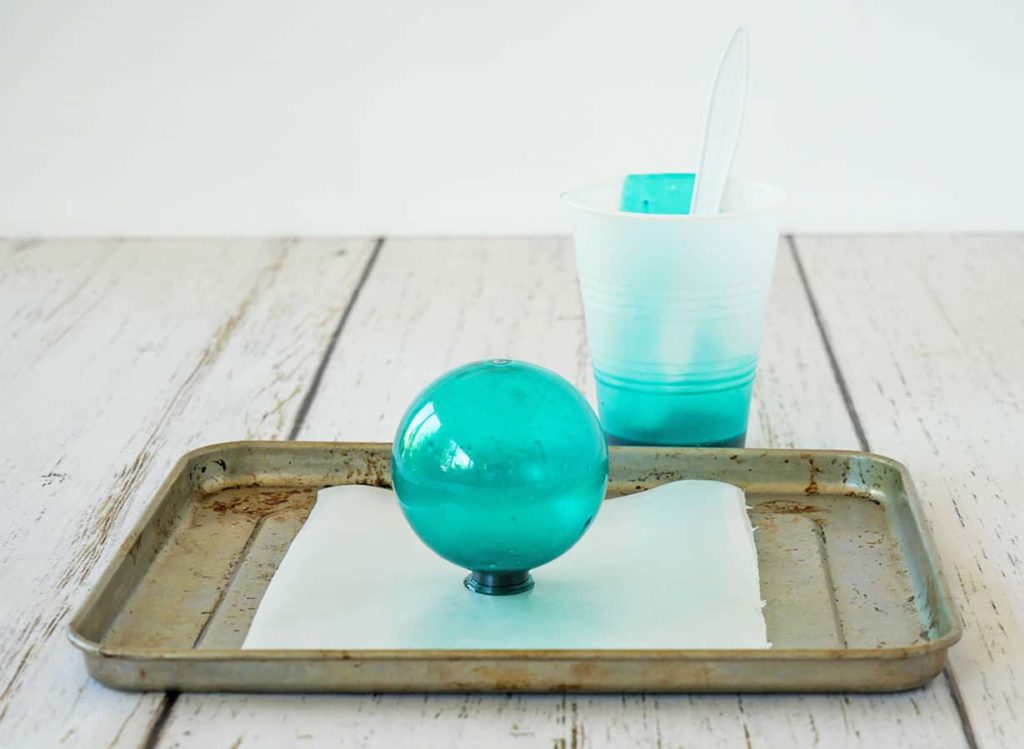
This will make it easy to move your diy glass fishing floats while they dry.
Continue the process of pouring Mod Podge into an ornament, swirling it around, and pouring it out until you completed all of your clear ornaments.
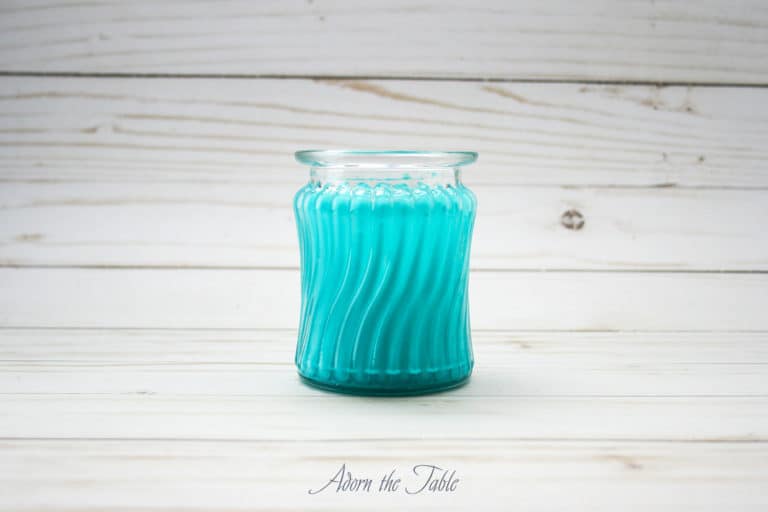
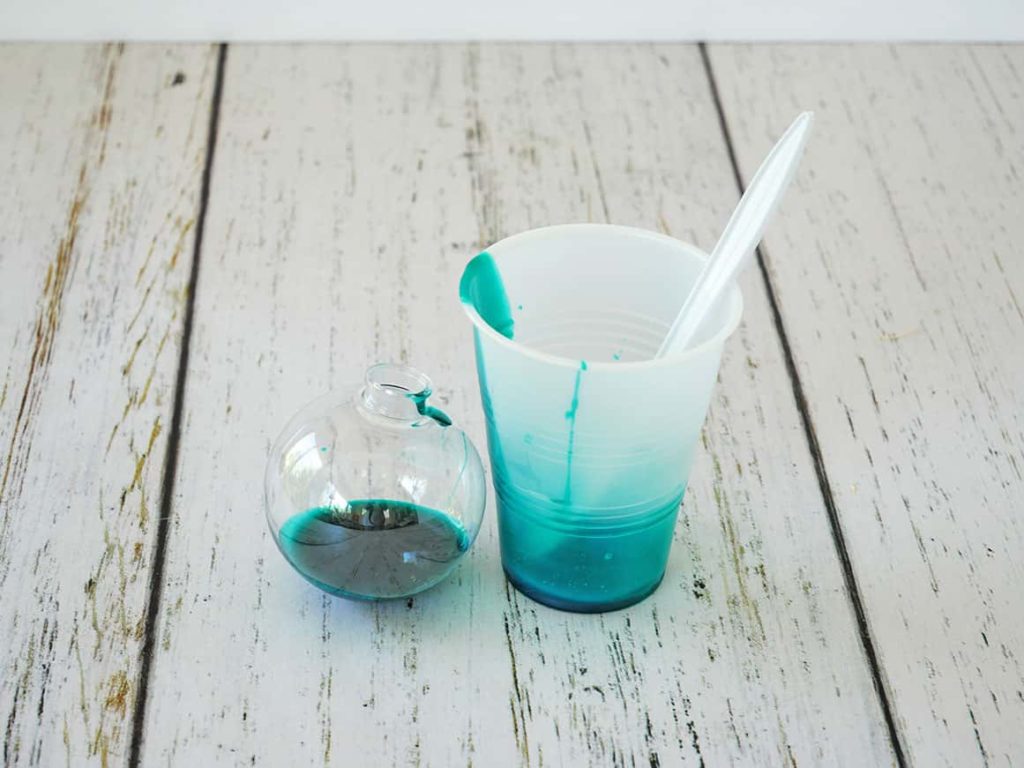
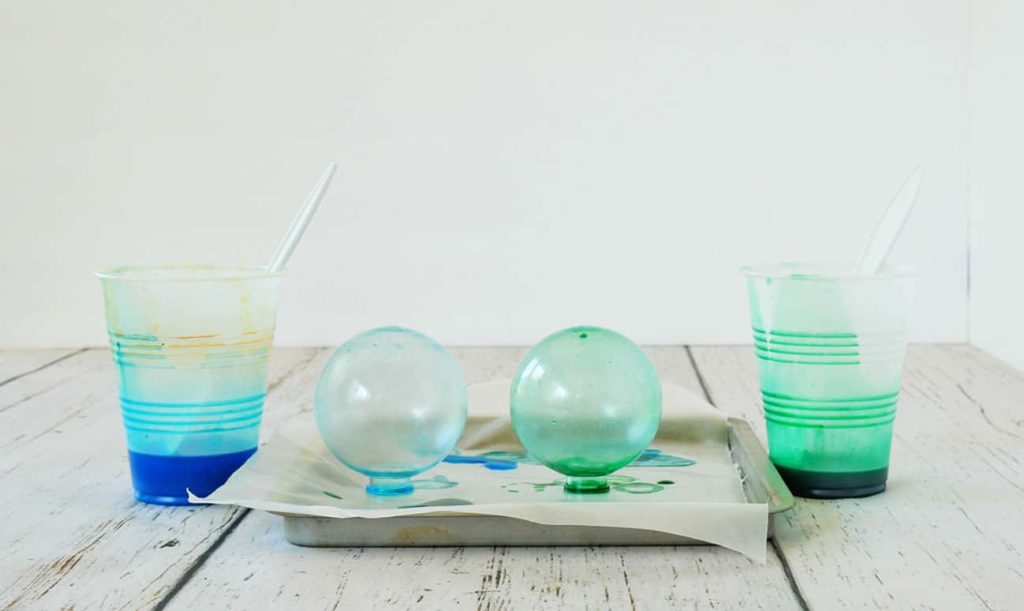
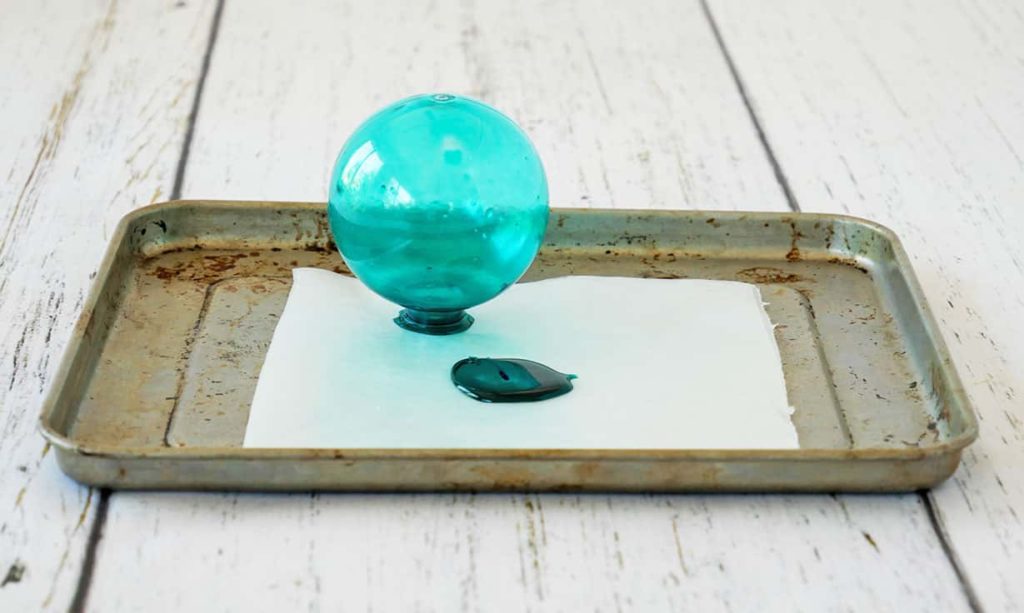
Below is an example of how your glass float balls will look when you don’t use much food coloring, and if your Mod Podge mixture is too thin…
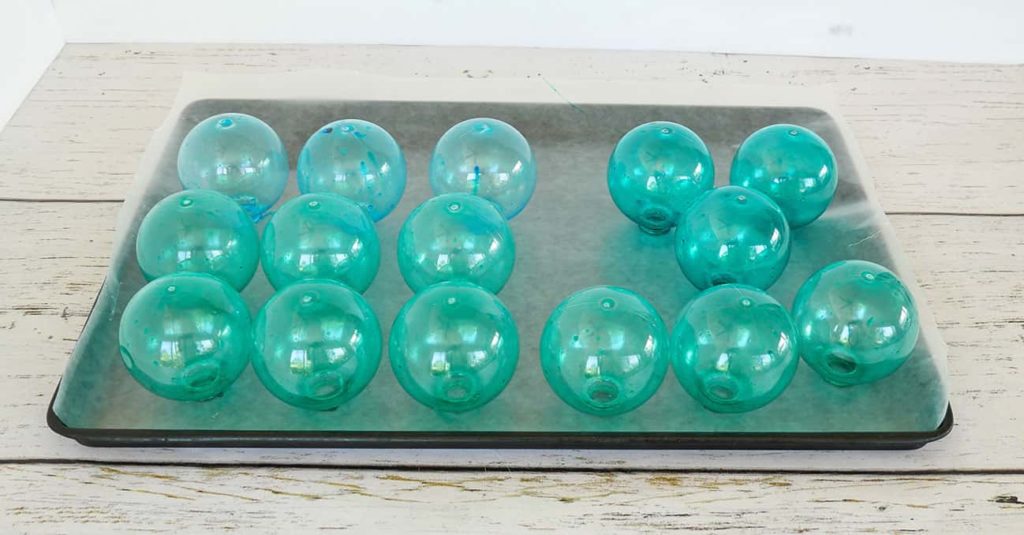
Step 3: Drying your diy glass fishing floats
It will take time for your diy glass fishing floats to completely dry.
After about an hour, you will notice that a lot more of the colored Mod Podge mixture has settled in the opening of the ornament.
Carefully lift up the ornament and reset it on a clean section of wax paper, or transfer all of the ornaments to a new cookie sheet that’s covered with wax paper. Still keeping the ornaments facing upside down.
*Note: if you rest the ornament on its side, the colored Mod Podge will pool there and you will end up with a dark colored spot in a weird area.
Check on your ornament fishing float diys occasionally and if you see the Mod Podge pooling at the opening of the ornament, pick it up and move it to a clean space on the wax paper.
I needed to do this about 3-4 times, because of the amount of Mod Podge mix that was inside my ornaments.
It took about 48 hours for my diy glass fishing float balls to completely dry.
Step 4: Using your glass fishing float easy diy project as decor
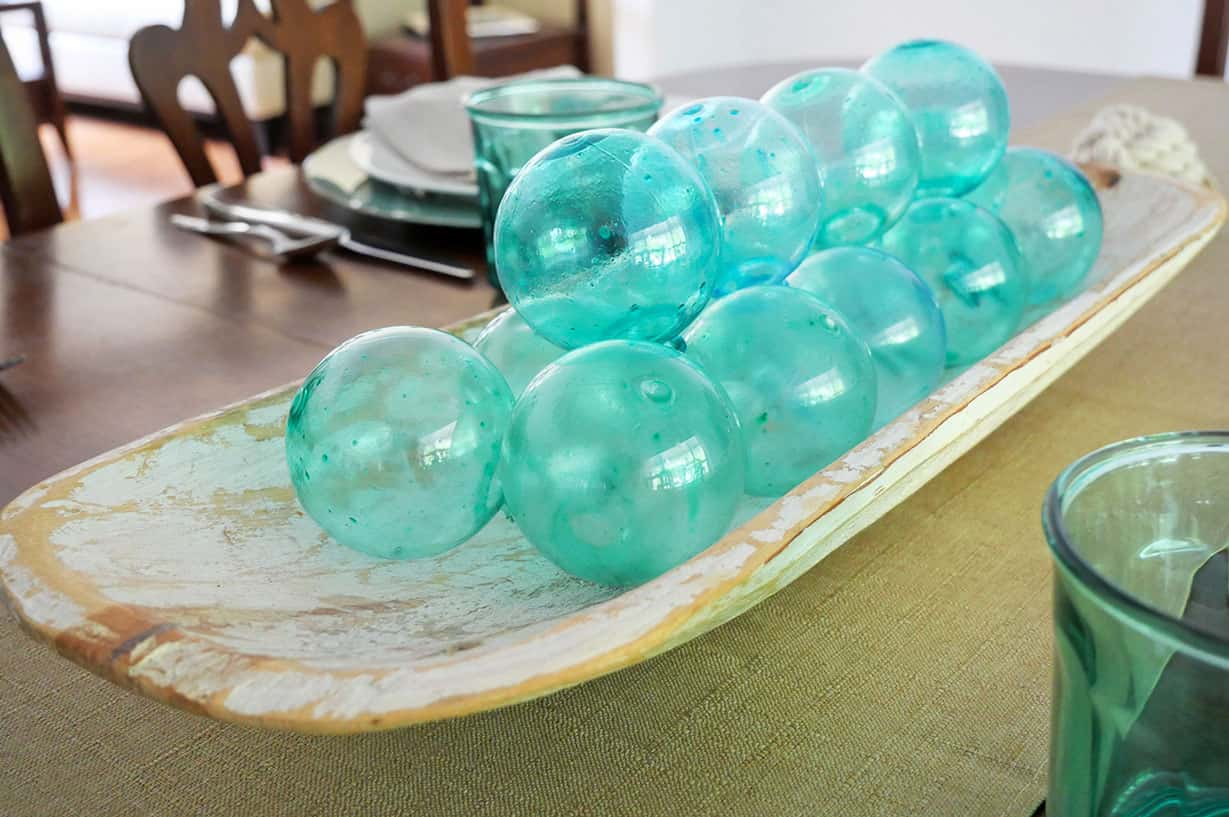
Once your diy Japanese fishing floats are completely dry inside, you can use them as decor around your house, or as a centerpiece on your table.
Typically in craft stores, you will see fishing float balls wrapped in netting, as if part of a fishing net. If you like that look, either take some Dollar Tree fishing net and cover the diy fishing floats, or tie twine or rope around the glass floats yourself.
I prefer the look of diy fishing floats without the netting, that way they look as if I had purchased them from an antique store (when they wouldn’t be covered with a fishing net).
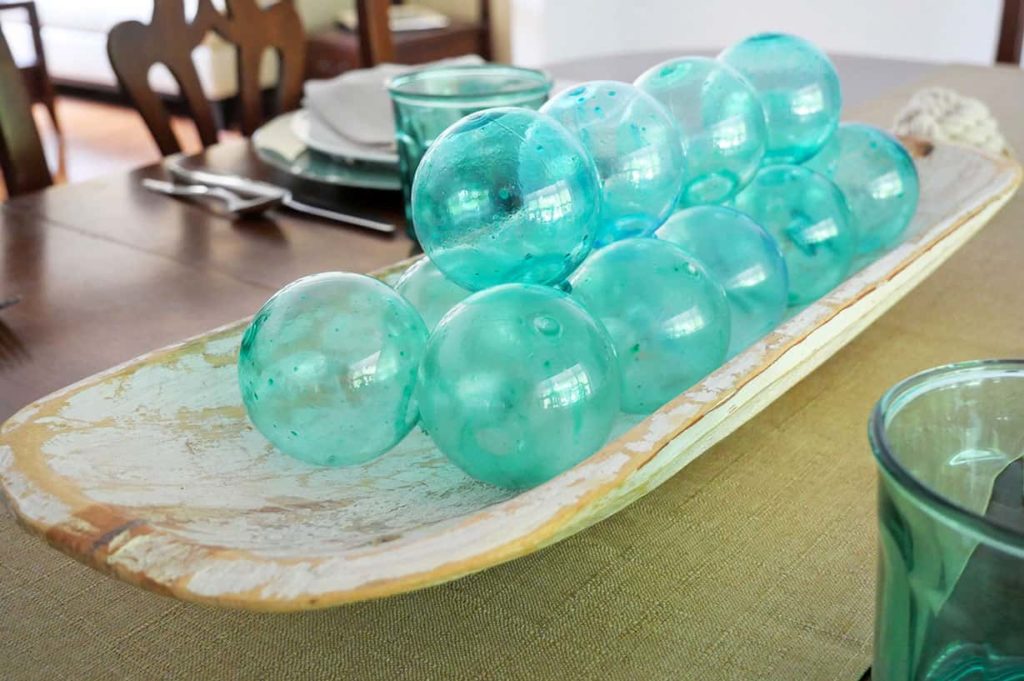
Don’t they look awesome!
Shop the diy supplies: