
These diy New Year’s Eve clock plates are a super easy project that can be used for New Year’s decoration or food.
I was working on a New Year’s Eve buffet table and needed some cute NYE decor. I didn’t want to spend much, and I didn’t want the kitchy stuff from the party stores. So I came up with this easy diy idea for New Year’s decor.
Not only are they really simple, these diy clock plates are SUPER CHEAP to make as I used plates from Dollar Tree.
Check ’em out…
Supplies for Your DIY New Year’s Eve Clock Plates
Please note that this article may contain affiliate links. I may get commissions (at no cost to you) for purchases made through these links. You can read my full disclosure for more details.
- Metallic papers
- Clear plastic plates
- Mod Podge
- Scissors and paintbrush

How to Make Clock Plates for New Year’s Eve Decor
Step 1: Prep the clock faces for your plates
The first thing you need to do is search the internet for free printable clock faces. I used ones found on multiple sites. Then copy and paste them into a Word or Google doc.
Depending on the size of your plastic plates, you might need to resize the clock faces.
I used clear plates from Dollar Tree. The flat part of the plate was 5″ round, so I resized the clocks to 5 inches.
To resize your image in Google docs – right-click the image and select “size & rotation”. This will bring up a box where you can modify the width and height. Make sure the “lock aspect ratio” is checked.
In Word, right-click the image and select “size and position”. This brings up a box where you can change the height and width. Make sure the “lock aspect ratio” is checked.
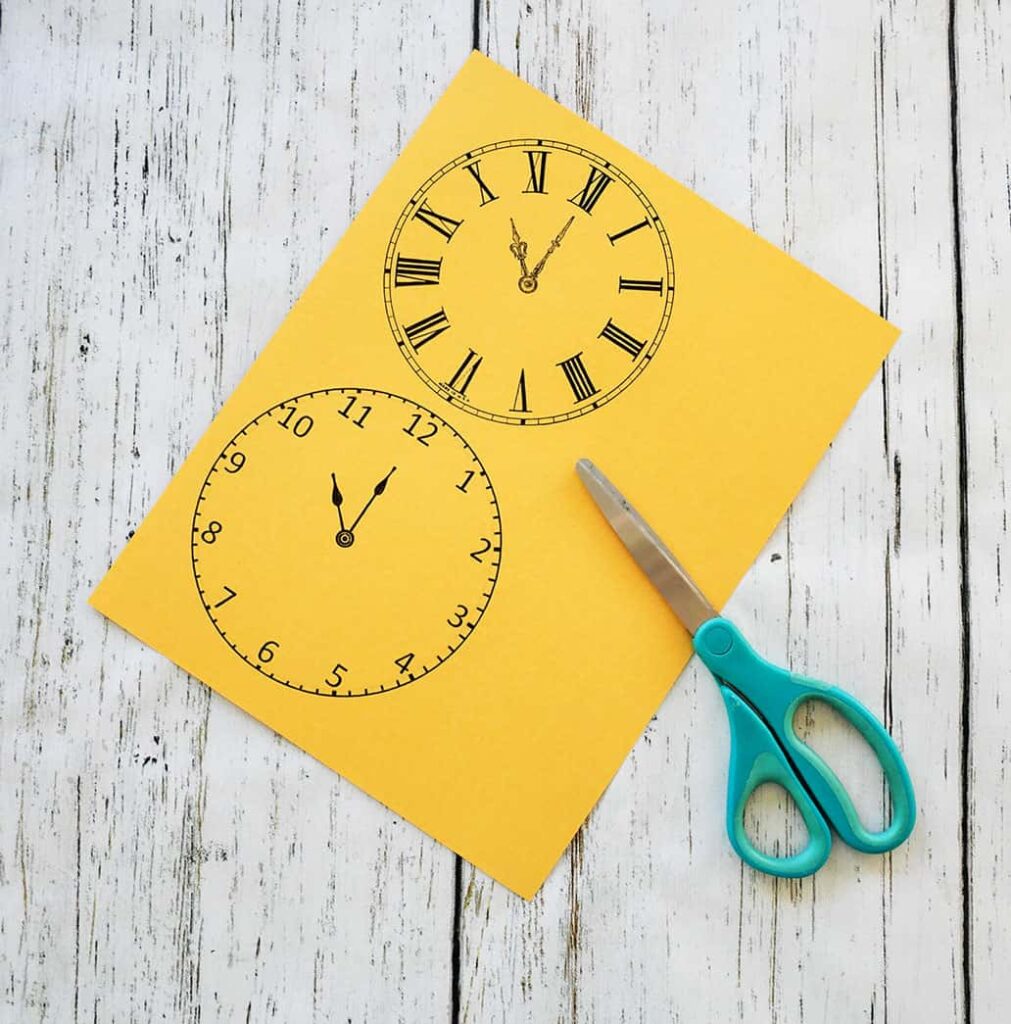
Once you have your clock faces at the correct size, print them out on gold and silver metallic papers.
Cut the clock faces out.
Step 2: Adhering the clocks to your clear plates
After you have your clock faces cut out, it’s time to adhere them to the transparent plates.
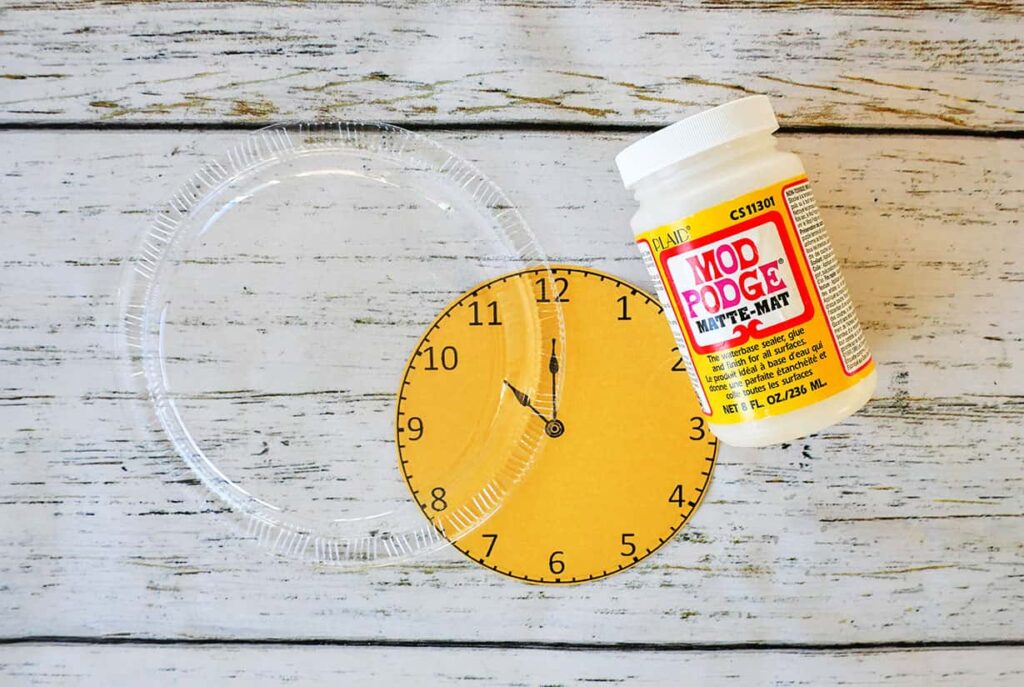
Flip the plate over.
On the underside of the plates, brush on the Mod Podge. Only cover the bottom of the plate, not the sides.
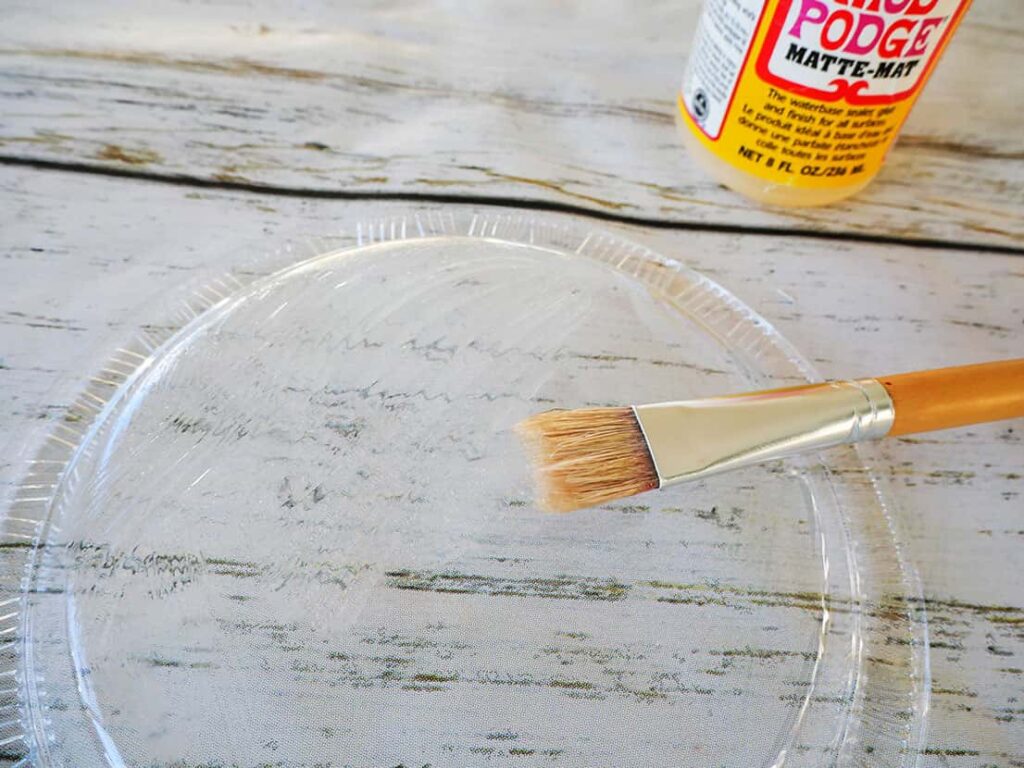
Then place the clock face on the bottom of the plate, facing down. So the clock can be seen thru the plate.
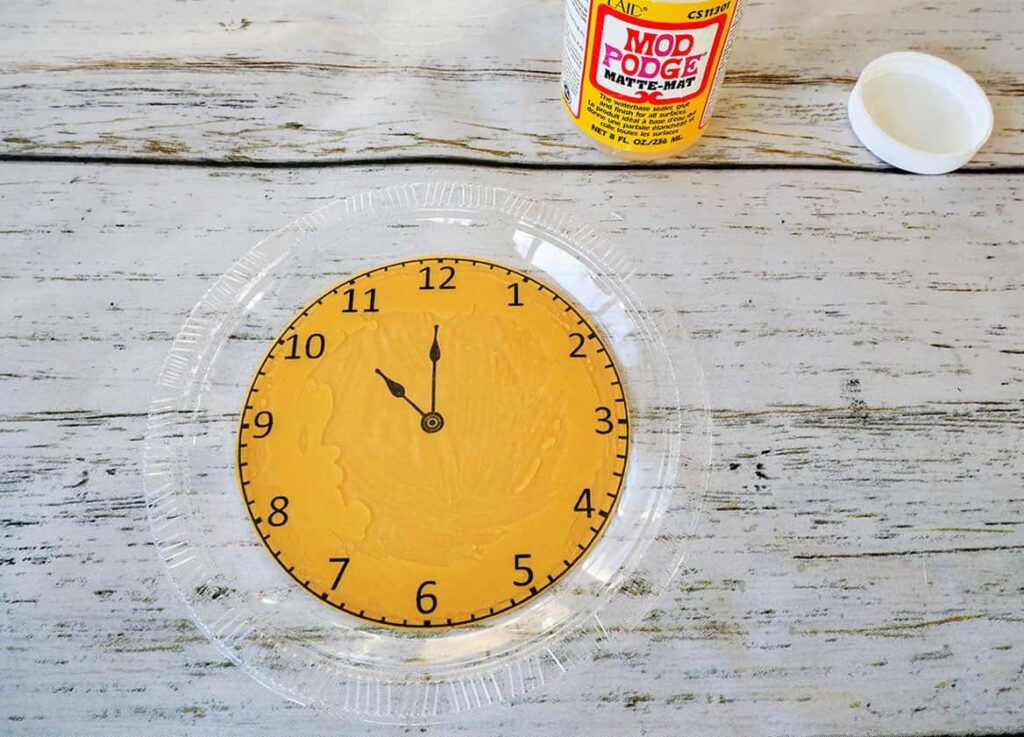
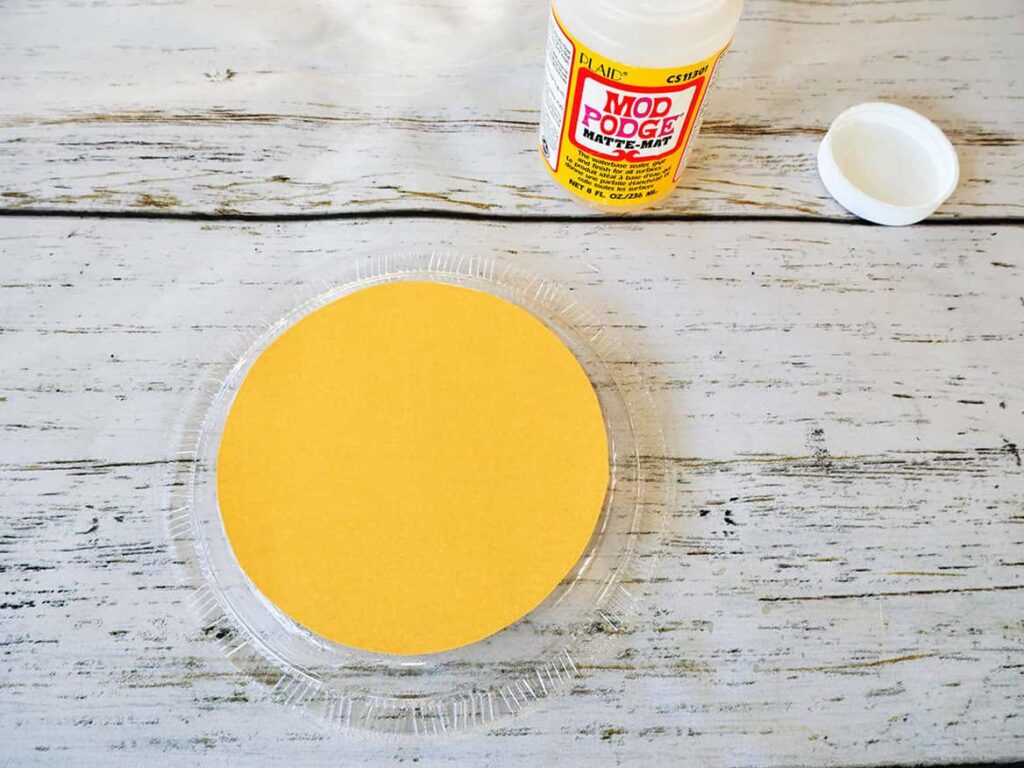
Readjust the clock so that it’s centered on the plate.
Now add another layer of Mod Podge over the paper. This will prevent the paper from curling up and secure it to the plate.
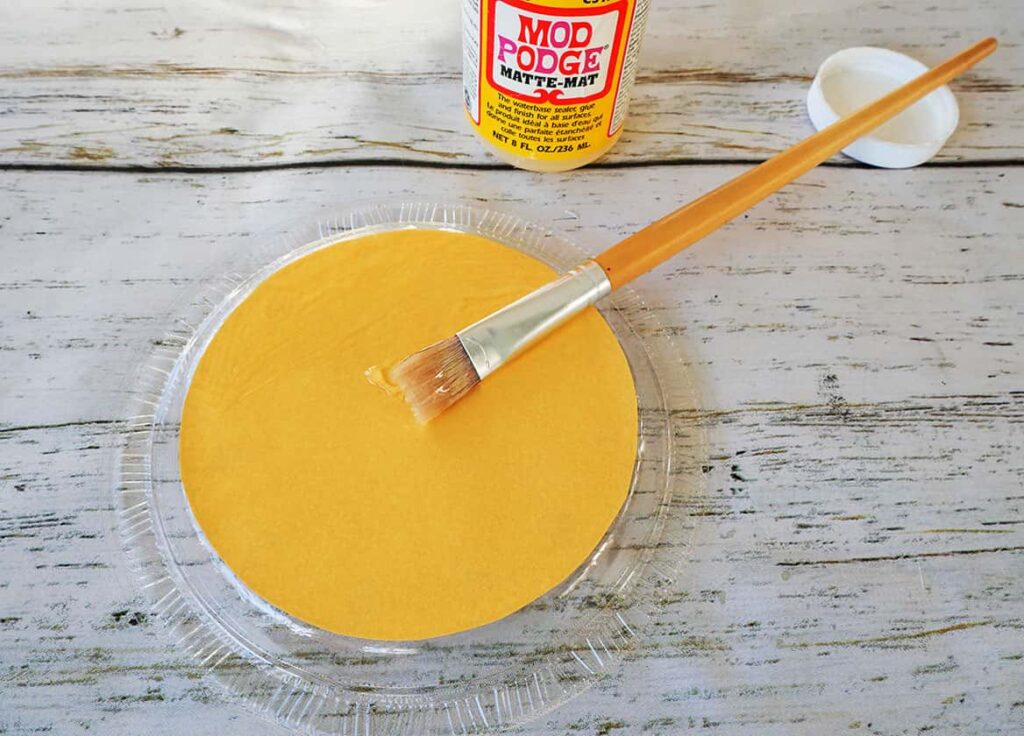
Let it dry.
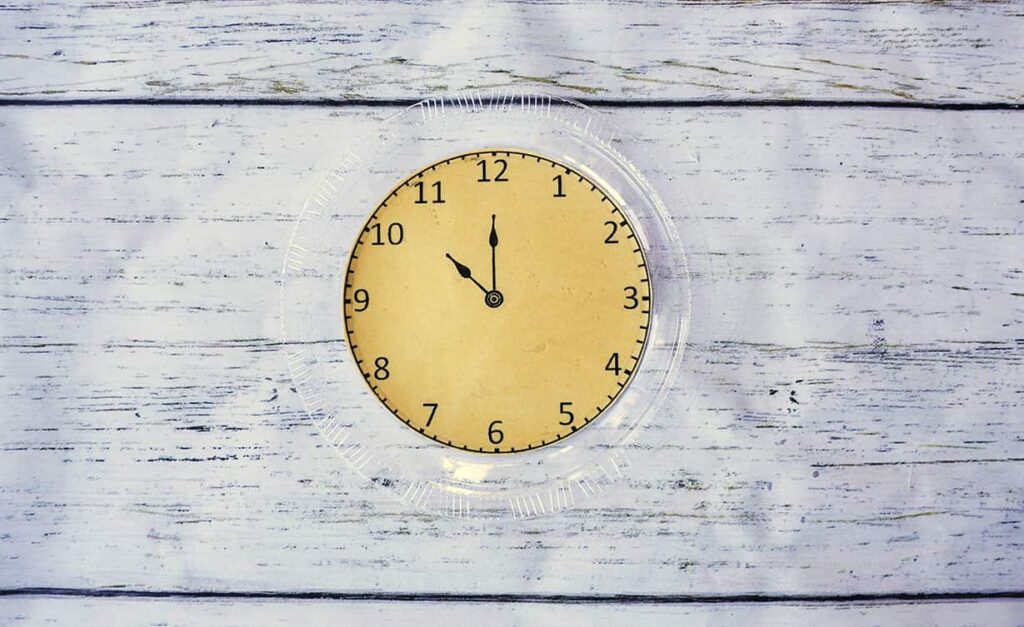
That’s it! Your diy New Year’s Eve clock plates are now ready to use to decorate for your New Year’s party. Or, since you adhered the paper to the underside of the plate – you can eat off of them!
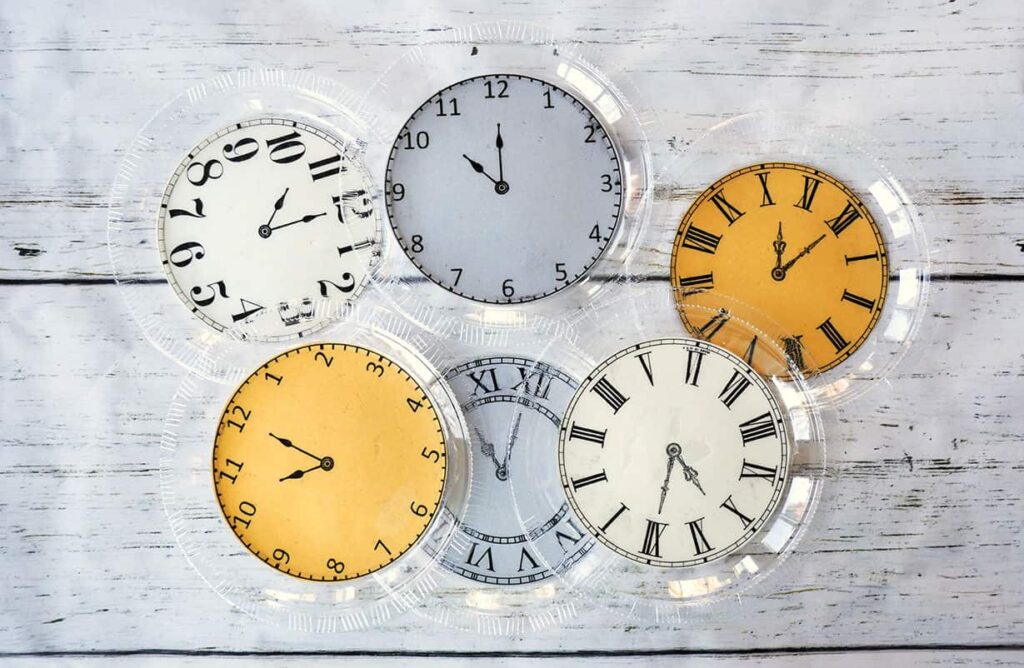
Aren’t they fun!
*If you will only be using them for New Year’s Eve decoration, you could paint the backside of the plates after the clock faces are secure. That would provide a frame-look to the clocks.
Shop the diy supplies:


Check out other easy diy projects:
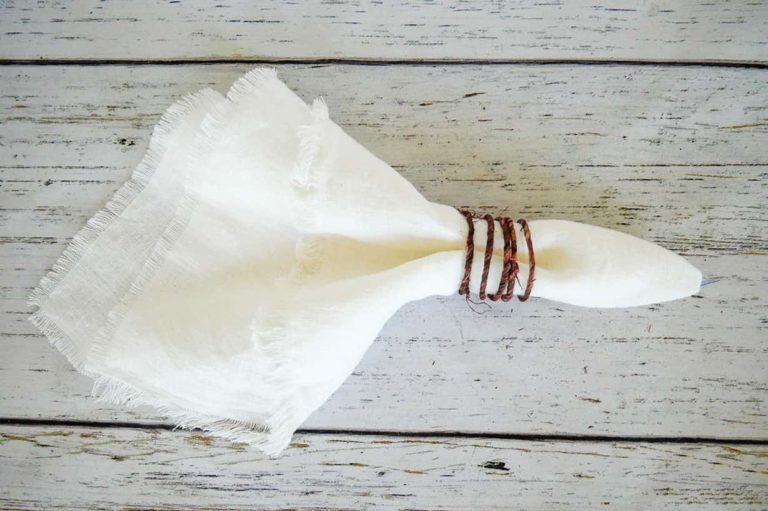
- Cute Snowflake Napkin Ring DIY
- DIY Indoor Snowball Decor
- Easy DIY Acorn Napkin Rings
- DIY Enamel Place Cards
- Realistic Snow-Covered Branches DIY
- Easy Styrofoam Christmas Tree DIY
- How to Dye White Fake Flowers
- How to Stencil Cloth Napkins: Easy DIY
- Easiest DIY Napkin Rings for Everyday
- DIY Unique Menu Holder
- Simple Moss Bowl Centerpiece DIY
I love, love, love these clock faces – what a clever ideafor a New Year’s Eve Party. Thank you
Yay! So nice to hear that you like them. Thank you.
A really cute idea and so easy to do! It’s perfect for an Alice In Wonderland party, too.
That’s a great idea!