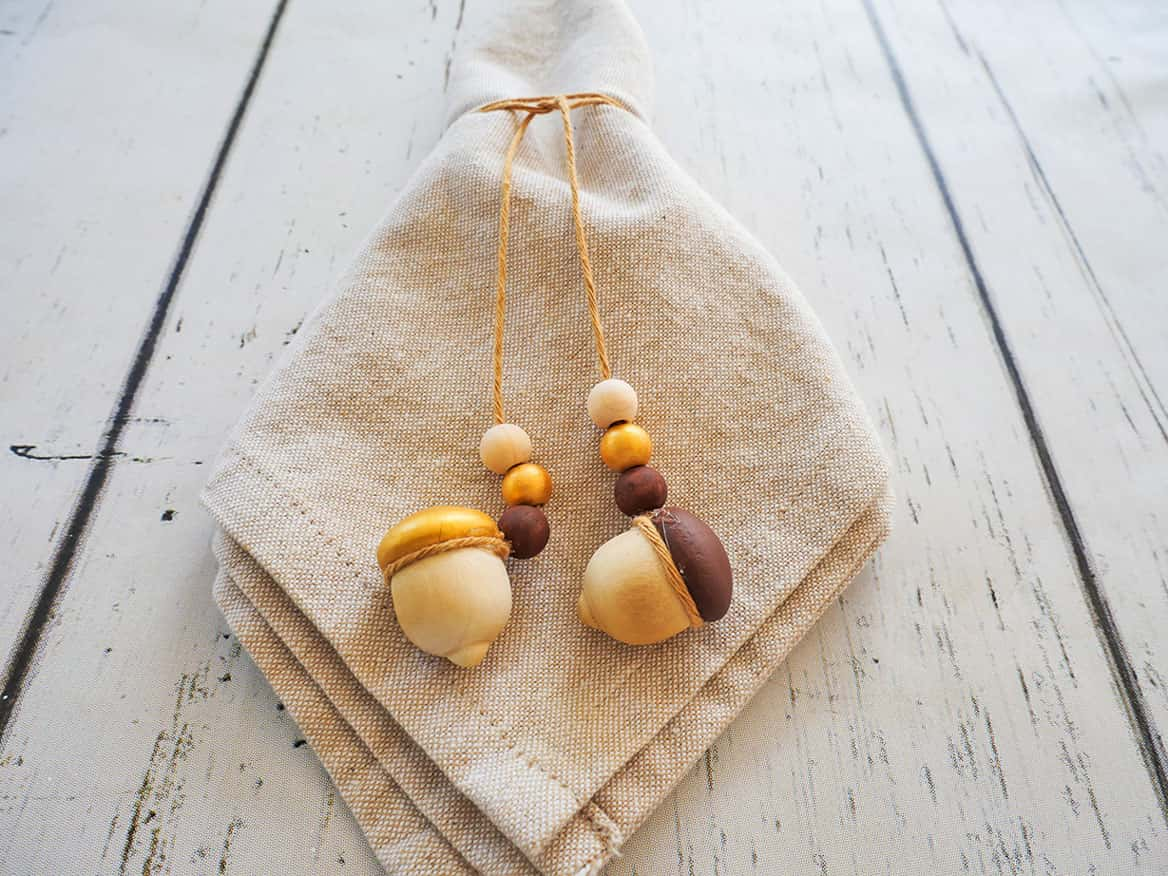
These easy diy acorn napkin rings are perfect for any Fall table setting.
I made them for my Thanksgiving tablescape this year, but wouldn’t they look cute for Friendsgiving or on a rustic table, too?
I especially love how quick and easy they were to make. SUPER SIMPLE!
And the best part is that you can paint them to match your table decorations or place settings. So the diy napkin rings are tailored to you!
*They’d also be a fantastic hostess gift!!
Supplies for DIY Acorn Napkin Rings
Please note that this article may contain affiliate links. I may get commissions (at no cost to you) for purchases made through these links. You can read my full disclosure for more details.
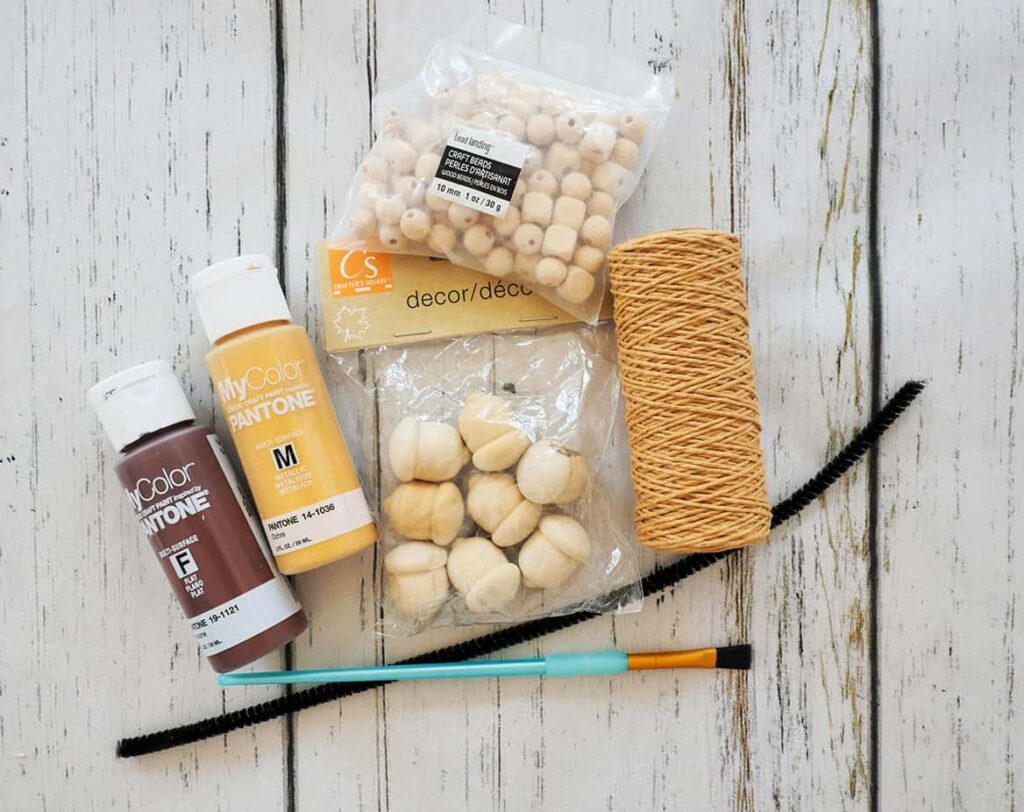
- Wooden acorns
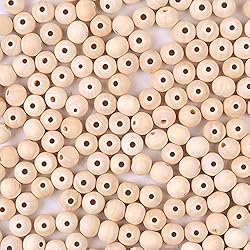
- Small wooden beads
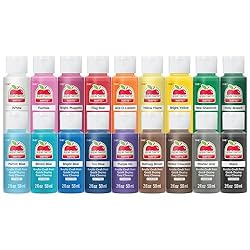
- Paint
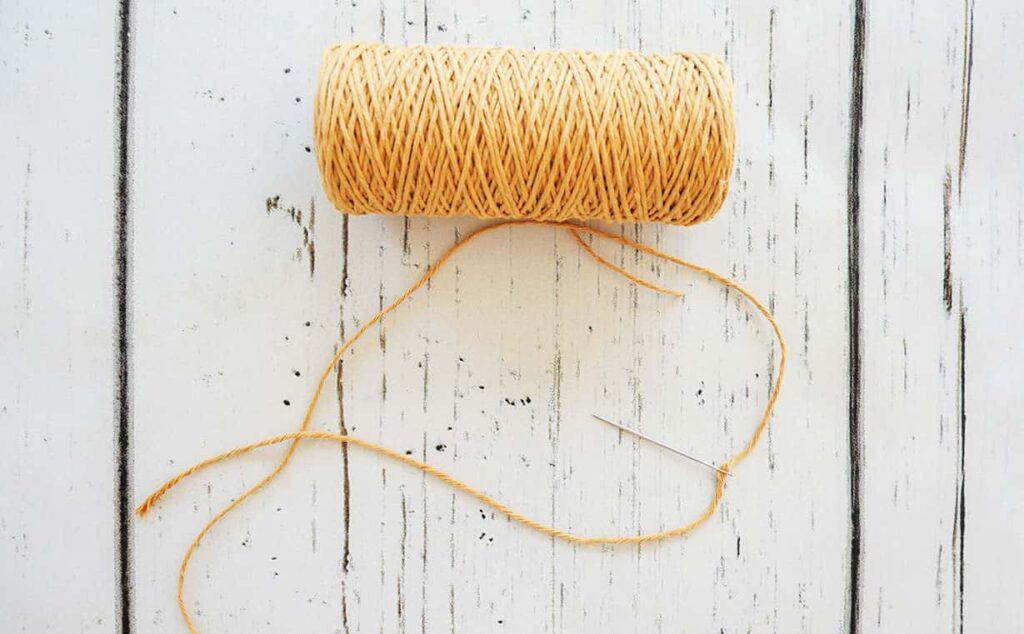
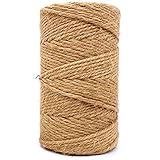
- Twine
- Pipe cleaner
- Art paintbrush, hot glue gun, large embroidery needle, and scissors
How to DIY Easy Acorn Napkin Rings
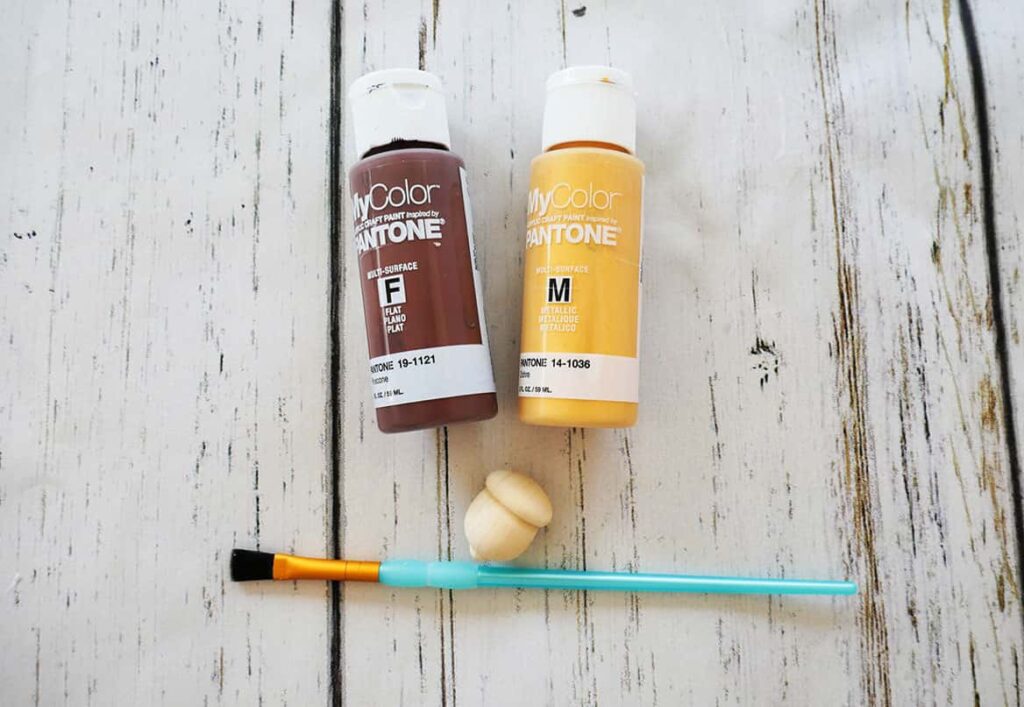
Step 1: Paint the acorns & beads
You will need two acorns and 6 beads for each diy acorn napkin ring.
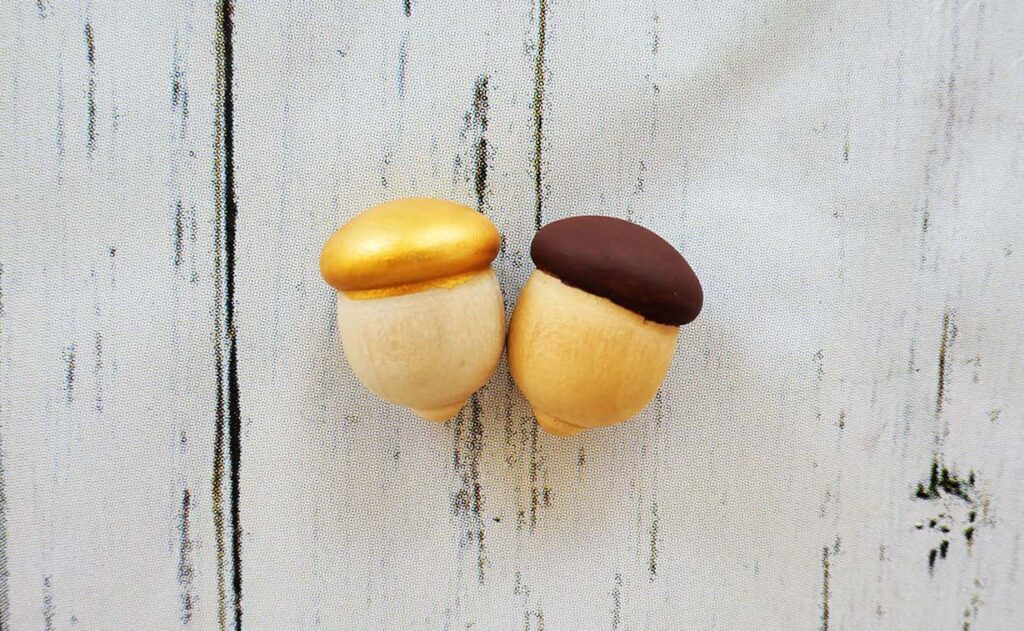
To make your acorn napkin rings, start by painting the tops of the wooden acorns. I chose to paint my tops brown and gold, and to leave the bottoms the natural wood. But you can paint them any combination that works with your table setting.
Next, paint your small wooden beads to match your wooden acorns.
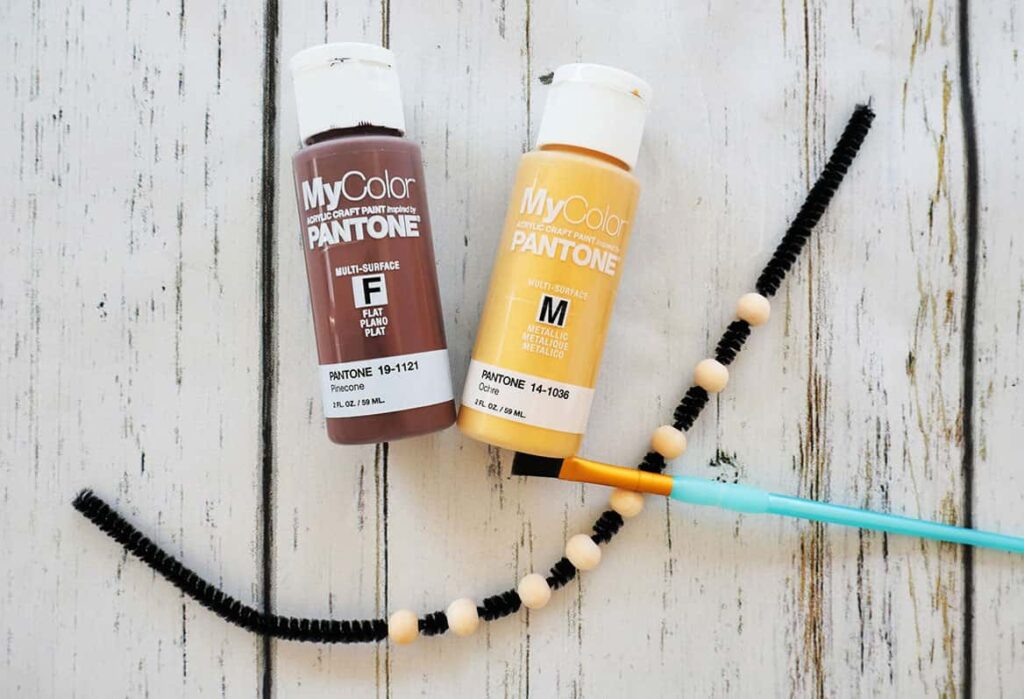
*Tip: to paint the beads, I found it was easiest to slide them onto a pipe cleaner. The pipe cleaner held the beads in place while I painted them.
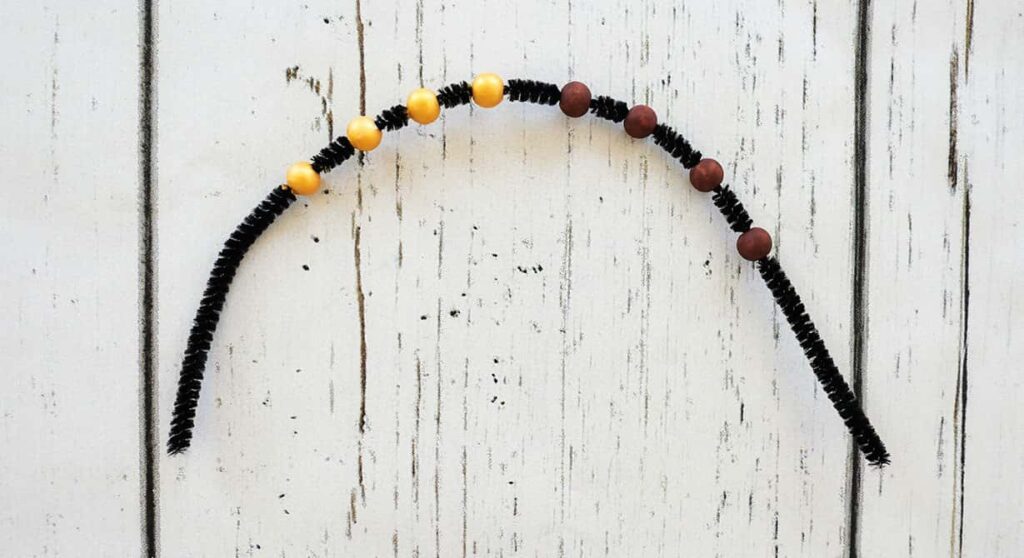
Your acorns and beads will probably need at least 2-3 coats of paint to completely cover the wood.
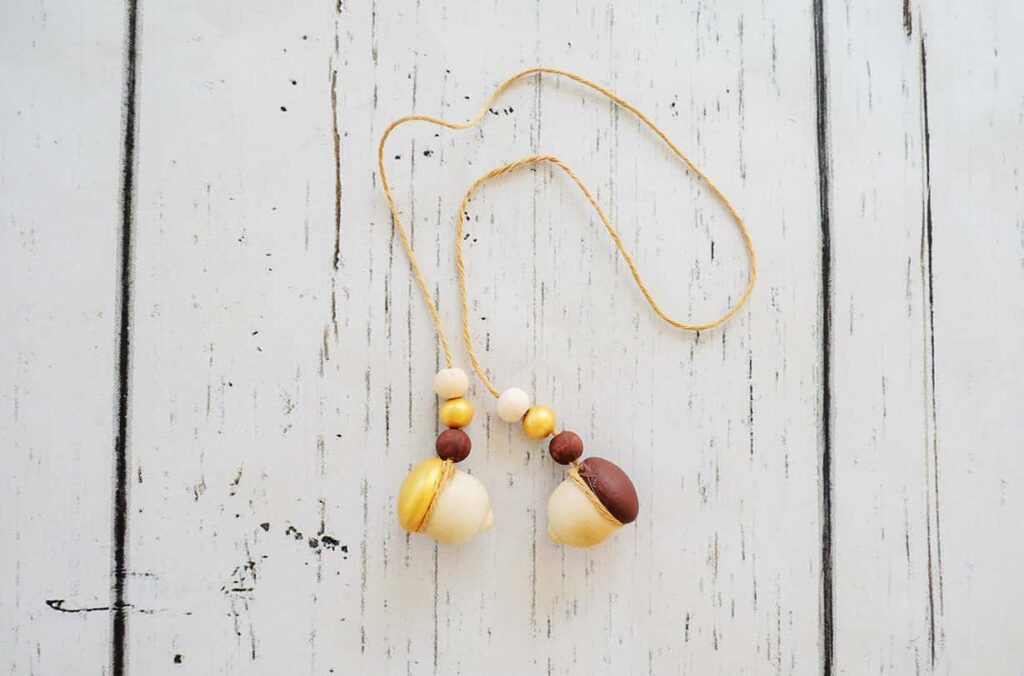
Step 2: Measure the twine & add the beads
Once the paint on your beads and acorns is dry, it’s time to add them to the twine.
Measure 24-inches of twine for each diy acorn napkin ring.
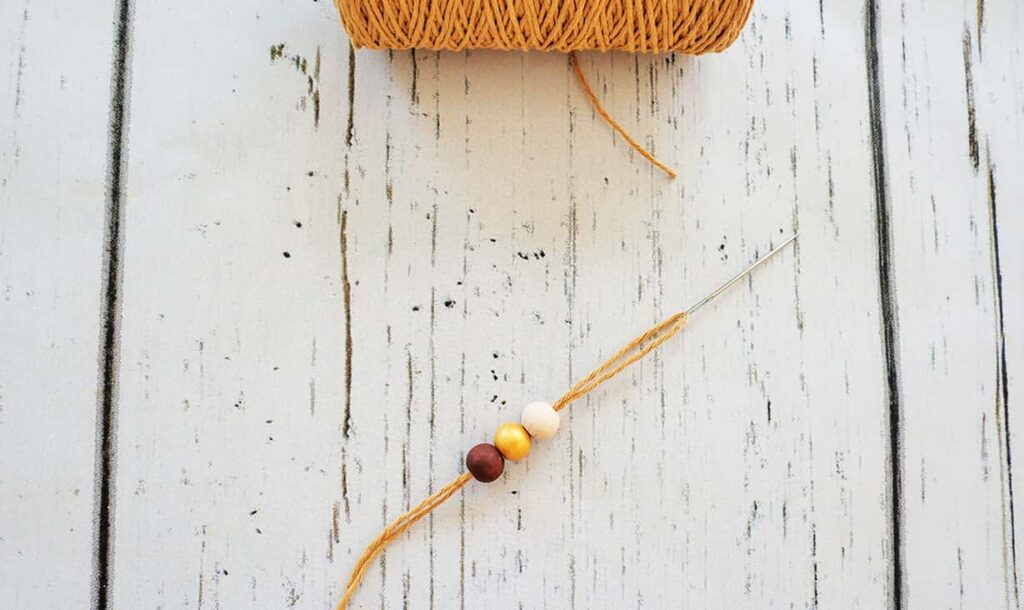
Thread 6 beads onto the twine (3 for each side).
When you add the beads to the twine, you will mirror the order of the beads. They would go in the following order, with color 3 being closest to the acorn:
- Color 3
- Color 2
- Color 1
- Color 1
- Color 2
- Color 3
*Tip: use a large eye embroidery needle to thread the beads onto the twine.
*Instead of measuring and cutting the twine for each napkin ring, first thread ALL of the beads onto the bundle of twine. So you would follow the above pattern and then repeat it for the number of diy napkin rings you’re making. After all of the beads are on the twine, pull 6 beads up, measure 24-inches, and cut the twine with just the 6 beads. Do the same with the remaining beads: measure 24-inches, pull up 6 beads, and cut the twine.
Step 3: Add the acorns to the diy napkin rings
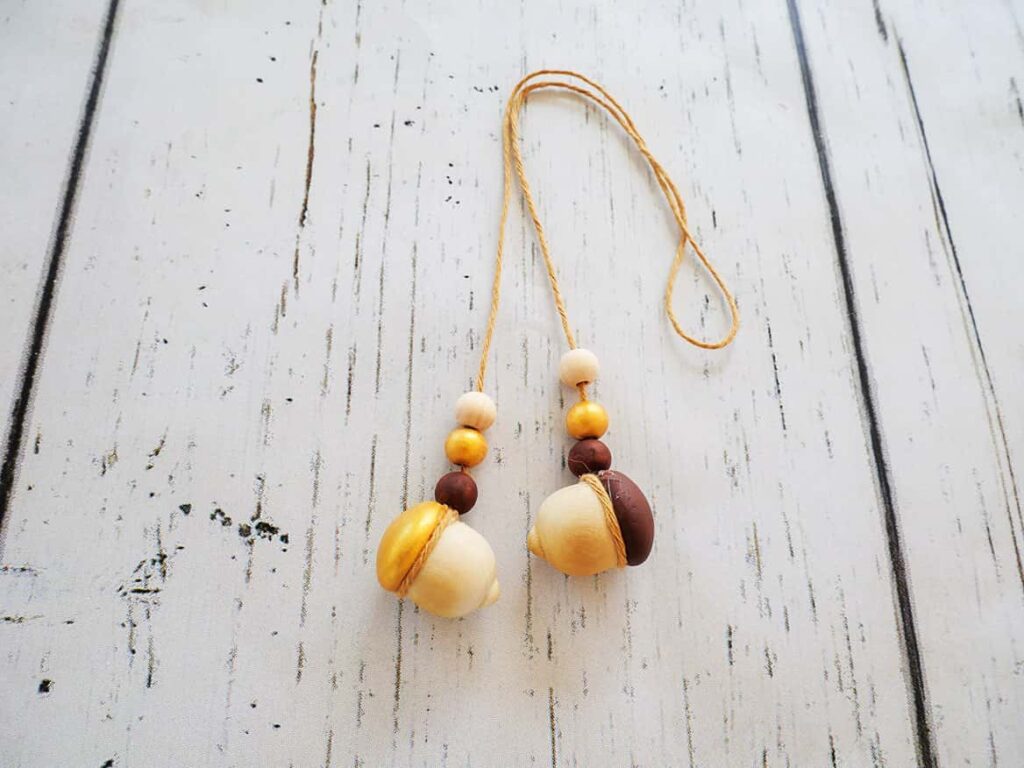
To add the acorns to the diy napkin rings, add a bead of hot glue just under the lip of the acorn top. Attach one end of the twine. Then wind the twine around the acorn and add a second dot of hot glue to secure it in place.
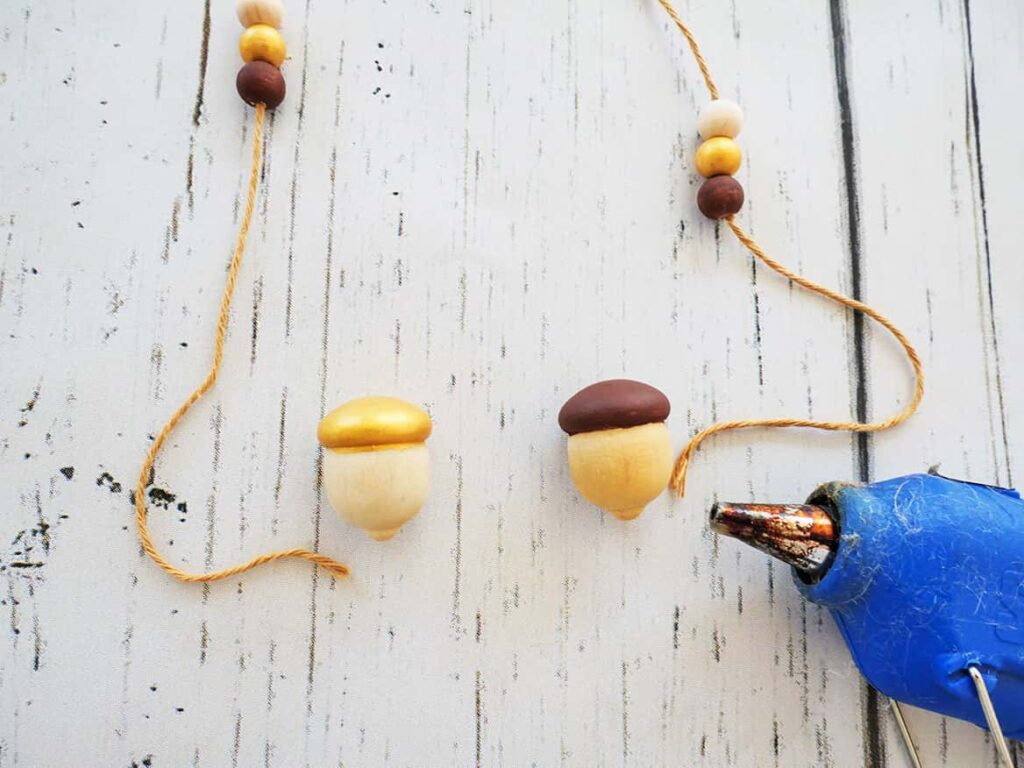
*I tried tying the acorns with the twine, but the knot was too bulky and didn’t look good.
Now do the same to the other end of the twine.
Pull three beads down, on top of the wooden acorn and you’ve completed your simple diy acorn napkin ring.
Let’s be honest, it really is a diy napkin tie. But people don’t call pieces that encircle napkins “ties”.
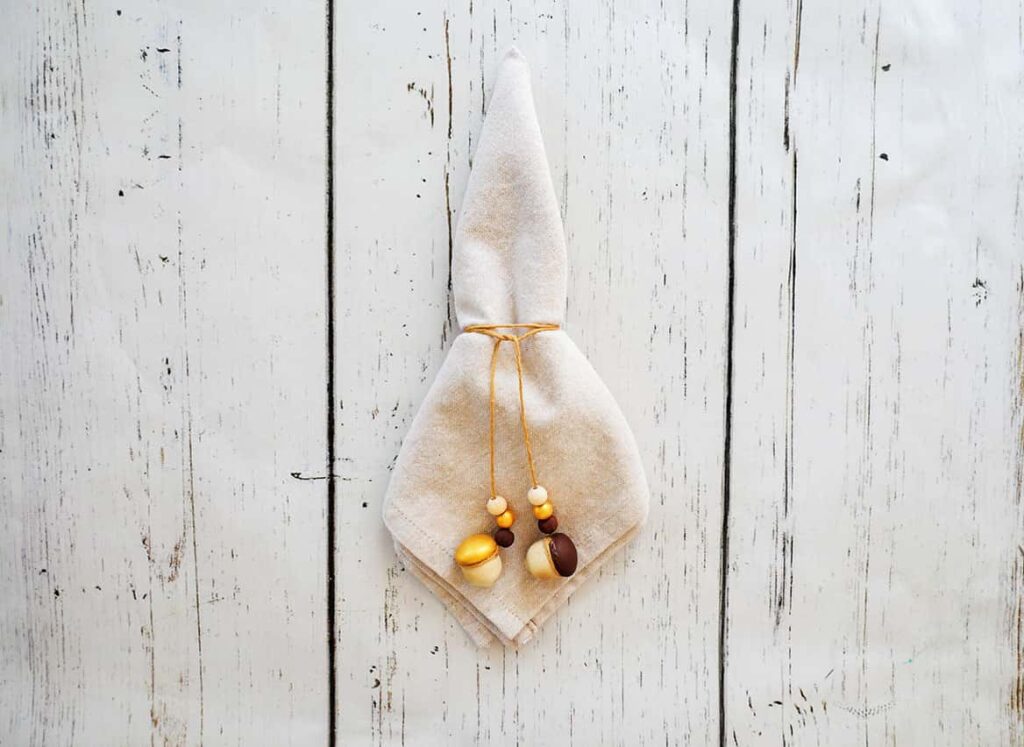
Pretty darn cute, huh!
Check out how cute they look on my elevated rustic Thanksgiving table.
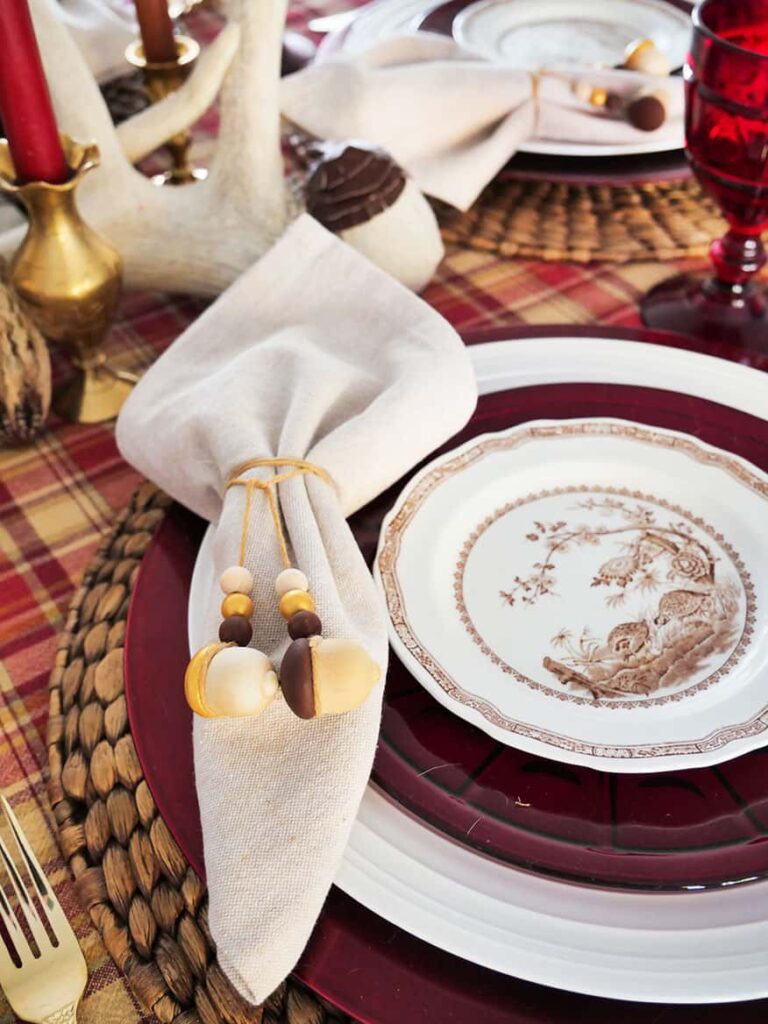
So, what table setting are you gonna use your diy acorn napkin ties on?
Or are you gonna make them as hostess gifts?
Shop the diy supplies:


Check out other easy diy projects:
- Acorn Table Decor
- DIY Enamel Place Cards
- Realistic Snow-Covered Branches DIY
- Fall Wreath Centerpiece DIY
- How to Dye White Fake Flowers
- DIY Wooden Target Tray Transformation
- How to Stencil Cloth Napkins: Easy DIY
- Easiest DIY Napkin Rings for Everyday
- DIY Unique Menu Holder
- DIY Wine Cork Napkin Rings
- Simple Moss Bowl Centerpiece DIY