When you’re in a pinch, make this drop cloth to tablecloth diy project.
I’ve been wanting to make a drop cloth tablecloth for a LONG TIME. But, none of the table settings I was working on seemed appropriate to use a tablecloth made from a drop cloth.
Painter’s drop cloths have a rustic look about them. They’re not smooth, or crisp, or have a neat design pattern. They’re simple and rough-looking.
After all, they’re meant to protect floors and furniture from paint.
Now, I was finally working on a table setting that warranted a diy drop cloth tablecloth. I was creating a cozy Fall inspired tablescape and the texture of the drop cloth would be perfect.
Yay!
Making a tablecloth from a canvas drop cloth was SO FREAK’N EASY!
And bonus – no sewing required!
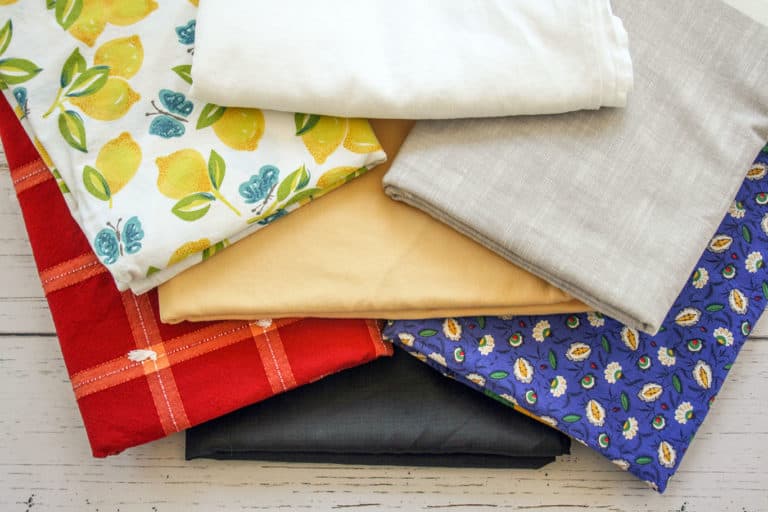
Supplies for DIY Drop Cloth Tablecloth
Please note that this article may contain affiliate links. I may get commissions (at no cost to you) for purchases made through these links. You can read my full disclosure for more details.
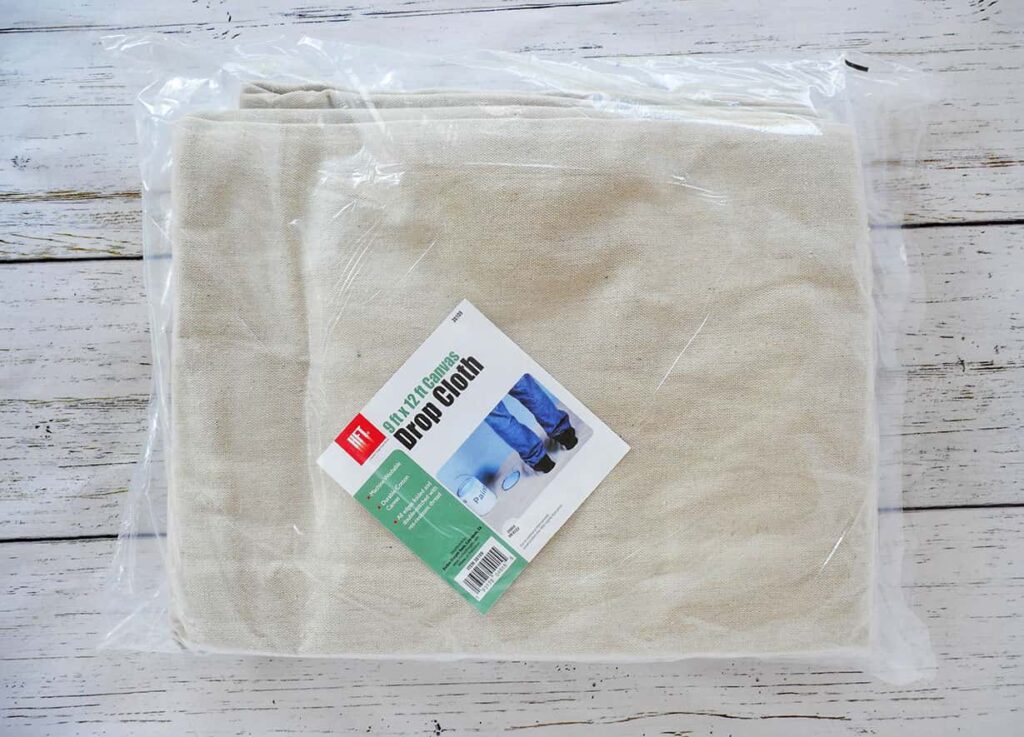
- Painter’s drop cloth ~ at least 6′ x 9′
- Scissors
- Tape measure
How to Transform a Drop Cloth into a Tablecloth
Step 1: Layout your drop cloth
The size of your table will dictate the size of the drop cloth you need to buy. In most cases the 6’x9′ drop cloth will work for a table that seats up to 8 people.
If you have a table longer than 96-inches, you will need to purchase a larger drop cloth.
I bought a 9×12 foot canvas drop cloth because my store was sold out of the 6×9 foot size.
But that was okay, as I used the excess to make diy drop cloth napkins, too. (Check out my diy drop cloth napkins.)
Take your drop cloth out of the packaging and lay it out. You want to make sure there aren’t any snags or defects before you proceed.
If you bought a drop cloth that was larger than 6’x9′, there might be a seam down the length of it. That’s how mine was.
The seam was in the middle of the 9 feet, so each side was about 4.5 feet wide.

This might be an issue, if you have a wider table, because you will either cut the drop cloth on either side of the seam, or the seam will run down the middle of your table.
Step 2: Wash the diy drop cloth tablecloth
Before you transform your drop cloth into a tablecloth, you MUST wash it.
Why?
Because it will DEFINITELY shrink! and not just a little. It will shrink A LOT!
So throw it in your washing machine on the permanent press or cotton cycle using warm or hot water. Be sure and add the appropriate amount of detergent. And once the wash cycle is complete, throw it in the dryer.
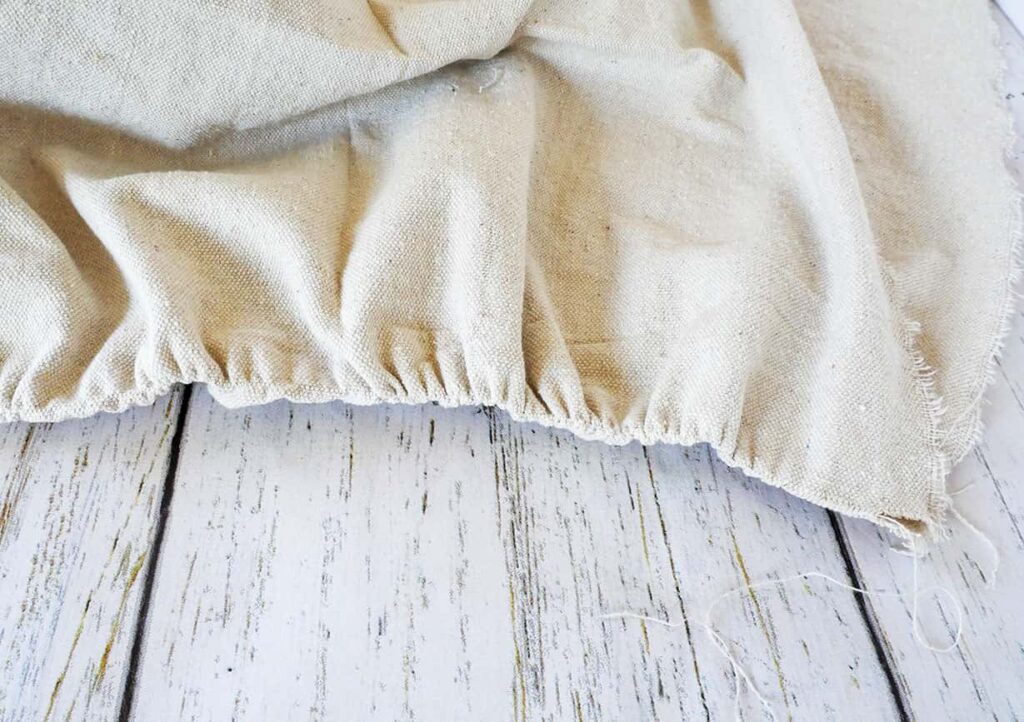
Notice how my drop cloth shrunk.

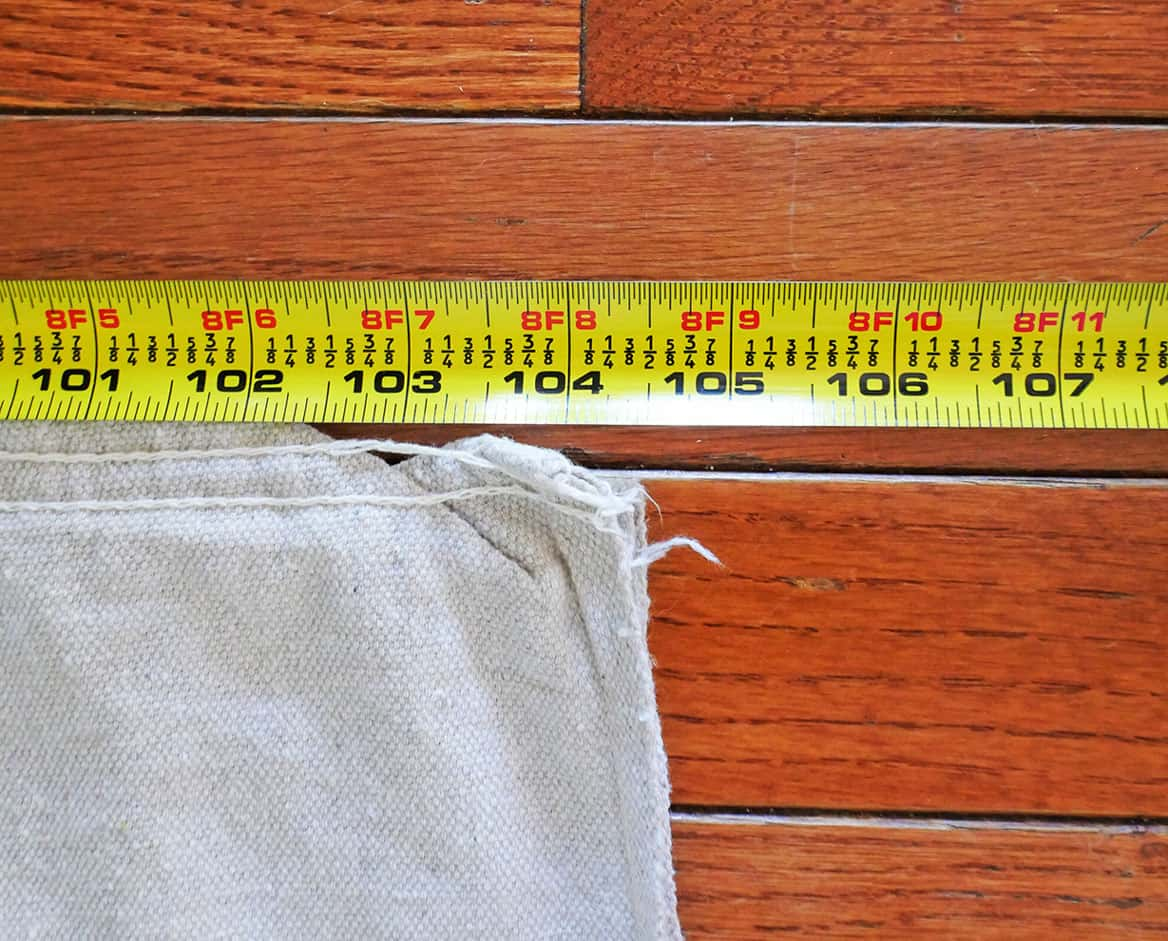
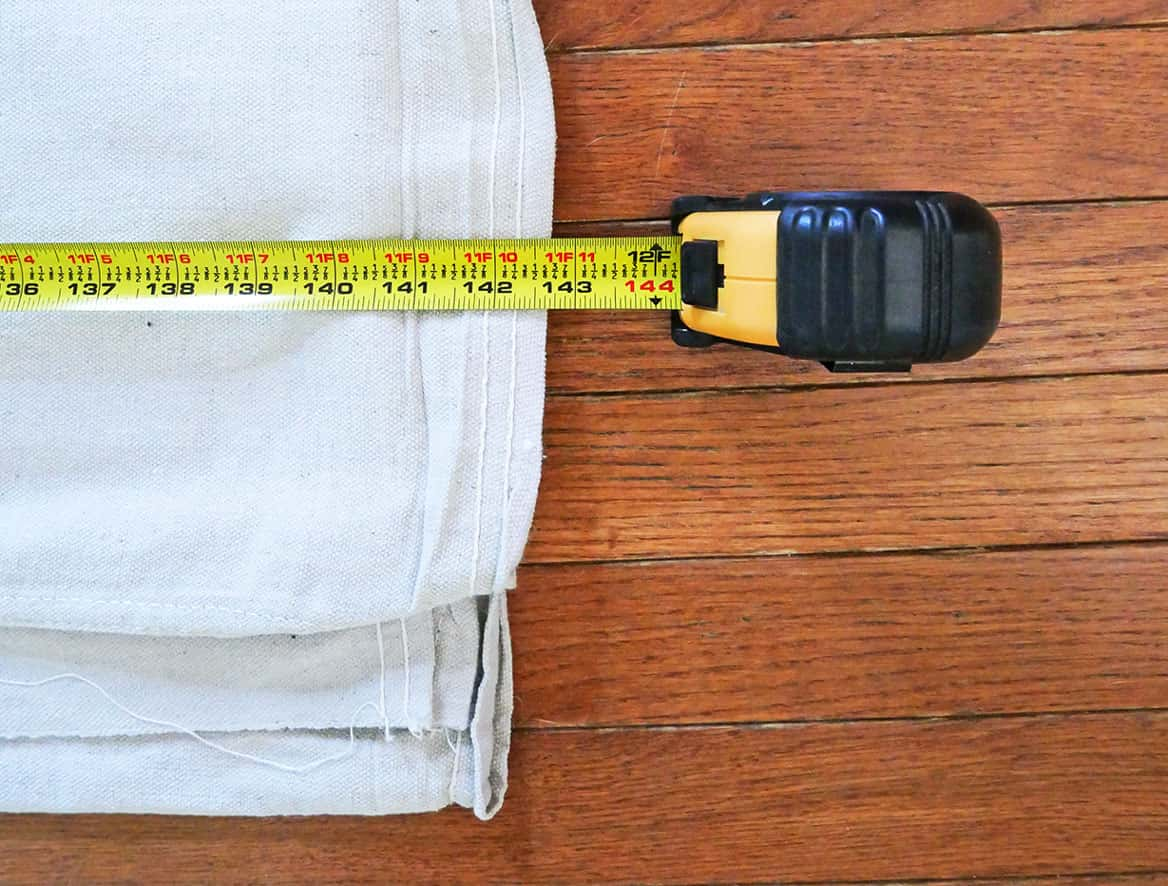
My drop cloth shrunk 11-inches in length. Crazy!! So instead of it being 12 feet, it ended up being 11 feet long.
If I’d cut my diy drop cloth tablecloth before washing, it would’ve ended up being too small for my table.
Step 3: Determine the tablecloth size for your drop cloth
Now that your drop cloth has been washed, and most likely shrunk from the original size, it’s time to size it for your table.
First, you will want to remove the folded seam from the edges of your drop cloth. Cut as close to the seam as possible.
Because not all drop cloths will shrink the same, or to the same size, you will need to determine the size of your diy drop cloth tablecloth after it has been washed and dried.
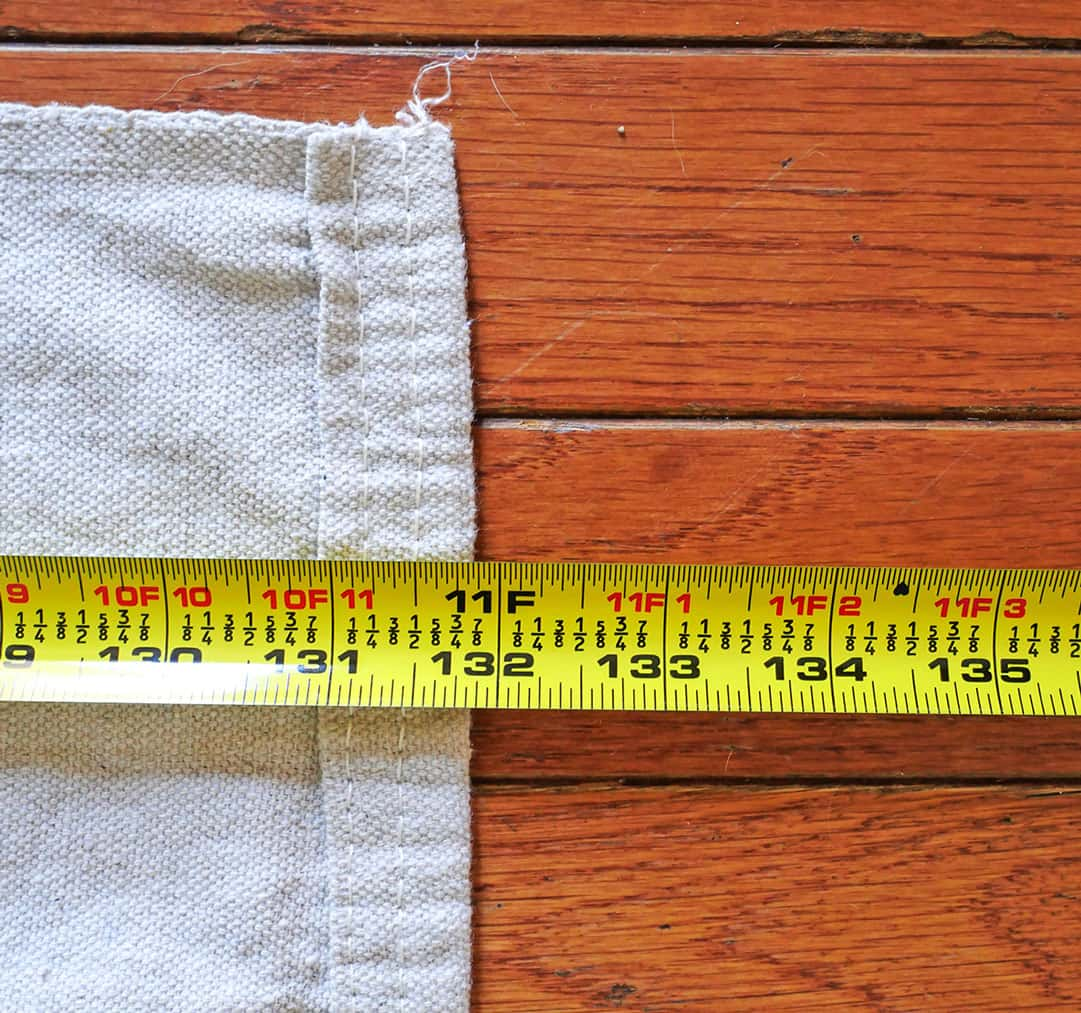
Take your washed drop cloth and drape it over your dining table.
The width of your cloth will determine the length of your tablecloth. I say this, as you will want the drape on your tablecloth to be uniform all the way around the table. You won’t want the ends to be longer than the sides.
Center the width of the drop cloth on your table and determine the drape (how much it hangs) on the sides. You will want the ends to have the same amount of drape as the sides.
Now move one end of your drop cloth to hang off the table at the same distance as the sides.
Measure from the end of the fabric to the other end, so that both ends have the same amount of drape, and mark the length with a safety pin, or stick pins.
You could also eyeball the length while it’s on the table if that works for you.
Step 4: Cut or tear the drop cloth to tablecloth size
With the drop cloth centered widthwise on your table, and one end of it matching the drape length of the sides, you will only need to cut or tear the opposite end to create the final tablecloth size.
Because drop cloths are either 100% cotton or a poly-cotton blend, you should be able to easily tear the fabric. I will cover tearing your drop cloth tablecloth to size first. Then I will cover how to cut it to size if tearing doesn’t work for you.
Option 1: Tear your drop cloth to size
Tearing your drop cloth is preferred, as it will result in a perfectly straight line. And it’s less time-consuming to fray the edges.
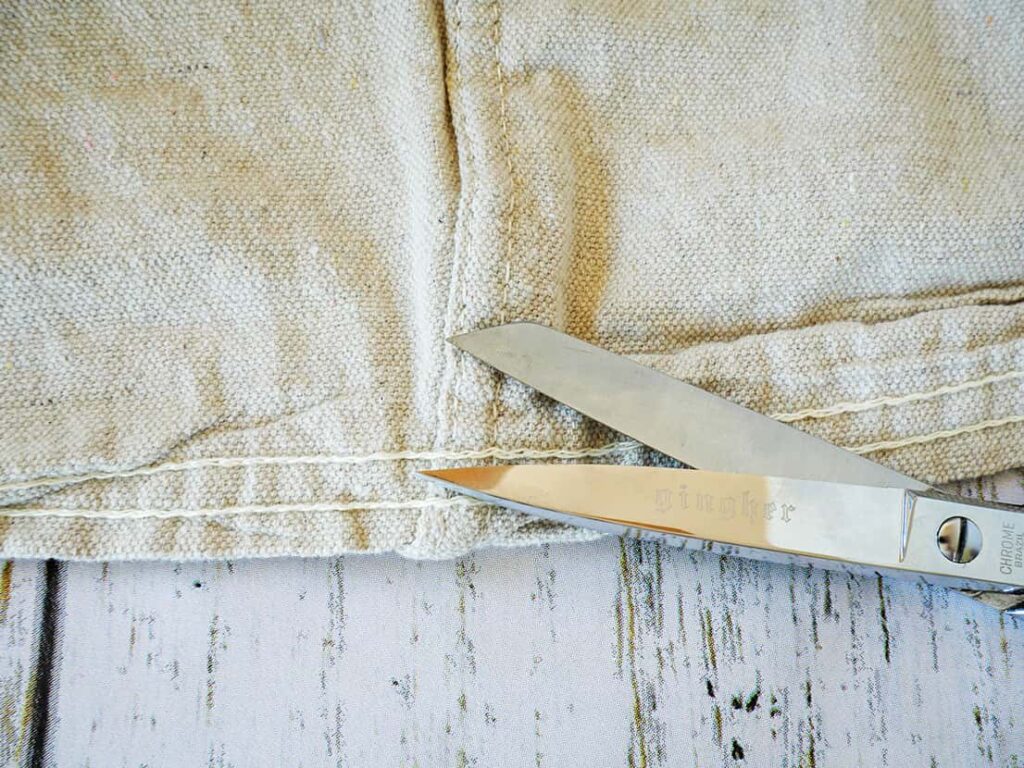
To tear your drop cloth, first cut about 1-inch into the cloth.

Then grip each of the cut ends and pull. Thereby tearing the fabric. You shouldn’t have to pull too hard for the drop cloth to tear. As long as it’s tearing straight and not tearing other areas, continue pulling and tearing the fabric down the length of the drop cloth.
You now have a perfectly straight edge.
Option 2: Cut your drop cloth tablecloth to size
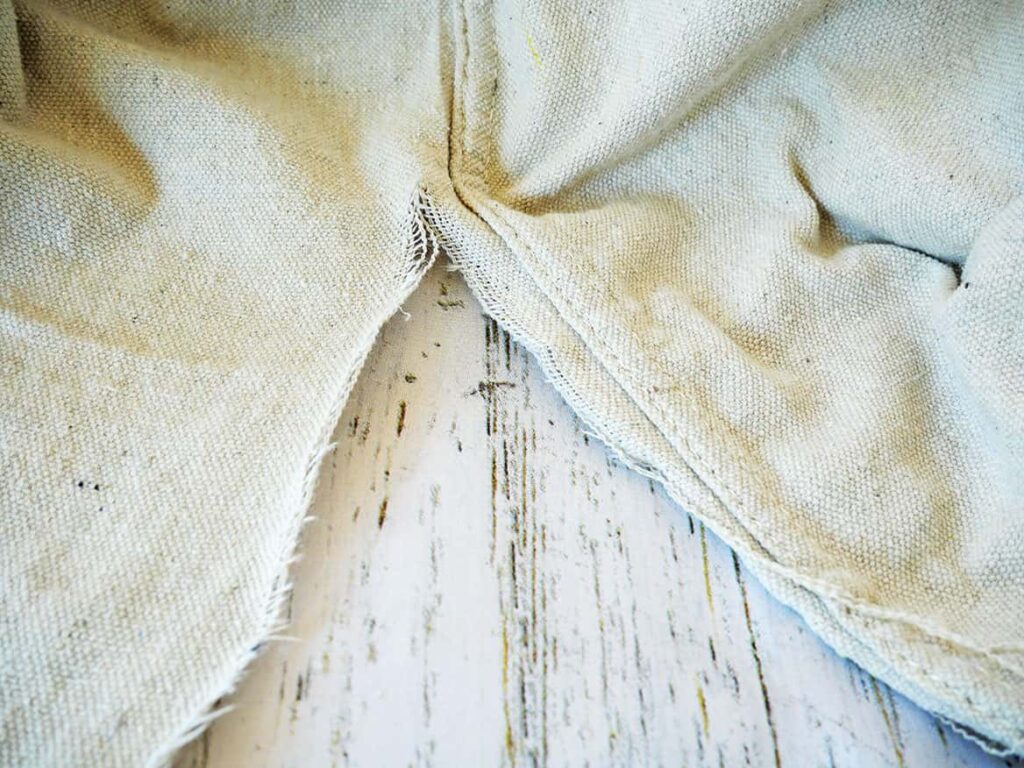
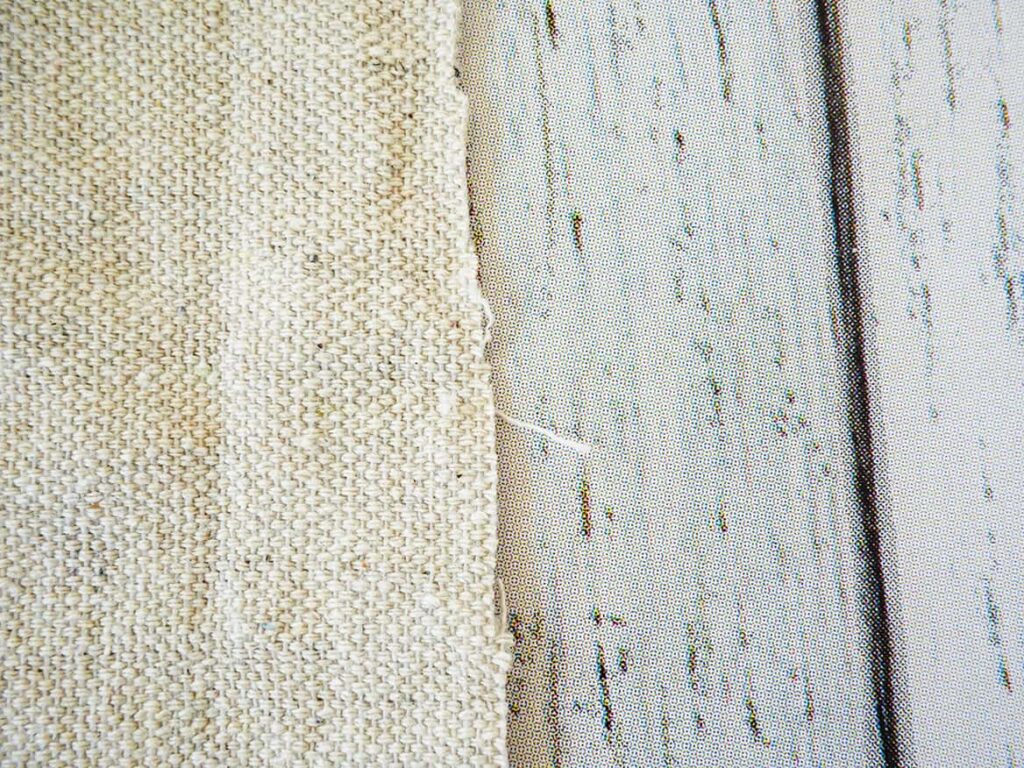
To cut your drop cloth to the final tablecloth size, cut about 1-inch into the cloth. Then carefully pull a thread away from where you just cut. You should see where it’s going into the cloth.
Hold this single thread while gently pulling the cloth away from it. You don’t want to pull too hard or you’ll break the thread.
As you pull the cloth, you’ll notice that it gathers, continue to gently pull the cloth away from the thread.
If the thread breaks, that’s okay, just pull it out of the cloth. You should see the space where the thread used to be in the cloth. This is your guide to cut the fabric in a straight line.
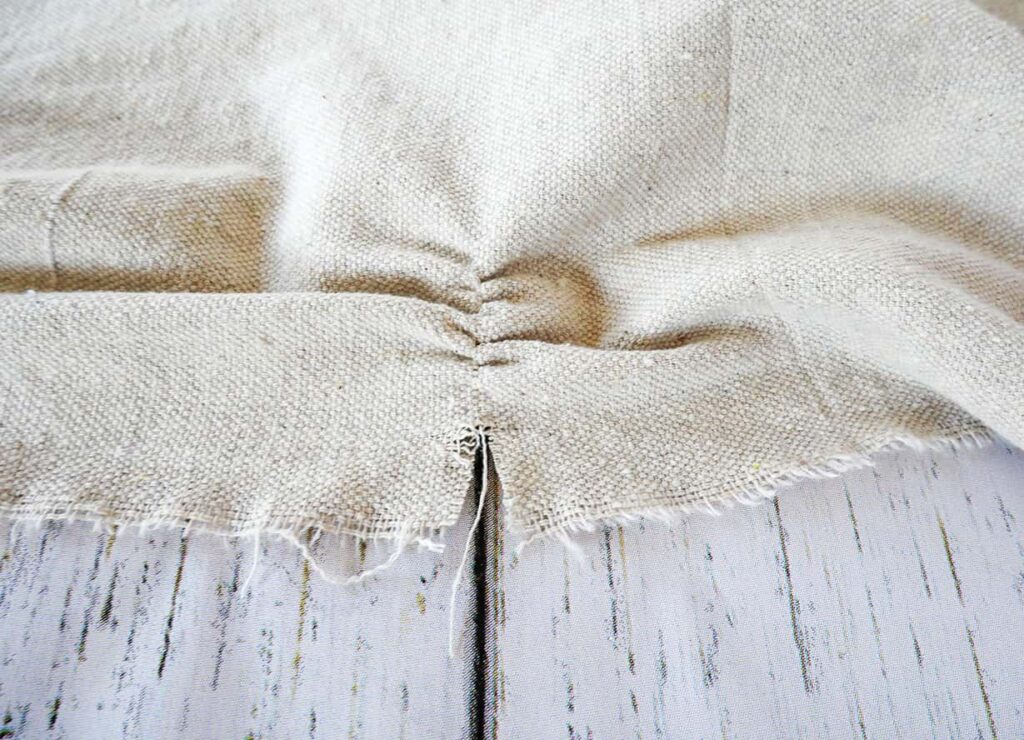
Cut until you reach where the thread broke. Then separate a new piece of thread from the fabric and continue the process.
Another option, is as your pull the fabric away from the thread, crease the fabric where it’s pulling. Then use that fold as a guide for cutting.
In either case, it should result in a straight line and cut.
Continue pulling the cloth away from the thread and cutting until you’ve finished cutting the fabric to the desired tablecloth size.
Step 5: Finishing the edges of your drop cloth to tablecloth DIY
To give your drop cloth to tablecloth diy a finished look, and keeping with the no sew tablecloth approach, you’ll want to pull a few threads from the edges of the tablecloth.
Depending on your drop cloth, you might need to pull one thread off at a time, or you might be able to pull a few threads at a time.
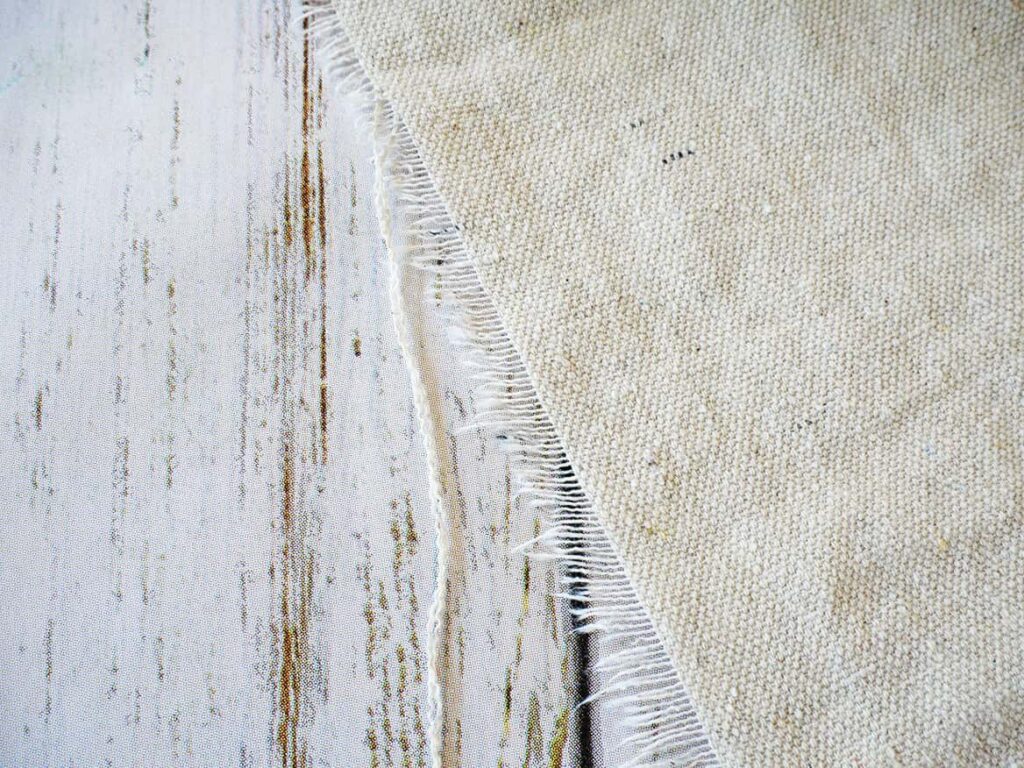
This will result in a cute frayed edge for your diy drop cloth tablecloth.

That’s it! You’ve now made a tablecloth from a canvas drop cloth.
Pretty darn easy, huh!
Shop the diy supplies:


Check out other easy diy projects:
- No-Sew Drop Cloth Napkins
- How to Dye White Fake Flowers
- DIY Ice Cream Place Card Holders
- Easy DIY Centerpiece for an Umbrella Table
- DIY Wooden Target Tray Transformation
- How to Stencil Cloth Napkins: Easy DIY
- Easiest DIY Napkin Rings for Everyday
- DIY Unique Menu Holder
- DIY Wine Cork Napkin Rings
- Simple Moss Bowl Centerpiece DIY