This simple personalized cup diy project is specifically for using a cutting machine like a Circut. It won’t work without one.
I was working on a kids’ table for Thanksgiving and wanted to make something special for each of the kiddos. Something they could keep, and would also work as a place card.
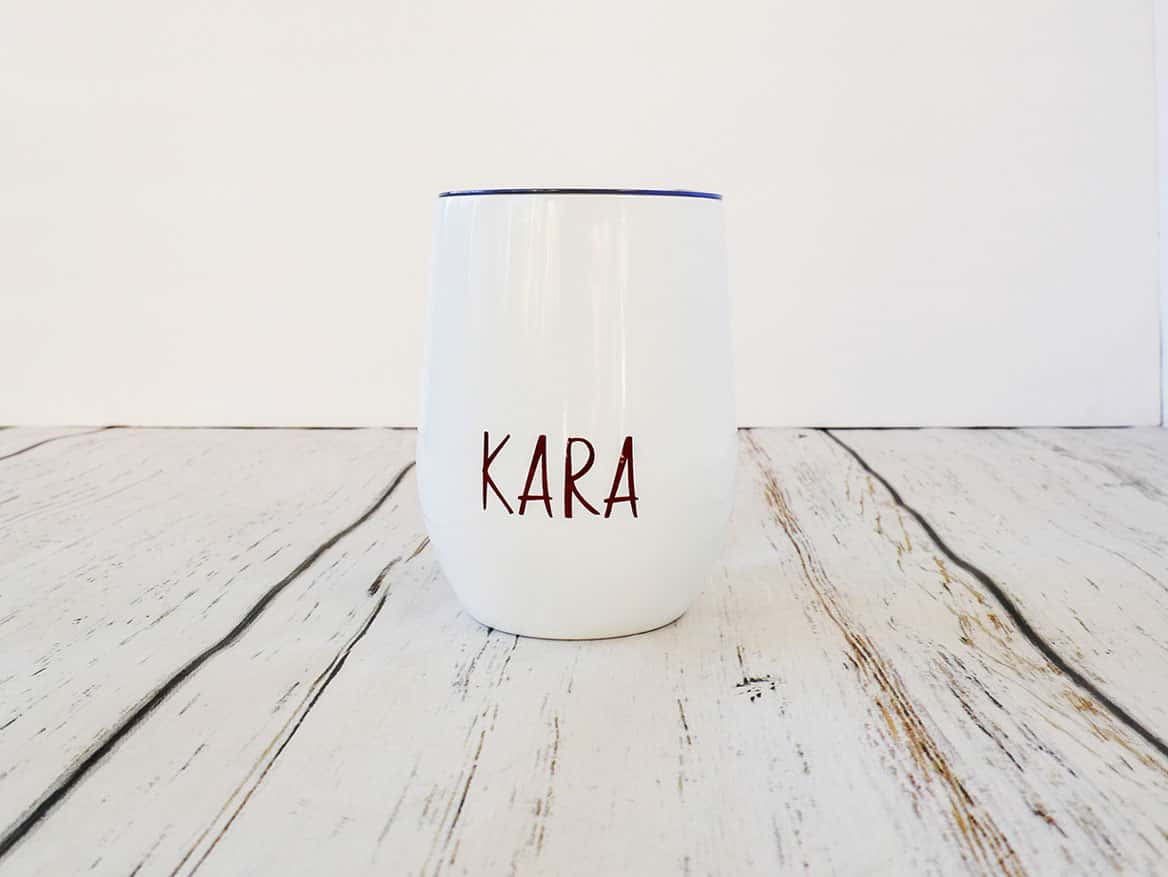
Making a personalized cup for each kid was the perfect solution.
*Note: I own, use and love my Circut machine, but I’m not a Cricut expert. Which is why this is a simple project, haha! I know you can find lots of diy Circut projects out there at harder levels.
Supplies for Simple Personalized Cup DIY Project
Please note that this article may contain affiliate links. I may get commissions (at no cost to you) for purchases made through these links. You can read my full disclosure for more details.
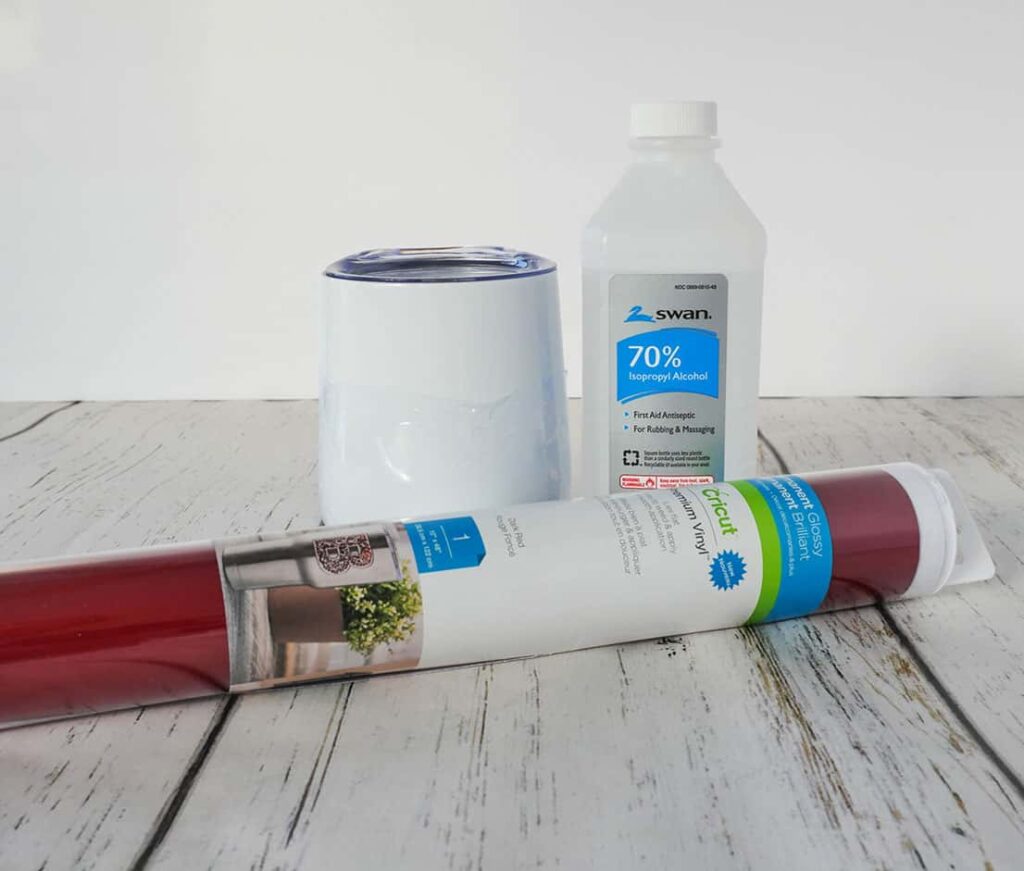
- White cup (or mug)
- Permanent vinyl
- Circut machine
- Transfer paper
- Rubbing alcohol
How to Make a Simple Personalized Cup Using a Circut
Step 1: Determine the fonts and sizes for the names
I think the hardest part of this diy project is deciding on which font to use, and then what size it needs to be.
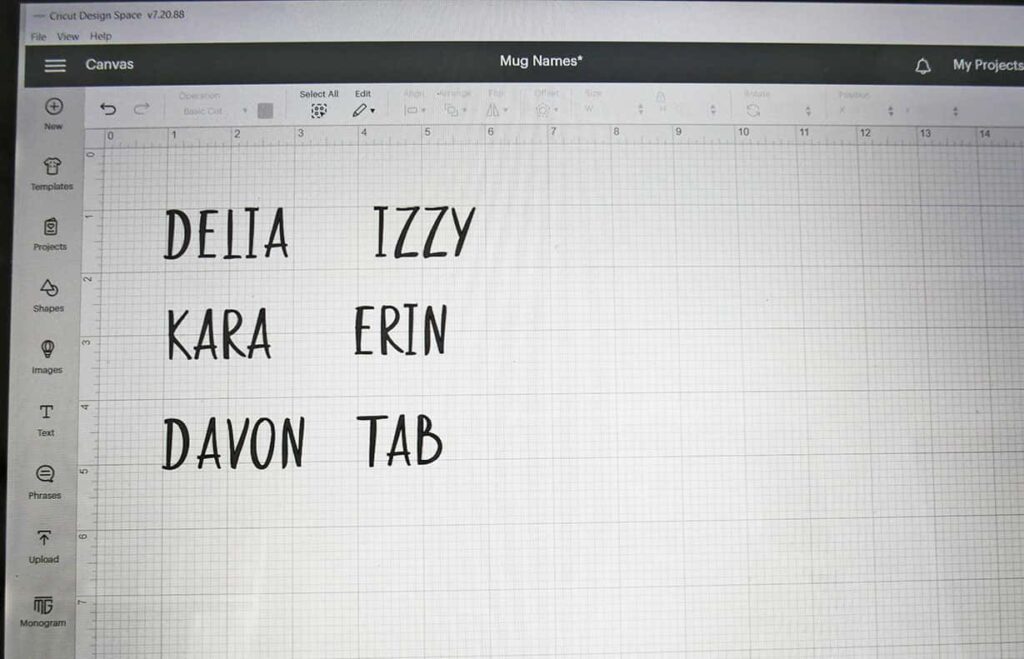
I picked a font I already owned, instead of one of Circut’s. It’s named Goodies Alt2.
I measured the space on my cup where I wanted to place the name, so I could get a general idea of how tall and wide the name should be. I knew I didn’t want the names to be very large, and that roughly 1-inch tall would look good.
From there I typed up the first name and increase the font size until it was just under 1-inch high. When I typed the names, the letters were closer together than I liked, so I increased the line space to 1.
Below is how the names looked in my Circut Design Space.
Step 2: Cutting and moving the name to transfer paper
Once I was happy with the size of the name, I used permanent vinyl and cut them using my Circut machine. (I didn’t include a picture of the cut vinyl, as it was too hard to see the outline of the names).
After your names are cut, weed the vinyl so you are left with the name(s) on the backing.
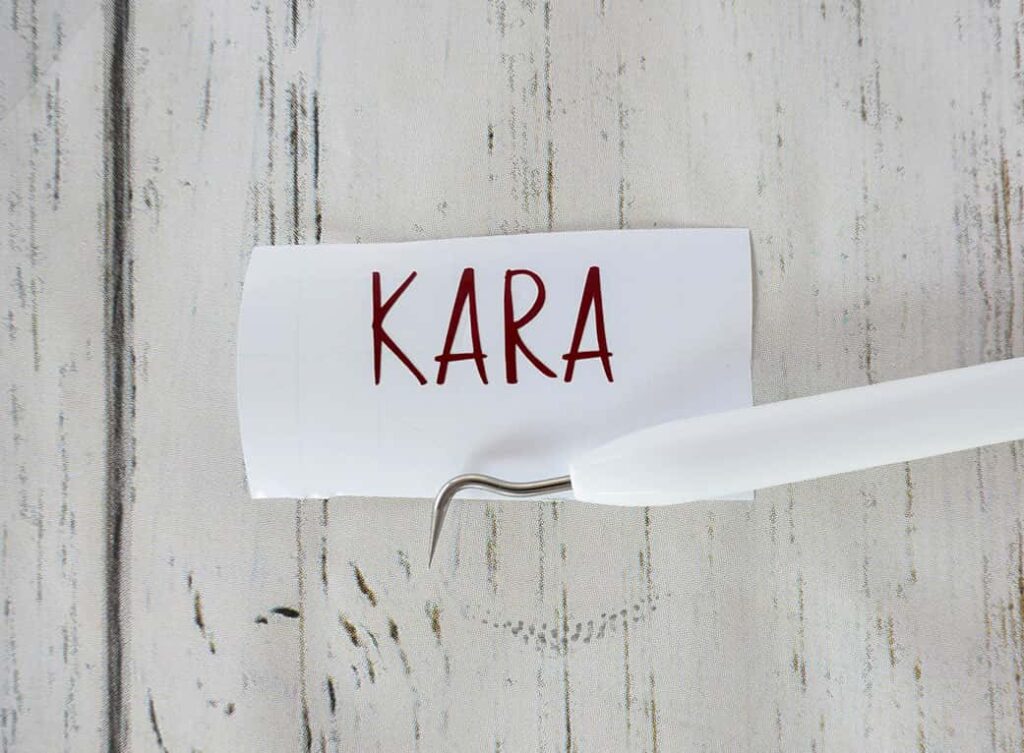
Then cut a piece of transfer paper a bit larger than the name(s).
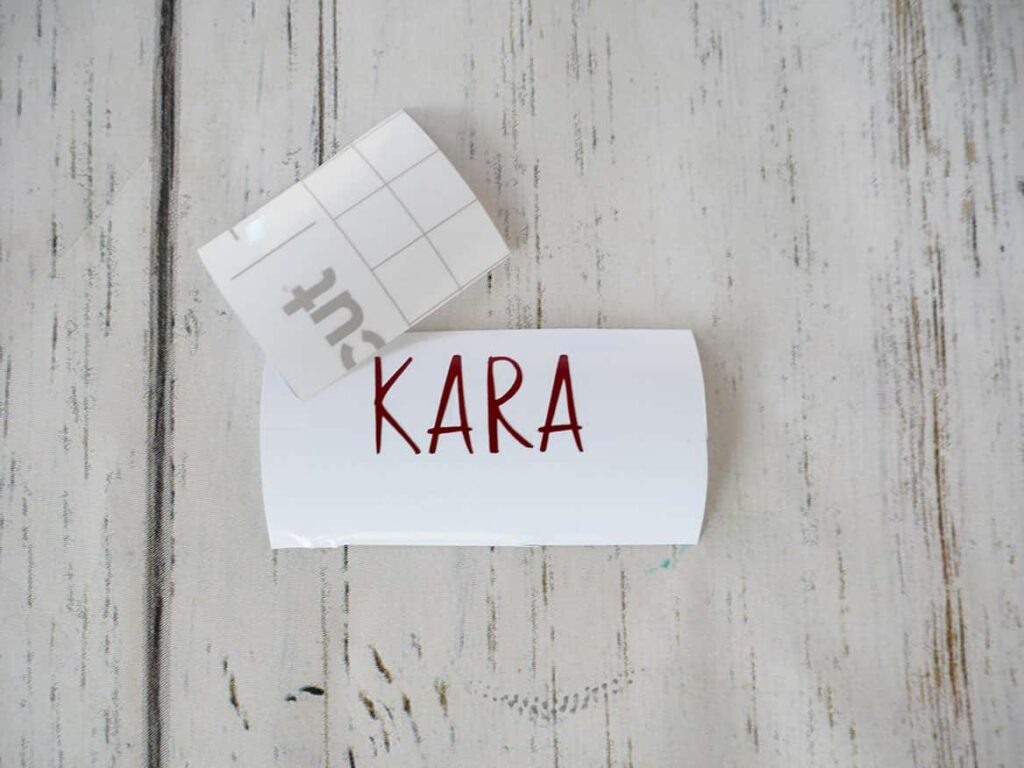
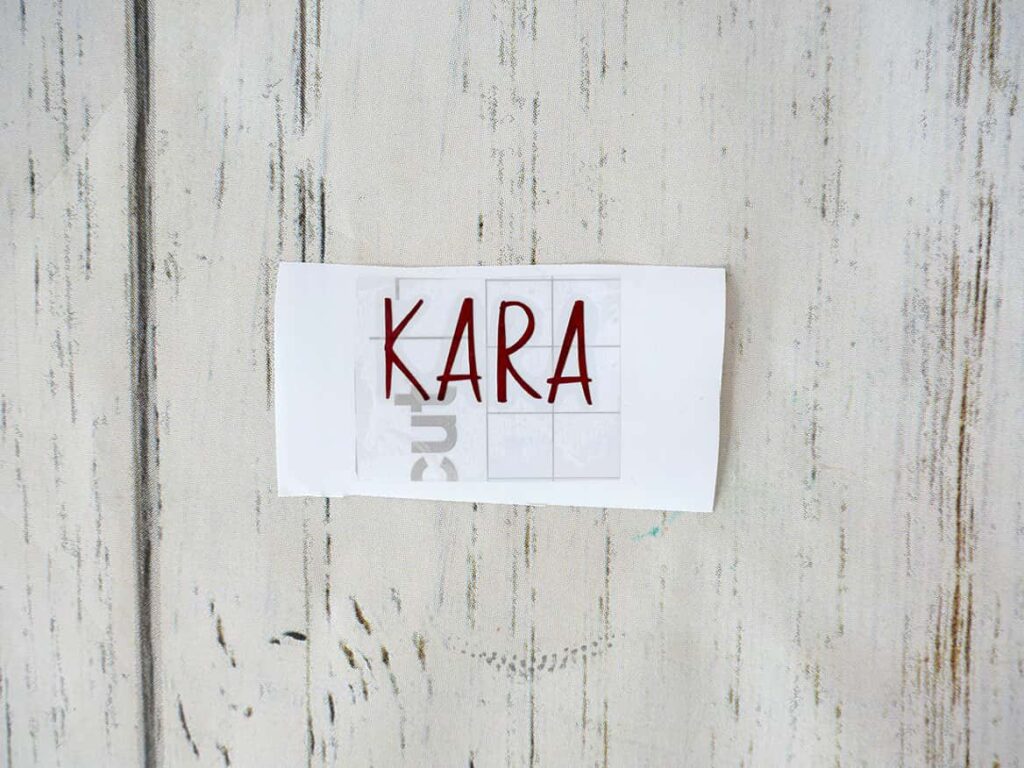
Remove the backing from the transfer paper and place it over the name. Then rub the top of the transfer paper, and the backside of the name, so that the name sticks to the transfer paper.
Step 3: Place the name on the cup
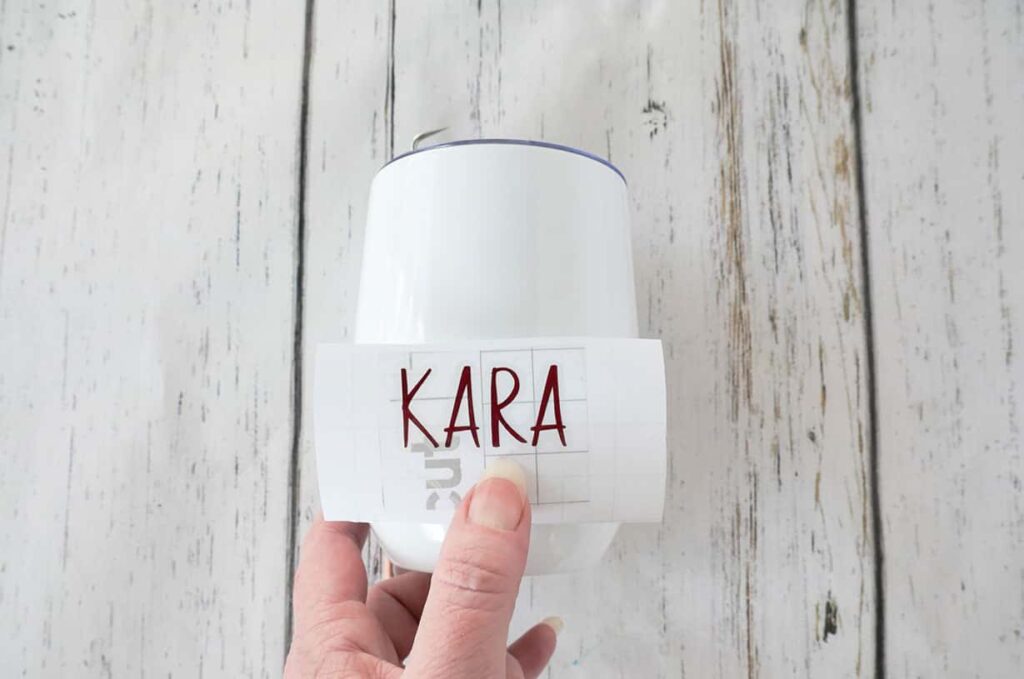
Before you put the name on the cup, figure out exactly where you want it to go by holding it over the cup.
Then wipe the area with rubbing alcohol. This will prep it for the permanent vinyl.
Then peel off the transfer paper, so the name is now stuck to it and not the backing. (You still aren’t adding it to the cup.)
Once the name is completely off the backing, Start on one side, and carefully, letter by letter, lay it down on the cup.
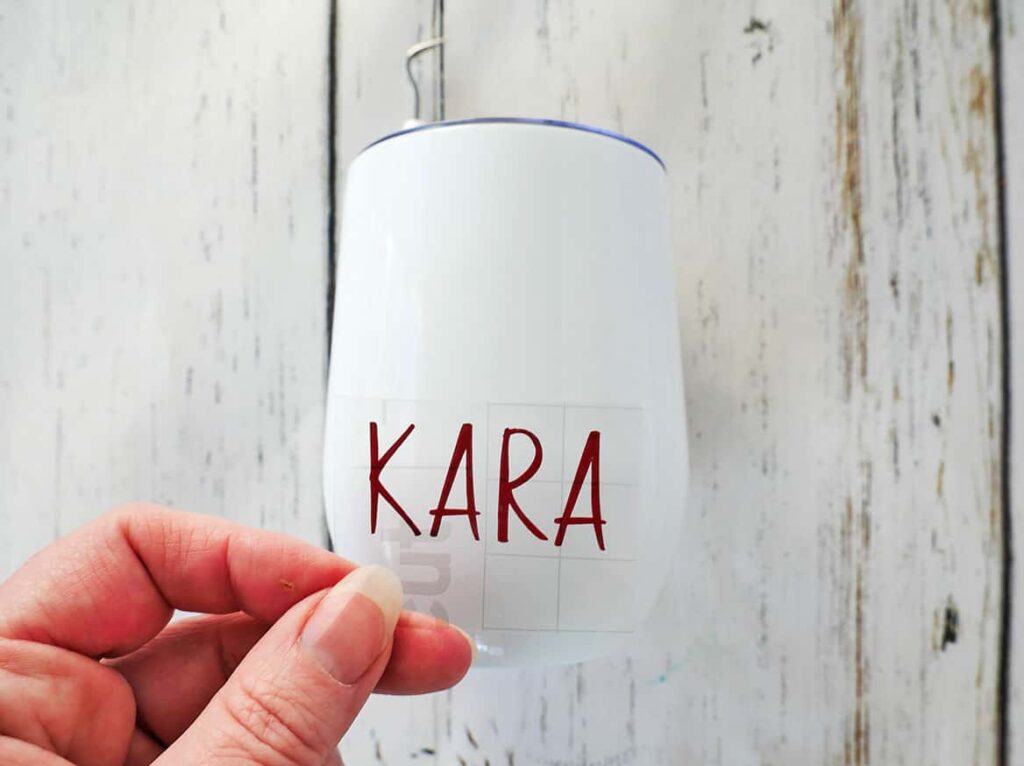
Rub the letters so they stick to the cup and then peel off the transfer paper. Do this slowly, so you can re-rub the letter if it doesn’t stick to the cup.
That’s it. Pretty simple, huh!

And since we used permanent vinyl, it won’t come off. Just be sure and hand wash your cups.
Look how cute they are on my kids’ Thanksgiving table.

Shop the diy supplies:


Check out other easy diy projects:
- Easy DIY Acorn Napkin Rings
- DIY Enamel Place Cards
- Realistic Snow-Covered Branches DIY
- Fall Wreath Centerpiece DIY
- How to Dye White Fake Flowers
- Easy DIY Centerpiece for an Umbrella Table
- DIY Wooden Target Tray Transformation
- How to Stencil Cloth Napkins: Easy DIY
- Easiest DIY Napkin Rings for Everyday
- DIY Unique Menu Holder
- Simple Moss Bowl Centerpiece DIY