Easy DIY No-Sew Burlap Placemat
I love the texture and rustic quality of these DIY no-sew burlap placemats. You need to make them yourself. In fact, they are SO easy, you might find yourself making them as gifts for friends and family (hint, hint).
The best thing about DIY burlap placemats is that no sewing is required! Yep, all you non-sewers out there can easily whip these up. Burlap is available in many different colors, so you can definitely make placemats to match your tablescape.
Burlap is easy to work with and definitely needs to be washed before use. *To be clear, when I say “burlap”, I am referring to the burlap fabric you buy at your local craft store. The fabric prep instructions below are how I treated my fabric. Online you will find warnings about putting natural burlap in your washing machine. In the instructions below, I am referring only to my experience.
Note: one drawn back to burlap is all the lint and short fibers you will need to deal with at the start.
DIY Burlap Placemat Supplies (for 6-8 placemats)
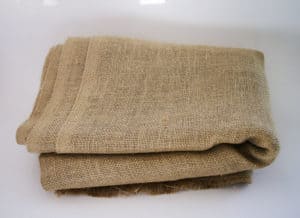
- Burlap – 1 ½ yard of 48”w fabric
- Scissors
- Tape measure
Total Cost
Burlap: $3.99/yard
When you purchase burlap from your local craft store (at least mine), it has already been sanitized to remove the natural oils, which produce the smell typically associated with it. So, the fabric shouldn’t have a strong smell.
Burlap Prep Instructions
Burlap is stiff when you buy it, so you will want to wash it before starting your project.
First: wash the burlap by itself (don’t pre-cut it). This is VERY important because burlap has short fibers that will get onto everything else in the washing machine. Put it in the delicate cycle. You want as little twisting to the fabric as possible. Note: hand washing is the recommended method, but I hate hand washing and put my fabric in the washing machine. I have a front-loading machine, so a top-load machine might produce different results.
When the wash cycle is done, the fabric will look like a jumbled mess, with the raw ends all tangled up. Not to worry, this is to be expected.
Second: put the burlap in the dryer on the delicate cycle. It is recommended that you air dry the fabric, but I find that the dryer softens the burlap, which I like. *Note that halfway through the drying cycle you will want to check the lint trap, as it might need to be cleaned out. I did say that burlap has short fibers that produce a lot of lint, especially during the first wash/dry cycle.
Third: remove the burlap from the dryer. Cut off all the tangles that are bundled together. Don’t cut the fabric, just the tangles.
Fourth: Iron the burlap.
Make your DIY no-sew burlap placemats
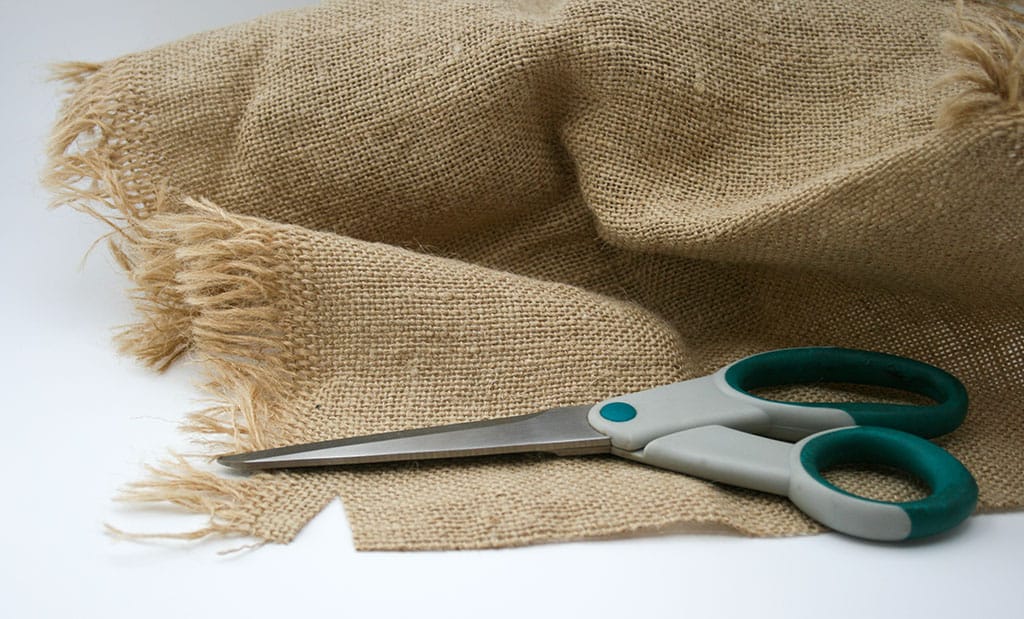
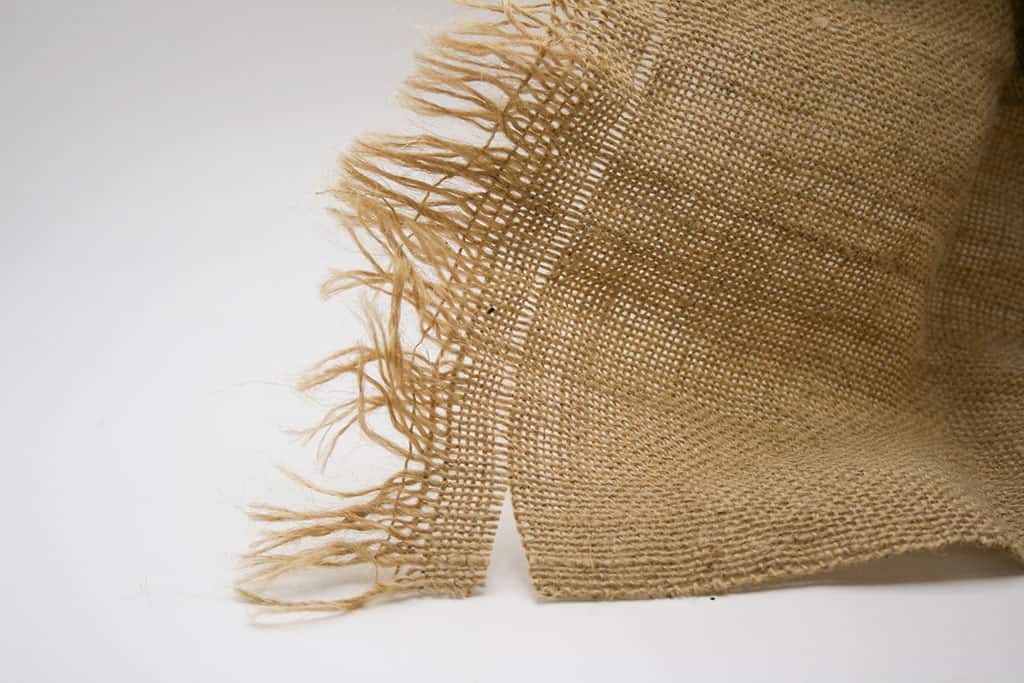
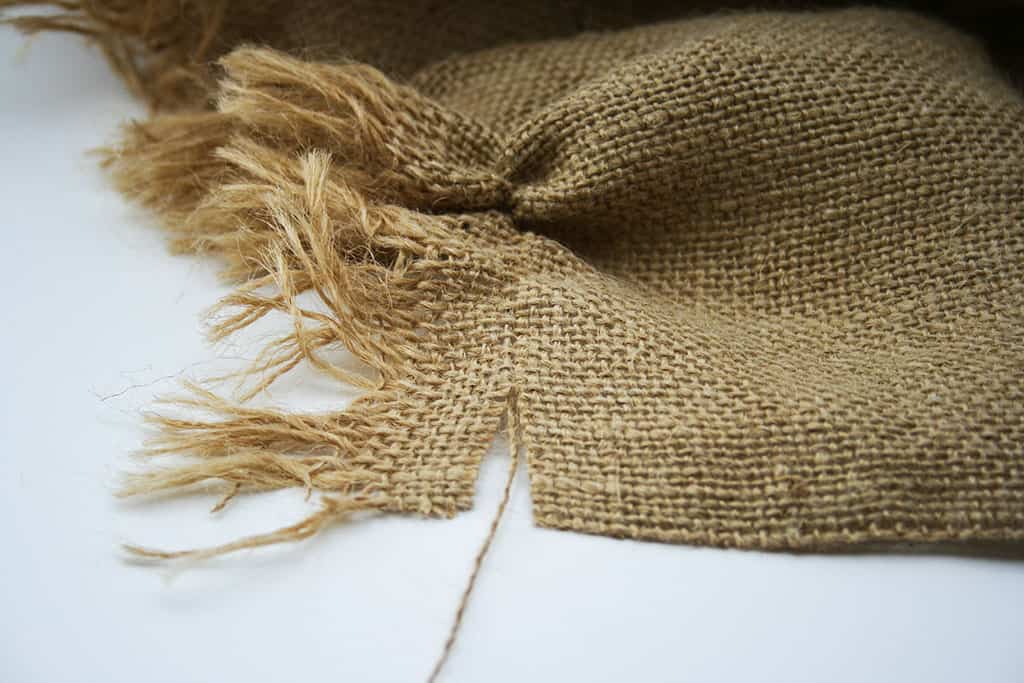
First: layout the fabric on a solid surface. The floor works great if you don’t have a large enough table. On one raw end, cut one inch up, about an inch from the side. Then separate a strand of thread from the cut side. Gently pull this thread toward you and pull it out of the fabric. It will cause the fabric to bunch up, so gently push the bunching back. This will effectively pull the thread completely out of the fabric. You might need to snip the salvage (the finished end of the fabric) on the other side to release the thread.
Once you have completely pulled the thread through, you will see a noticeable space left in the fabric. This is where you will cut the burlap. It will give you a perfect guide, so your placemat won’t have uneven sides. Cut the whole way down the fabric. This will provide you with a nice even edge.
Now measure 14” from the clean edge and repeat the process of separating a strand from the rest of the fabric. Cut the 14” row from the fabric and repeat the process for one or two more 14” rows.
This will be the width of your placemat.
Second: cut off the salvage from the end of your 14” row, using the same process as above. Once you have removed the salvage, measure 18” from the end, snip, pull the thread through, and cut the fabric. You should now have a 14” x 18” rectangle. Continue this process until you have the desired number of placemats.
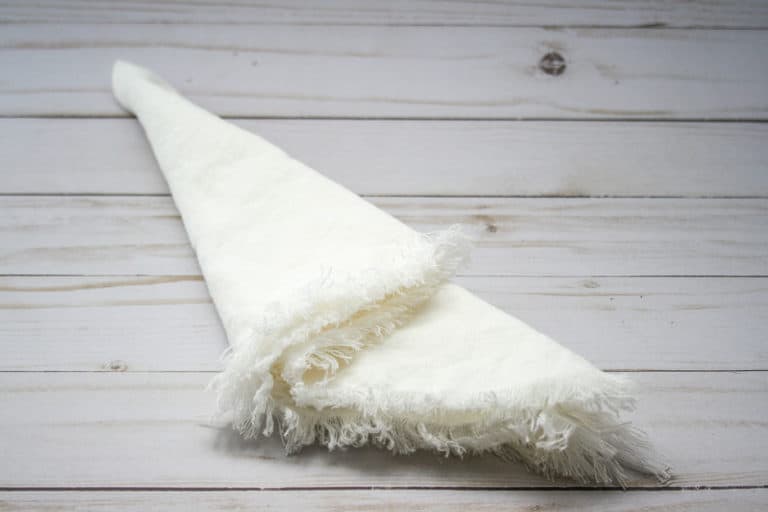
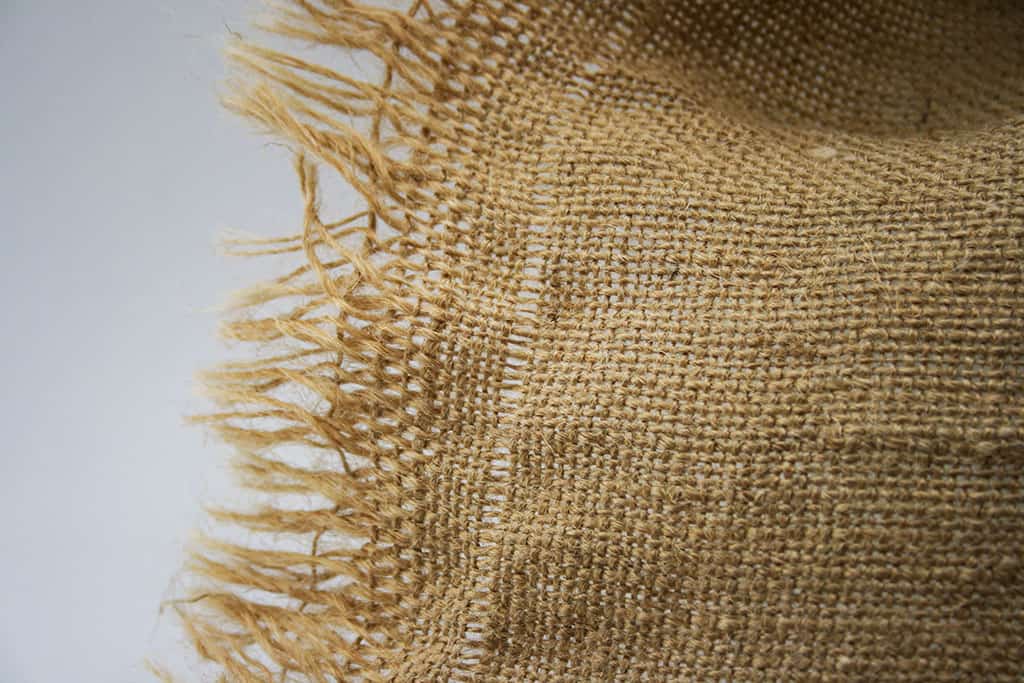
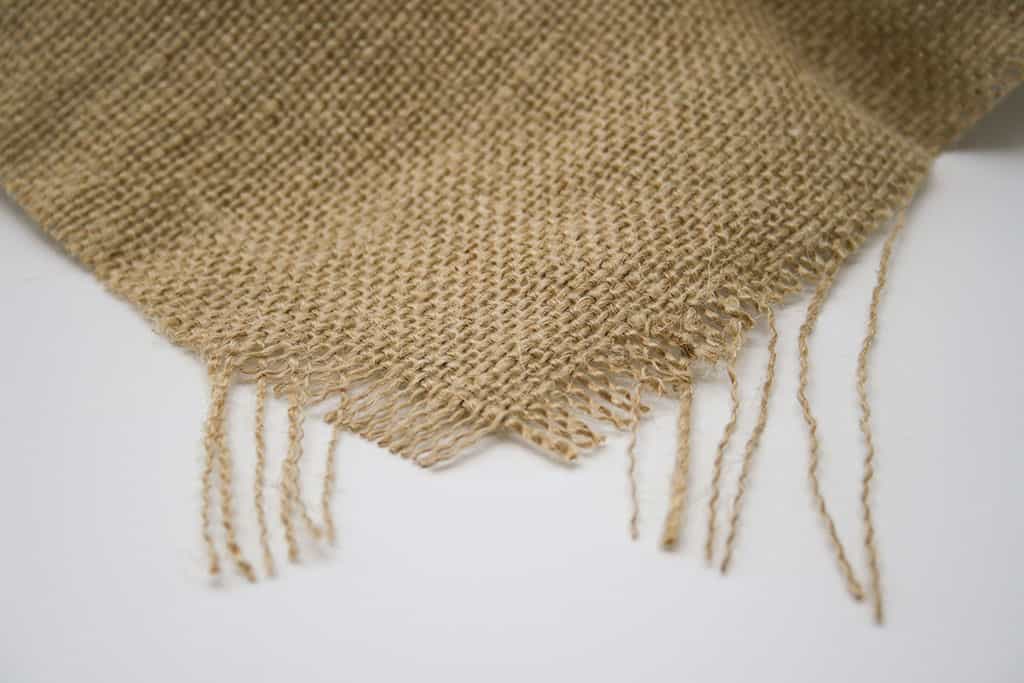
Final: to give your DIY n0-sew burlap placemats the fringe edges, start by removing thread strands from one end. Pull them off the edge gently. No more cutting needed. I like to start with removing about ½” of threads. Do this on each side. If you want a longer fringe, then remove more threads.

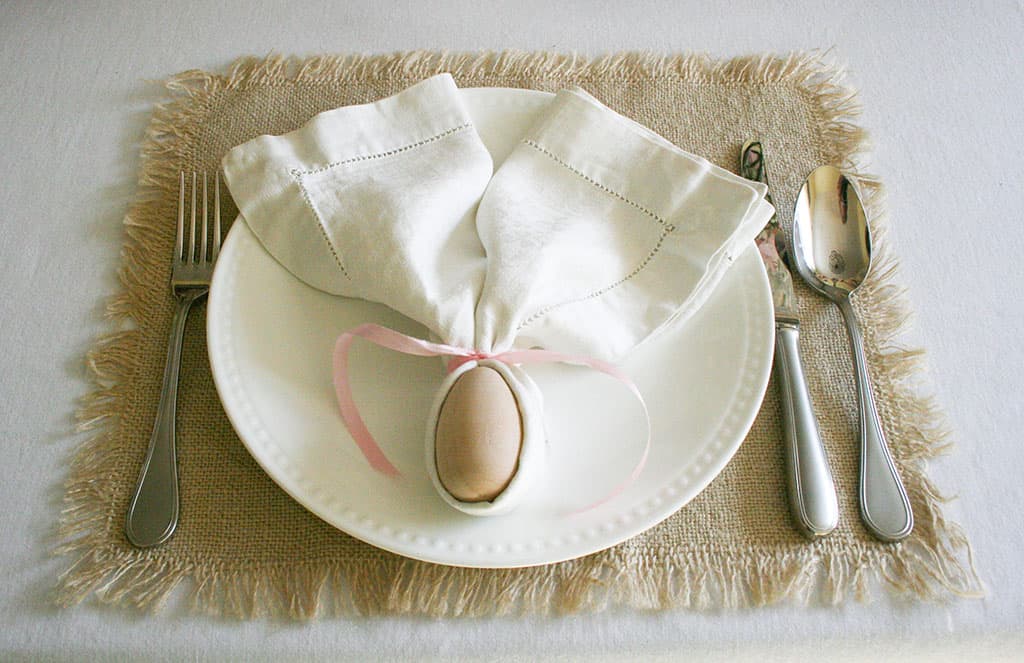
Fini! Doesn’t your DIY no-sew burlap placemat look SO cute! And so easy to do!!
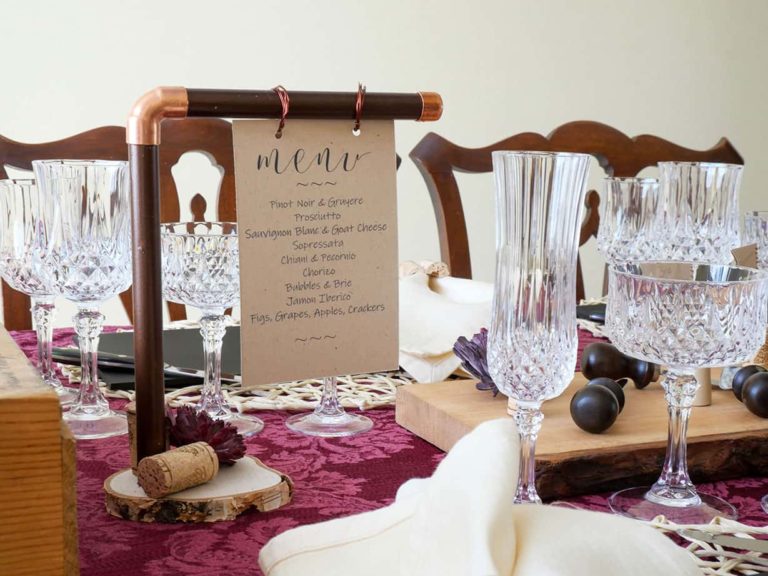
*Be sure and see how cute they look on my Easter Brunch tablescape.