I loved creating this spooky Halloween skeleton tablescape.
There’s something about skulls on a table that are so unnatural and creepy, yet are perfect for your Halloween table.
It’s also the only acceptable time to use tarnished silver.
No need to polish. Yay!
I love those of you who go all-in with creepy, ghouly, and frightening decor.
I think it’s wickedly awesome.
I’m not a person that gets over-the-top excited about decorating for Halloween.
My tablescape might be a little toned-down compared to others. But for me (and maybe you) it’s frightening enough.
Which might be why I loved how this tablescape turned out.
It’s got a good amount of spookiness.
Whether you’re hosting a haunted dinner party or simply want to make your home feel delightfully eerie, crafting the perfect Halloween tablescape is a must.
How to Create a Spooky Halloween Skeleton Tablescape
Please note that this article may contain affiliate links. I may get commissions (at no cost to you) for purchases made through these links. You can read my full disclosure for more details.
Watch Now…
1. Select the foundation for your spooky Halloween table setting
When creating your Halloween tablescape, you need to consider what you’re gonna use as the foundation.
The backdrop to what you’ll be putting on your table.
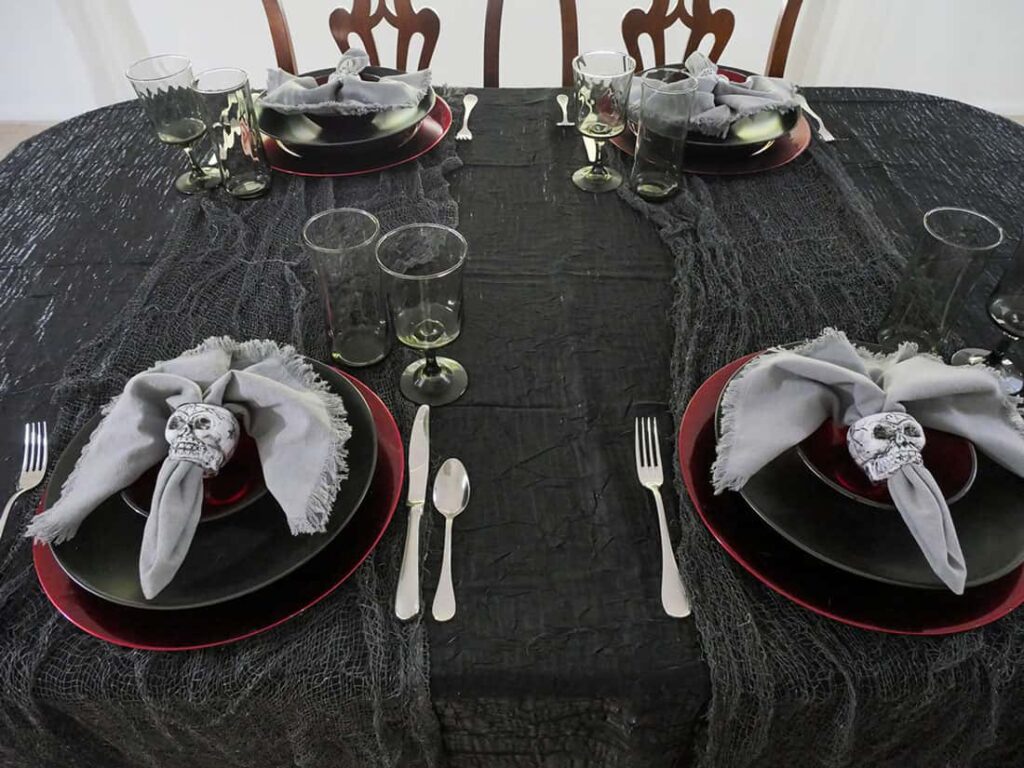
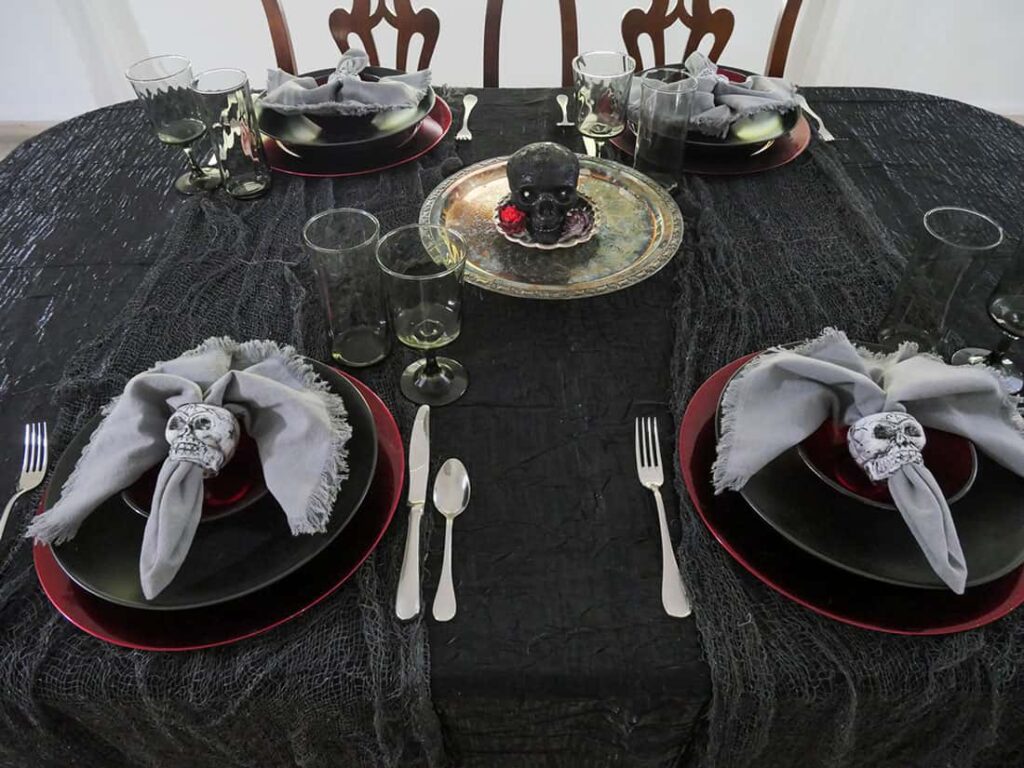
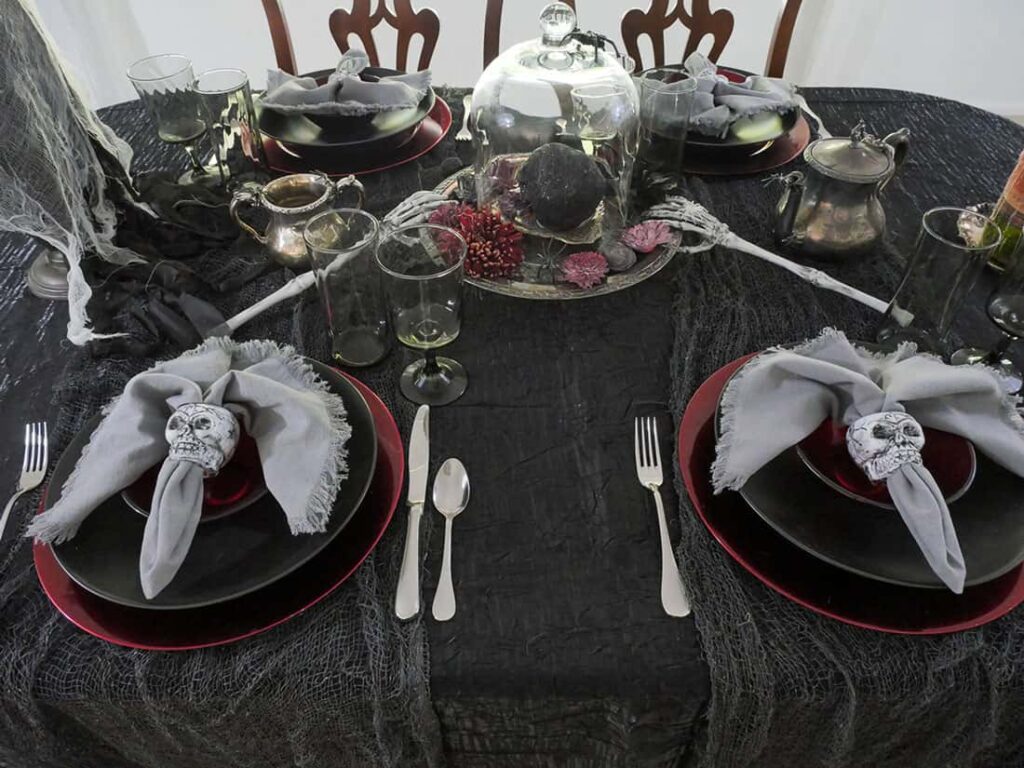
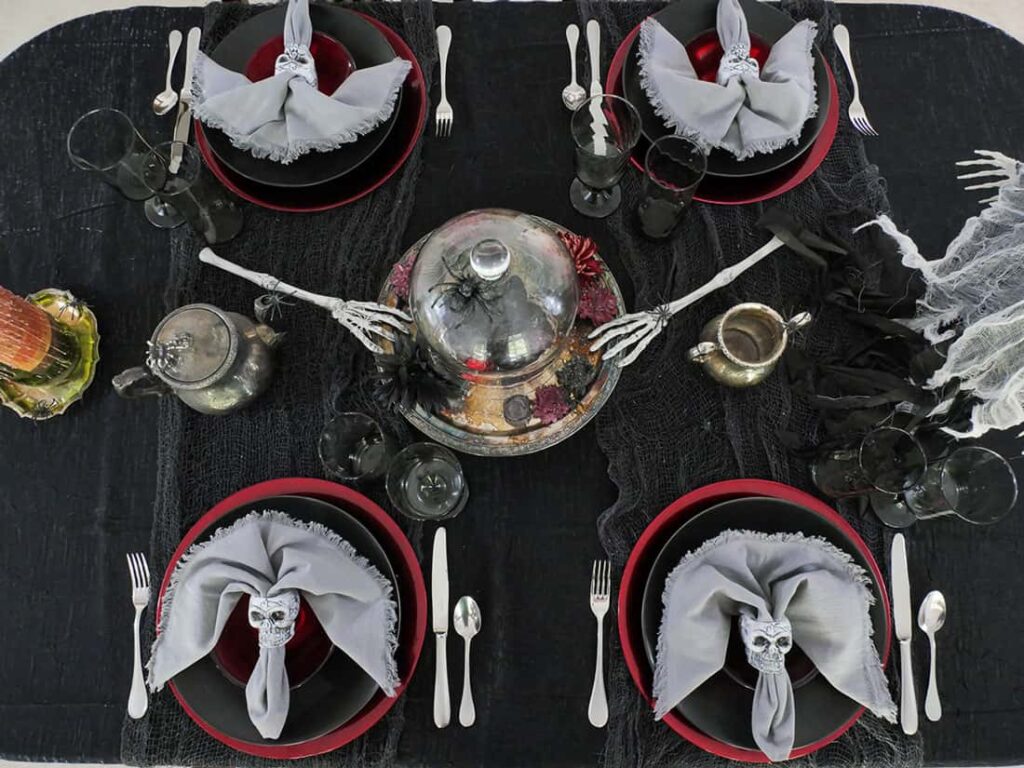
For this tablescape, I started with a crushed black tablecloth.
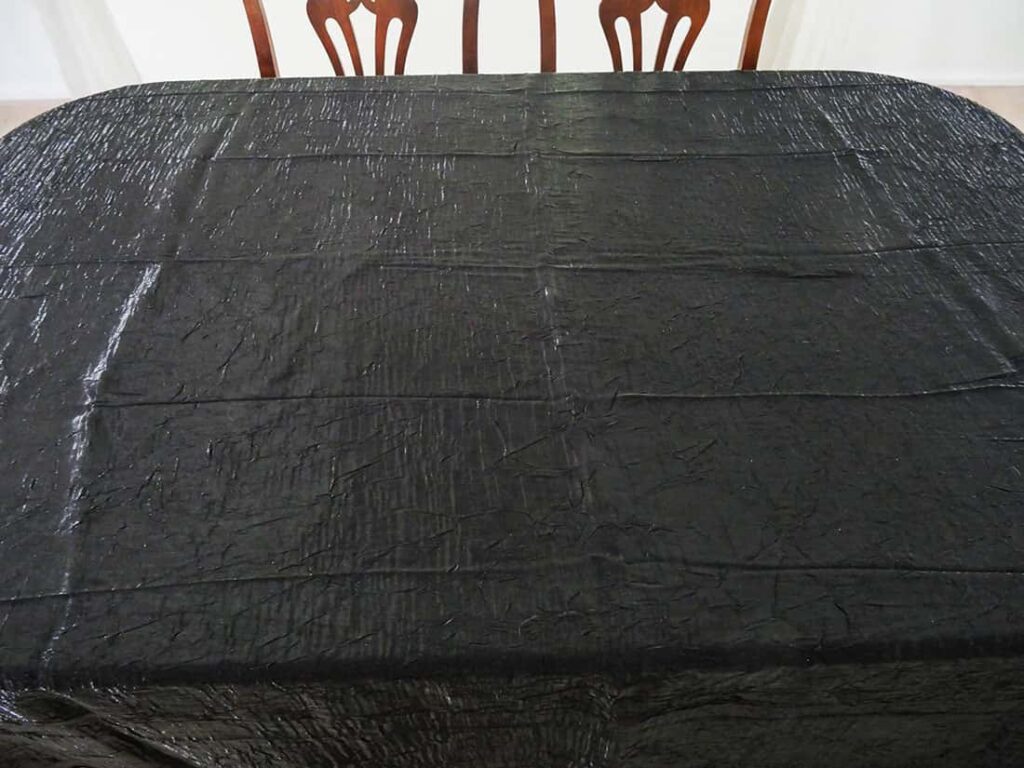
I didn’t worry about the folds showing, as I knew they would be covered as I created the Halloween table setting.
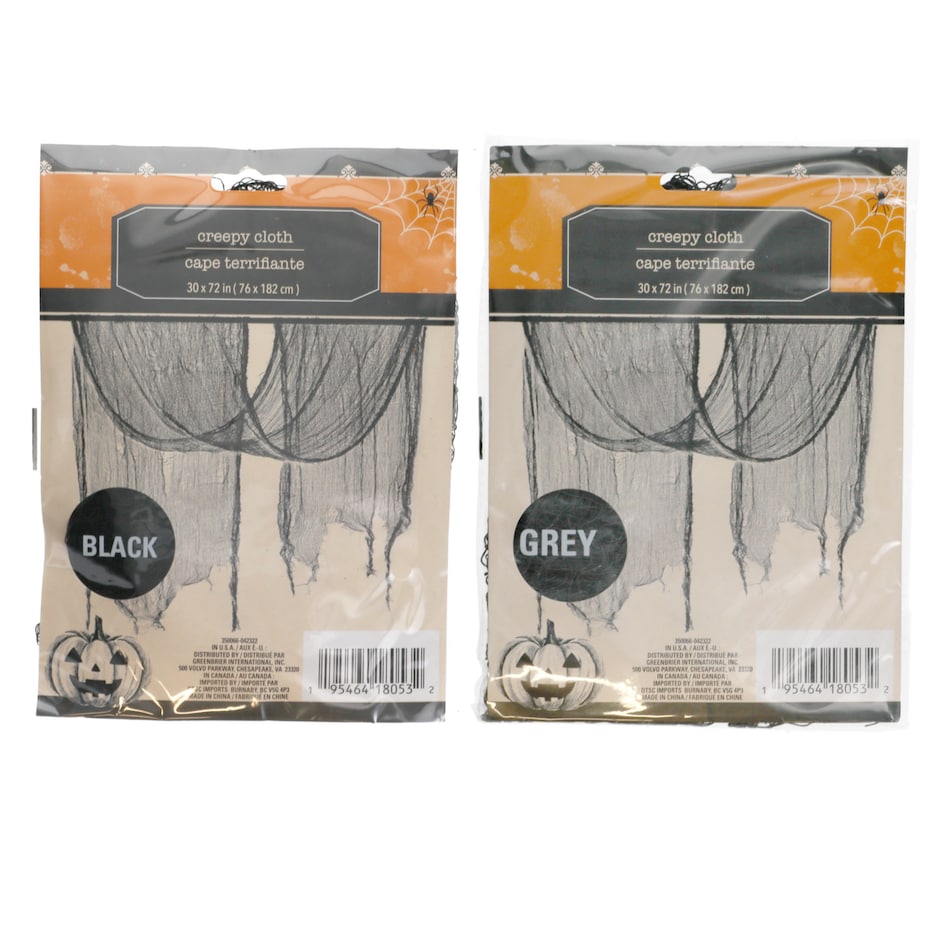
Then I laid two grey creepy cloths from Dollar Tree across the table. From one chair to the other, instead of down the middle.
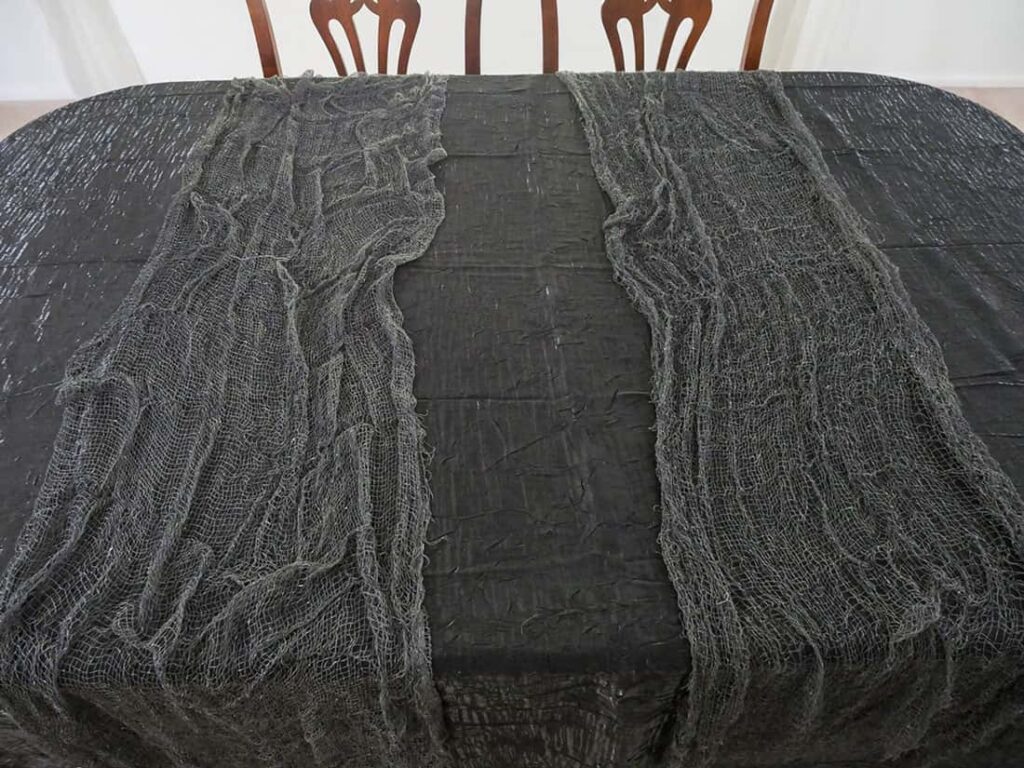
My thought was they would act as a way of defining the place settings.
And the dark grey cloth added dimension to the tablescape.
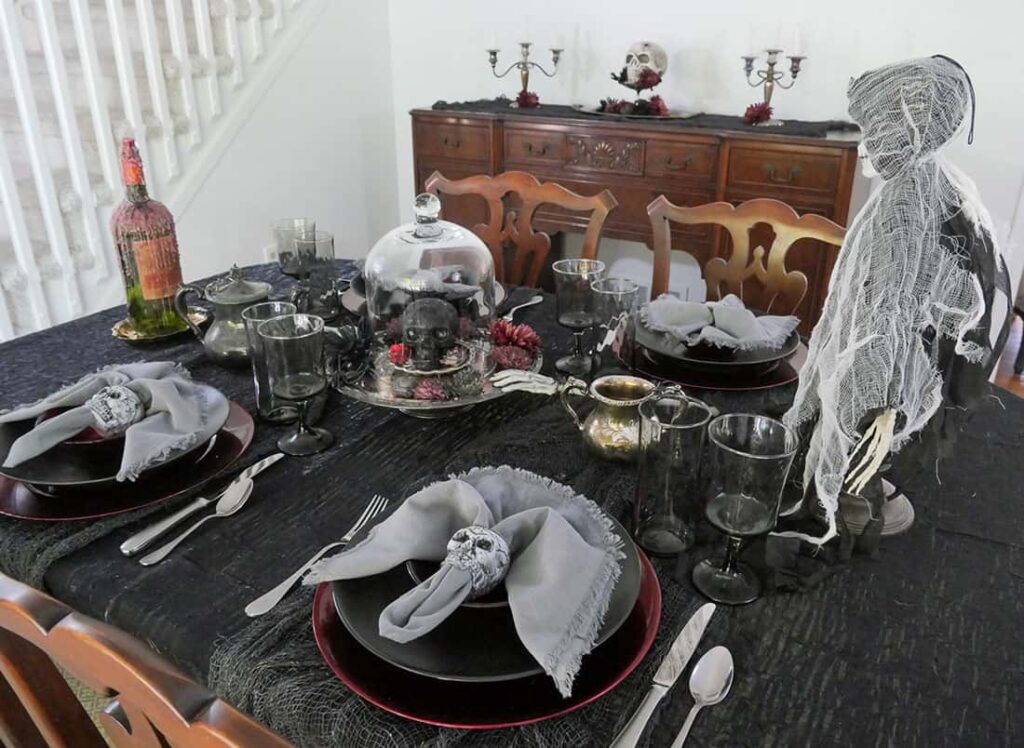
2. Arrange your place settings
For this spooky Halloween table, I wanted to create place settings that would stand out, but also connect with a Halloween theme.
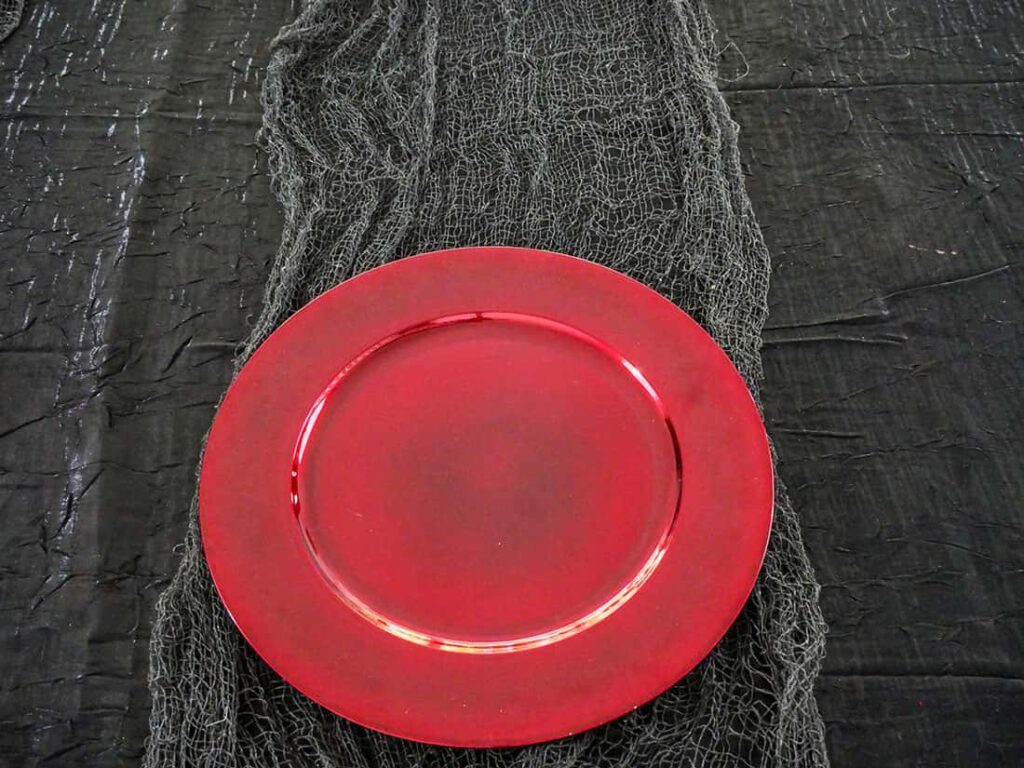
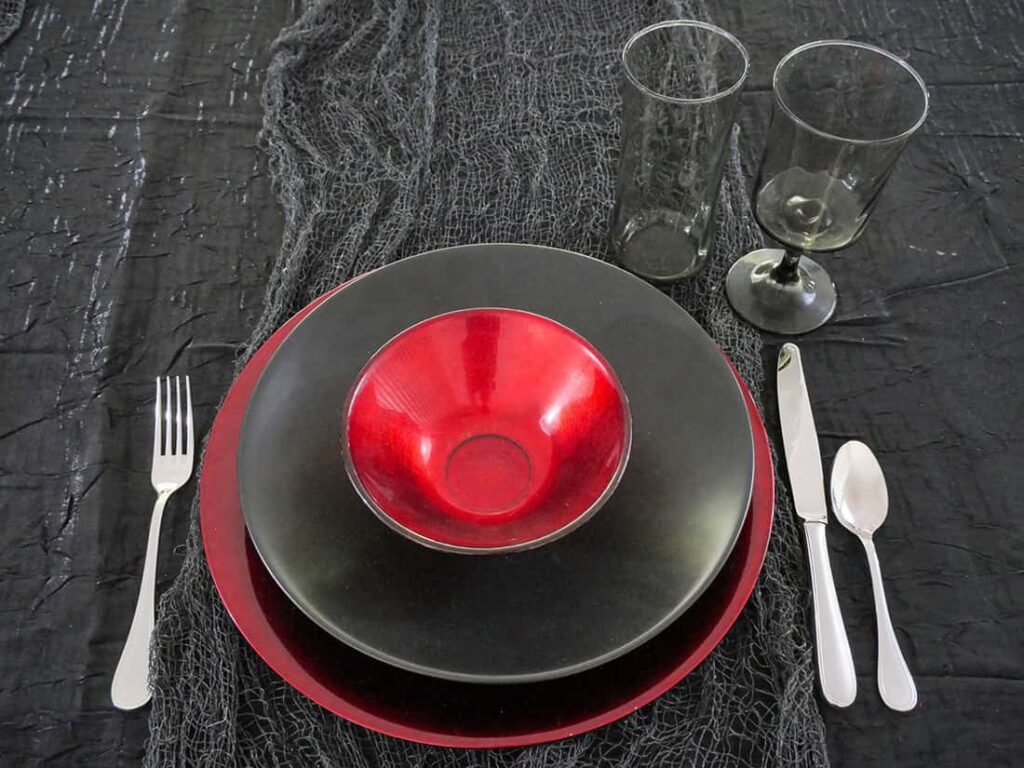
I started with a blood-red charger.
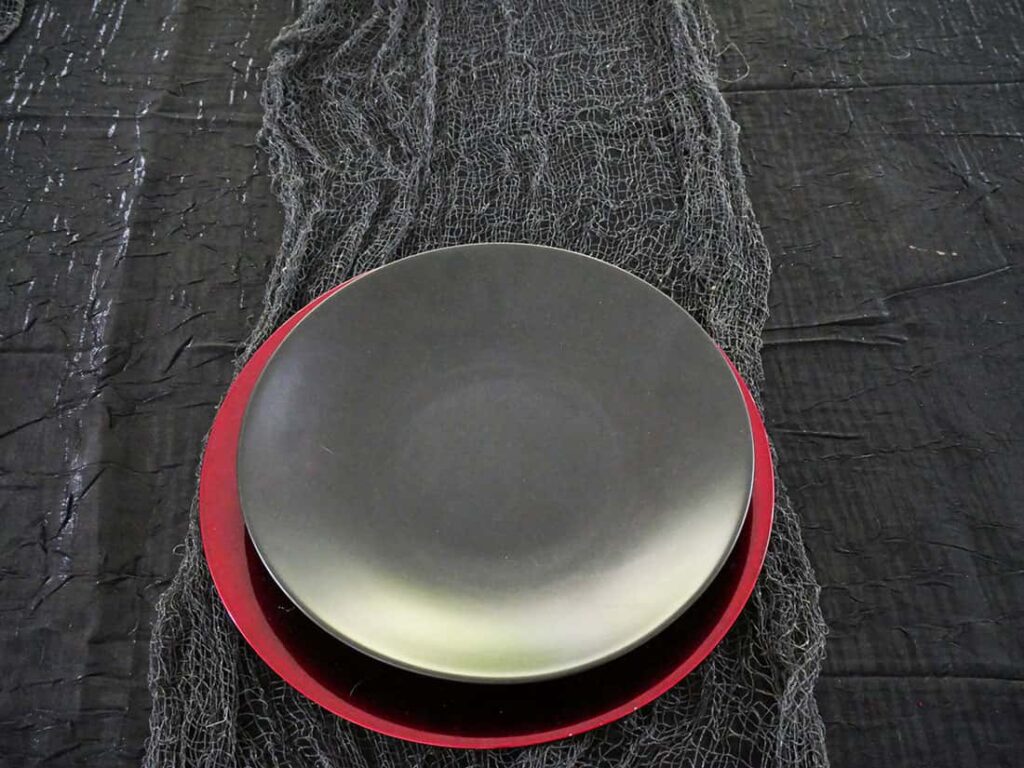
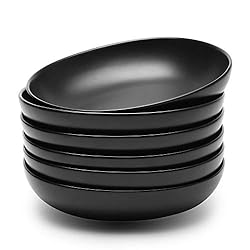
Then I added a black blate (kind of a cross between a plate and a bowl, but not quite either). Of course, you can use a black plate.
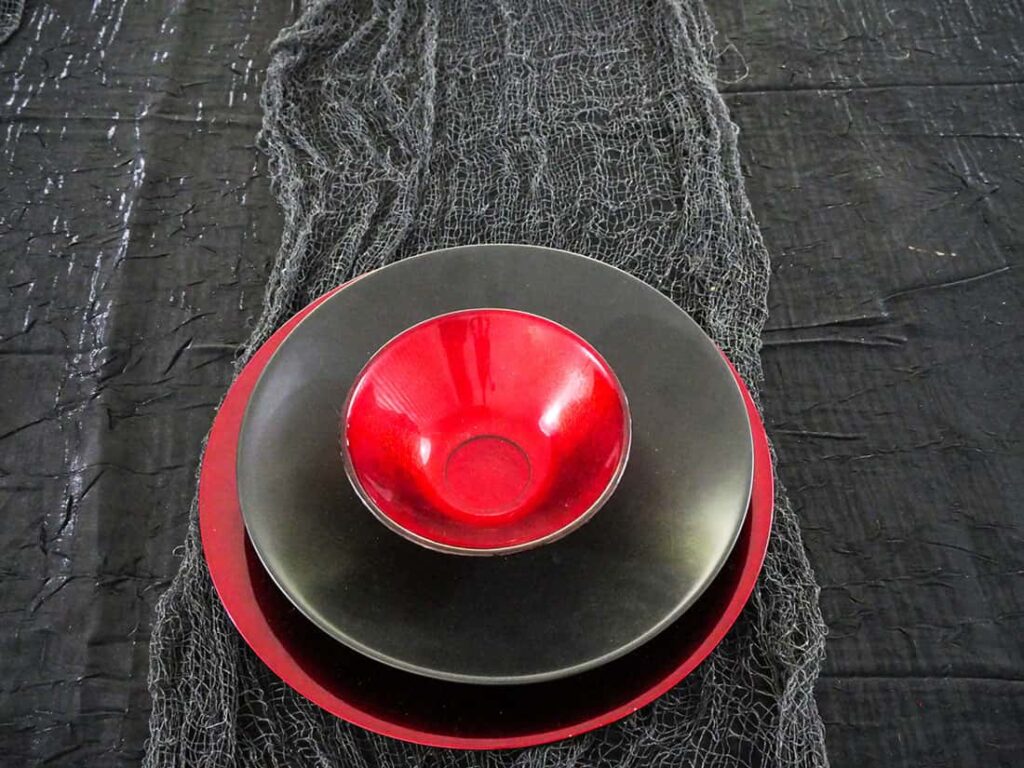
On top of the black blate, I placed a small blood-red bowl.
It really picks up the red from the charger plate.
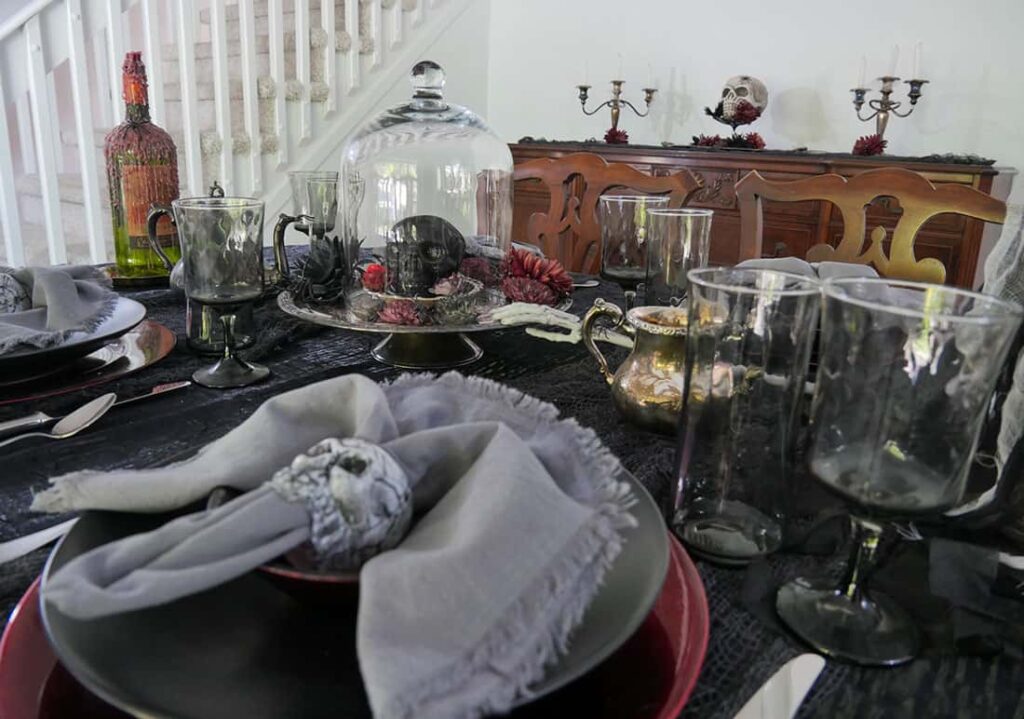
Then I added the flatware and glasses.
I was lucky to find smokey grey water and wine glasses at a second-hand store and on Facebook marketplace.
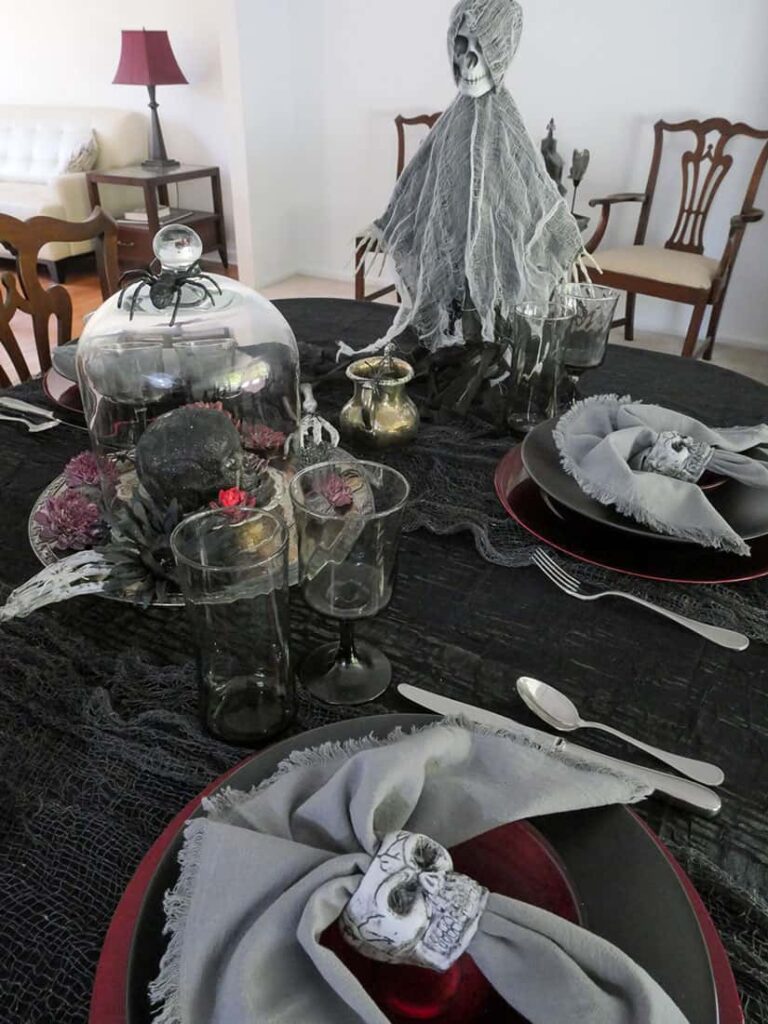
The final piece, to complete this spooky Halloween place setting, was adding a super easy diy skull napkin ring with a grey cloth napkin on top of the red bowl.
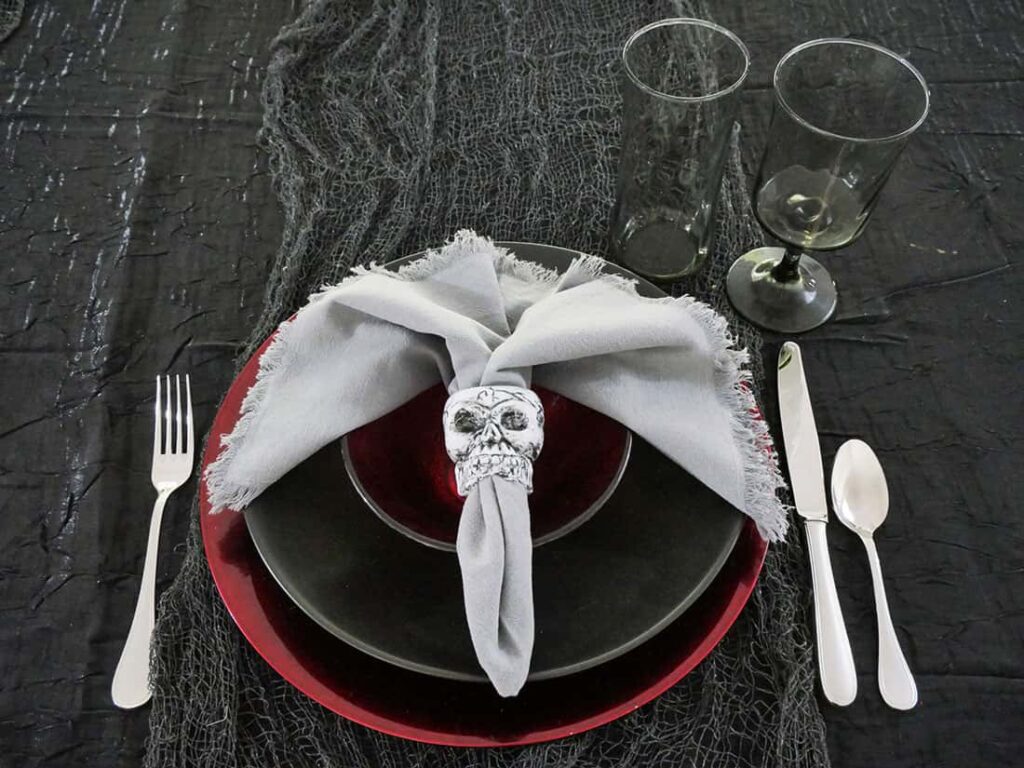
I fed the napkin through (folded like a paper airplane) and then pulled the sides down so it gave the impression of a deceased pirate.
By placing the napkin on top of the bowl, it brings full attention to the skull napkin ring and becomes the focal point of the place setting.
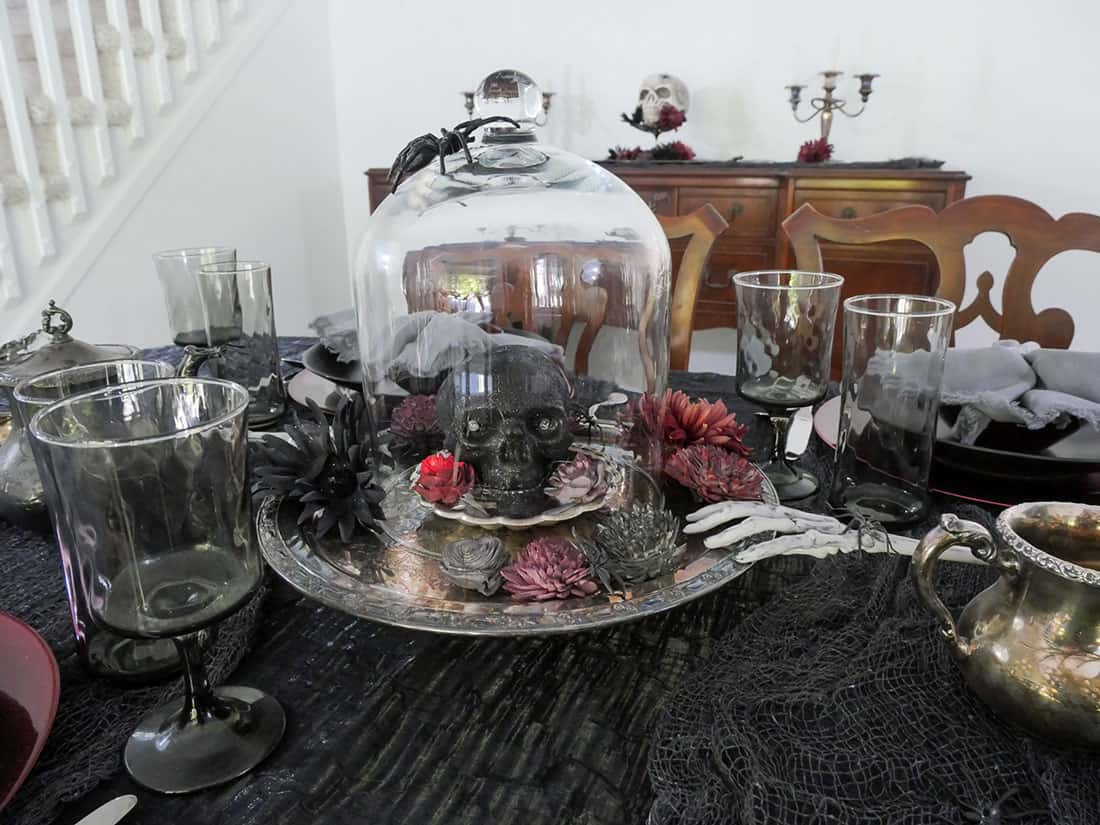
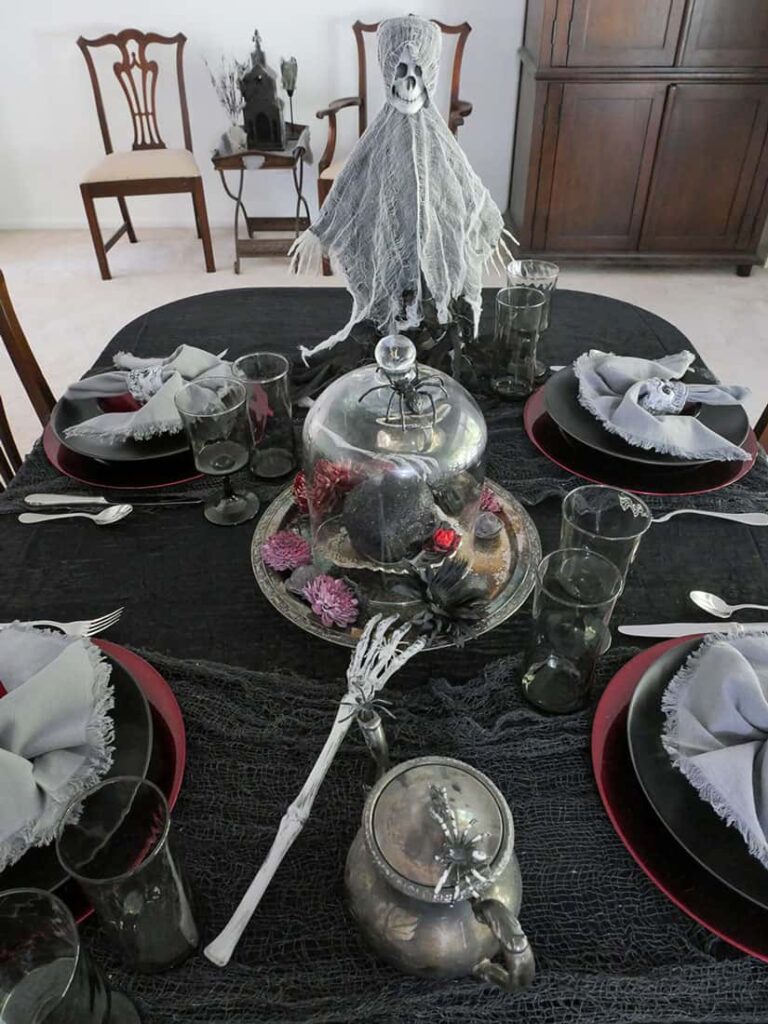
3. Create a creepy Halloween centerpiece
Once the place settings were complete, it was time to create the centerpiece for this spooky Halloween tablescape.
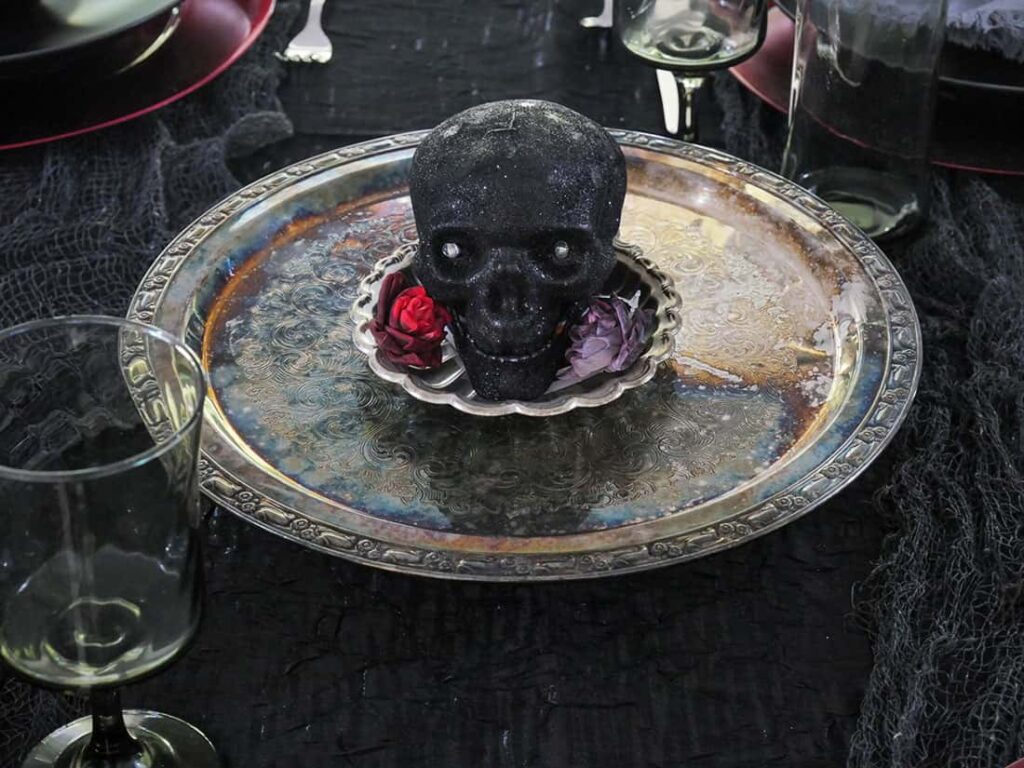
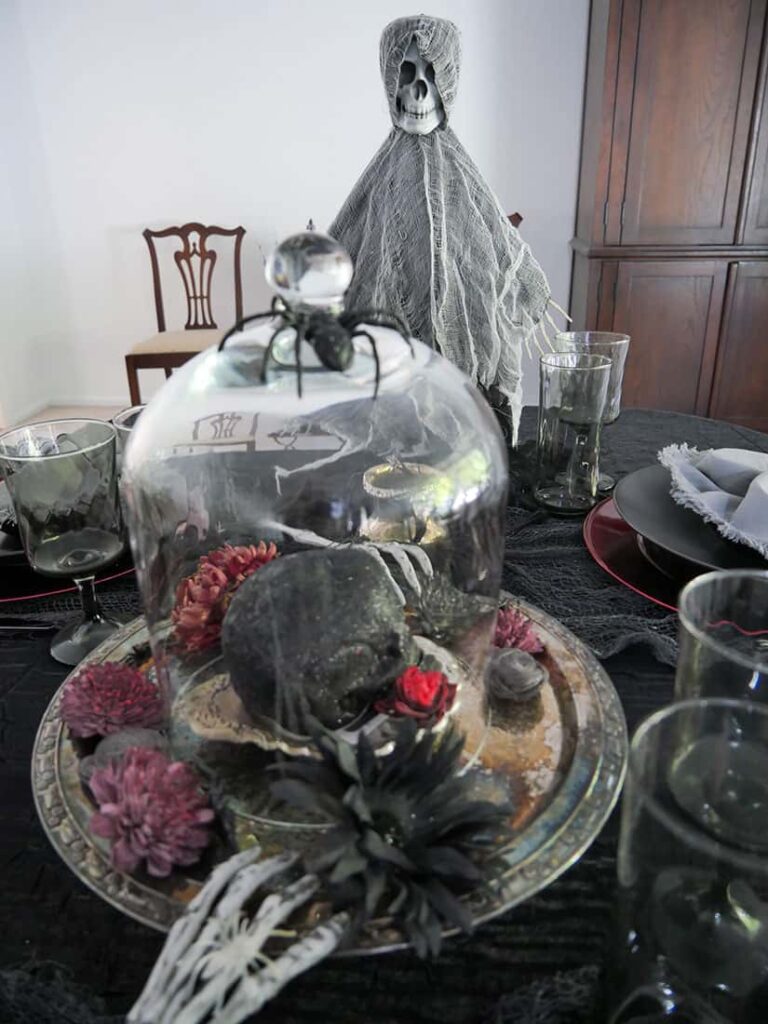
I started with a very tarnished silver cake stand.
I found it at a local second-hand store for just $4!
People are always donating old, tarnished silver. And Halloween is the perfect time to use it!
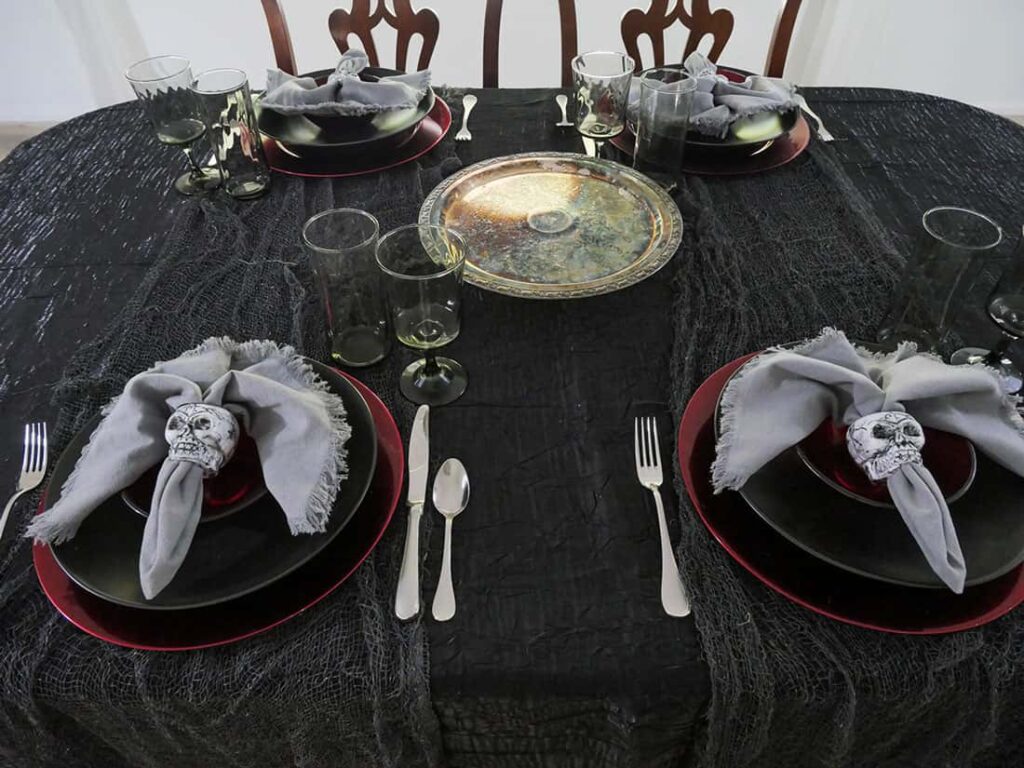
No need to polish.
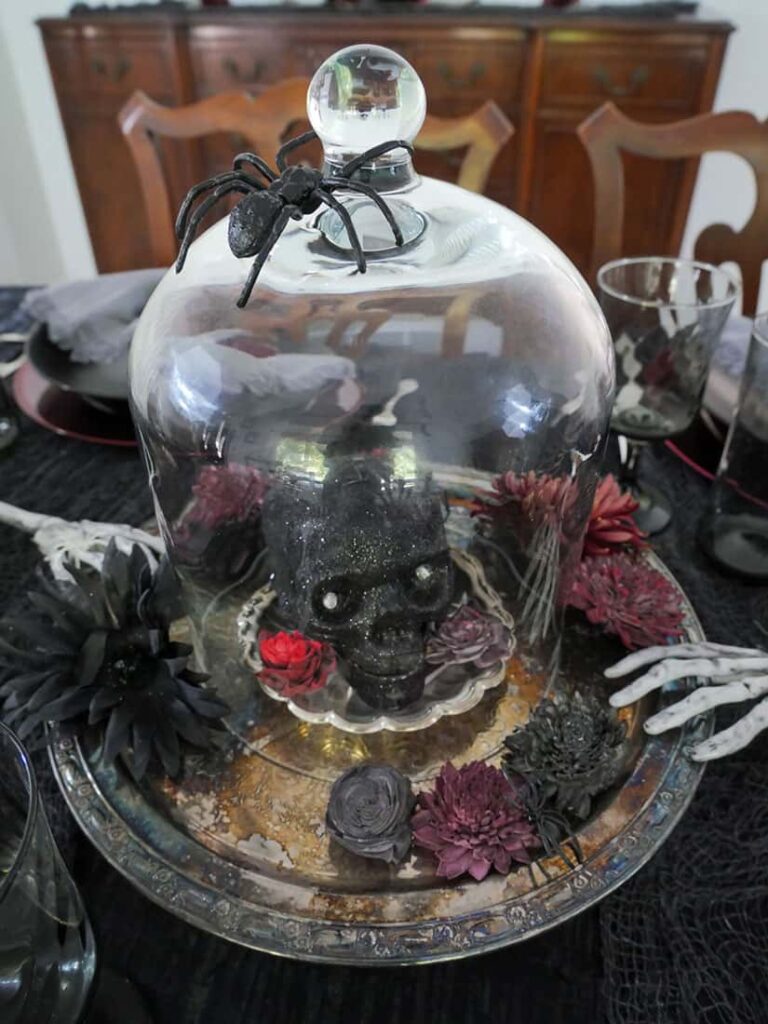
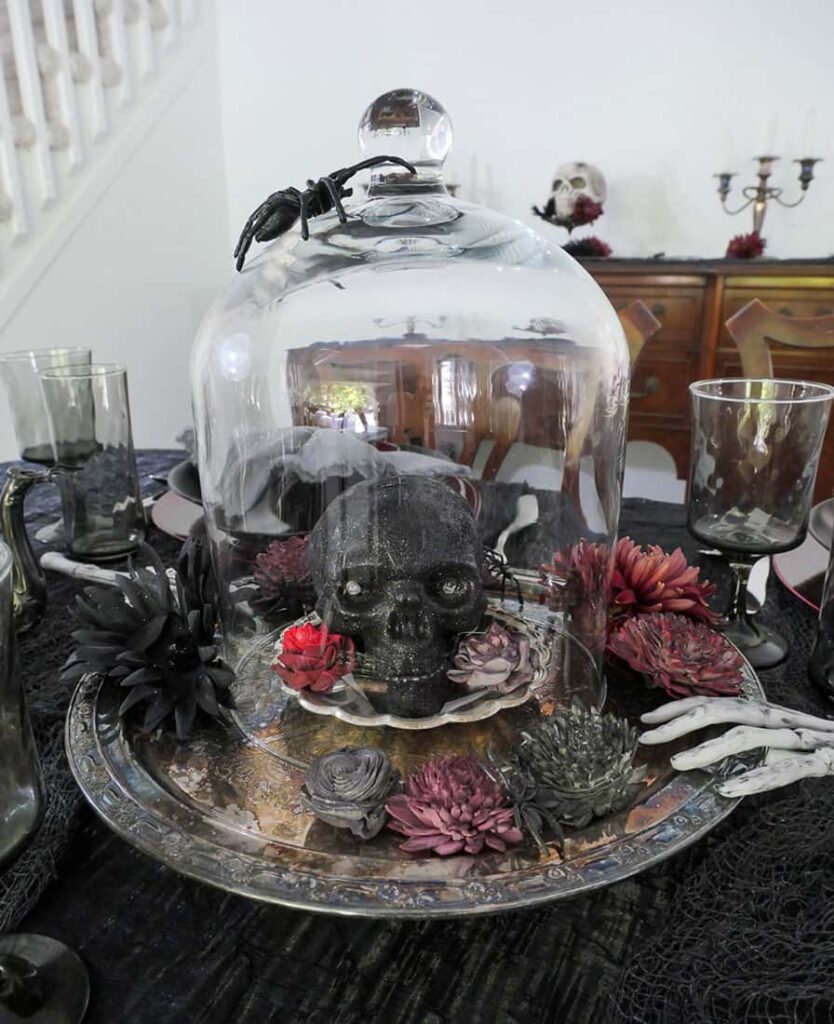
Then I added a second smaller tarnished silver tray and placed a black glitter skull from Dollar Tree on it. Flanked by small dead-looking flowers.
Don’t you just love how old and creepy it looks?
Then I turned the skull around and placed a cloche over it. As if the head is being preserved. And completed the effect by adding more “dead” flowers and a few crawling black spiders.
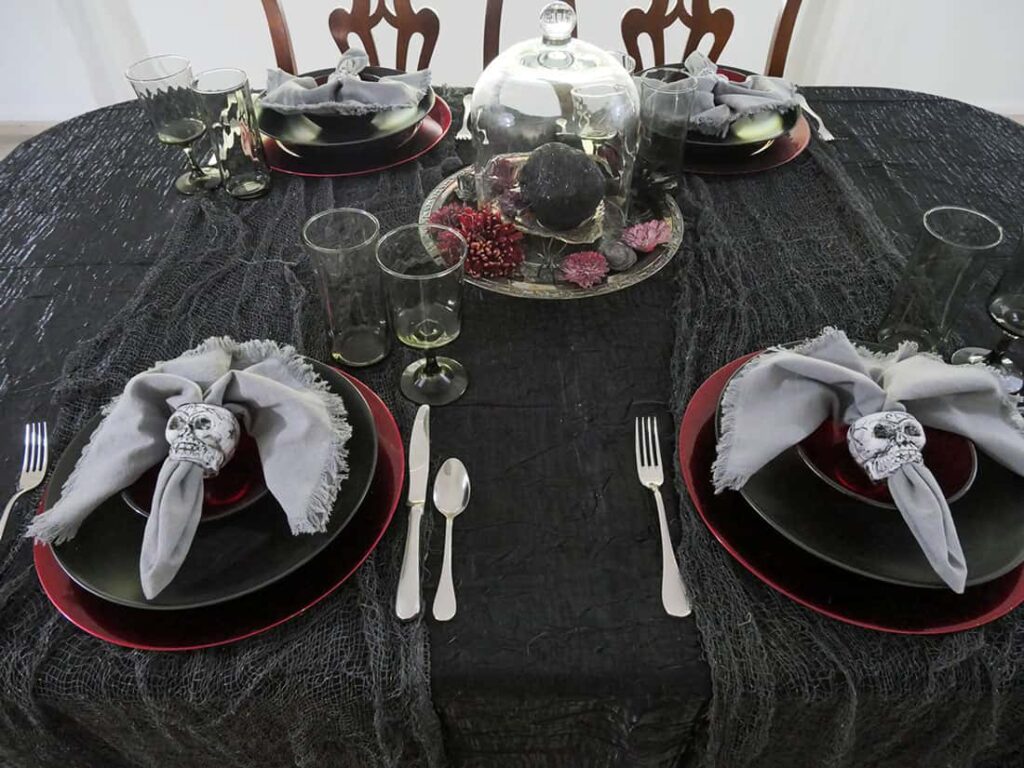
*Note: some of the flowers are sola wood flowers I’d dyed and a few are real ones from my previous Fall tablescape.
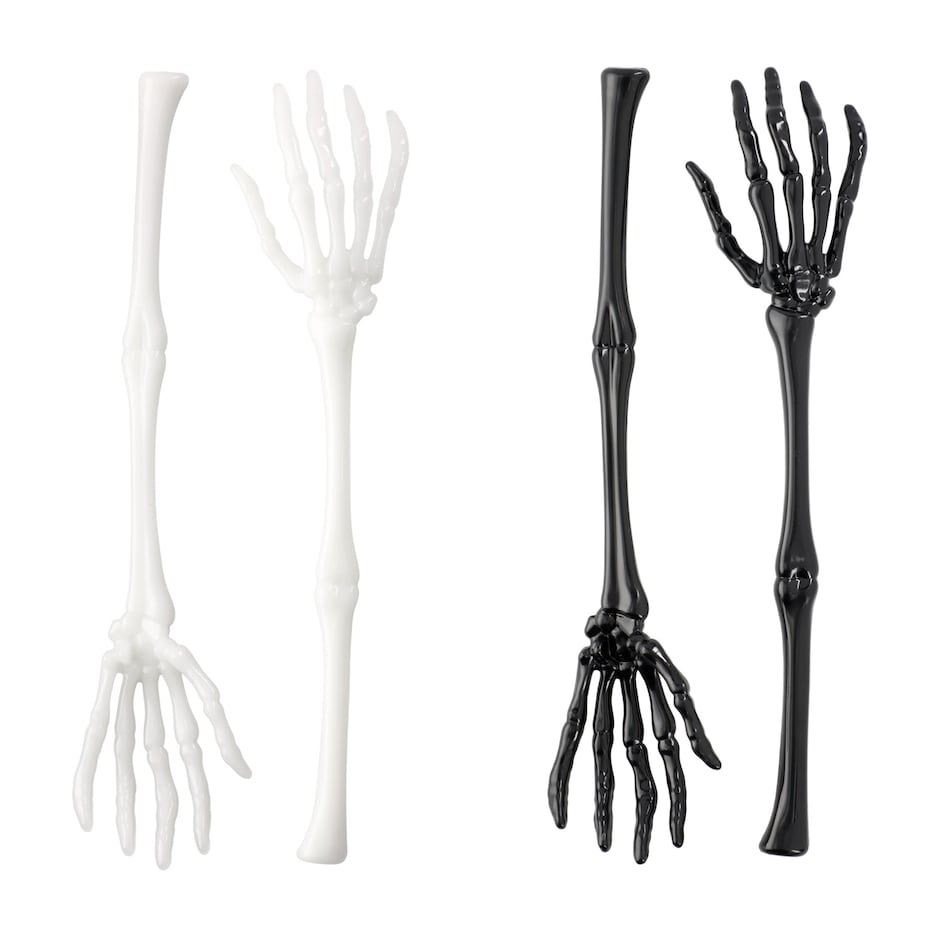
To elongate the centerpiece, I placed skeleton arms to appear as if holding the cake stand.
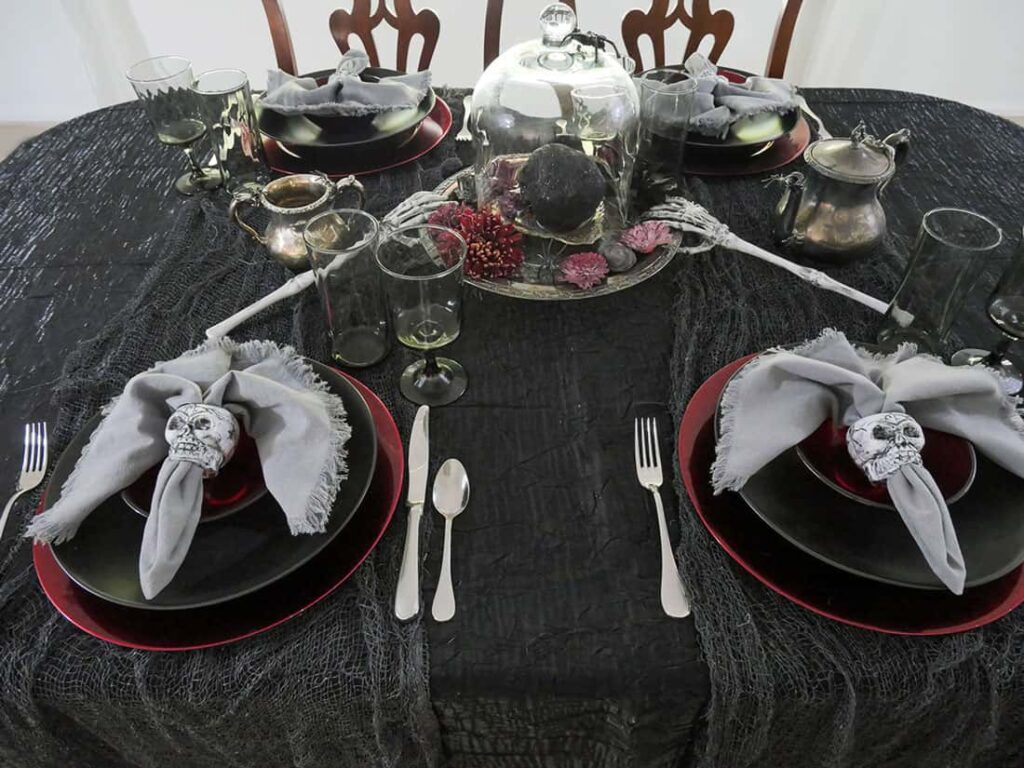
They were from Dollar Tree and I distressed them with a little black paint so they wouldn’t look shiny on the table.
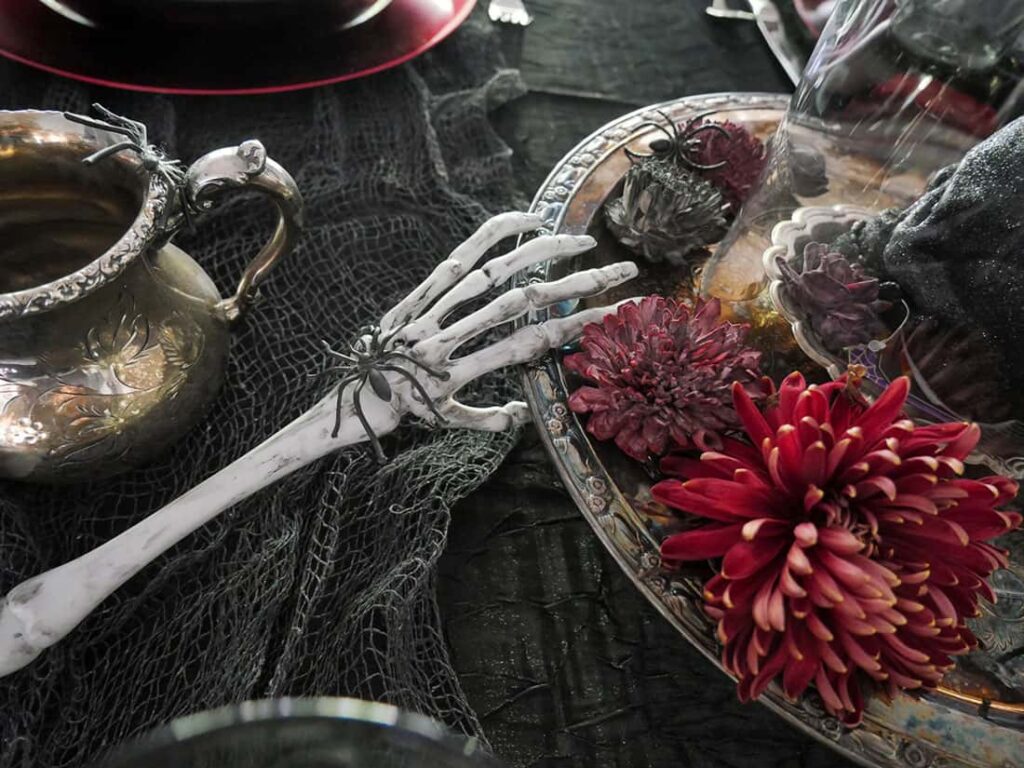
I also added a few more tarnished silver pieces with spiders crawling on them.
(Check out the black spider on top of the cloche. Ewe!)
To complete the skeleton Halloween centerpiece, on one end I placed an aged-looking wine bottle with red wax dripping down, and on the other side a floating skeleton. As if it was looming over the table.

4. Add more skeleton Halloween decor
It’s not enough to create a spooky Halloween skeleton tablescape. You also need to add more erie decor to your dining room.
I opted to use the same grey creepy cloth on the top of my buffet.
I found a second tarnished silver platter, a small tarnished candy dish, and a pair of old silver candelabras. Perfect for continuing my Halloween theme from the table to the buffet.
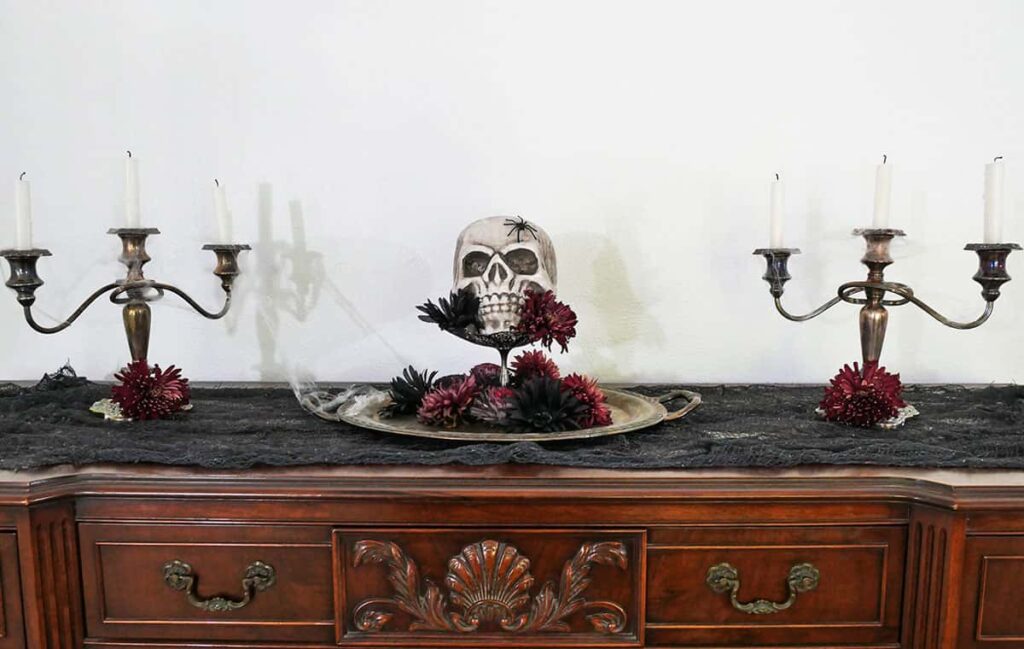
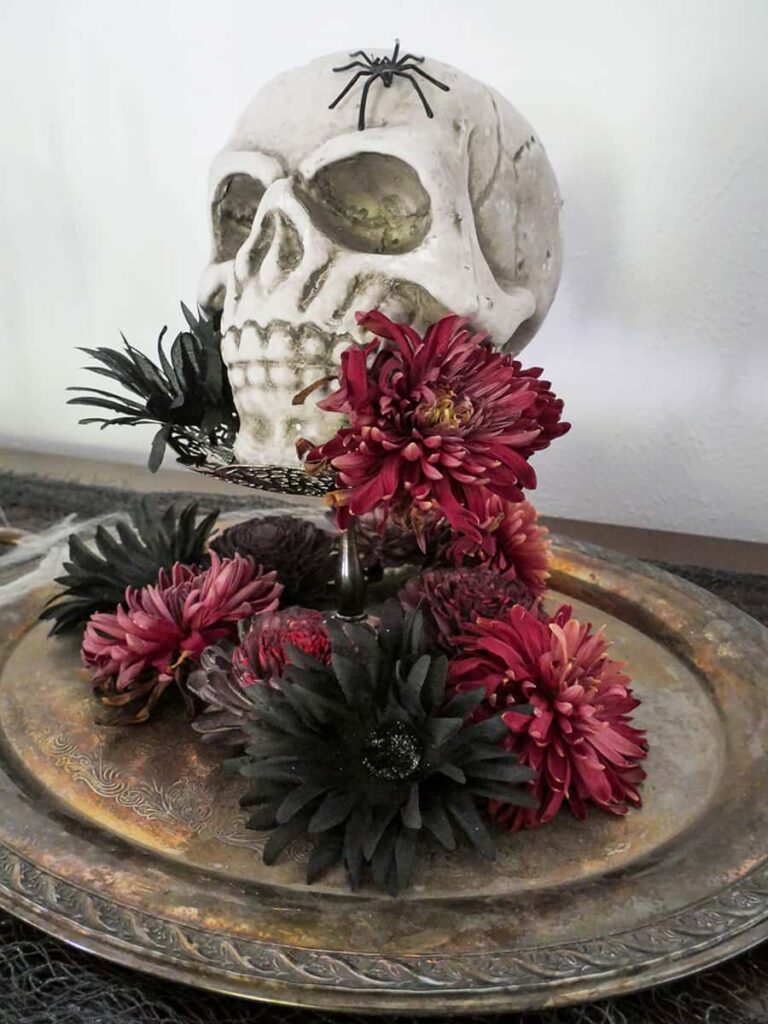
On the candy dish, I placed a spooky skull and surrounded it and the dish with the same flowers I used in my Halloween centerpiece.
Then I stretched some cob-webbing across the candelabras and onto the platter.
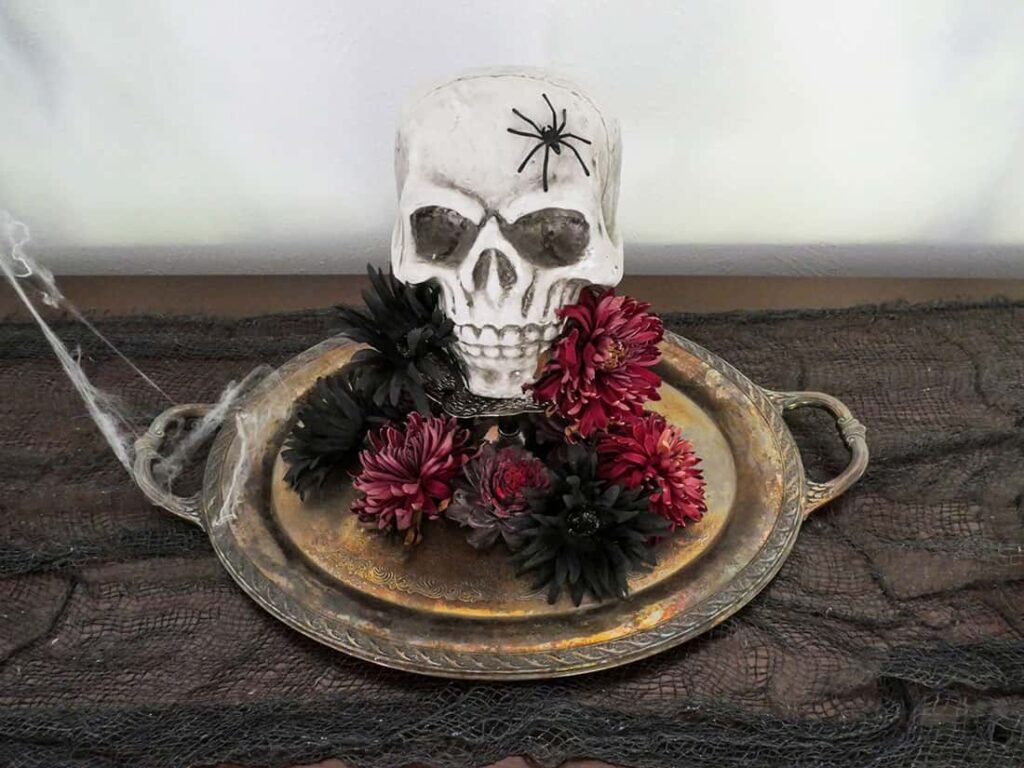
I also added a few more spiders with one strategically placed on the skull.
In addition to decorating my buffet table, I also added a little Halloween vignette on a side table in the room.
This helps to connect the whole dining room area with the Halloween tablescape.
So fun!
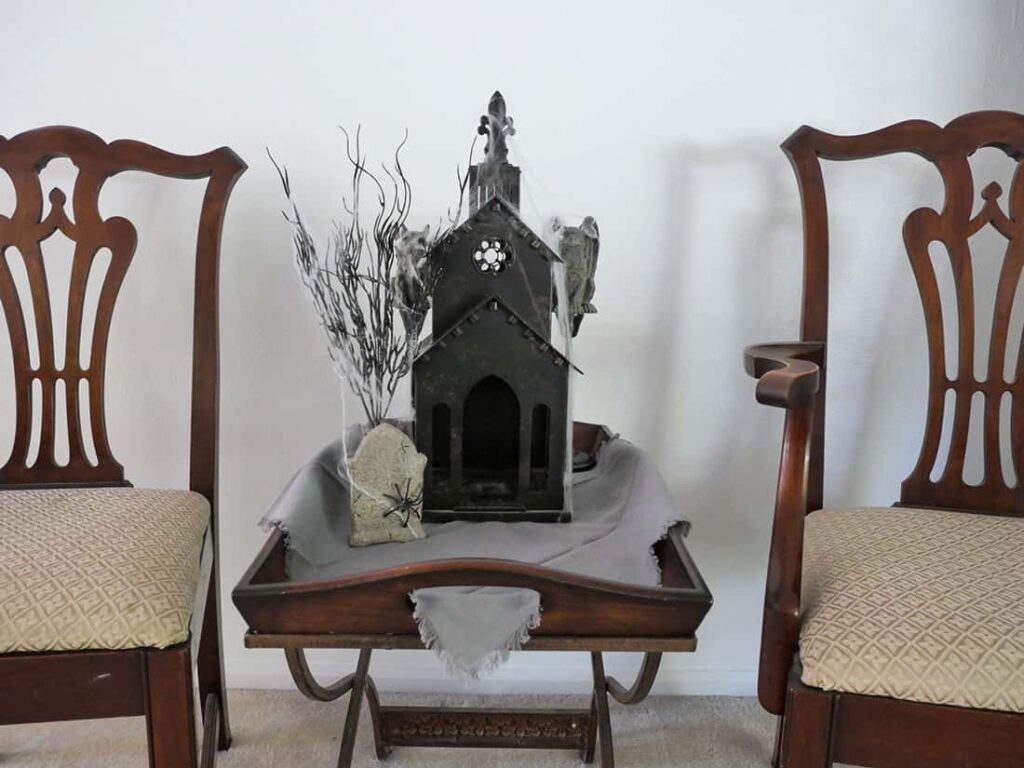
You can see it all in the distance from the dining table.
Remember that your creepy Halloween tablescape is a canvas for your imagination. There’s no right or wrong way to do it – just let your inner ghoul guide you.
Check out the easy DIY projects used to decorate this tablescape:
- DIY Skull Napkin Rings
- Dripped Wax Wine Bottles for Halloween
- DIY Dyeing Sola Wood Flowers: How to Instructions
Shop the Table


Check out other table settings:
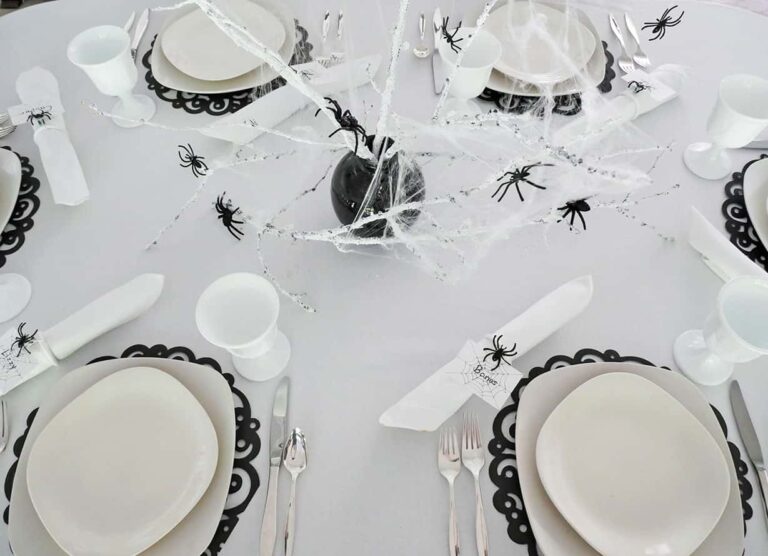
- Spider Halloween Table Setting: Black & White
- Creepy Halloween Table Setting
- French Farmhouse Friendsgiving Tablescape
- Simple Modern Thanksgiving Day Tablescape: On a Budget
- Chic Minimalist Thanksgiving Day Buffet
- Simple Fall-Inspired Table Setting
- Cozy Fall Table Setting: Navy & Tan
- Ode to 1970’s Vintage Fall Tablescape
This is so fun!! And creepy!! Love it!
Thank you!!!