Paint Your Craft Store Crates to Look Weathered
Easily transform your craft store (Michaels or Joann) wooden crates to have a weathered, painted look with this DIY project.
Wooden crates are very practical and have SO many potential uses, it’s no wonder Michaels and JoAnn always have them in stock. And since they are bare wood crates, there are countless ways to change their look to serve your purpose.
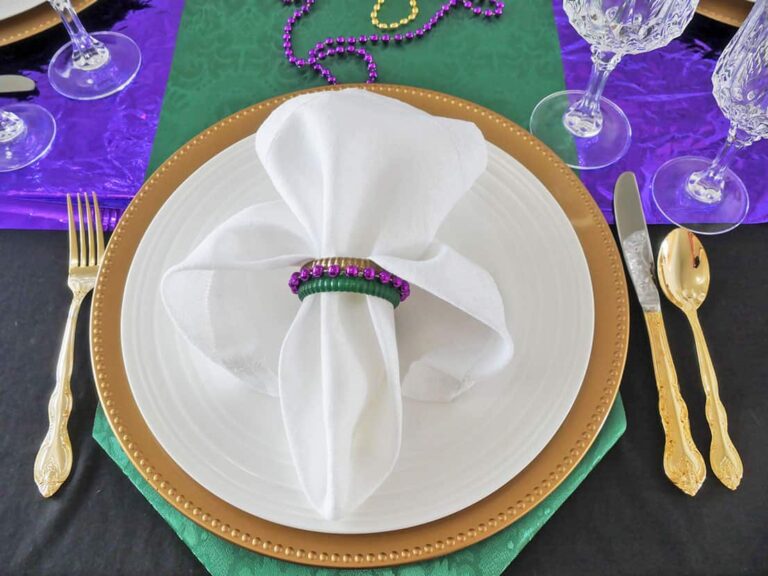
I will be using my wooden crates on a buffet table, to add height and visual interest to the table. **Added bonus: I can use the crates to carry the party supplies! Win, win!!**
I knew I wanted to paint my wooden crates. When I was planning my DIY wooden crate painting project, I considered using spray paint, chalk paint, or acrylic paint. I knew that I wanted my crates to have a slightly weathered look when they were done, so I eliminated spray paint as an option because it would too hard for me to control the amount of paint on the crates. I also eliminated using chalk paint because I wouldn’t need to layer the paint and I really wanted a very simple painting project.
It was decided: acrylic paint would produce the look I wanted for this project.
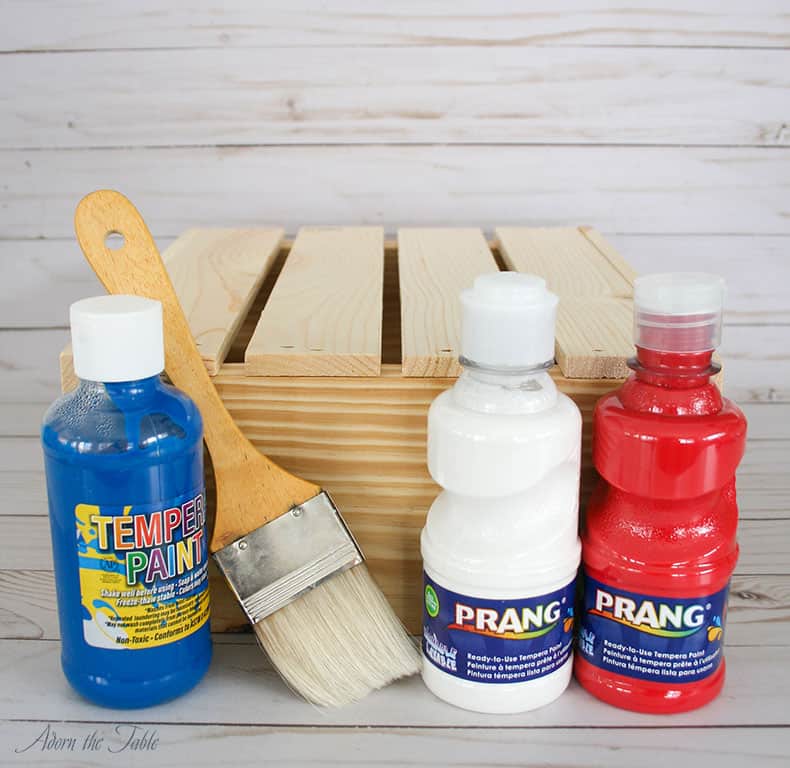
Supplies
- Wooden crate = $10
- Acrylic paint = $2/color
- Paintbrush
- Fine sandpaper (at least 150 grit)
- Newspaper or plastic drop cloth
- Rag
- Optional:
- Clear sealer
- White star stickers
Cost = less than $15
How to paint craft store wooden crates to look weathered. Step-by-Step Instructions
First: you will want to prep your work area either outside or in a well-ventilated room. Lay down newspapers, or a plastic drop cloth, to completely cover and protect the surface.
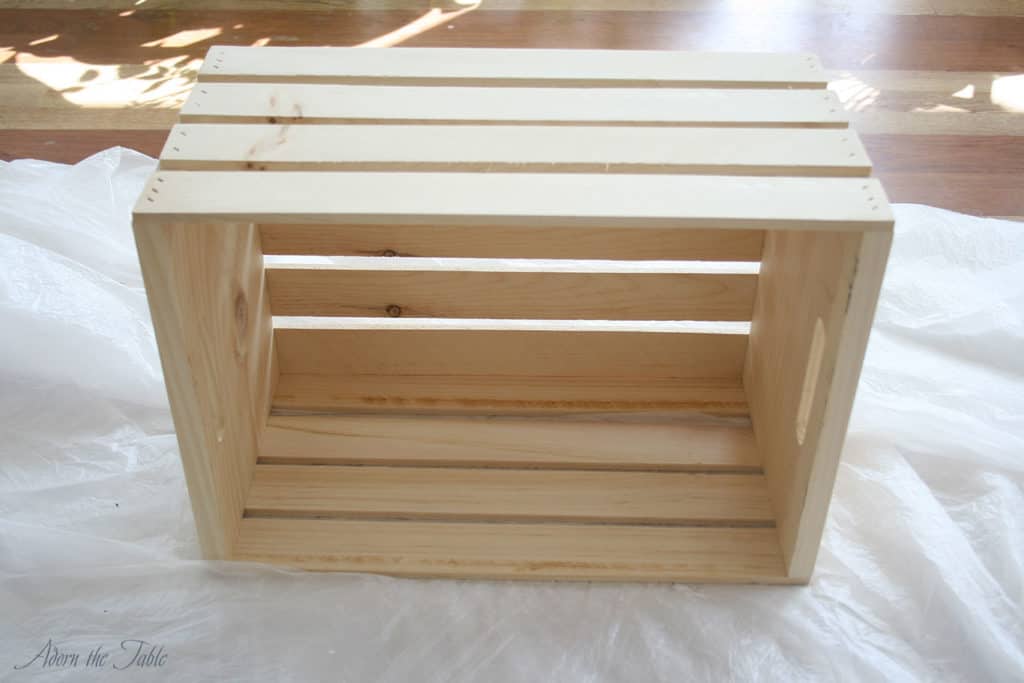
Second: lightly sand your wooden crate(s) to remove any rough areas. Wipe any sawdust from the sanding off with a dry rag.
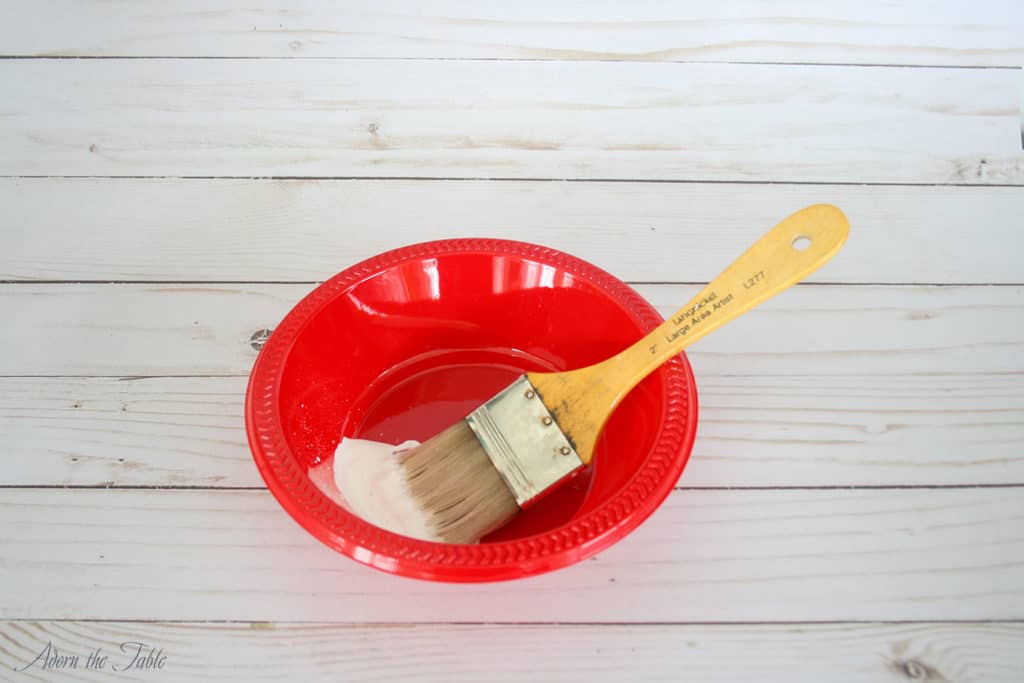
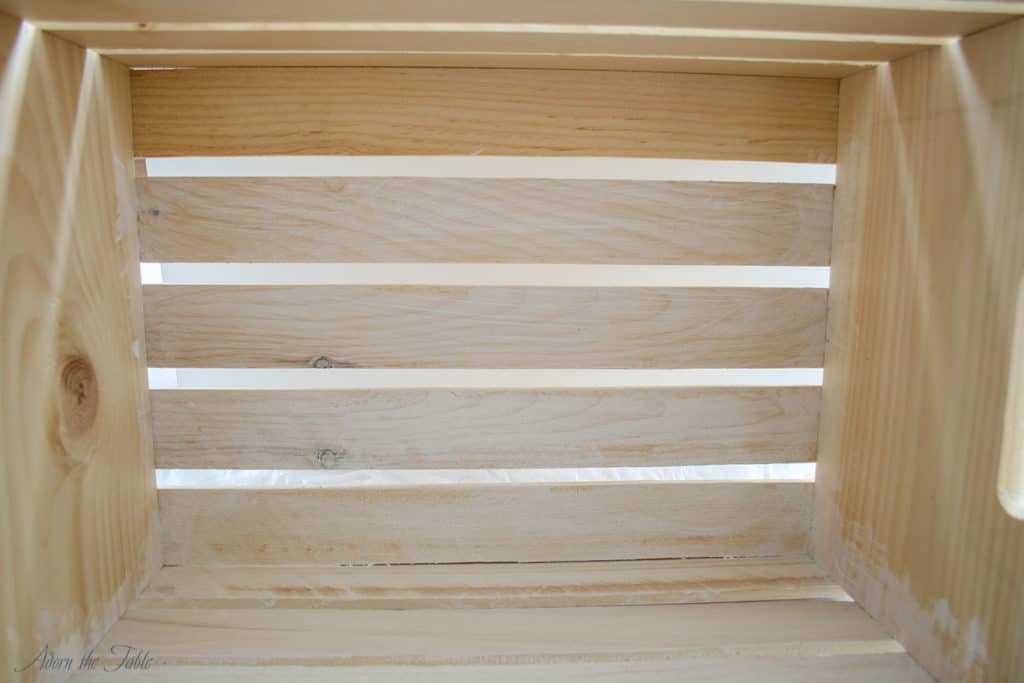
Third: pour some paint into a container and brush a little paint an inside corner of your crate. I suggest doing this, so you can get an idea of how thin/thick your paint will go on. My paint went on thicker than I wanted. Since I wanted the wood to show through my paint a little, I added a small amount of water to the paint to thin it out. I then tested it again in a different corner of the wood crate. Perfect.
Fourth: completely paint the outside of your wooden craft store crate. Let dry at least 1 hour.
*Tip: take a few paint stir sticks and put them under your crate so that it doesn’t sit directly on the newspaper or drop cloth. That way your crate will rest on the sticks and won’t stick to the newspaper.
Fifth: add a second coat of paint (if necessary) to your crate(s). I only did one coat of paint on my crates, because I wanted them to have a weathered look and for the wood to show through. I didn’t want them to have a solid opaque coat of paint.
Sixth: to achieve the weathered look, take your fine-grit sandpaper and lightly sand the edges of the wood planks. This will remove the paint and let the wood be seen. Focus on the edges and ends first, then lightly sand each plank, removing any glossy sheen and thereby dulling the look of the paint.

Not Sanded Sanded
Seventh: once you have completely sanded the paint to achieve your desired look, wipe down the crate with a dry rag to remove any sanded particles.
Eighth: spray with a matte sealer to protect your wood and the painted surface. I suggest the matte sheen, so the crates won’t have a glossy look, and will maintain the weathered look.
Fini! Your DIY painted wooden crate looks wonderfully weathered.
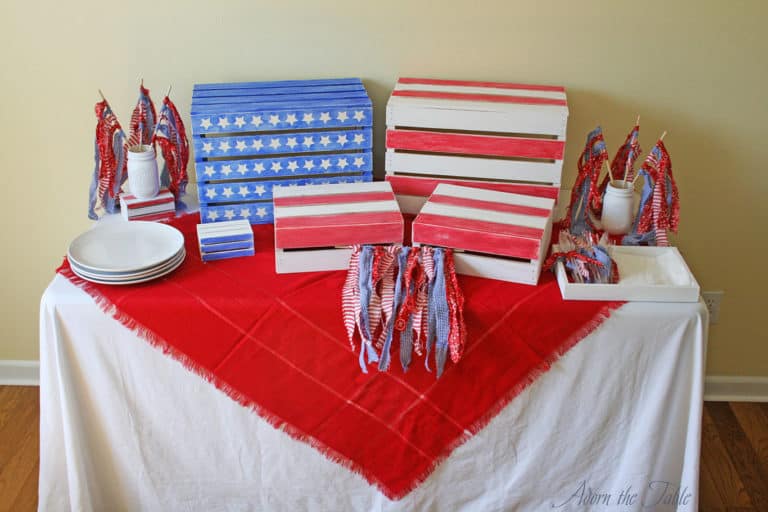
Check out how cute they look on my Memorial Day buffet table.
~Nicole
Tips for giving your wooden craft store crates a patriotic-themed look that can be used for Memorial Day or the 4th of July
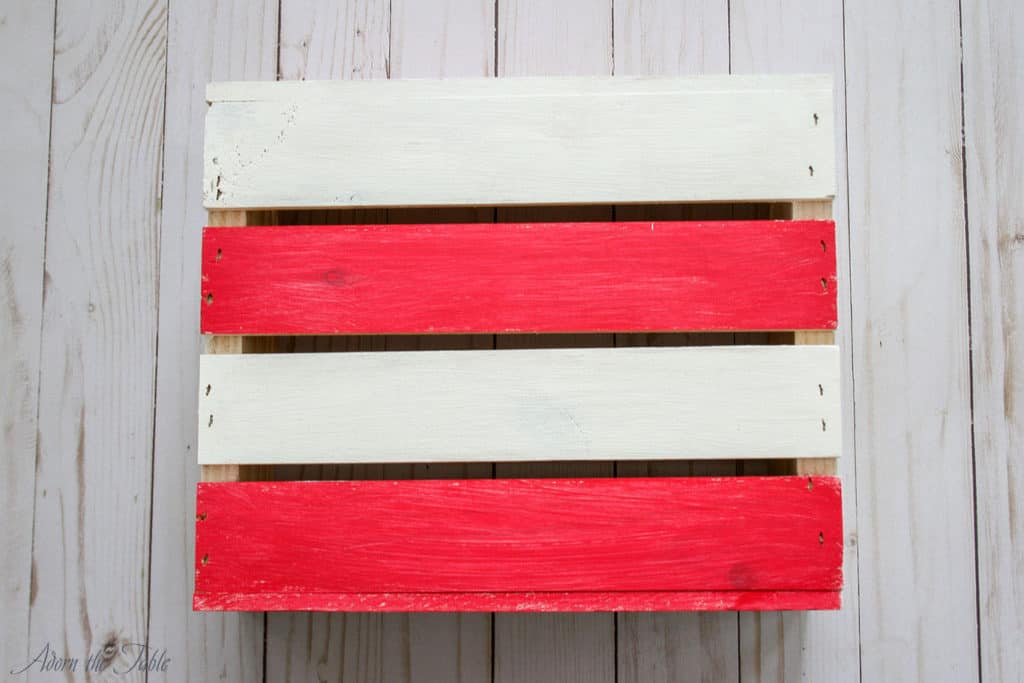
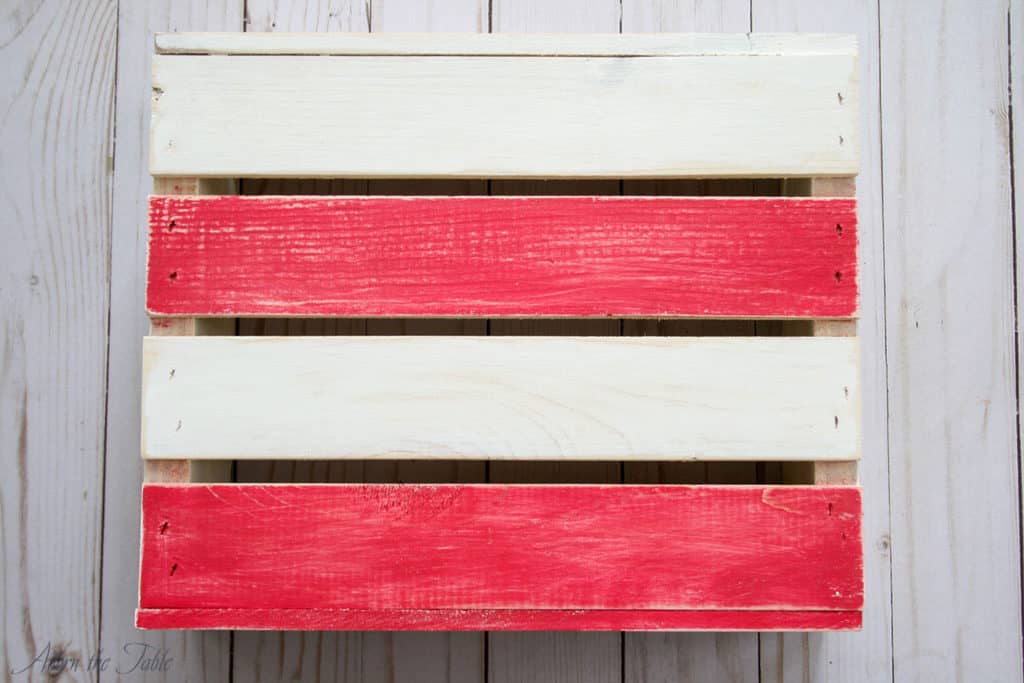
To make crates with red and white stripes:
- First paint the whole crate white
- Then paint alternating planks with a slightly watered-down red paint
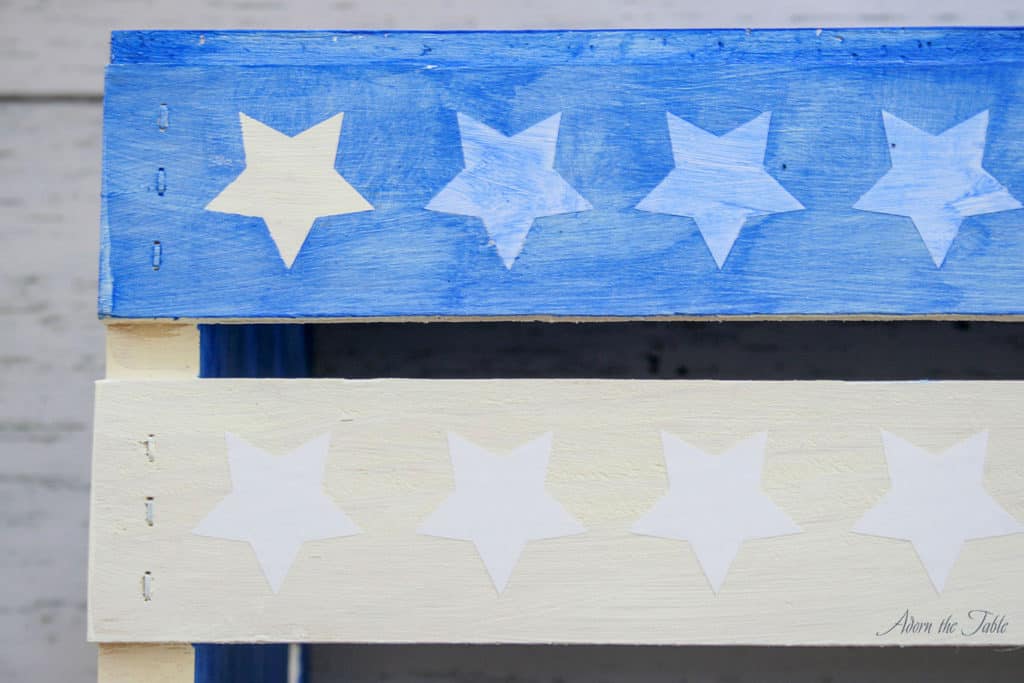
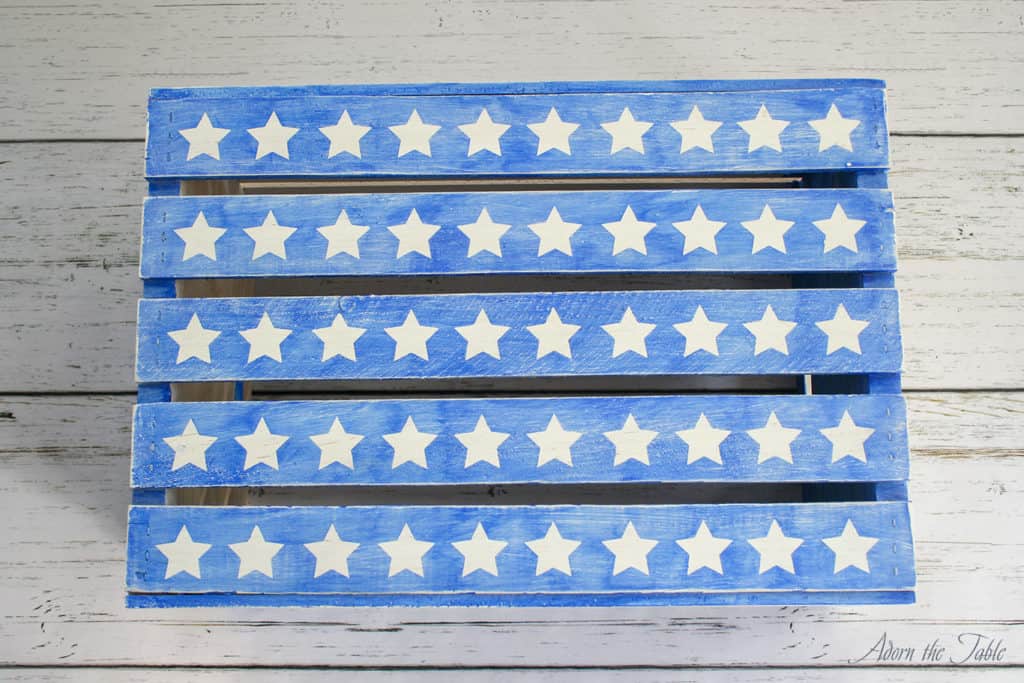
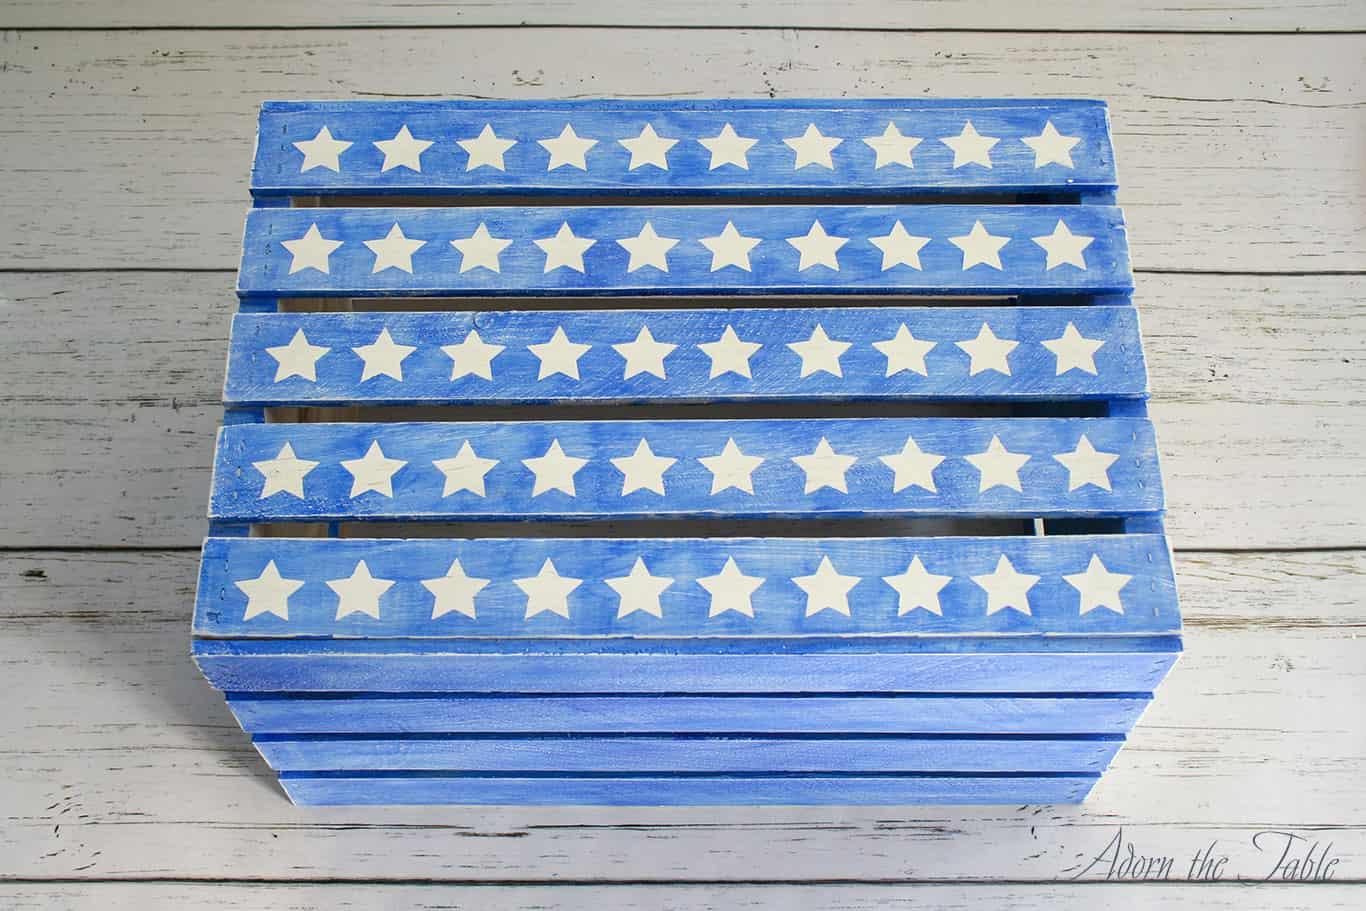
To make a blue crate with white stars:
- First, paint the whole crate white. I painted mine to have more of a white-washed look than a solid white look.
- Next, add star stickers to the crate. If you have a Circuit machine, here is the link to my stars, so you can use the template: https://design.cricut.com/landing/project-detail/6060e2d6302dae0a5869034c.
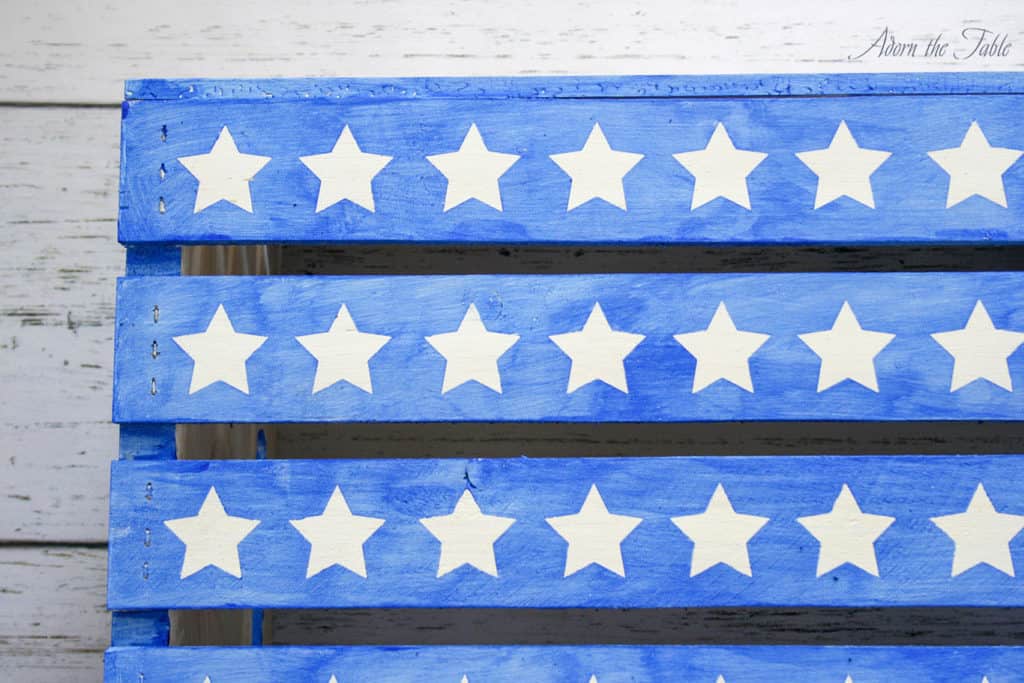
- Water down the blue paint a little and lightly dab paint over the stars. You don’t want to brush the paint around that stars, as it could push the paint under the stickers, and you won’t have clean lines from the stars.
- When the blue paint starts to dry, but isn’t completely dry, carefully remove the star stickers.
- Let paint dry completely.
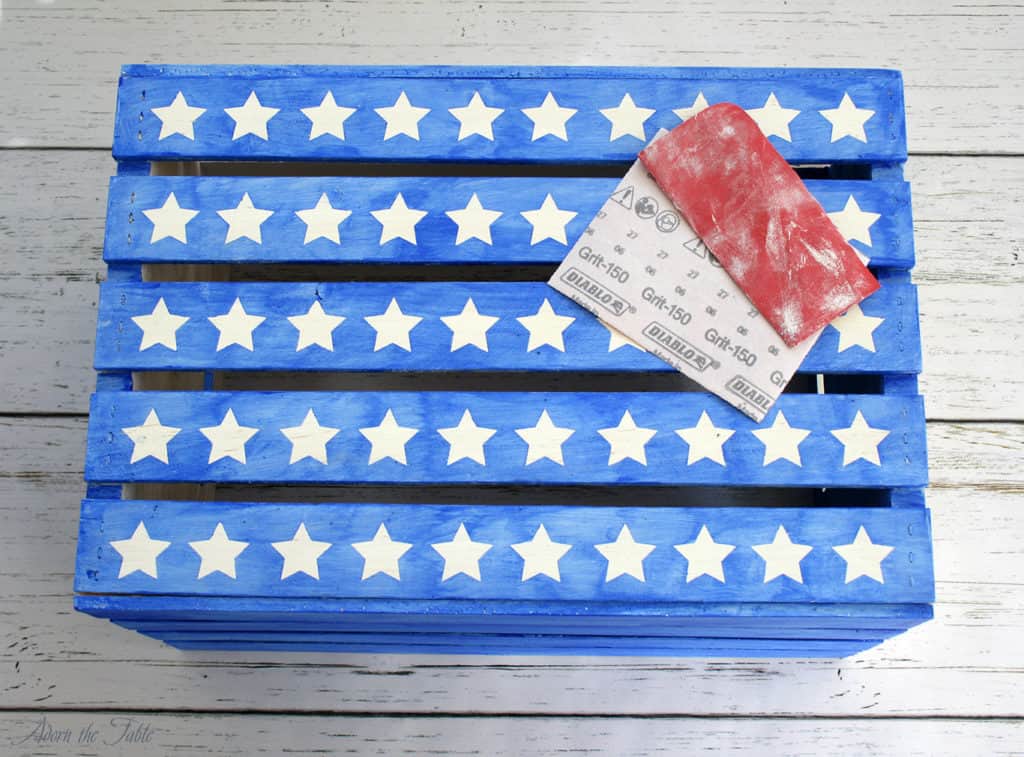
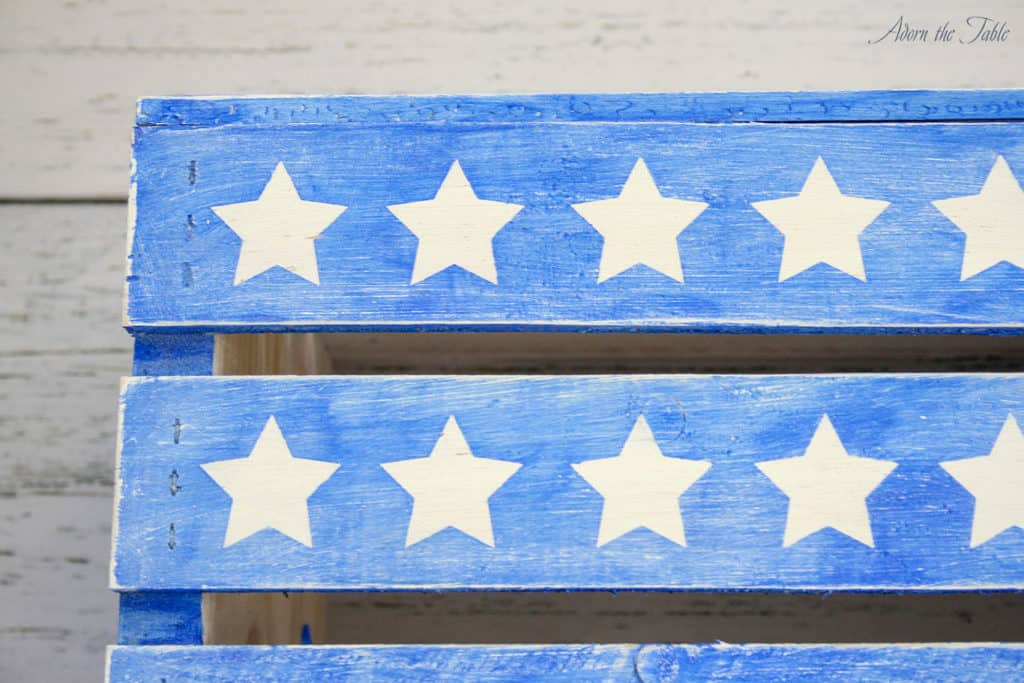
- Lightly sand the blue paint so the edges of the crate look worn, and the paint has a dull look.
- Seal the crate with clear matte spray paint.