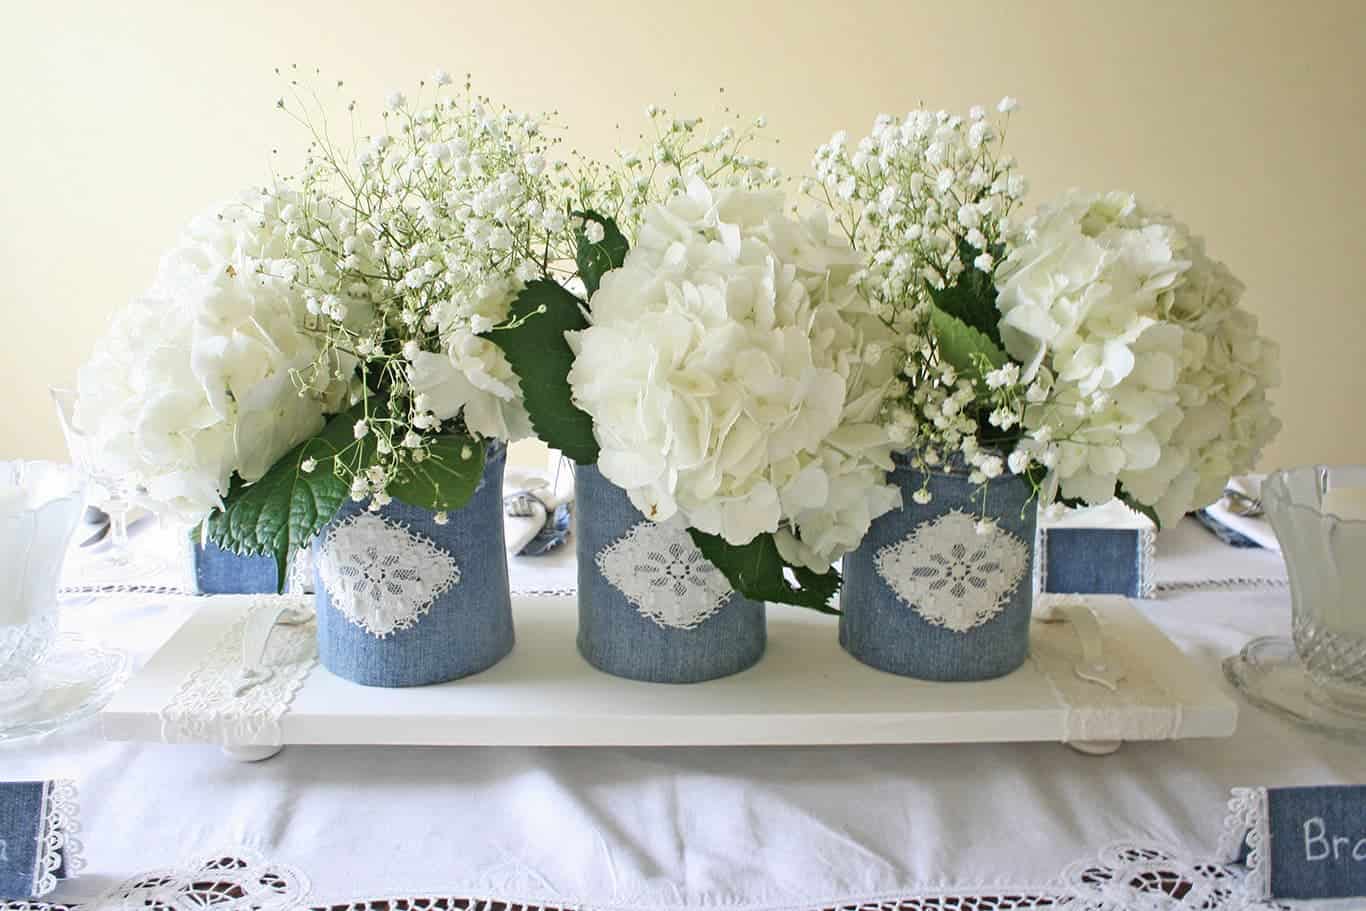
Upcycling coffee cans into flower vases is one of my favorite projects to date. I just LOVE how easy they were to do and how CUTE they turned out!
Like so many of you, I MUST have my morning coffee (mocha, in my case). But going to the coffee cafes gets very pricey, So to save money, I make it at home. Which means I buy ground coffee from the store.
Hence my collection of coffee cans. I can’t toss them because I know I can put them to good use someday. And that day is today!
I came up with a great DIY idea = an upcycled coffee can vase!
Turning an old coffee can into a vase – It’s perfect!!
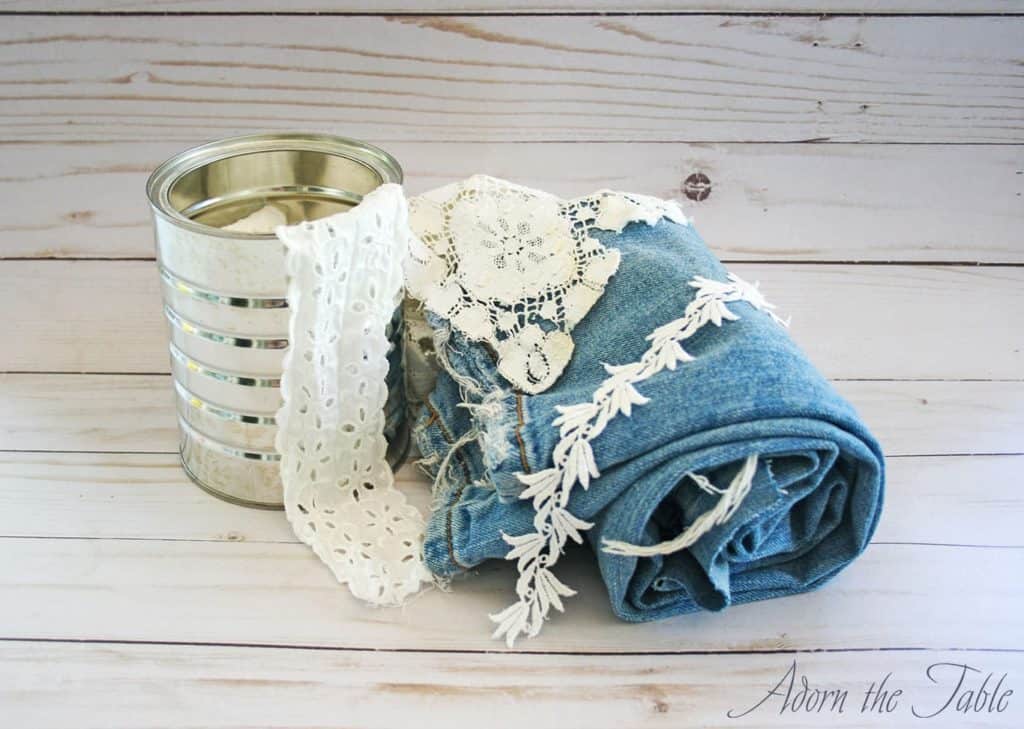
Supplies for DIY Coffee Can Vase
Please note that this article may contain affiliate links. I may get commissions (at no cost to you) for purchases made through these links. You can read my full disclosure here.
- Empty coffee can (vegetable cans work well, too)
- Old pair of jeans
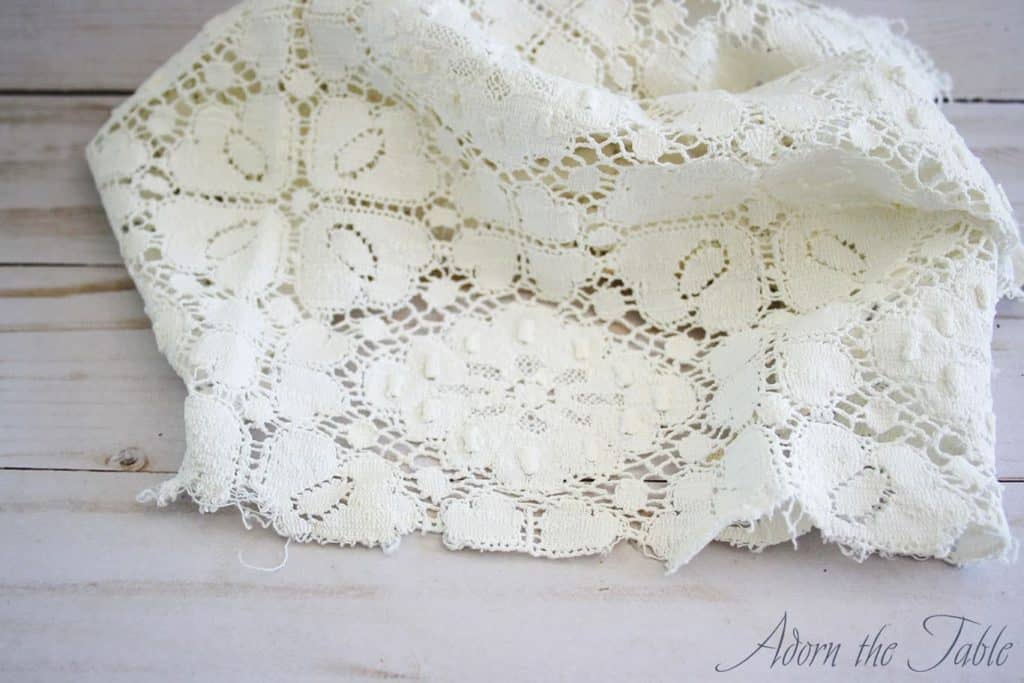
- Lace
- Hot glue gun (love this glue gun!)
How to Upcycle Coffee Cans into a Vases
Step 1: Prepping your coffee cans
Remove any labels from the outside of the coffee can. My coffee cans had the label glued on just one side, so it was easy to cut and remove.
Note: don’t worry about removing any glue residue on the outside of the can, as it will be covered.
Wash the inside with soap and warm water to get rid of any leftover coffee grounds.
Step 2: Covering your coffee cans
I decided to upcycle a pair of old jeans that my daughter was tossing. There are two different ways you can repurpose the jeans to cover your coffee cans.
Option 1: Use the leg bottom of your old jeans
Using the leg bottom of your old jeans will provide a nice, finished edge to the top of your coffee can vase.
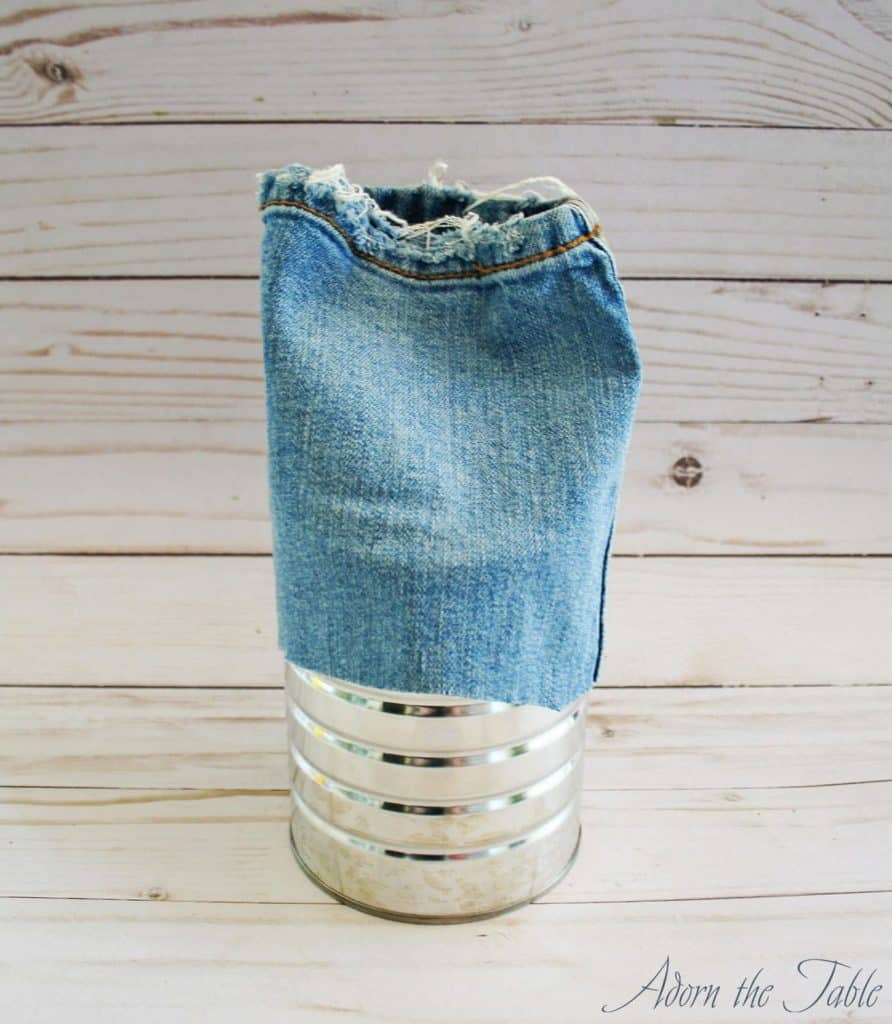
You will first want to make sure that the bottom of your jeans will completely wrap around your coffee can. To do this- slide the coffee can inside and down a pant leg. If it can’t go completely to the end of the pant leg, you will need to go to option 2. Note: if the jeans have a little stretch to the fabric, you might need to push the coffee can down.
Lay your jeans out flat and position the coffee can at the bottom edge of them. Then cut the jeans about 1-2” from the opposite end of your coffee can. Do this for each pant leg.
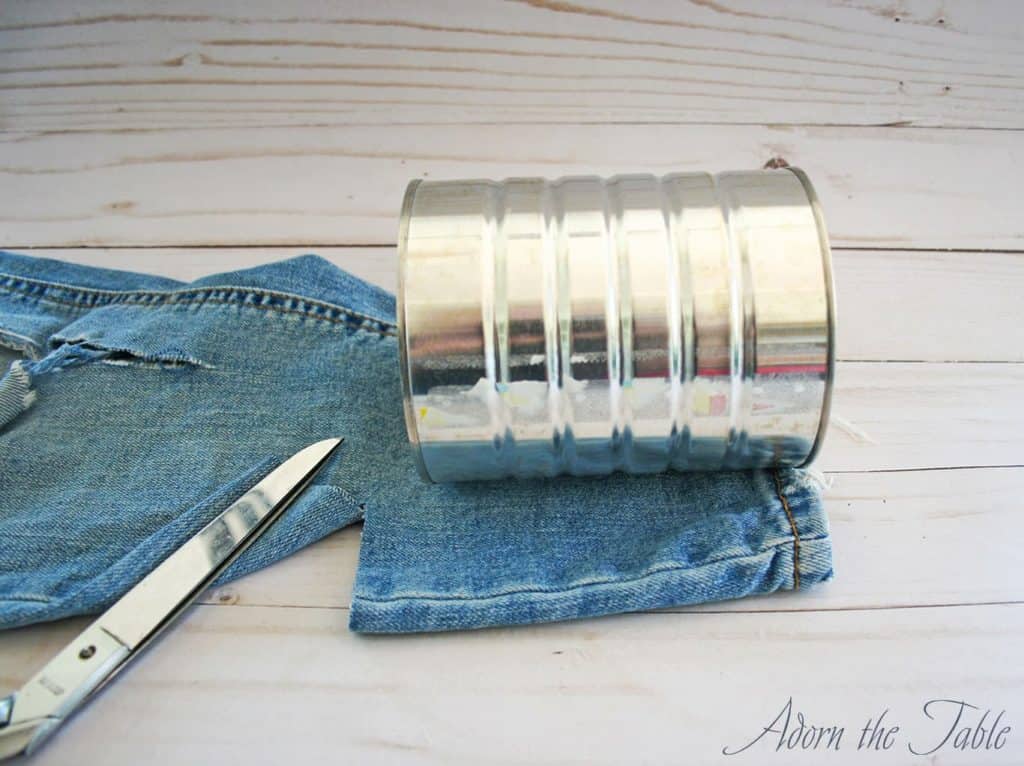
Once you have the pant leg cut, slide the coffee can into the cut section so that the finished edge of the denim sits just above the open side of the coffee can.
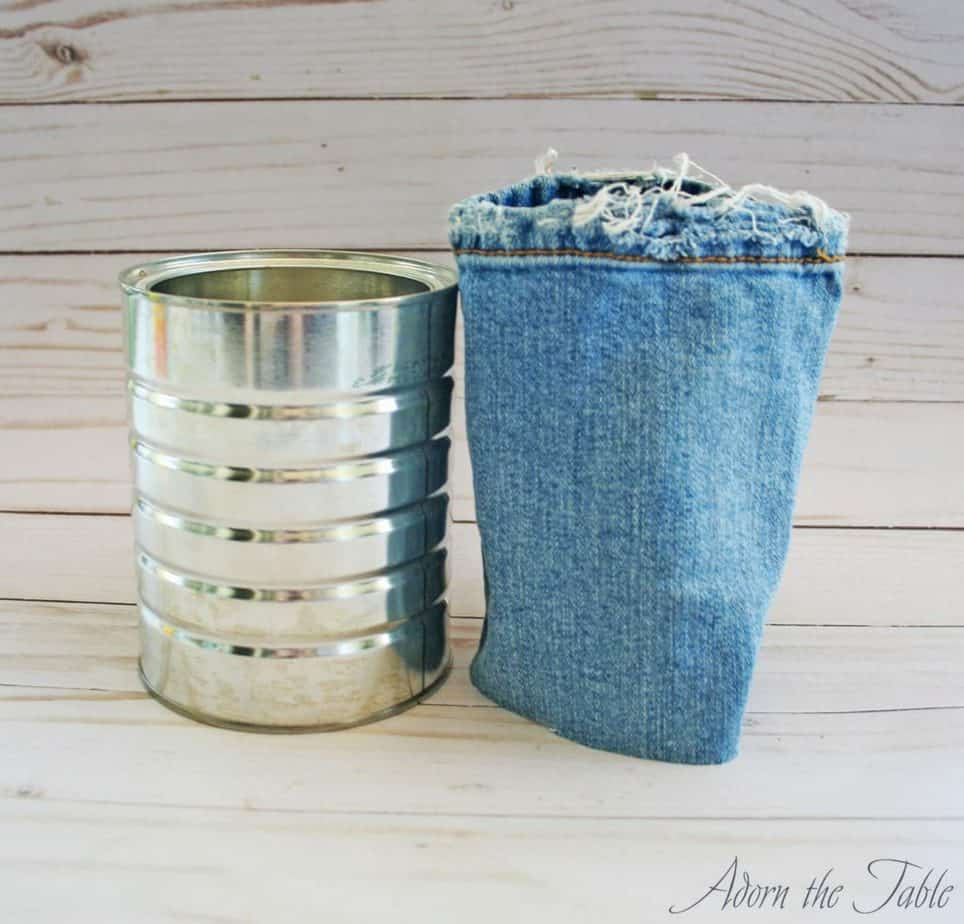
Using a hot glue gun, glue the finished jean’s edge in place.
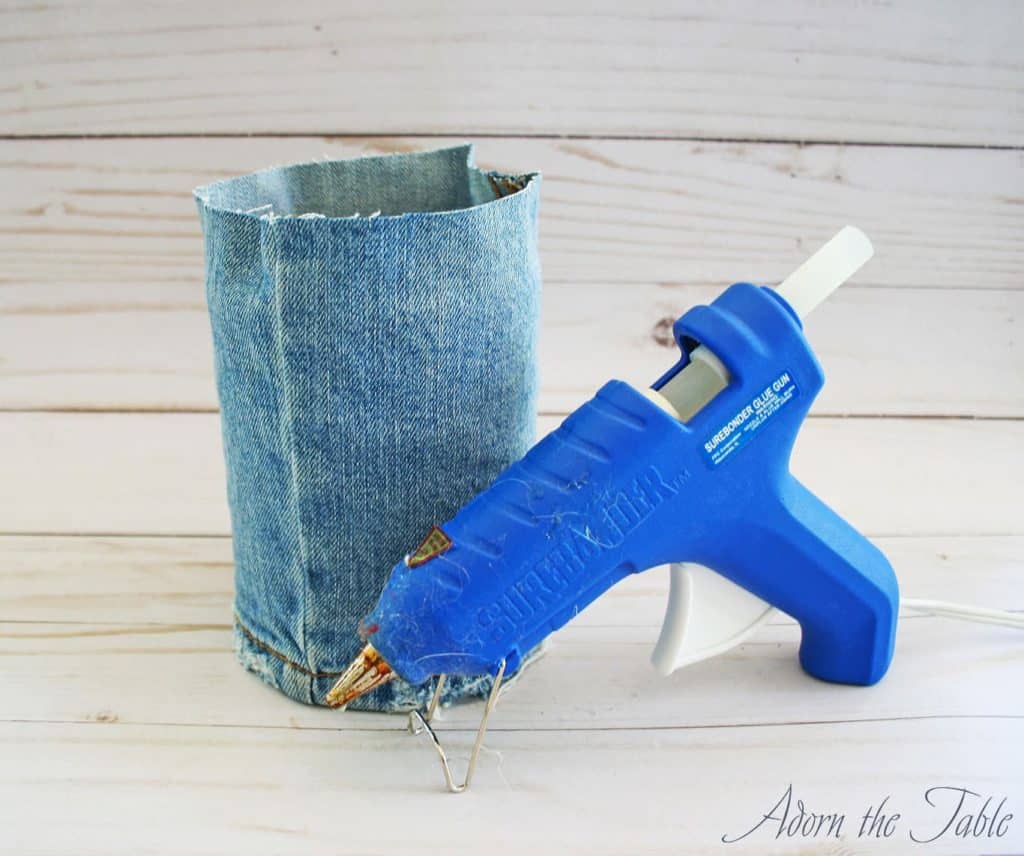
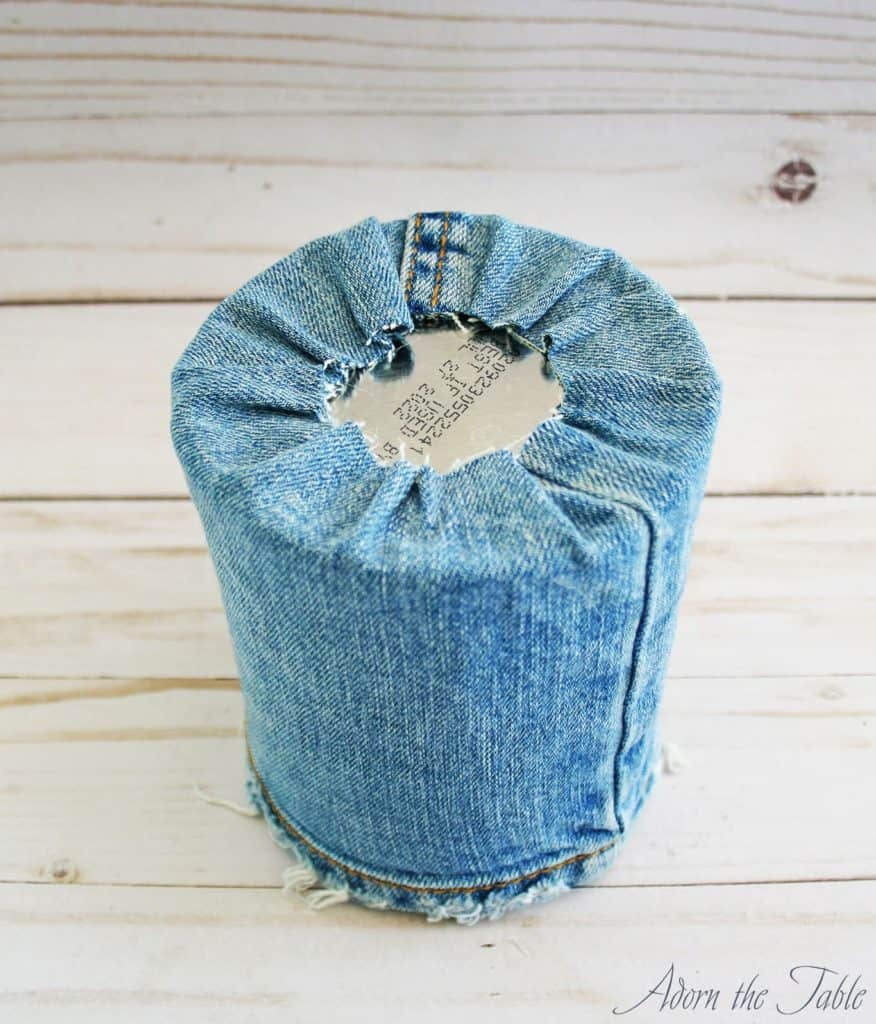
Flip the coffee can over.
Starting on one side, gently pull the denim tight and tack it down to the bottom of the can with the hot glue. Then tack down the opposite side, pulling it tight first. Continue to glue the rest of the fabric to the bottom of the coffee can. *Be sure to smooth out any bumps on the bottom before gluing in place.
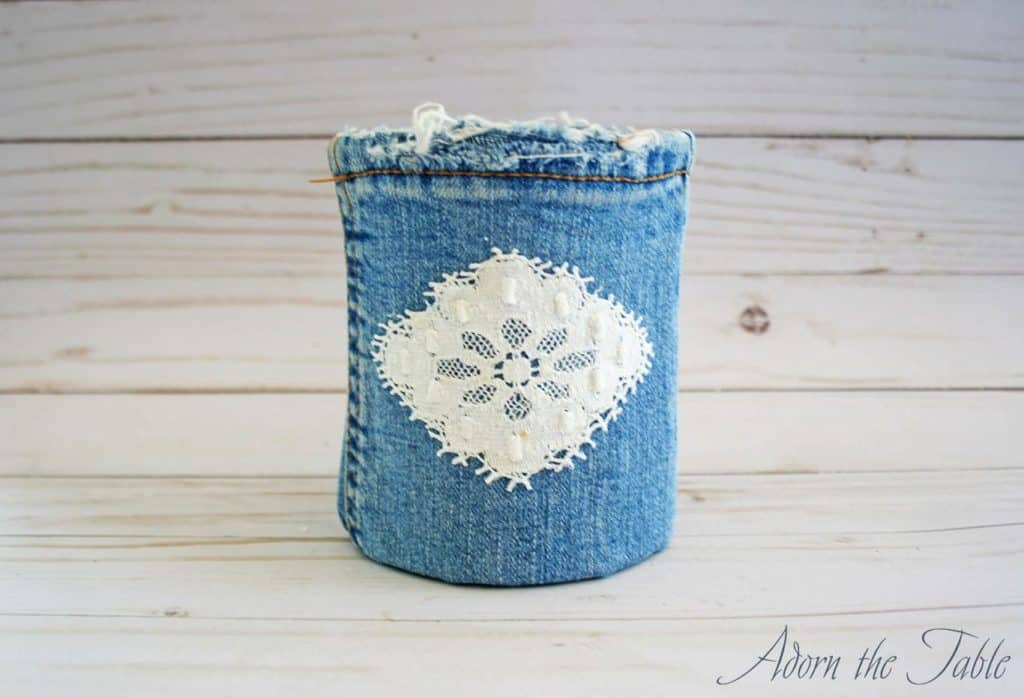
Option 2: Using the middle of a pant leg
If the bottom of your old jeans is too narrow to fit around the coffee can, you can easily use a wider section of the pant leg.
(In my case, I had already used the bottom of each pant leg and wanted to make a third coffee can vase, so I needed to use fabric from the middle of a pant leg.)
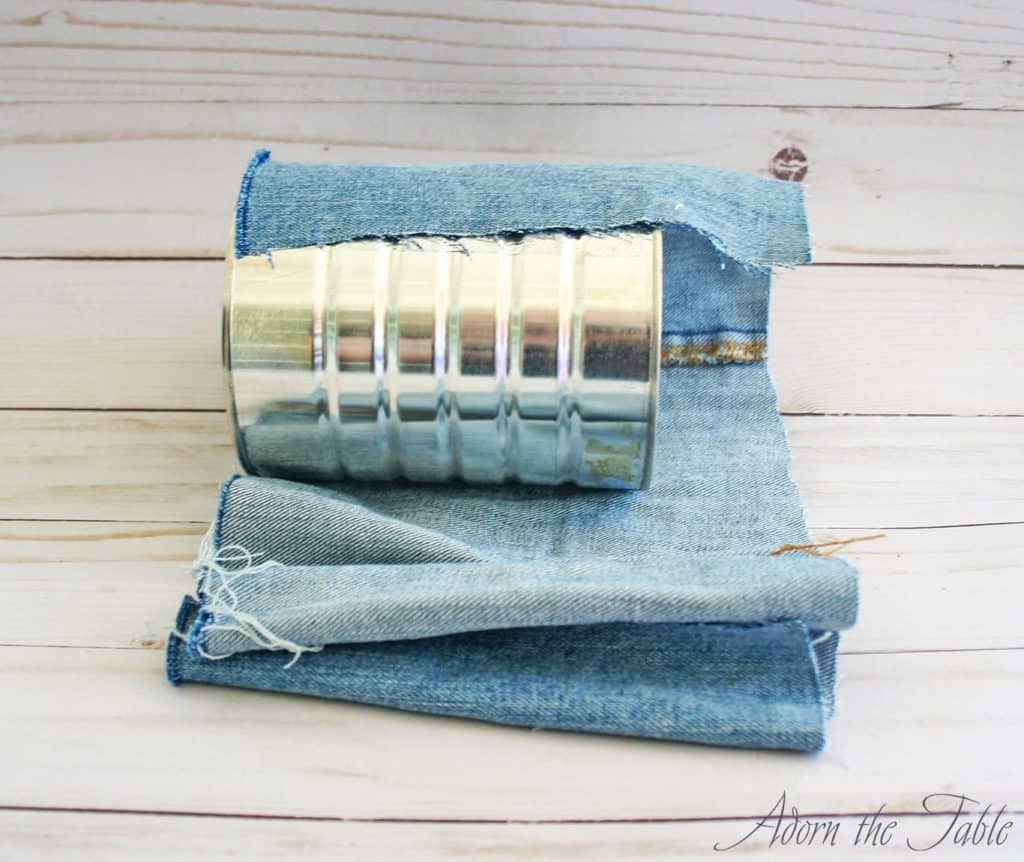
Find the point of the pant leg that will fit around your coffee can. Lay your jeans out flat and place the coffee can at that point. Then cut the jeans about 1-2” from the opposite side of your coffee can. You should now have a section of denim that will completely go around your coffee can.

Cut the jeans along the edge of the side seam. This will provide a clean look when you are adhering the denim to the coffee can.
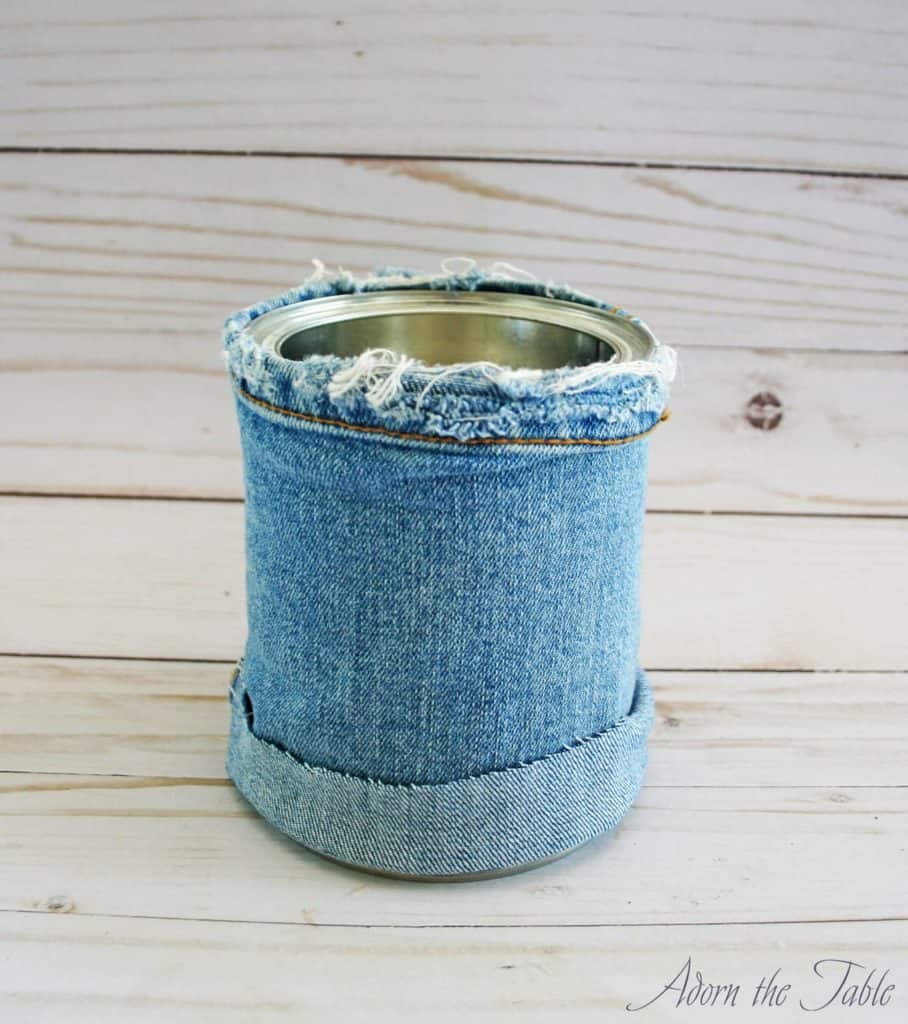
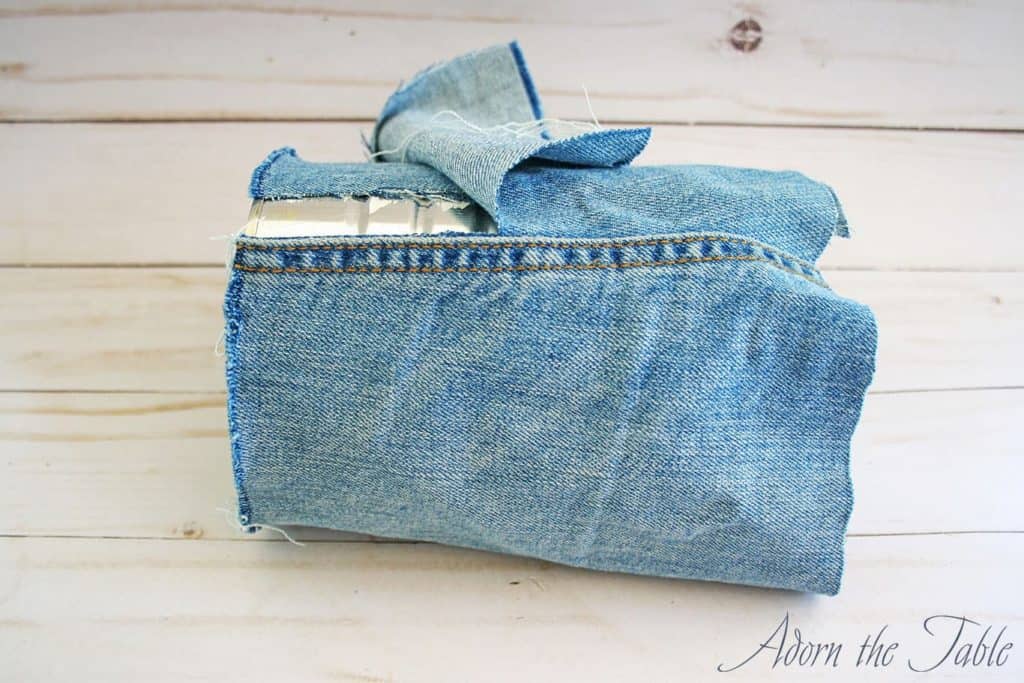
Wrap the narrow end of the jeans around the top of the coffee can. Just above the lip of the open side, so it hides the can. Starting with the unfinished edge, hot glue in place along the top.
Since many jeans taper (not straight leg), the fabric will get wider on one end. We want the seam to be straight on the coffee can, not at an angle. To ensure the seam is straight, pull the bottom edge of the unfinished side at an angle, around the can, until the seam edge is straight. Hot glue in place.
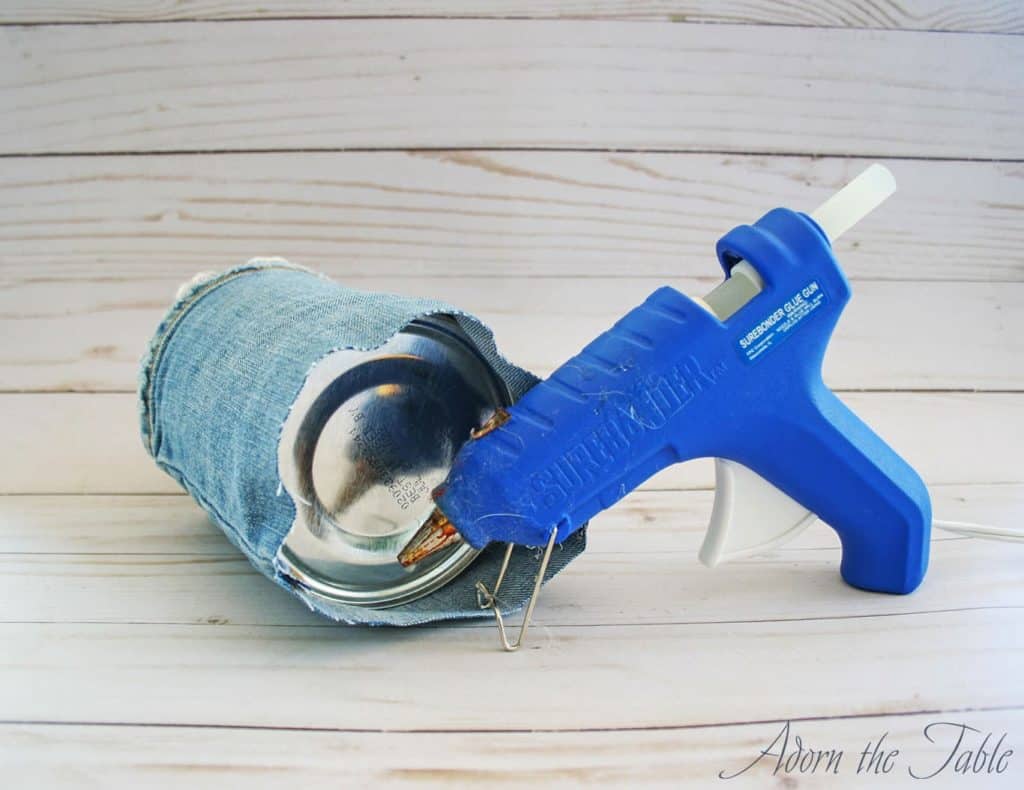
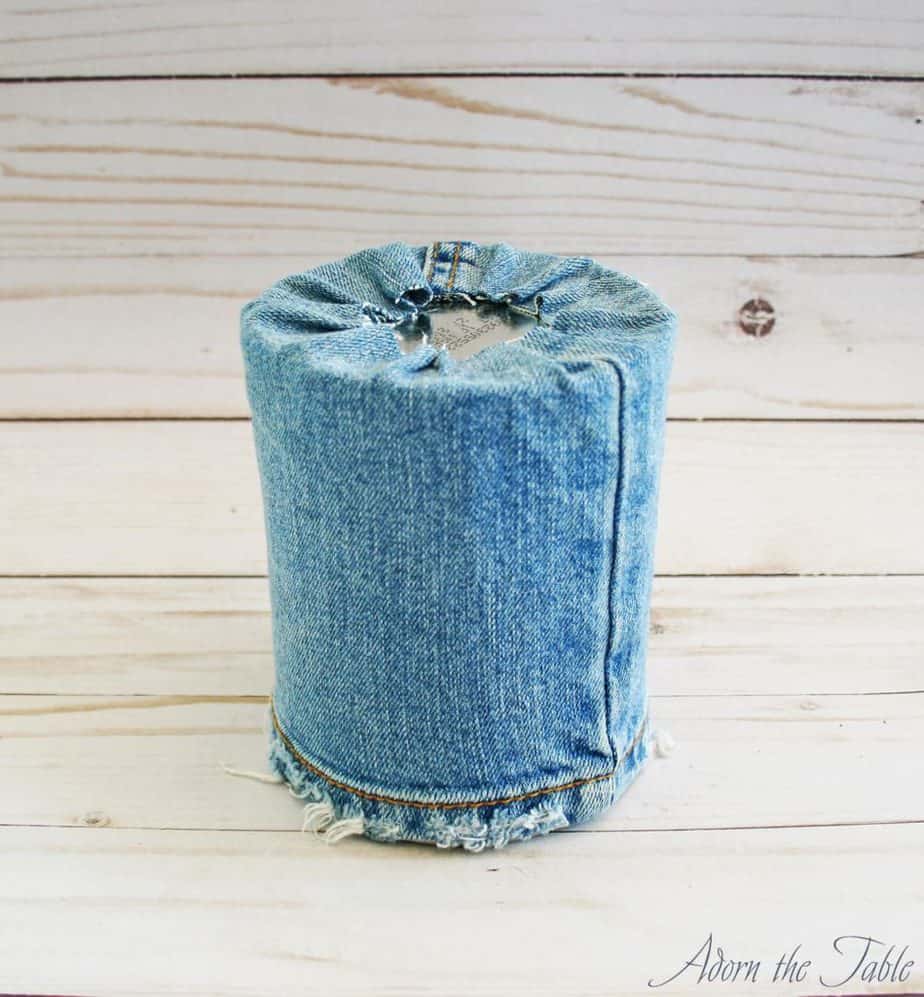
Glue the seam edge to the coffee can.

Now flip the can over and glue the denim to the bottom of the coffee can. Starting at one end, pull the denim tight and glue. Then go to the opposite side and glue. Continue until the fabric is attached to the bottom of the coffee can.
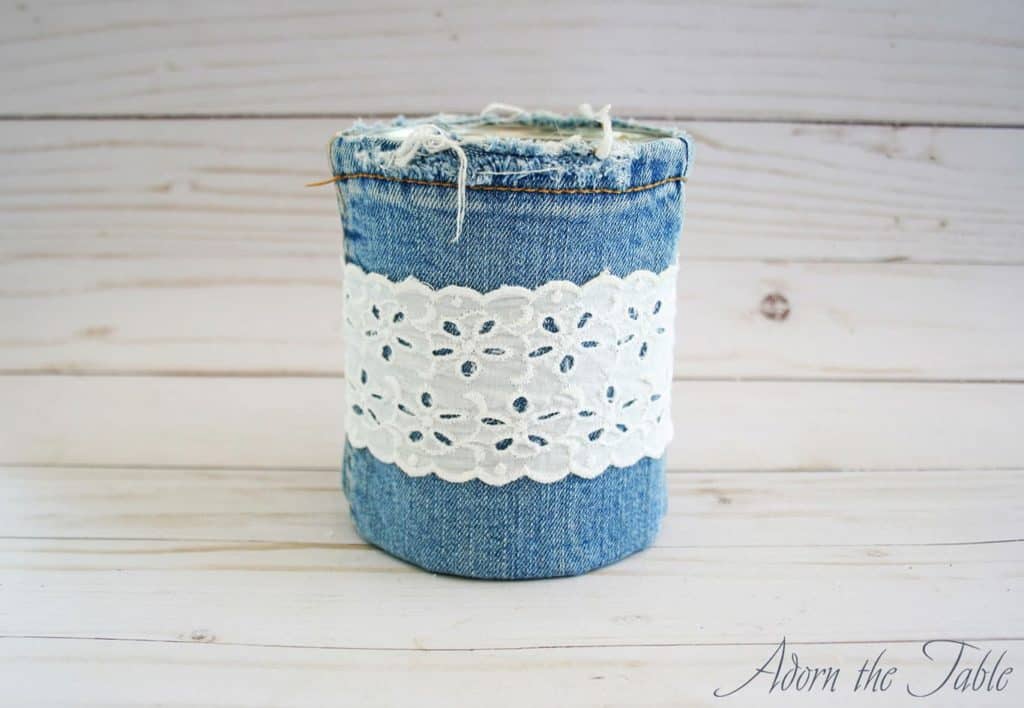
Step 3: Attach lace or other embellishments
Decide how you want to embellish your upcycled coffee can vase. I used sections that I cut out from an old piece of lace. However, you can also use ribbon, fringe, patches, buttons, or even gems. There are SO many ways you can embellish your new coffee can vase.
Layout your design before adhering the embellishments to the fabric. Once you are happy with the design, using either hot glue or fabric glue, attached the embellishments to the vase.
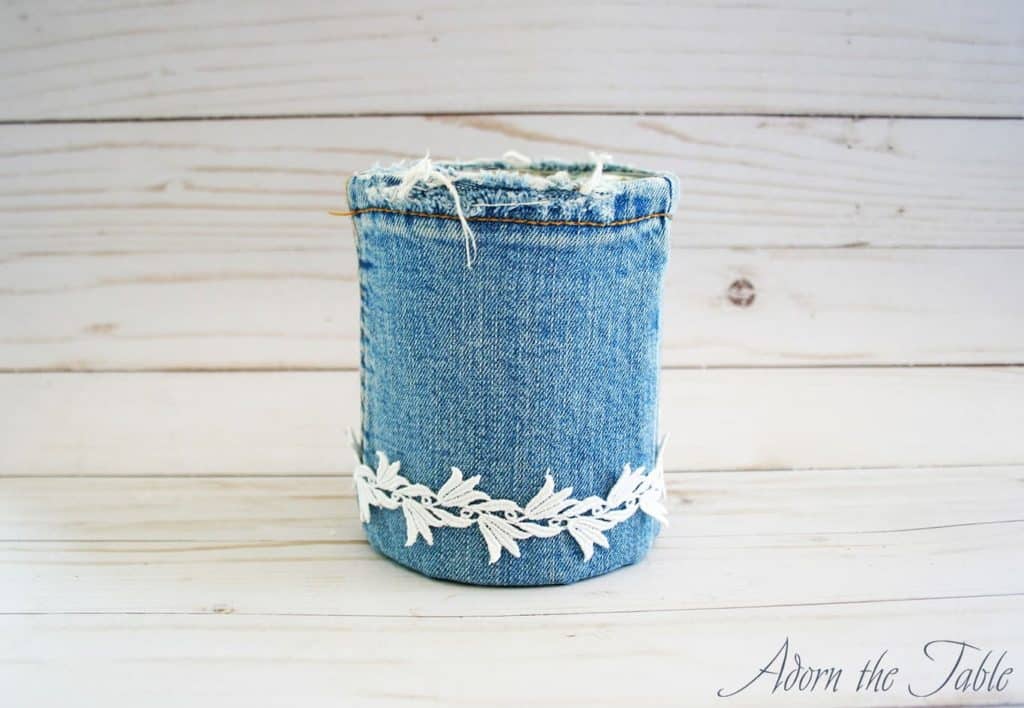
Step back and admire your super-cute diy coffee can vase. Then fill your upcycled coffee can vase with water and flowers and enjoy!
Don’t you agree that turning your used coffee can into a flower vase is a great diy project?
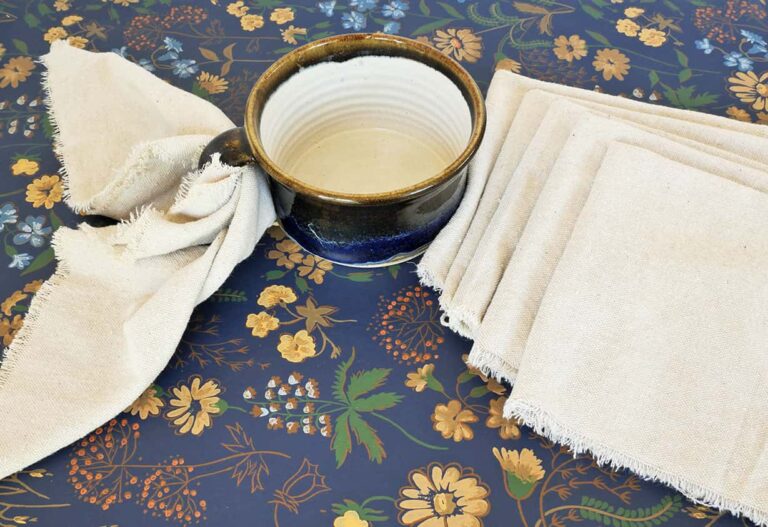
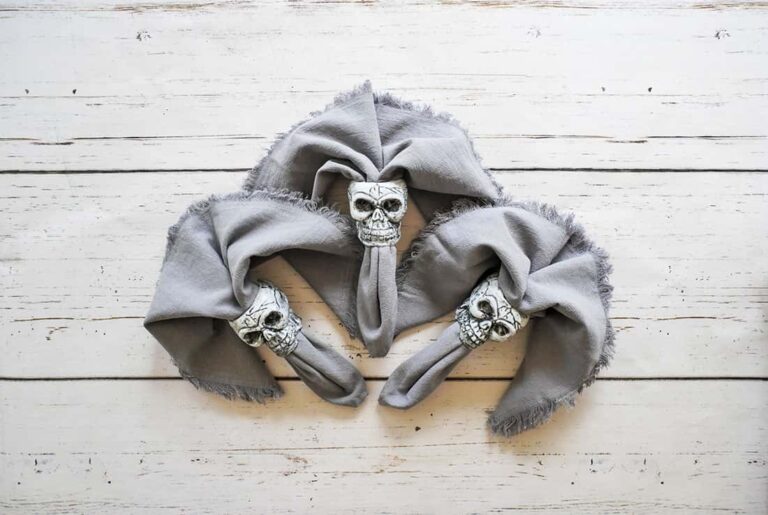

Love, love, love your DIY projects, they are so clever and cute. The jeans napkin rings are perfect for an outdoor picnic or backyard BBQ. One could also use the Denim covered coffee cans to hold extra flatware such as spoons for dessert or serving spoons. Your ideas are so great and useful. Thanks
What a great DIY! Love the look – these are gorgeous ☺️❤️
Aww! Thank you so much. I’m thrilled that you like them.
Yes ma’am great job I’ve been saving all kinds of cans cause my diy projects you can get the Folgers plastic containers and I spray paint them with a good paint the different sizes and make your own different size canister set like for sugar flour cornmeal etc cookie jars also smaller ones you can paint cover or whatever you wanna do and put some holes in them use for candle holders they work great outside the kids think I’m crazy cause I save that stuff also put sand in them for outdoor ashtrays decorate any way you want I call it recyclei g I guess it’s better then land fills!! Great ideas !! Just sone imagination use for the kids pencils crayons straws whatever you can think of flower vases
Wow! Those are great ways to repurpose and recycle containers!!
Clever, cute, very modern, thank you
So glad to hear that you like it!