I have a super easy styrofoam Christmas tree diy project to share with you. I know you’re gonna love it, especially how cheap it is to make!
There’s something about making Christmas decorations for your home that’s very special. Not only are you creating something unique, but it’s also something that you will be proud to say you made.
Cone-shaped Christmas trees are super popular. You can’t walk into a store without seeing one right away.
That’s why cone-shaped styrofoam is a no-brainer for transforming into a Christmas tree.
It comes in the perfect shape and a variety of sizes.
It really comes down to how you want to decorate or embellish it.
I have seen other styrofoam cones made into Christmas trees, but mine goes a step further and adds a base to the tree.
It’s SO easy. Plus it provides additional ways to decorate your home with styrofoam Christmas trees.
Before you know it, you will be making them to place all over your house and to give as gifts.
Supplies for DIY Styrofoam Christmas Trees
Please note that this article may contain affiliate links. I may get commissions (at no cost to you) for purchases made through these links. You can read my full disclosure for more details.
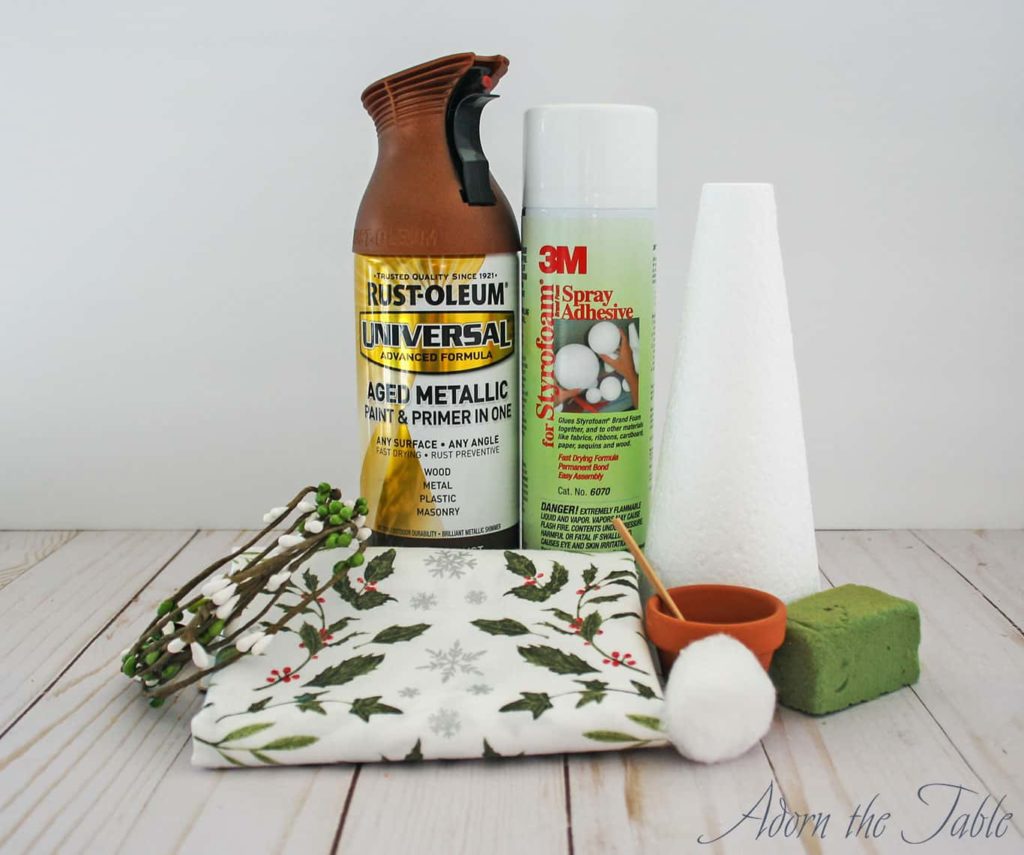
- Styrofoam cones (I got the smaller ones from Dollar Tree)
- Small clay pots
- Wooden dowels
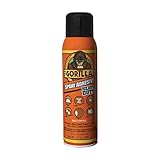
- Styrofoam spray adhesive
- ½ yard 100% cotton fabric
- Spray paint
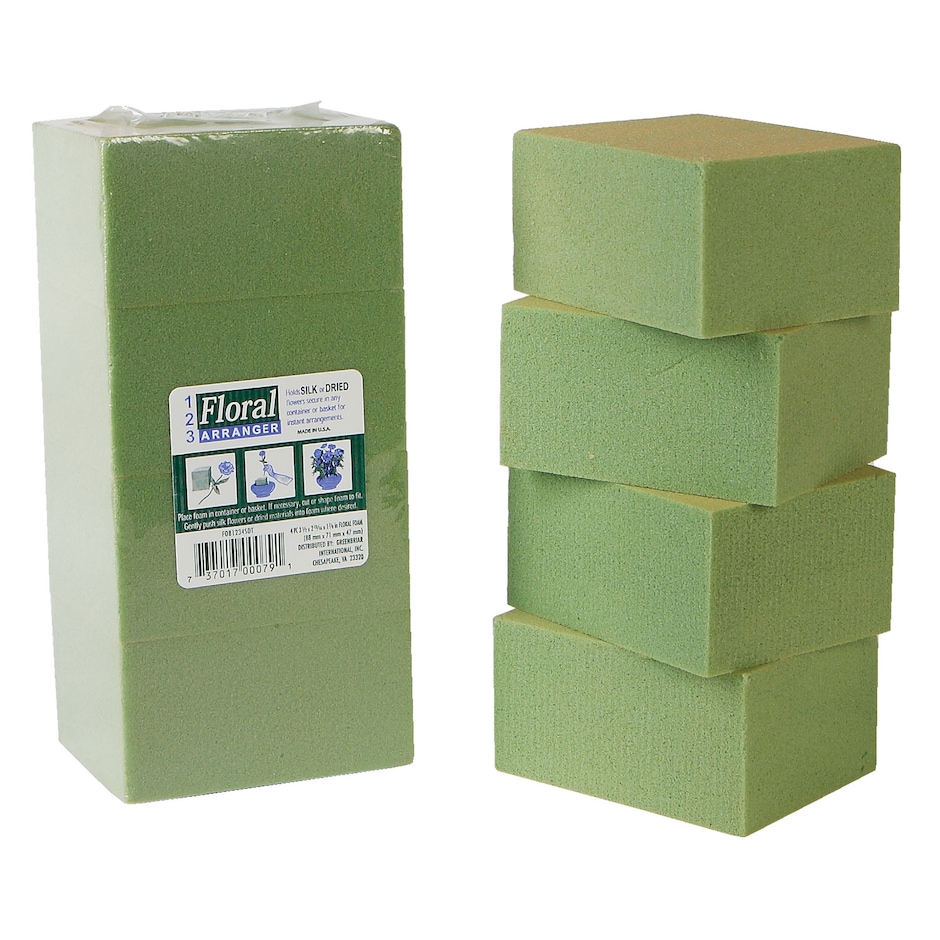
- Floral foam
- Wire garland
- Cotton balls
How to Make a Christmas Tree out of Styrofoam
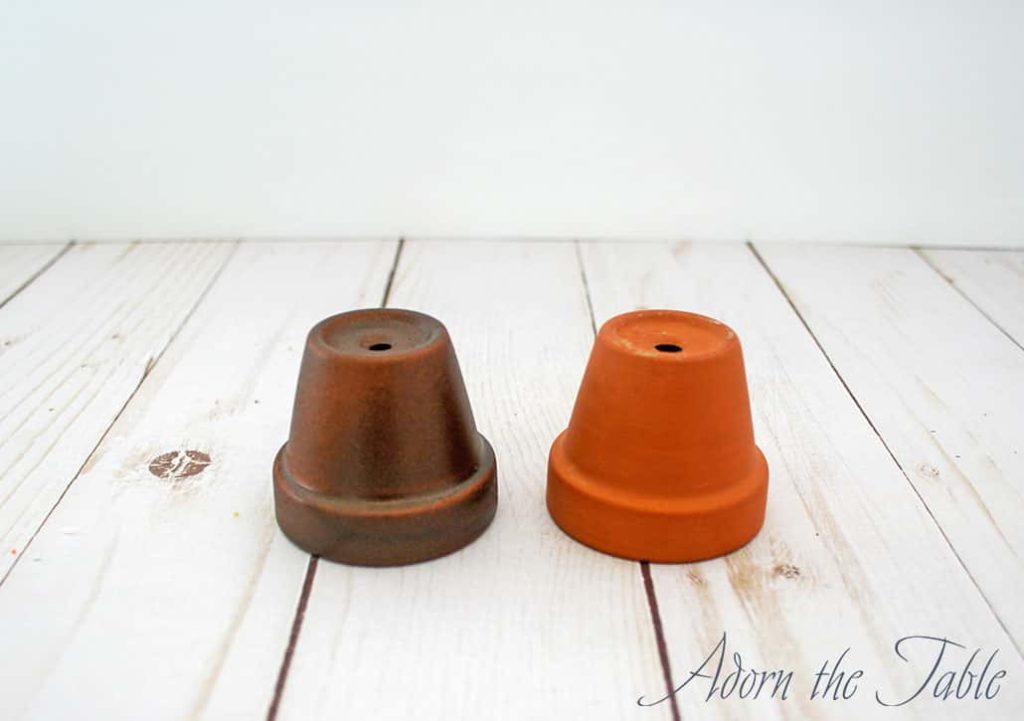
Step 1: Spray paint clay pots to use as the Christmas tree base
Prep your area for spray painting, be sure to do it in a well-ventilated area or outside. Also, lay down some newspaper or a drop cloth to protect the area’s surface. Spray paint particles travel further than you think.
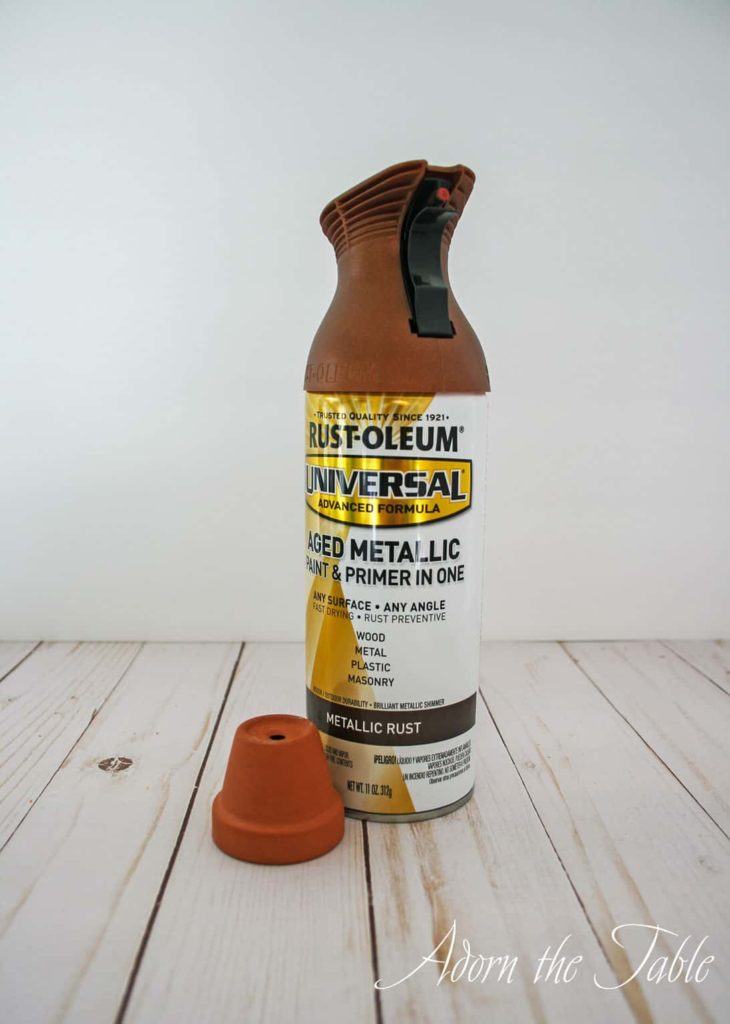
Decide on the color for your diy Christmas tree’s pot and apply 2-3 coats of spray paint. Be sure and wait at least 15 to 30 minutes between coats. I used my metallic rust paint because I wanted attention to be drawn to the trees, not the base. Plus, I love the color!
Step 2: Prep your fabric for the diy styrofoam Christmas tree
While you are in between spray painting the clay pot(s), it’s a good idea to get your fabric ready for the diy Christmas tree.
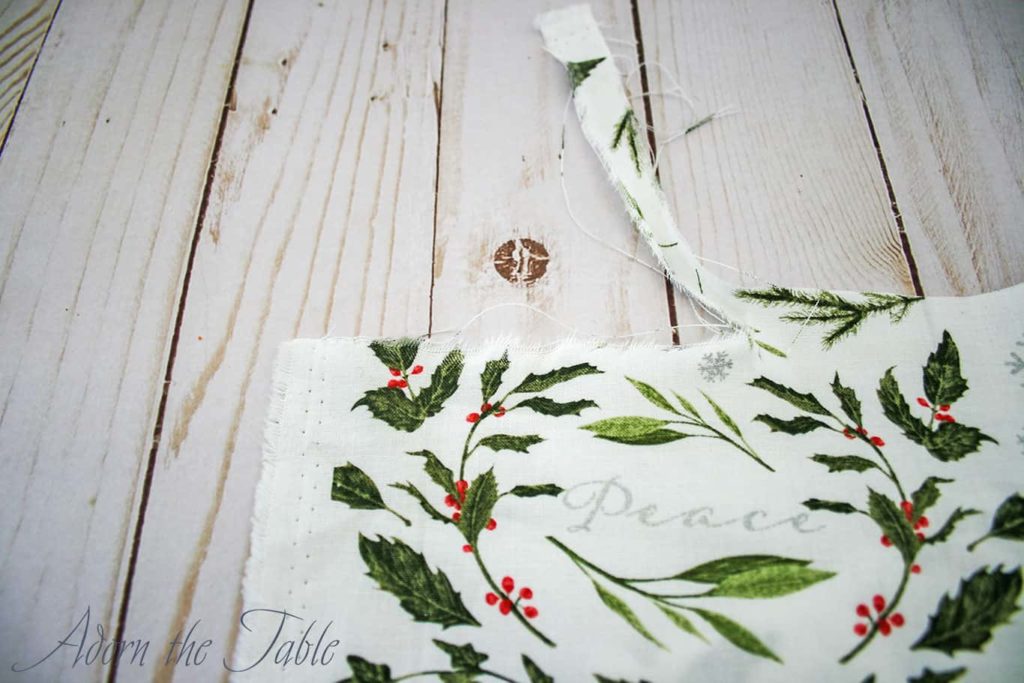
One of the things that makes these styrofoam Christmas trees unique is the frayed edges of the fabric.
You will need 100% cotton fabric for this effect. Because you will be ripping the fabric.
Yes, I said “ripping”, not cutting.
If you get a cotton blend fabric or polyester, it won’t rip or have frayed edges.
First, snip about ½” from the edge of the fabric. Cut far enough so you can grab the piece of fabric. Maybe an inch or two at most.
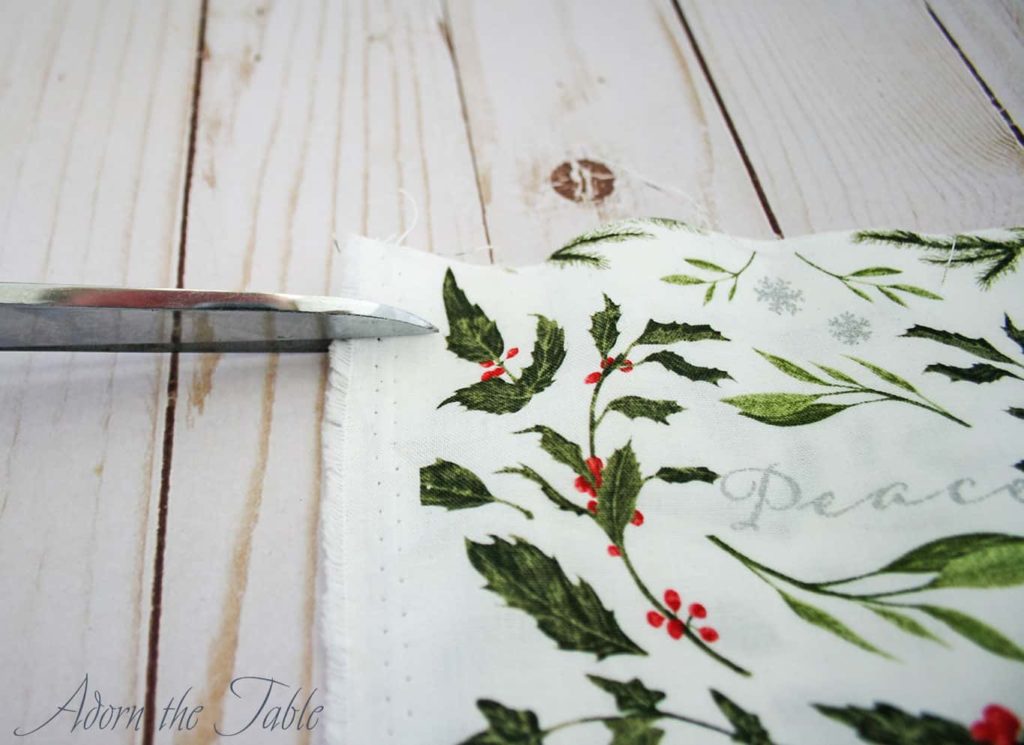
Second, grab the small piece you just cut and rip it from the rest of the fabric.
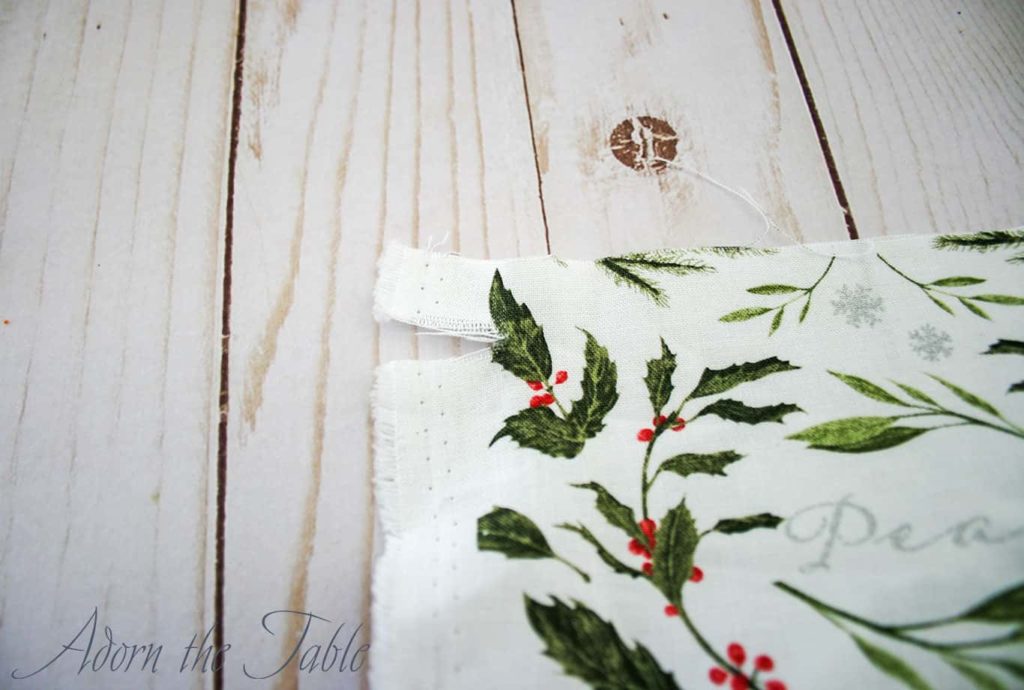
This will give you a straight, frayed edge of fabric. You will not be using this piece, so put it aside.
Now measure 1 inch from the new frayed edge. Snip and rip the fabric. You now have a 1-inch strip of fabric that is frayed on both sides.
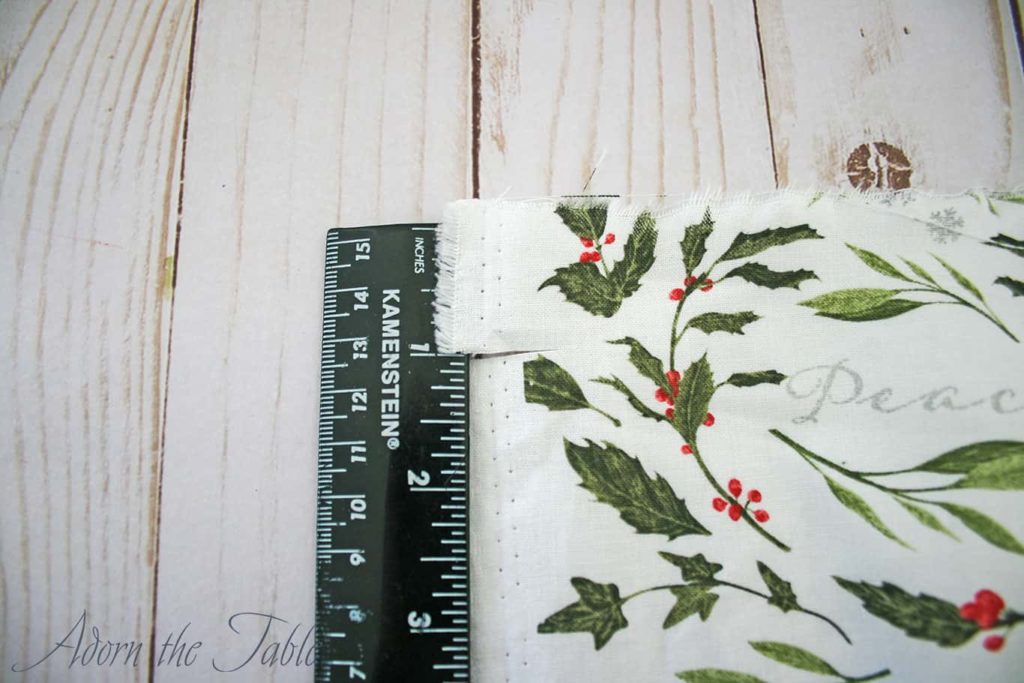
Continue to snip and rip until you have about 5 strips.
The styrofoam cone size you are using will determine how many strips you will need.
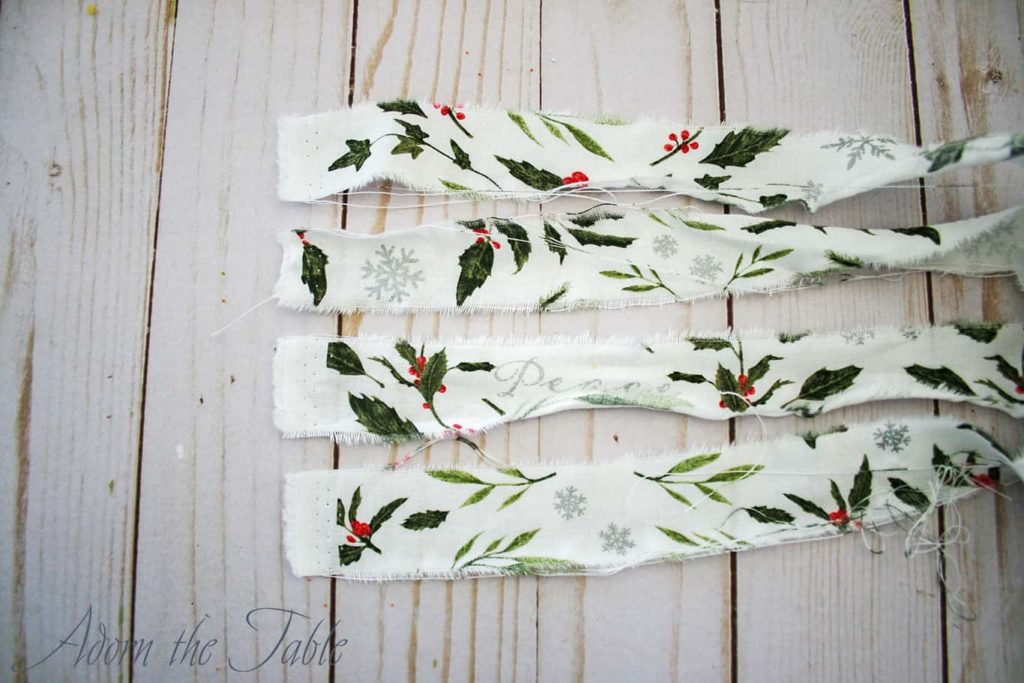
After you have ripped enough strips, go back and cut the end off each strip. Then pull a few threads away from each end so they are frayed too.
Step 3: Attach the fabric to the styrofoam cone
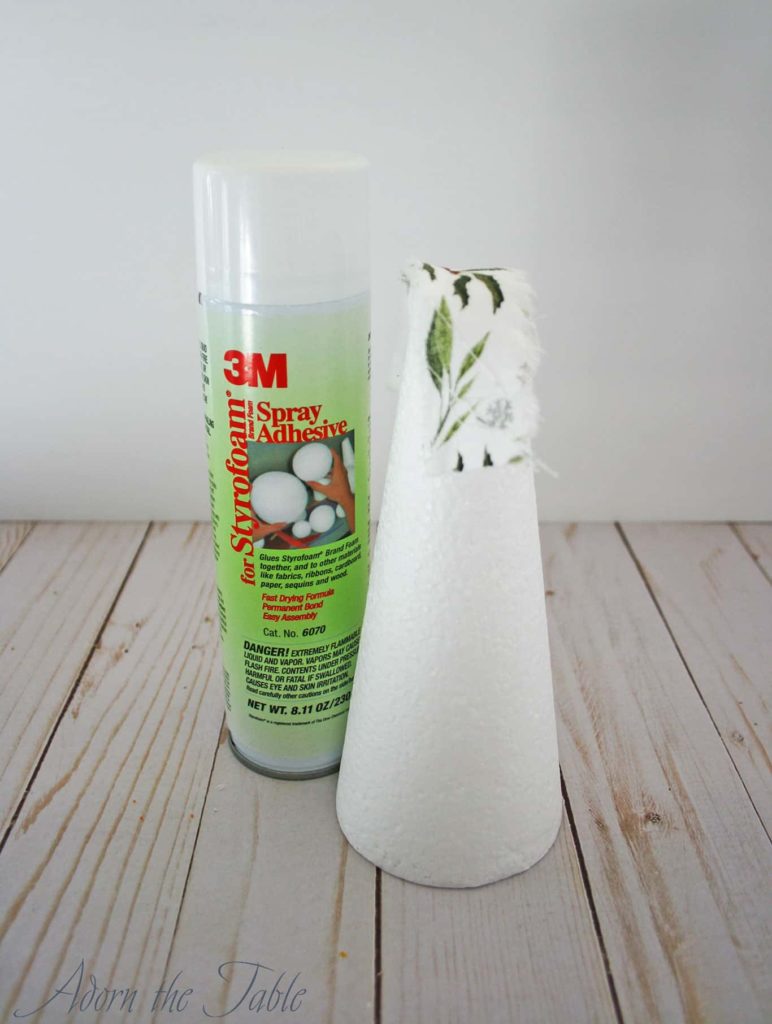
When attaching your fabric strips to the styrofoam cone, you can use white craft glue, but I would highly recommend a spray adhesive instead.
Don’t use hot glue. It will melt the foam and create larger divots.
A spray adhesive will quickly bond the fabric to the styrofoam, won’t slide around, and enables the fabric to have a smooth finish.
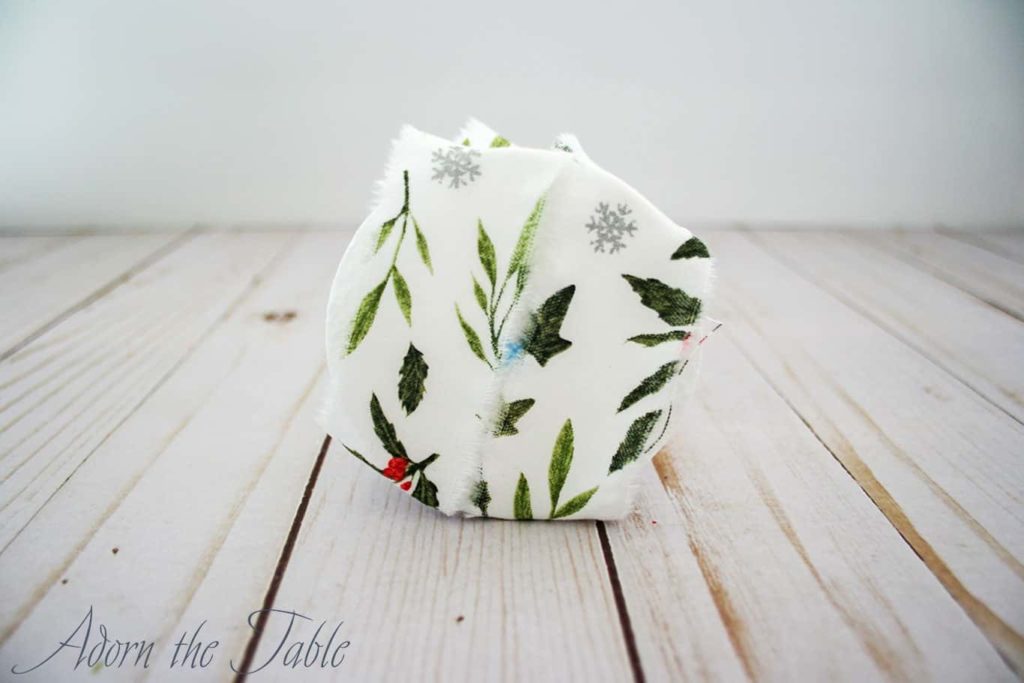
First I took a small piece of fabric and covered the top and base of my styrofoam diy Christmas tree. I used a little spray adhesive on each end to attach the fabric.
*Tip: for the base; mark the center of the base and then lay strips on either side of the mark. This will enable you to easily attach it to the base as described in step 4.

Once you have the top and base covered, it’s time to cover the cone with your fabric strips.
Using your spray adhesive, cover the bottom half of the cone. (I would suggest doing a few practice sprays on a piece of paper, so you get the hang of how your adhesive sprays.)
This will allow you to hold onto the top half of the cone while you attach the fabric strips.
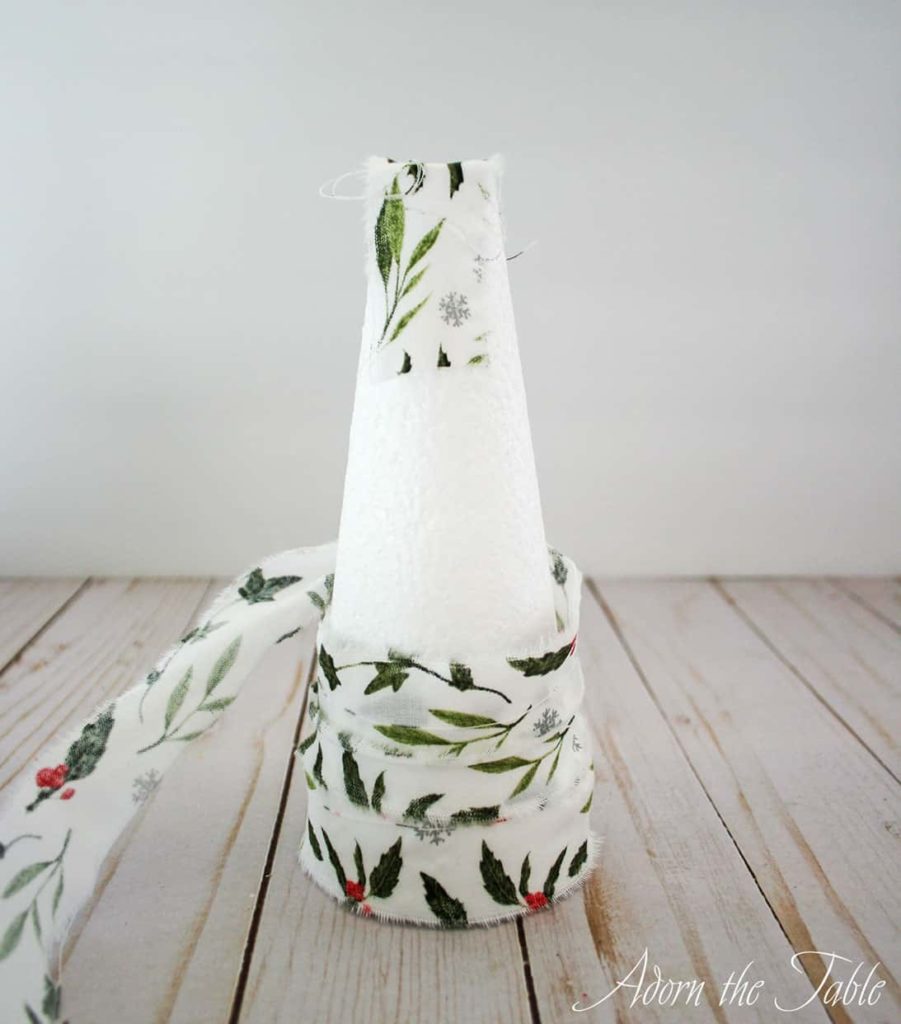
Holding the top of the cone, lay one strip along the bottom of the cone so that it just barely hangs over the edge.
Twist the cone as you wrap and slightly overlap the fabric strips. Gradually working up the cone.
When you get to the end of the fabric strip, lay a new strip over the end and continue to twist and wrap the fabric around the cone.
After you have wrapped the section that you had sprayed, hold the bottom half of the cone that’s covered in fabric and spray the top half.
Be careful to not spray the fabric you have already attached.
Continue to wrap the styrofoam cone with fabric strips.
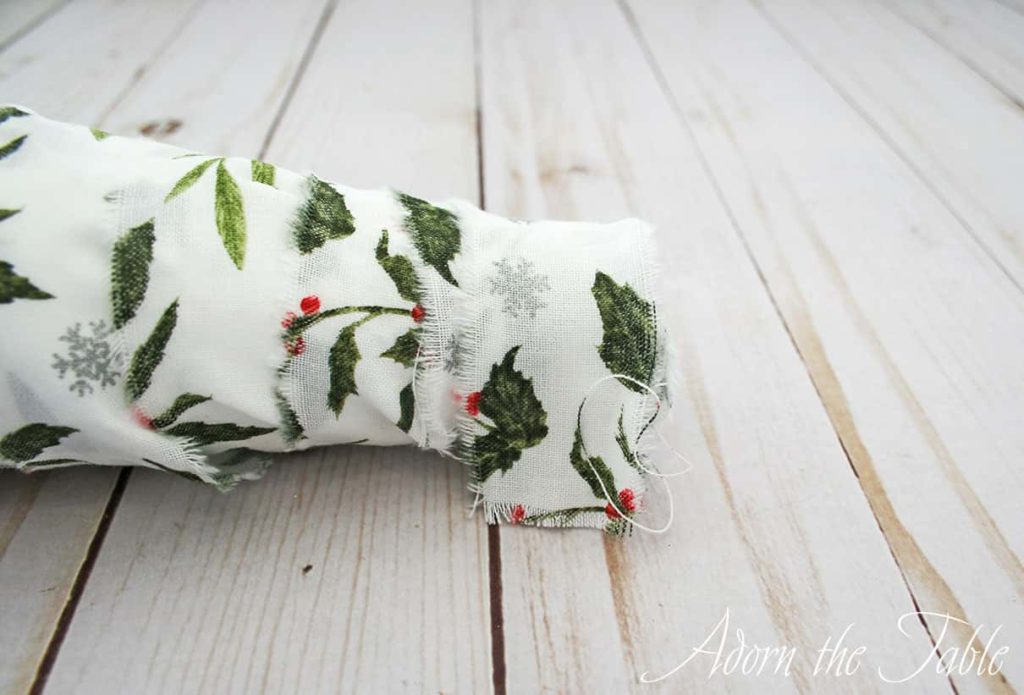
When you get to the top of the cone, cut off any excess fabric and fray the end before adhering it.
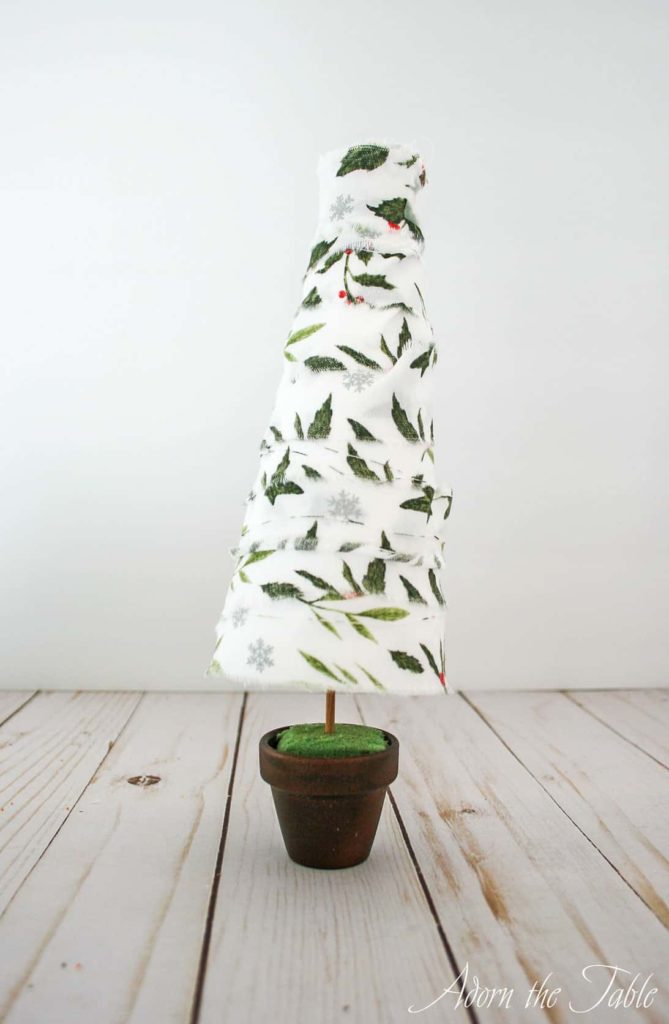
Step 4: Connect the Christmas tree styrofoam cone to the base
To connect the styrofoam Christmas tree to the base, I used small wooden dowels. I didn’t do anything to them, as I liked the natural wood color, but you can paint them if you prefer.
For my small cone trees, I used a 3-inch piece and for my larger trees, I used a 6-inch piece.
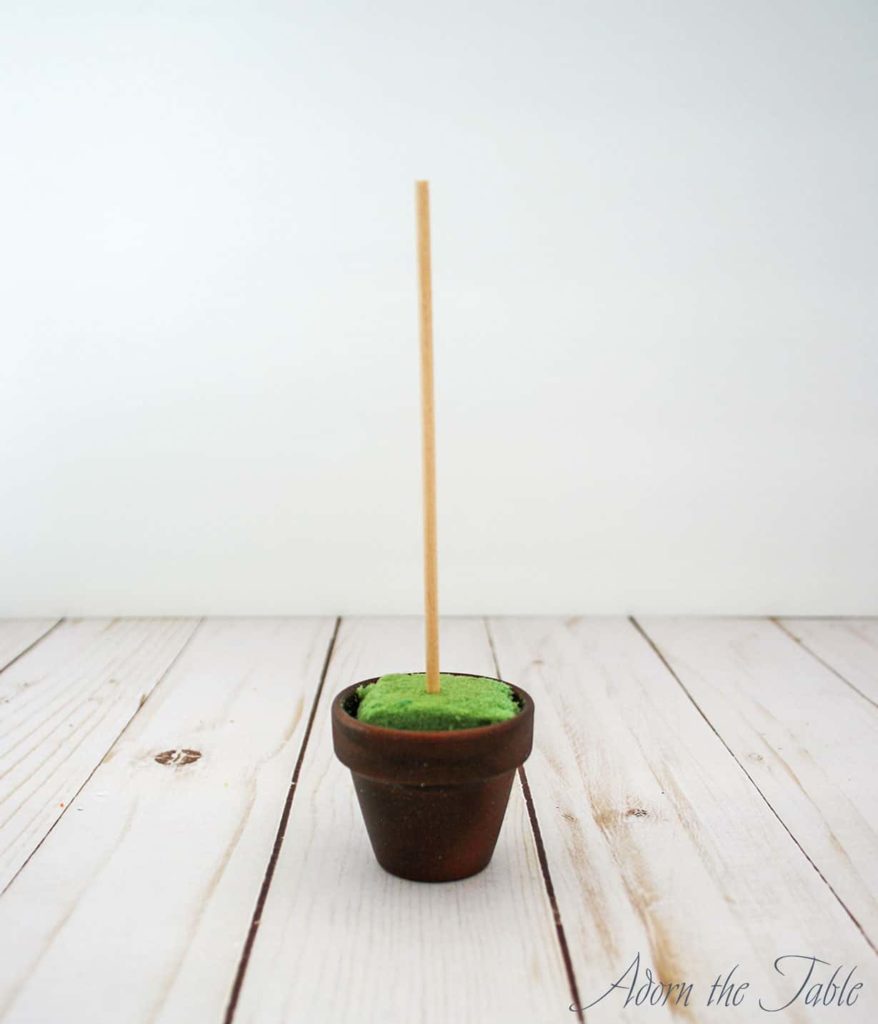
First, you will want to add some floral filler to the clay pot. This will help to hold the dowel in place.

Now add a little glue to the one dowel end and push it into the middle of the floral foam. Push it all the way down.
Next, add a little glue to the other end of the dowel and gently push it into the bottom of the cone. (This is why you didn’t cover the middle with fabric.) Don’t go too far up the cone. You can always push it in further.
Depending on how much of a tree trunk you want, leave it, or push the styrofoam cone further down the dowel before the glue sets.
Also, make any slight adjustments so the tree is standing straight.
Once it looks good, add a little glue around the sides of the dowel. This will help ensure it is stabilized.
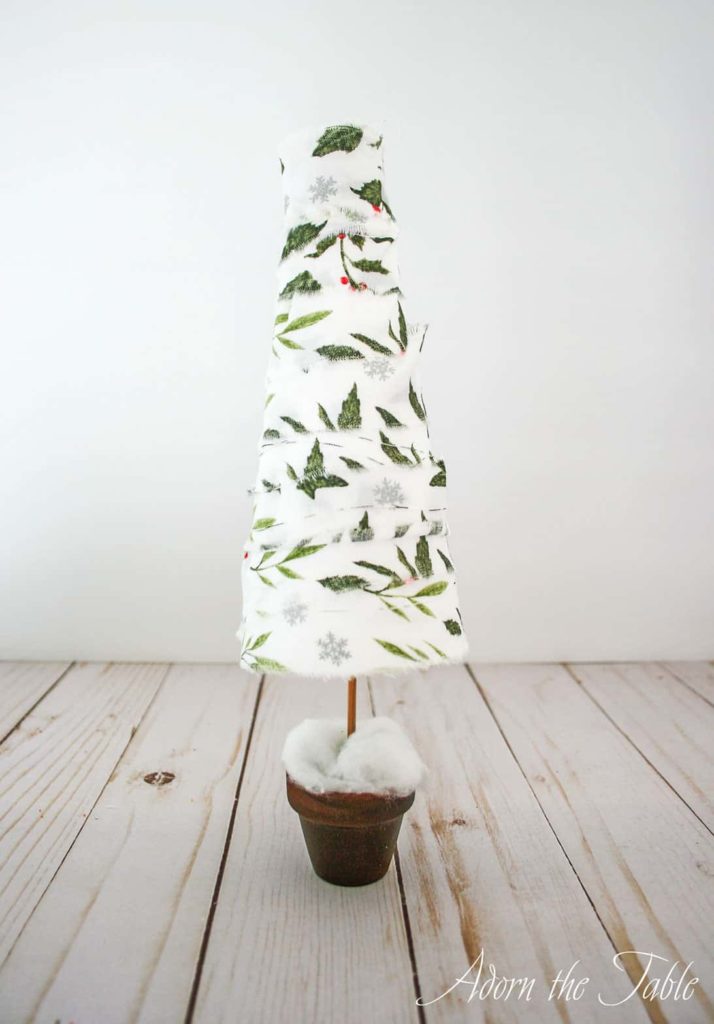
Step 5: Decorate your diy styrofoam cone Christmas tree
You’re about 95% done with your styrofoam diy Christmas tree cone. Now to decorate it.
For the base, I used cotton balls that I had pulled apart and glued in place to simulate the look of snow. If you prefer, you can use dried moss.
Then to decorate the tree, I used wire garland and wrapped it around from the top to the bottom. Gluing it at the top, middle and bottom.
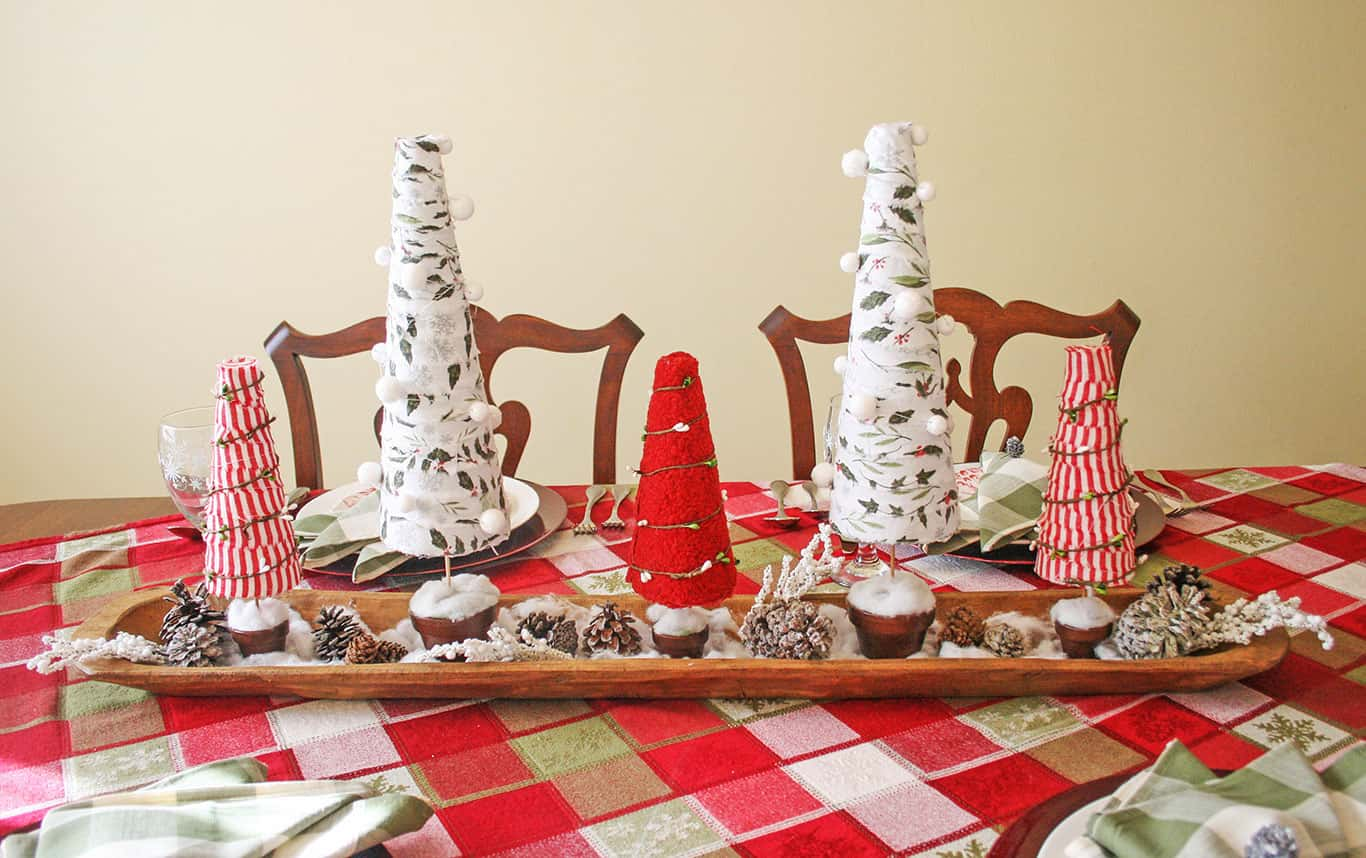
Voila! You have made some SUPER CUTE diy Christmas trees using styrofoam cones.
One of the best things about these diy styrofoam Christmas trees is how they are unique to you and your Christmas decor.

You pick the fabric that will work best with your theme, and you can make the Christmas tree pot any color you wish.
You decide how to decorate your styrofoam Christmas trees.
The combinations are infinite! SO FUN!
Be careful – you might get carried away! LOL!!
***Check out how cute they look on a Rustic Farmhouse Christmas Tablescape.
More diy projects to check out:
- Twisted Paper Flower Napkin Rings
- Holiday Snow Globe
- Colored Bottle Brush Trees
- Easiest Pinecone Napkin Rings