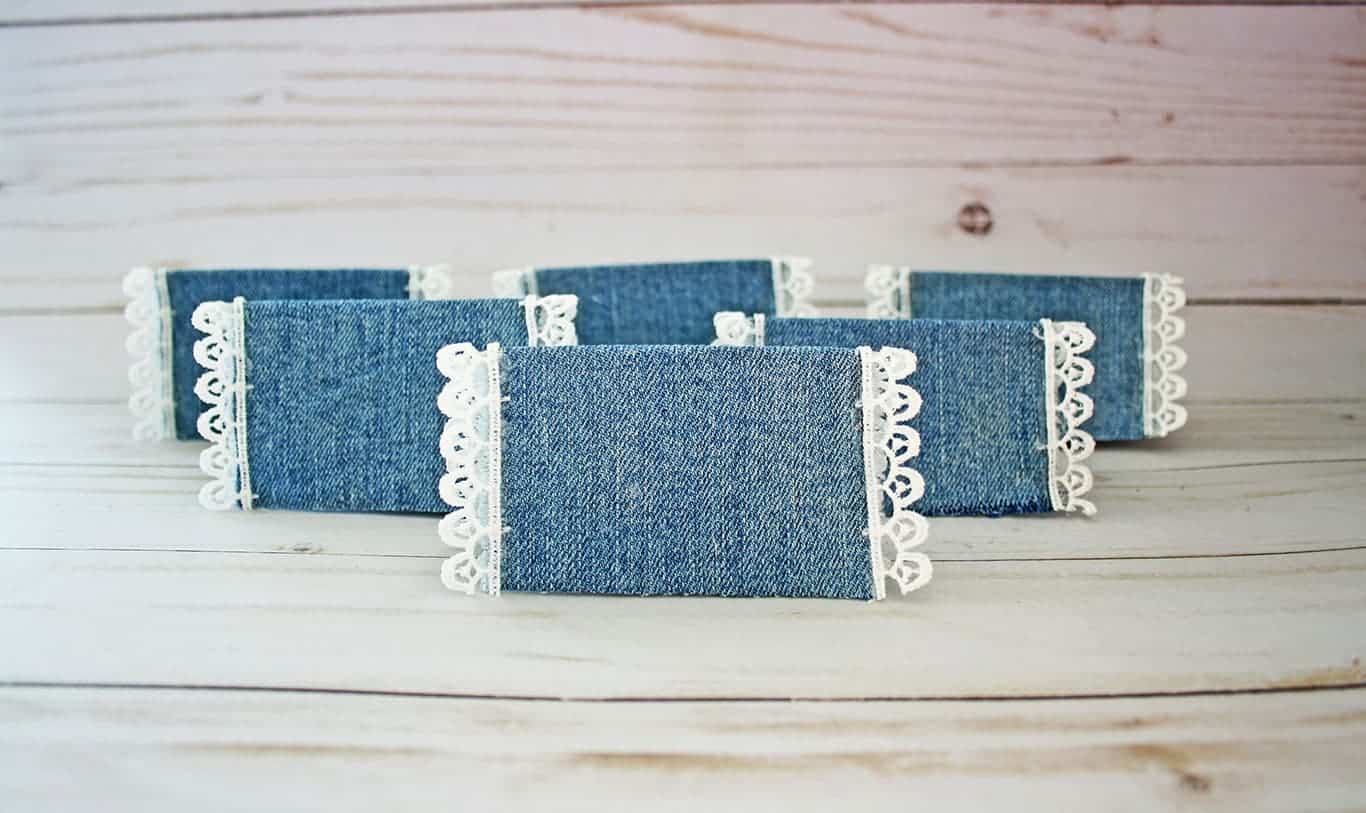
I created these simple diy denim place cards on a whim. While working on a denim and lace tablescape, I felt it needed just a little more denim on the table. I had fabric leftover from the other projects I had created for the tablescape and thought it would be super cute to have denim place cards that matched.
So, I got to tinkering and came up with these place cards. Aren’t they cute!
They are super easy to make. Plus, you can use any fabric of your choice. It doesn’t need to be denim.
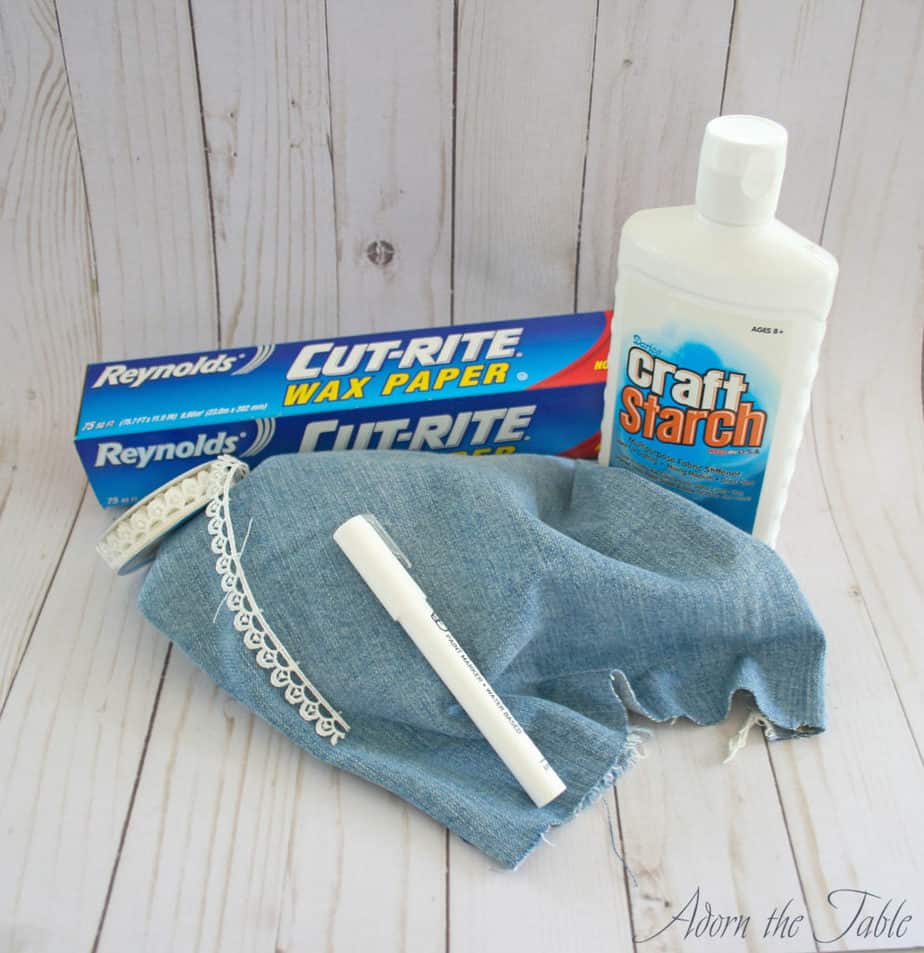
Supplies for DIY Denim Place Cards
Please note that this article may contain affiliate links. I may get commissions (at no cost to you) for purchases made through these links. You can read my full disclosure here.
- Denim fabric (I used an old pair of jeans)
- Craft starch
- Wax paper
- Lace or ribbon
- Scissors and hot glue gun
How to Make Simple Denim Place Cards
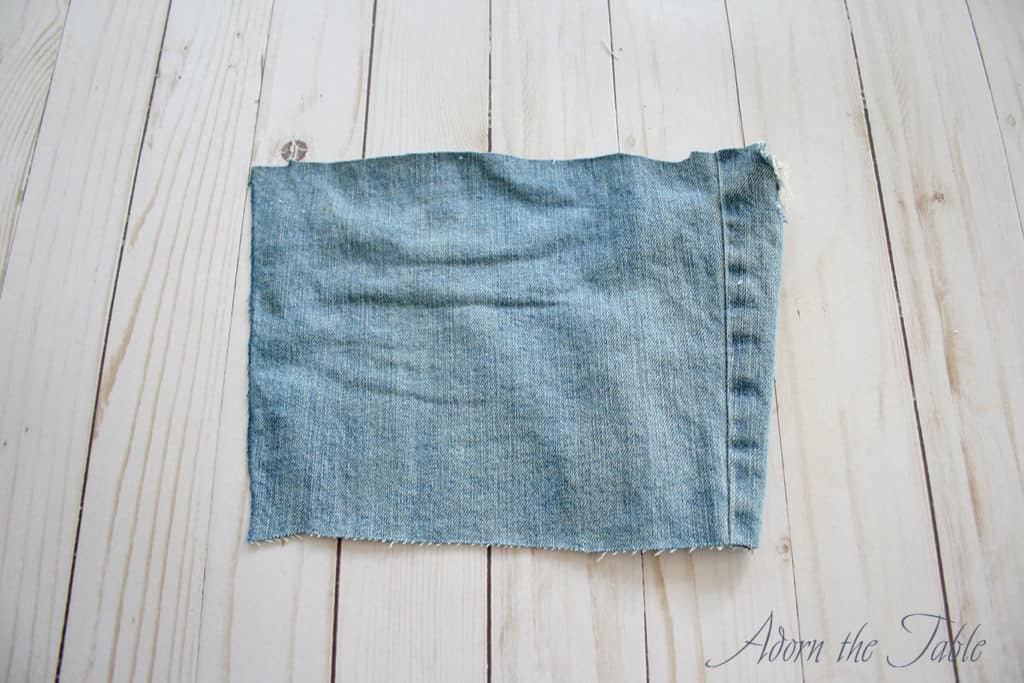
Step 1: Prepping the place cards
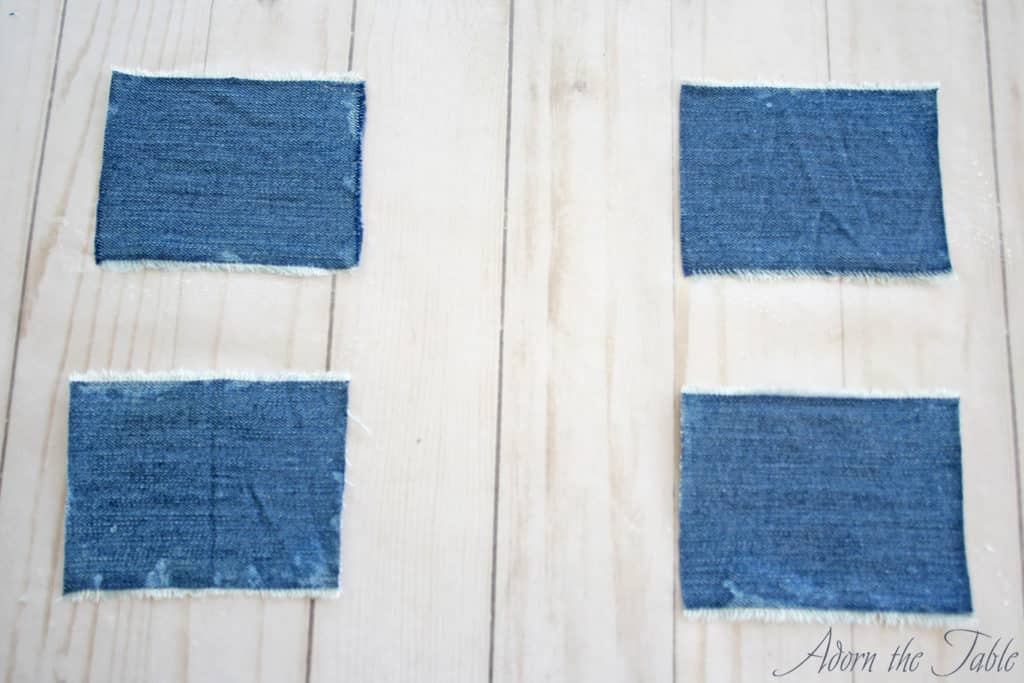
Cut off a section of your jeans’ pant leg approximately 7” long. Cut along the edge of the seam so you have a rectangular section of fabric.

Snip about ½” up, close to the edge. Grab the two pieces and tear the fabric. This should create a straight edge of the fabric.
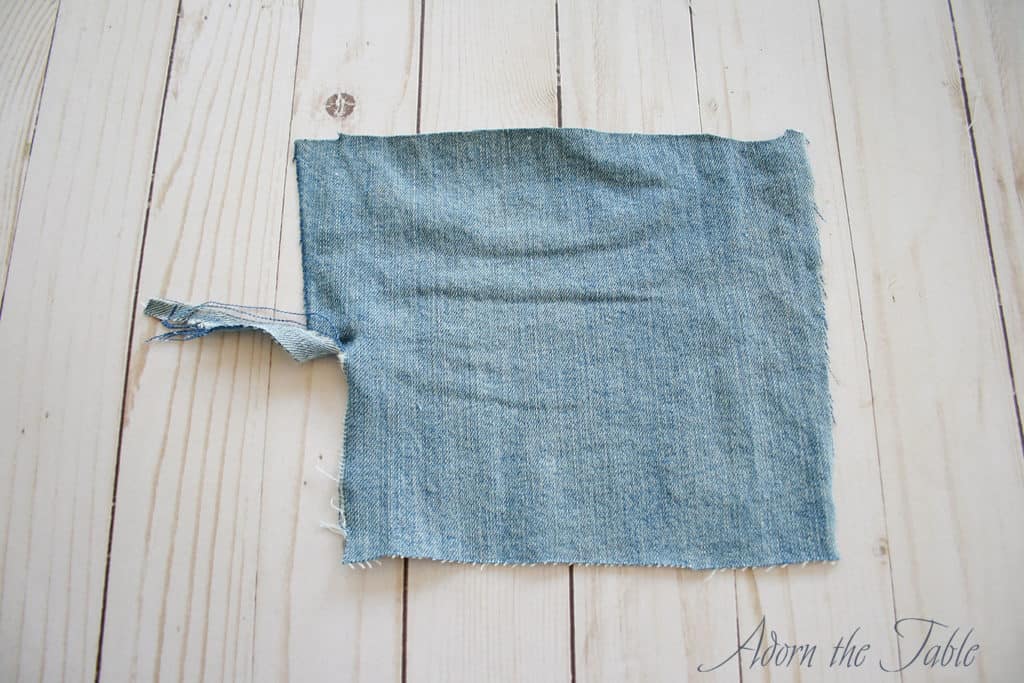
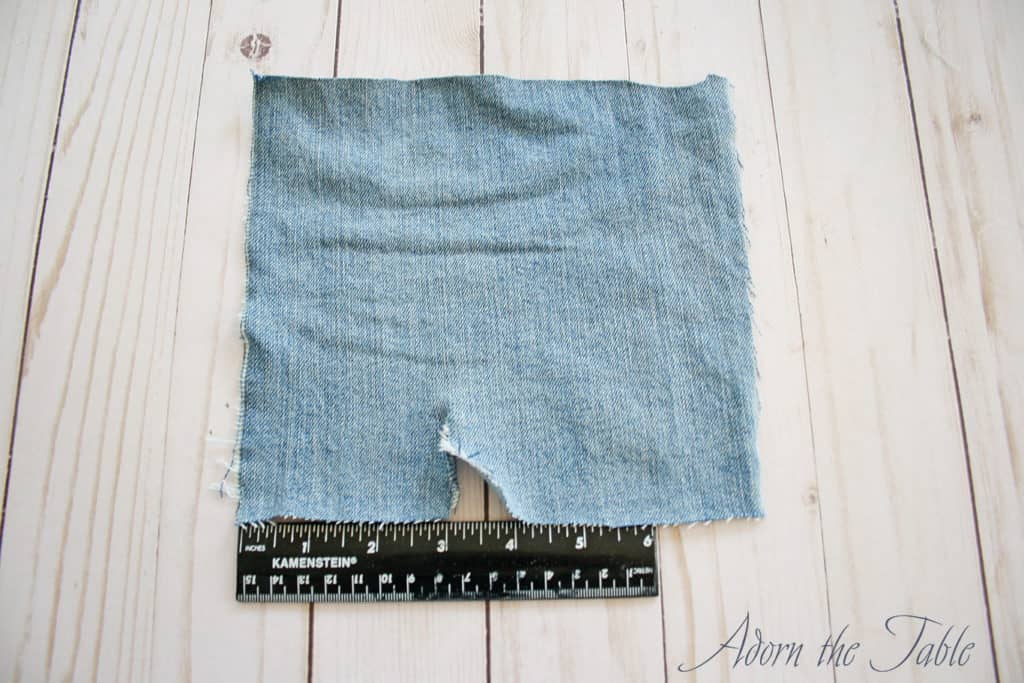
Measure 3” from the torn side and tear again. Now measure 4” and cut (this direction of the denim won’t tear).
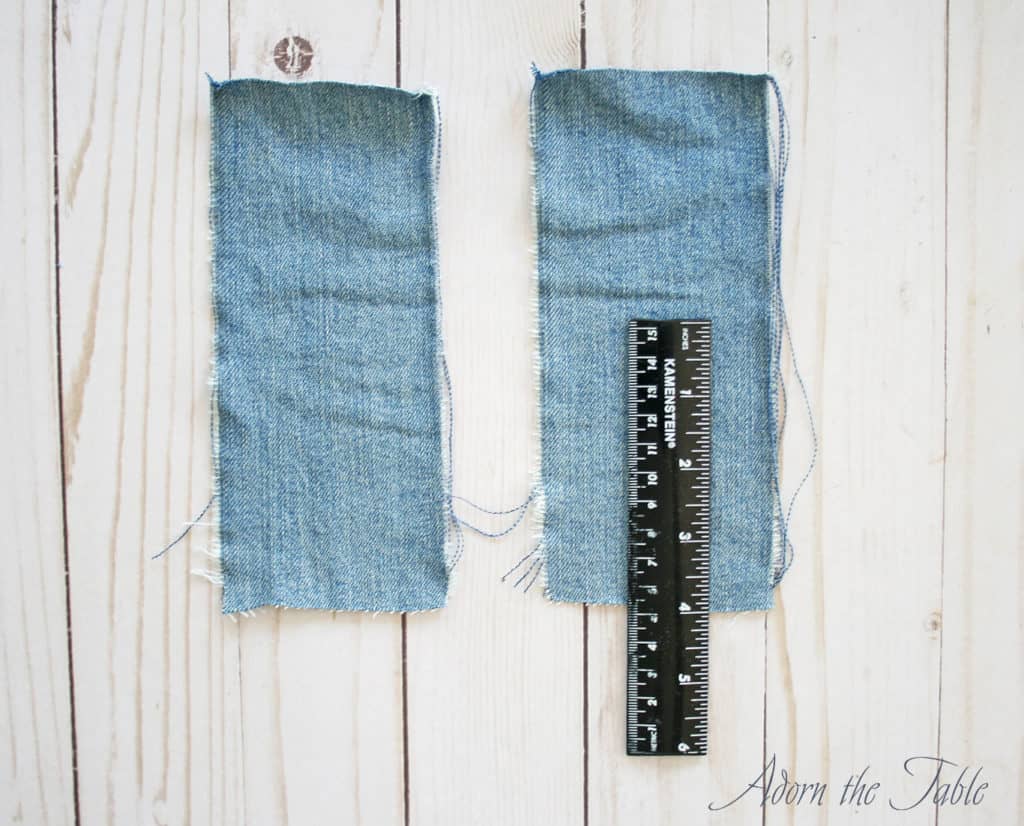
Repeat and cut out as many place cards as you will need.
Step 2: Creating the denim place cards
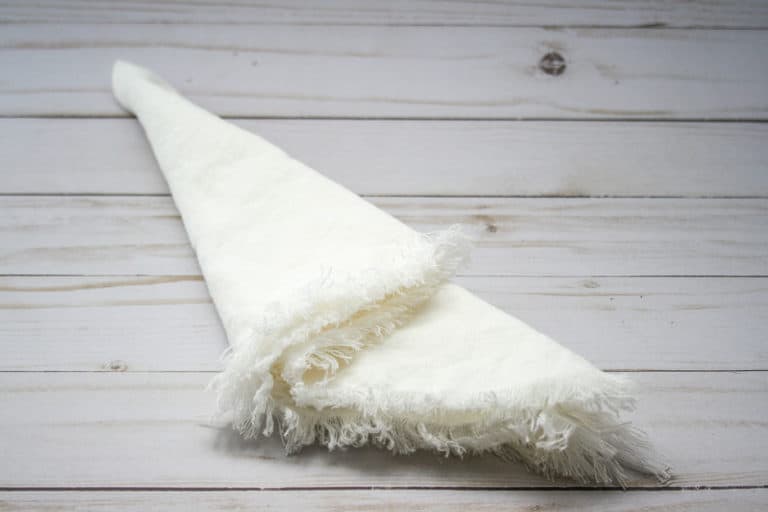
Place your 3” x 4” fabric pieces on wax paper.
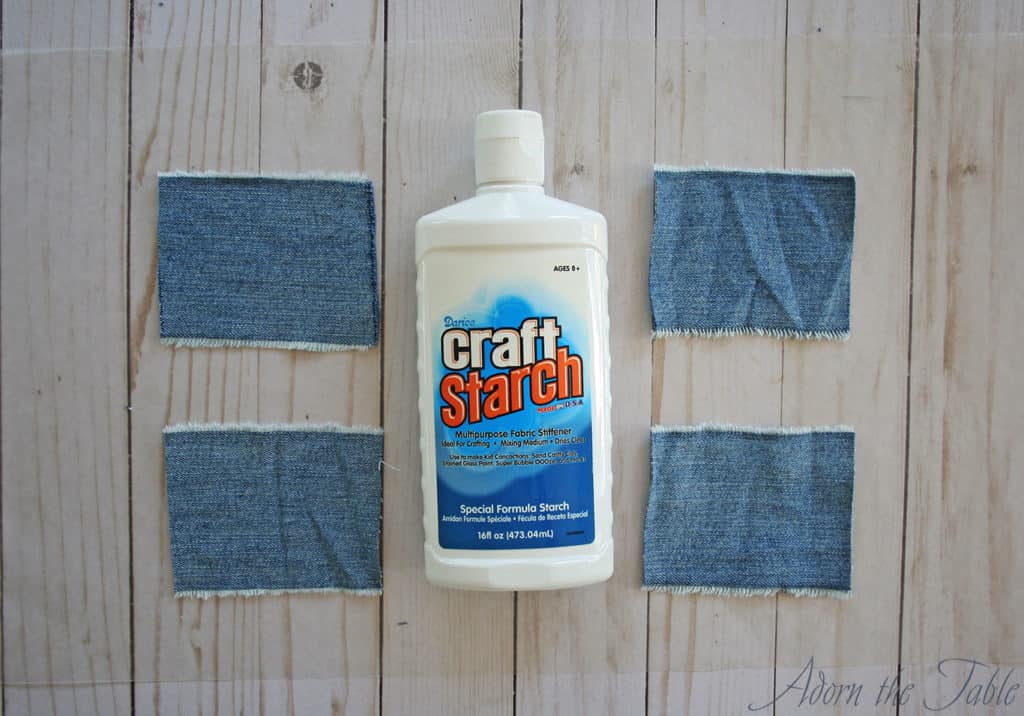
Pour a little craft starch on each piece, so that each piece is completely coated. Another option is to pour the starch into a bowl, dip the denim pieces in the starch, and then lay them on the wax paper. Be sure to remove any excess starch from the fabric. You want them coated, but not dripping.
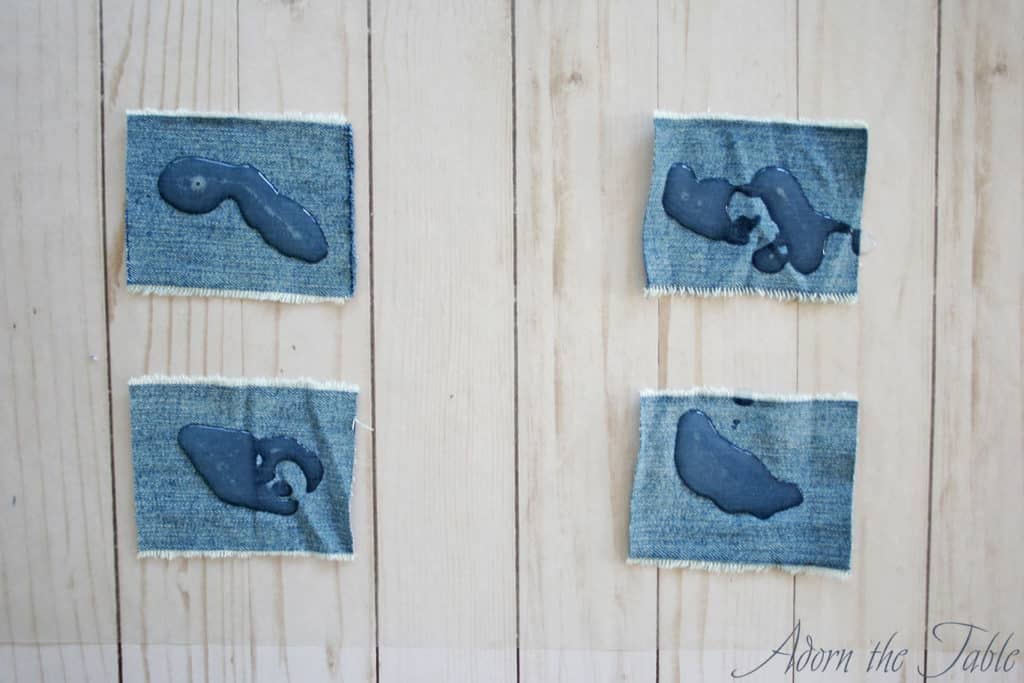
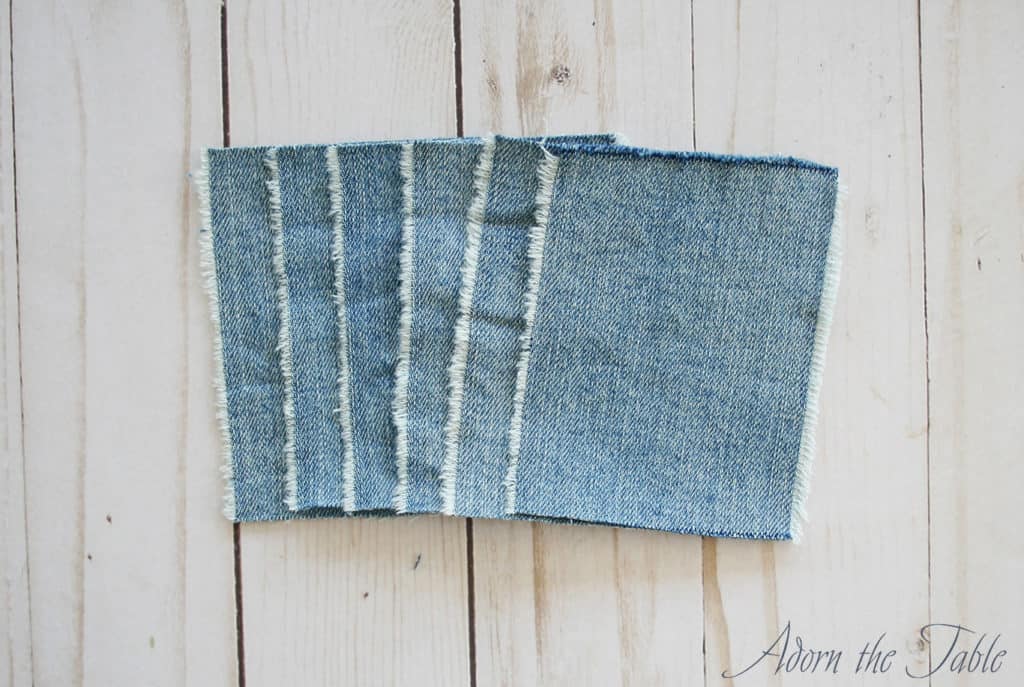
Fold the fabric pieces in half, lengthwise, with the wax paper still on the inside. You will want the wax paper to fold on itself, so it touches. You don’t want the fabric to touch. Since you are using wax paper, you can see through it to make sure you have your fabric folded in half.
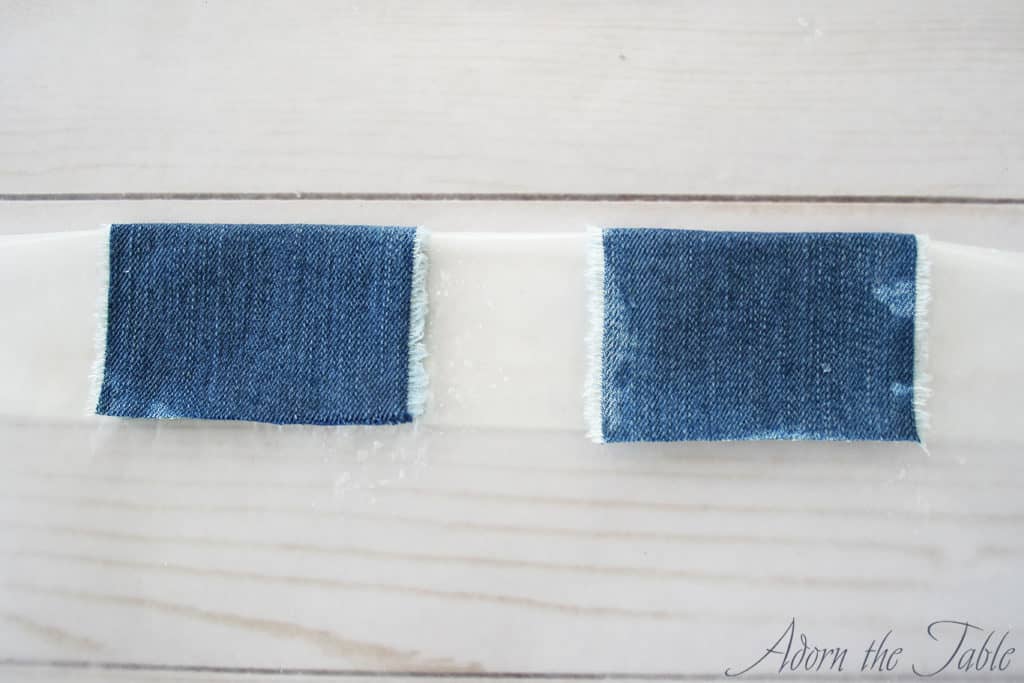
Allow the starch to dry completely. Remove the wax paper from the denim fabric.
You should have denim pieces that are now in a tight “v” shape.
Step 3: Finalizing the place cards
Trim the bottoms of the fabric pieces so they are straight and even. Pull the bottom pieces away from each other until the denim can rest on a table as an upside-down “v”.
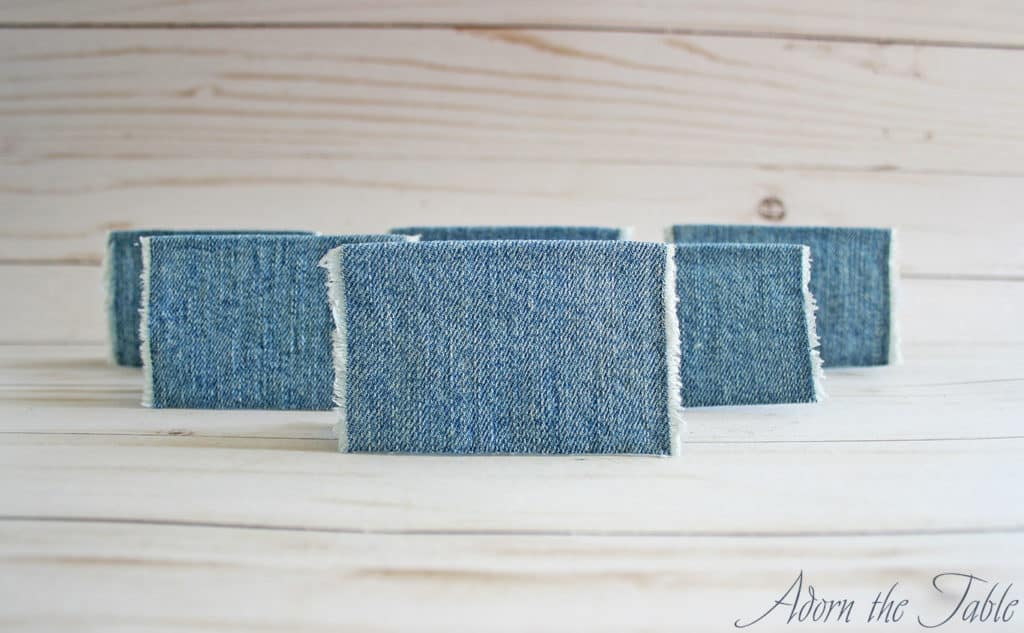
This is your denim place card. You can stop here if you like the simplicity of the look, or you can embellish them with lace on the edges like I did.
Step 4: Embellishing the place cards
To add the lace to the edges of the denim place cards, hot glue an edge to the bottom of the card and continue to the opposite edge. Snip off the lace and do the same to the other side of the place card.
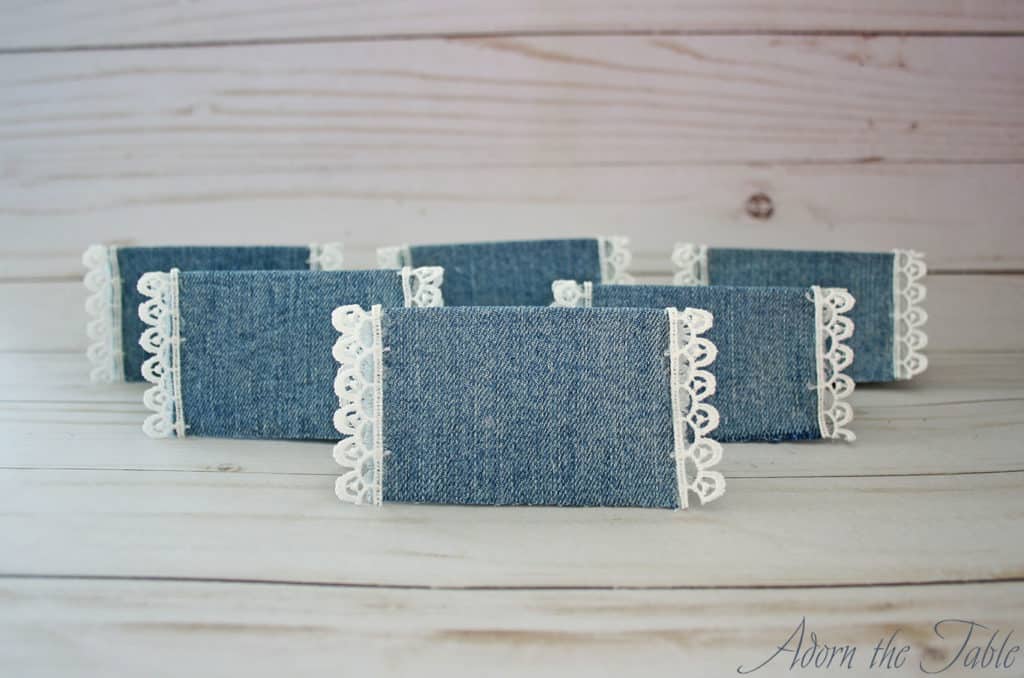
Continue until all your place cards are done.
Step 5: Adding names to denim place cards
There are two options to adding the names to your denim place cards.
Option 1: Use a permanent marker and write your guest’s name on the place card. The drawback of this is that you won’t be able to reuse the place card for someone else. (Which is what I did below)
Option 2: Print or write your guest’s name on a small piece of paper. Then attach the paper to the denim using a glue dot. This will enable you to reuse the place card over and over.
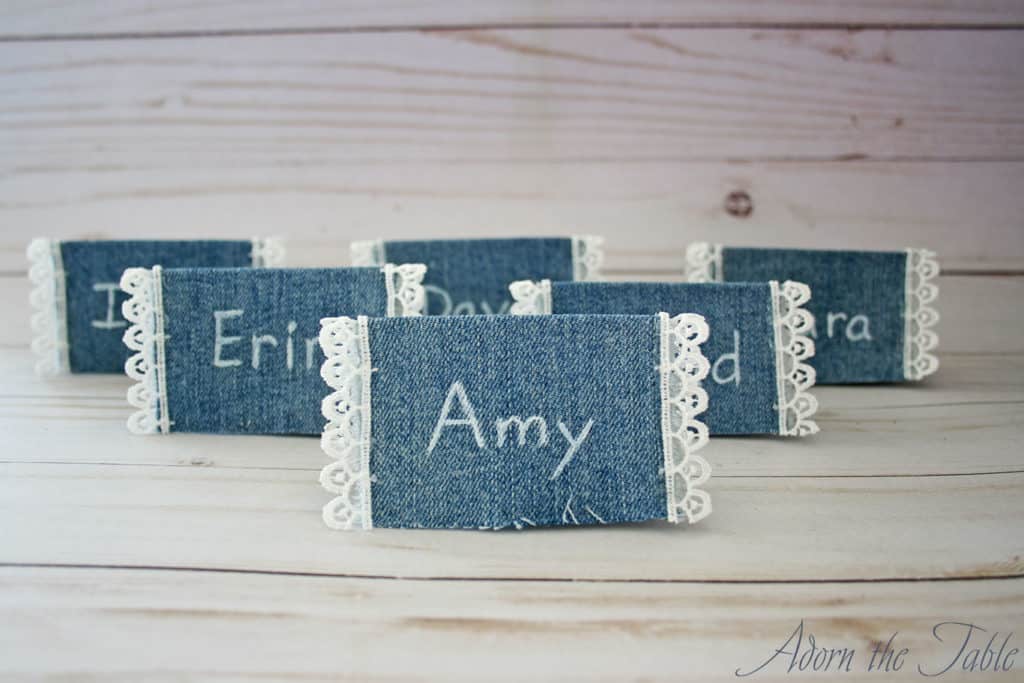
Aren’t these simple DIY denim place cards so cute!

So cute!!!!
Aww, thanks!
Smart idea !
Thank you. So nice to hear that you like it.