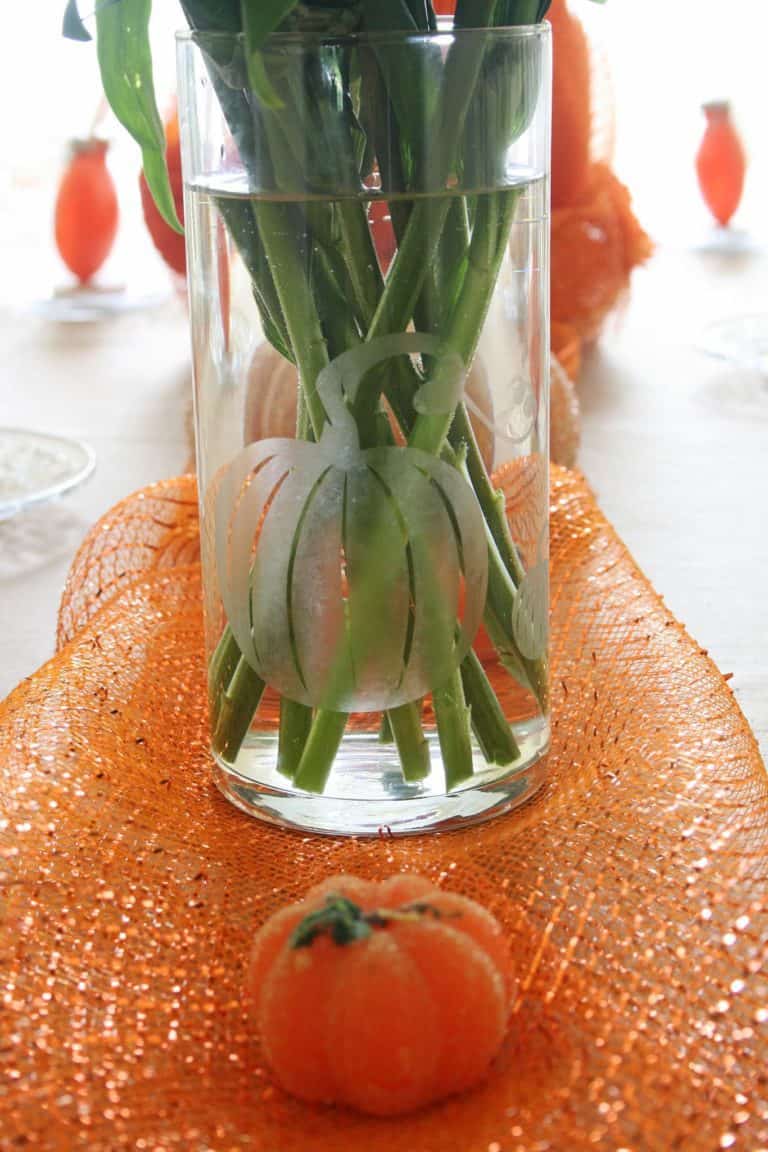
These modern glitter pumpkins will elevate your table’s centerpiece, or Fall or Thanksgiving decor.
If you are looking for decorations to work with your modern design style, look no further.
I got ya.
You’re gonna love these easy diy glitter pumpkins!
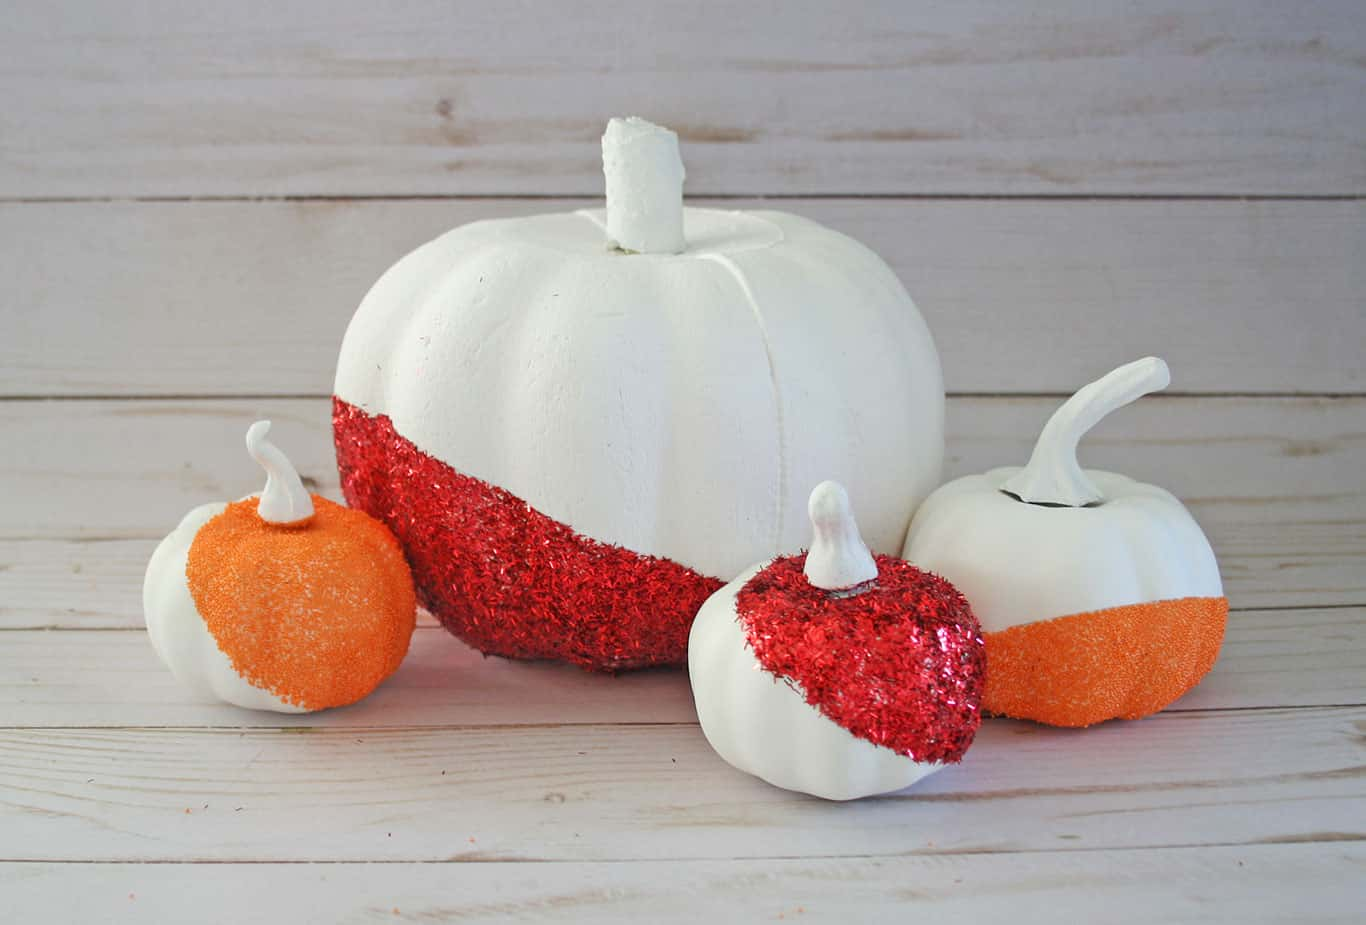
What makes these foam pumpkins unique is the glitter pattern. How the glitter doesn’t cover the whole pumpkin. Only a portion of it.
Their simplicity and glitz add glamour to wherever you use them. Plus, they are SO EASY to make!
You better start snatching up all the foam pumpkins you can find, because you are gonna love making these modern glitter diy pumpkins!
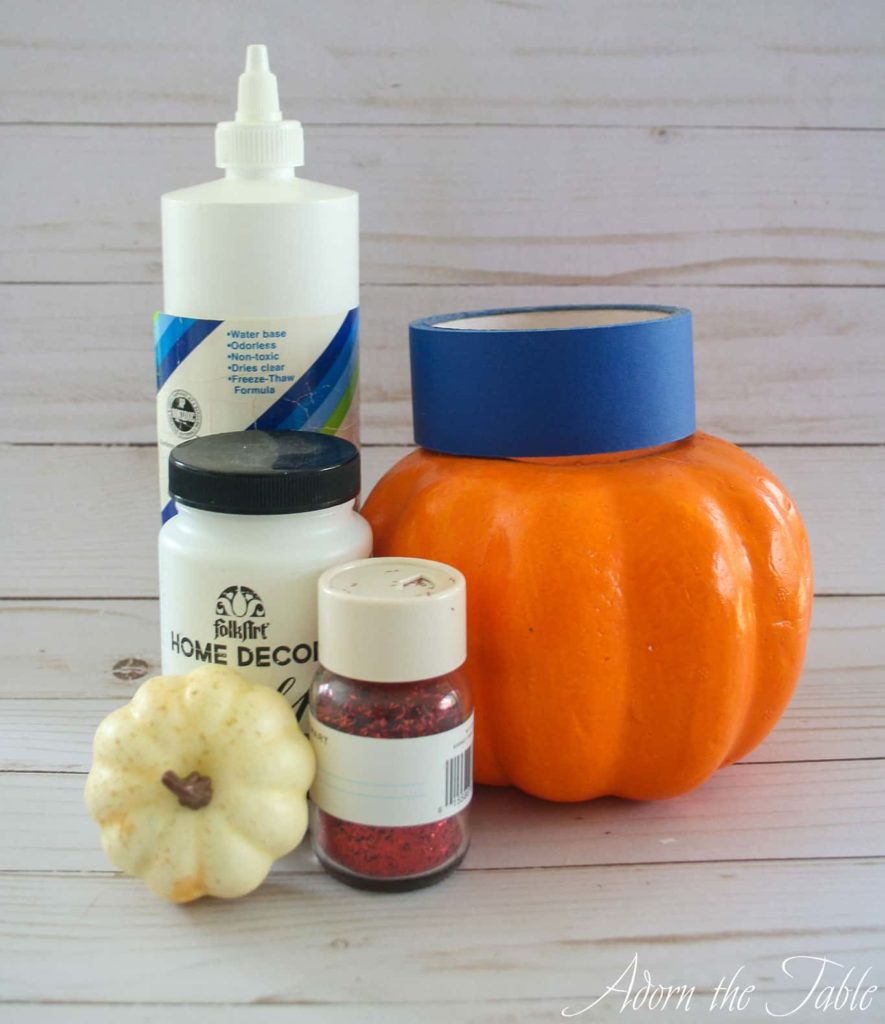
Supplies for Modern Glitter Pumpkins
Please note that this article may contain affiliate links. I may get commissions (at no cost to you) for purchases made through these links. You can read my full disclosure for more details.
- Foam pumpkins
- Glue (I prefer Sobo. It is strong and dries clear)
- White chalk paint
- Painter’s tape
- Glitter
- (optional) Sealer spray
How to Make DIY Modern Glitter Pumpkins
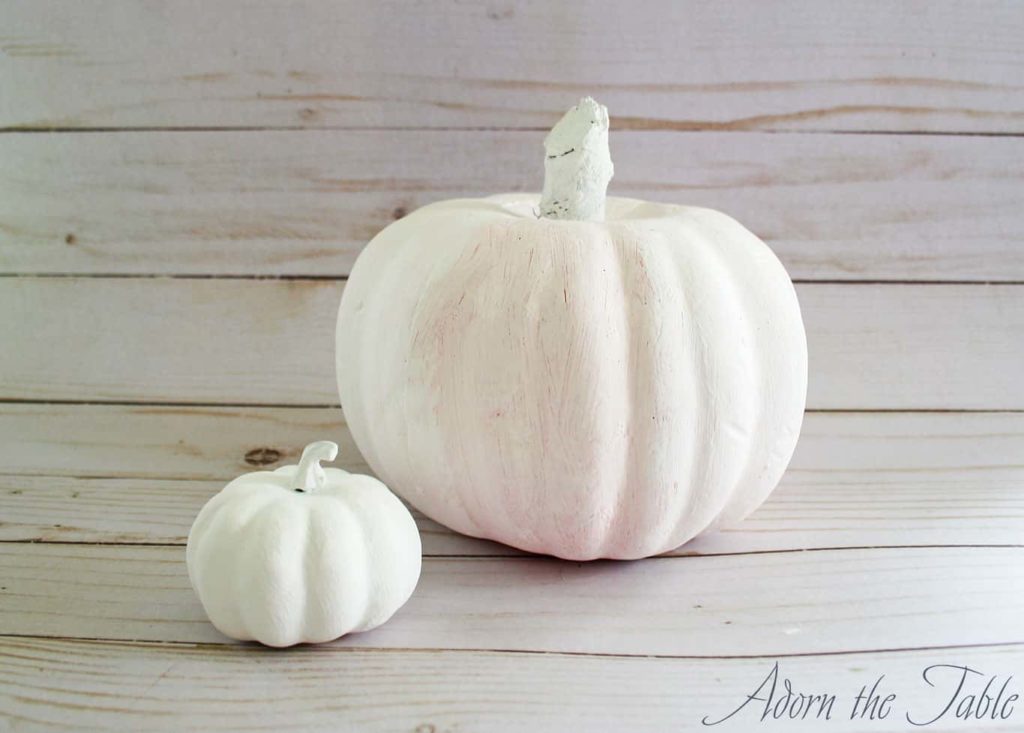
Step 1: Transform your foam pumpkins from orange to white
First prep your area by putting down some newspaper or other craft paper.
To start transforming your foam pumpkins into modern diy glitter pumpkins, paint them white.
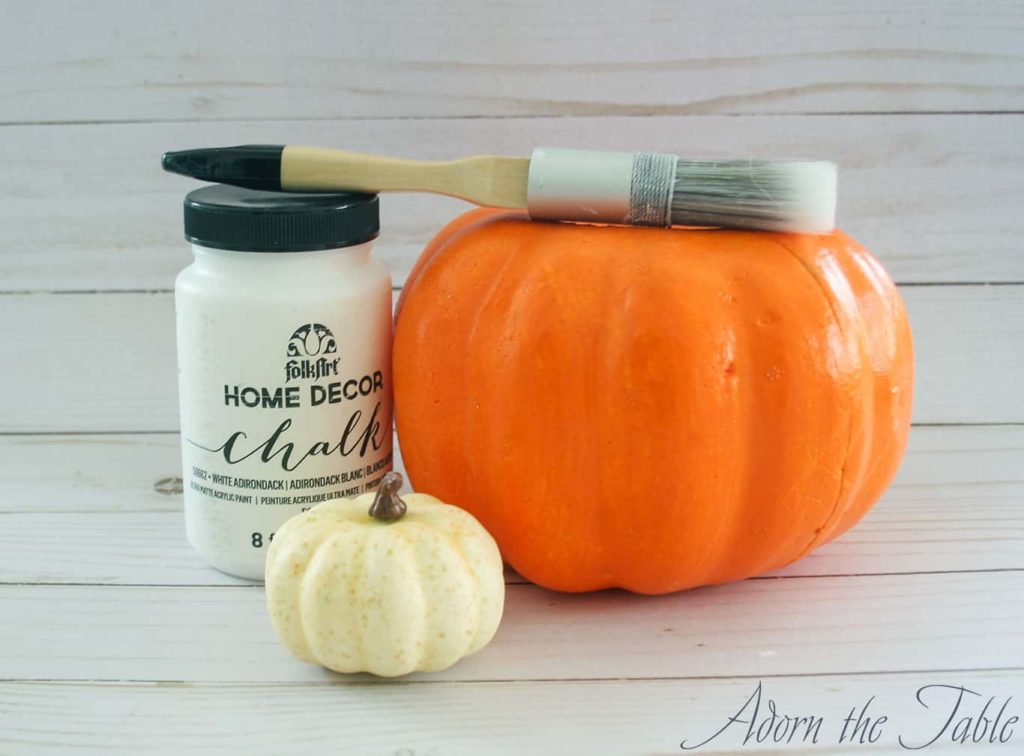
I found that white chalk paint gave a really nice bright, matte finish. Chalk paint also covers the orange pumpkins with just two coats. Yay!
Such an easy way to transform an orange foam pumpkin.
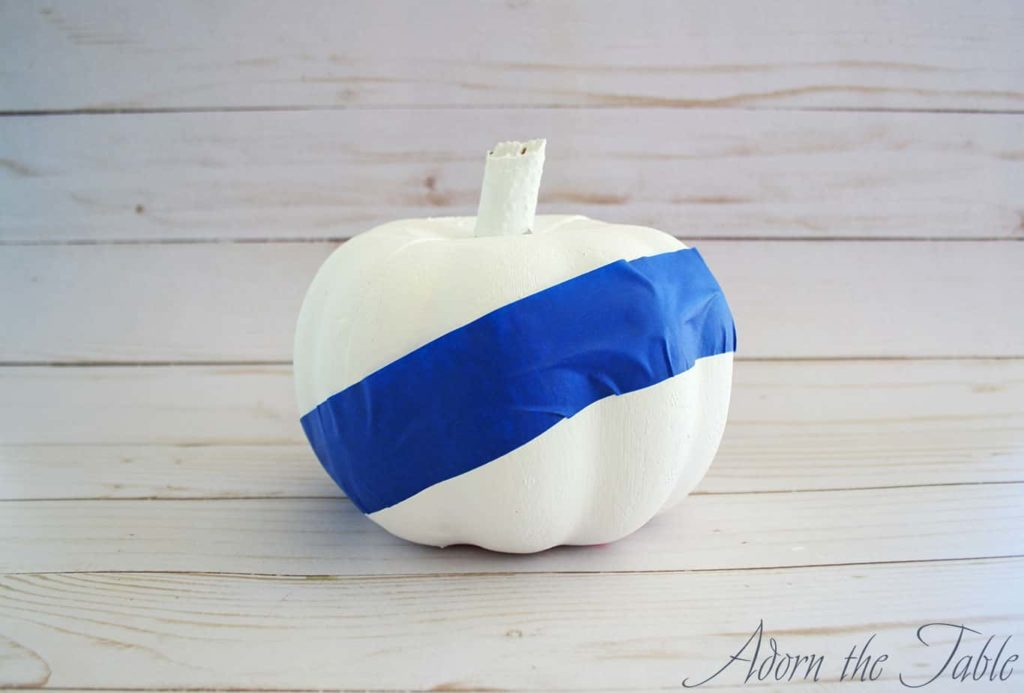
Step 2: Glitter your pumpkins
Take the painter’s tape and starting at the bottom, carefully bring it up and wrap it around the pumpkin, forming an arch.
*Using painter’s tape will ensure a nice straight edge when it is removed.
Gently press the edge into the creases of the pumpkin. You want to ensure that nothing will seep through the tape. Don’t worry about the other edge, it can stick up.
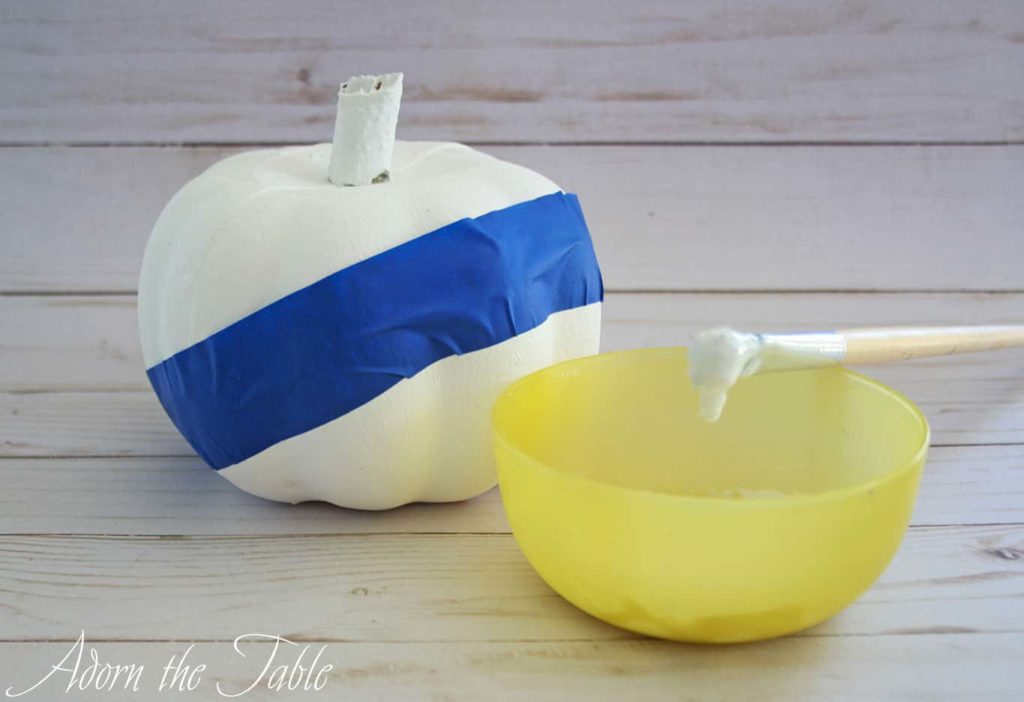
Put some Sobo glue in a small container. Then using a small paintbrush, generously paint the glue on the section of pumpkin you plan to glitter. Be sure and cover the edge of the painter’s tape.
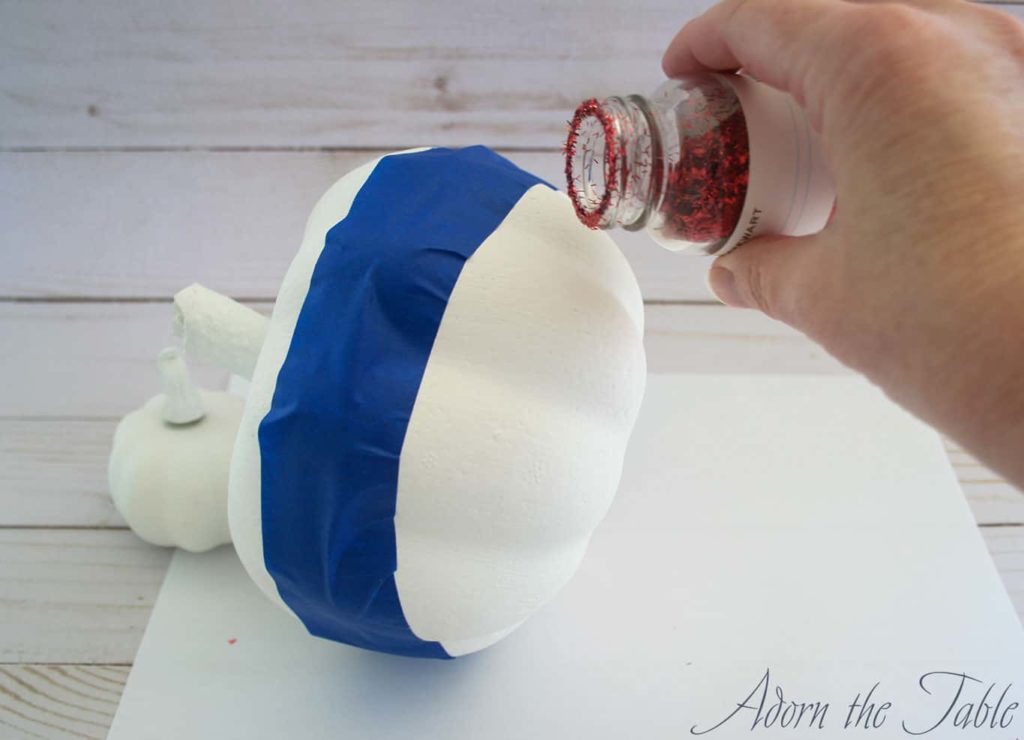
Next, put down a piece of paper or newspaper to help catch the excess glitter.
Holding the dry area of your pumpkin, take your selected glitter and gently tap it over the wet glue. Slowly turn the pumpkin as you cover the section with glitter. Don’t be stingy with the glitter.
Make sure all of the glue is covered with glitter. The paper is there to catch any glitter that doesn’t stick, so you can reuse it later.
If there are sections that the glitter didn’t stick: brush a little more glue over the area and add more glitter.
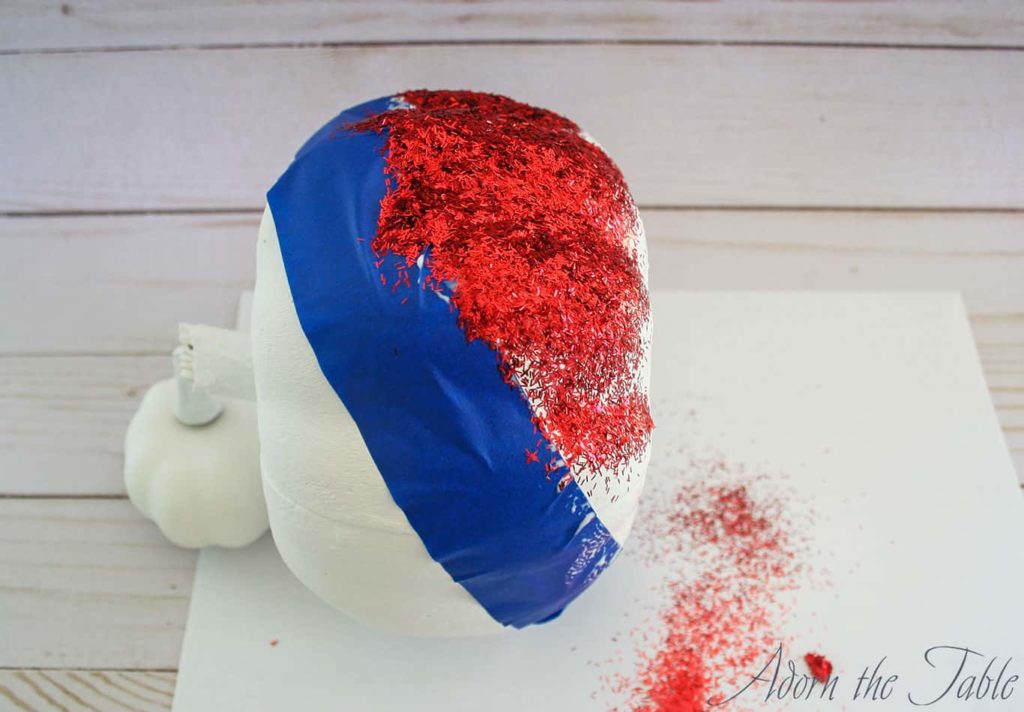
Gently tap off any excess glitter onto your paper.
When you are done covering all your pumpkins with glitter, carefully take the paper with the excess glitter and fold it in half. Then funnel the glitter back into its original container. so it can be reused.
Place the pumpkin upside down on a separate piece of paper to dry, so the glue doesn’t stick to the paper.
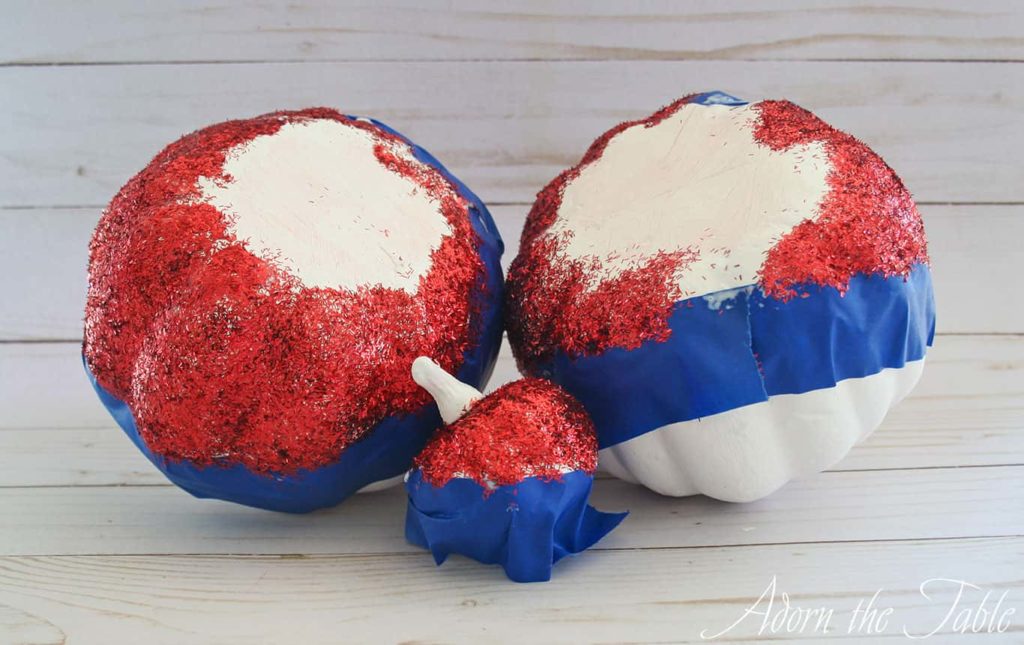
Step 3: Reveal your new easy glitter diy pumpkins
Once the glue has completely dried, carefully peel off the painter’s tape. Try not to touch the glitter as you remove the tape.
If the tape takes up a little paint, just touch it up. (This happened to me on only one of my foam pumpkins. I’m not sure why, but it was easy to touch up the small pieces.)
The glitter will come off a little when you handle the pumpkins. To minimize this, you can spray them with Mod Podge clear acrylic sealer, or a craft finishing spray.
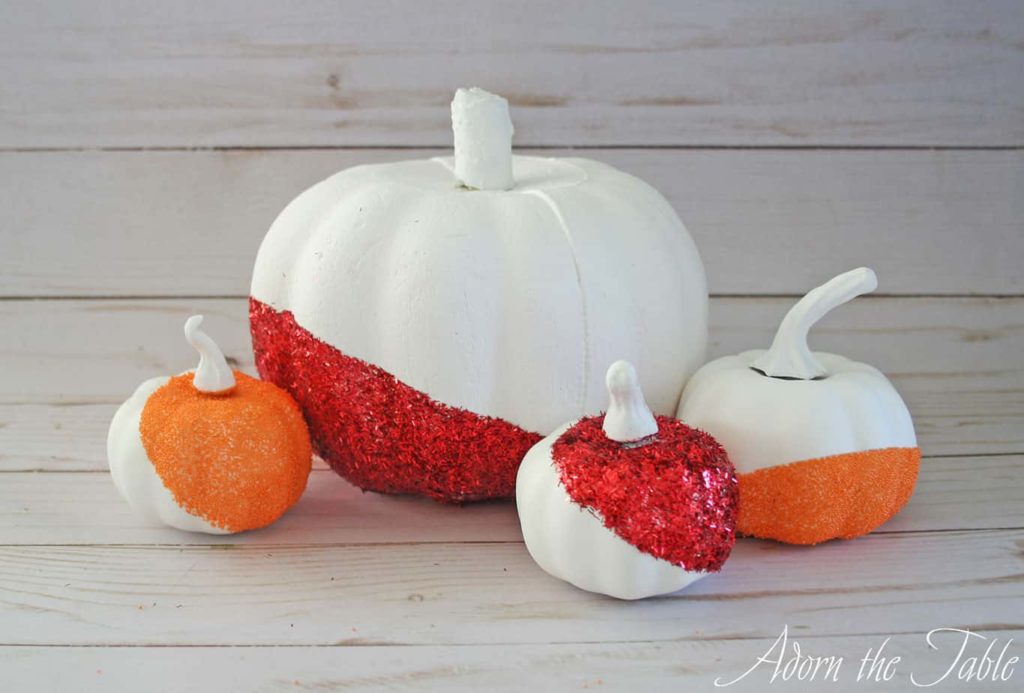
Aren’t these easy modern glitter pumpkins just FAB!!! I used red glitter and orange glass micro beads. You can make any color combination that will work with your Fall or Thanksgiving decor.
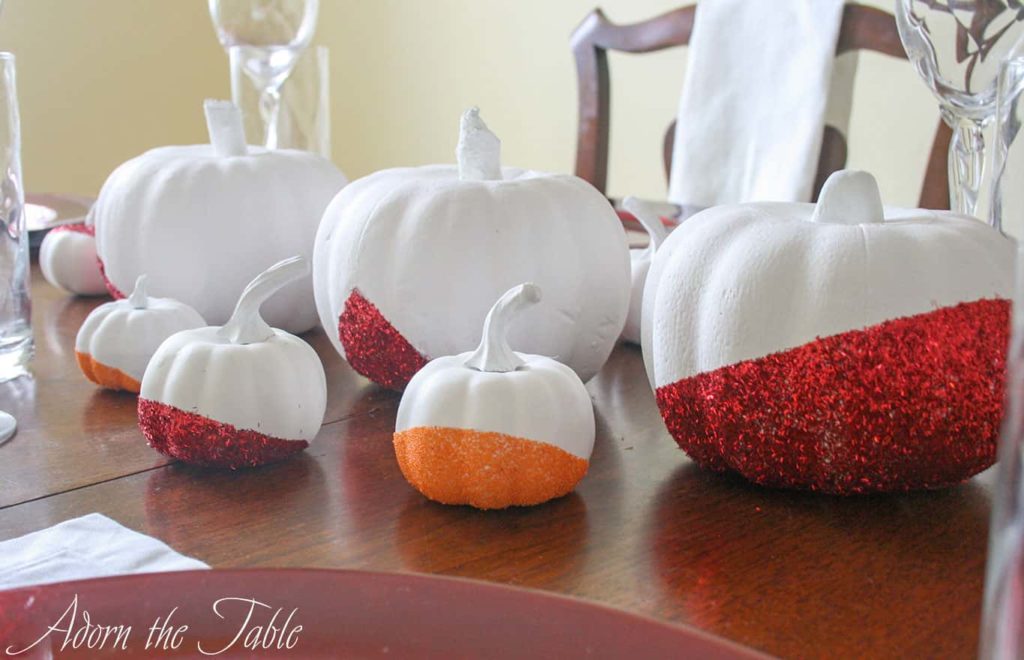
I absolutely love them!
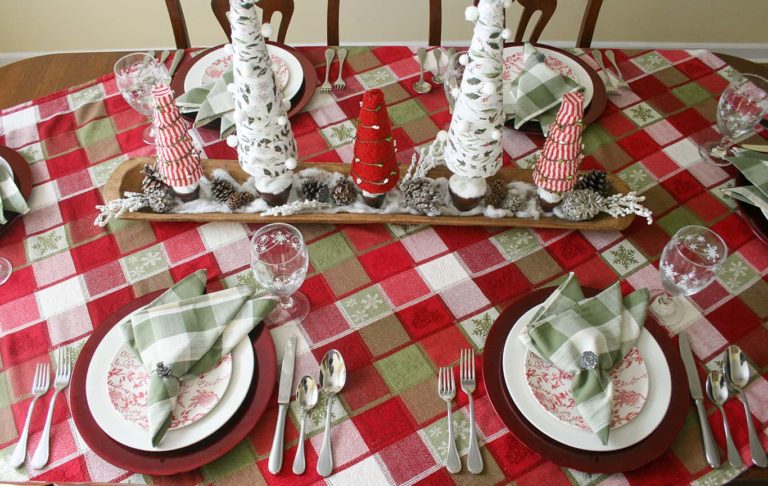
Just imagine how cute they will look as part of your Fall or Thanksgiving centerpiece.
Check them out on my simple modern Thanksgiving Day tablescape.
Shop the DIY Supplies

Foam Pumpkin

Sobo Glue

White Chalk Paint

Tinsel Glitter

Orange Microbeads
Painter’s Tape

Mod Podge Sealer