I had the idea to create a simple diy Winter Wonderland tablescape months ago. But I didn’t want to do it over the holidays. There were other ideas I had/did for those occasions.
And honestly, November and December really aren’t snowy months. February and March are typically the snowy months where I live.
But it does snow in January … and it’s cold! So it seemed fitting and perfect to create my Winter Wonderland themed table setting now.
There were a few things though when thinking about what would be considered winter wonderland decorations. I didn’t want to use any of my Christmas decorations. After all, Christmas just wrapped up, and I wanted to pack up all of those decorations.
So, what do you think of when someone says “winter wonderland”?
I think of freshly fallen, sparkling white snow. Everything in sight, covered in beautiful white, with a beautiful blue sky.
Something that is truly magical.
Well, that meant that my diy winter wonderland tablescape needed to be white and that the elements needed to sparkle.
My thought was to bring the outside in, but since Christmas just finished, I really didn’t want to spend much, if any money, on a winter wonderland centerpiece or decorations.
My solution = recycle and upcycle.
Yep! I decided that my diy winter wonderland centerpiece would consist completely of recycled items. I didn’t buy a single thing to create this table setting.
And you know what? I think it turned out pretty darn cute!
Supplies to Create a DIY Winter Wonderland Tablescape
Please note that this article may contain affiliate links. I may get commissions (at no cost to you) for purchases made through these links. You can read my full disclosure for more details.
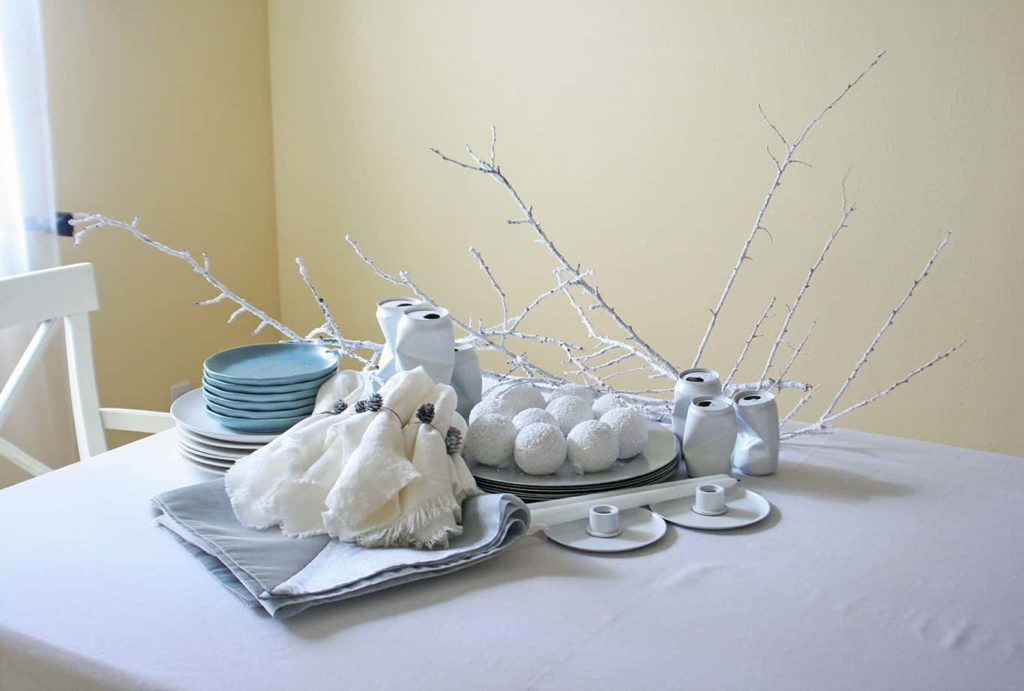
- White tablecloth
- Tall candle holder (diy project)
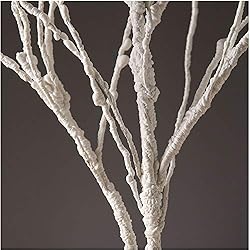
- Snow-covered branches (diy project)
- Soda can vases (diy project)
- Fake snowball decor (diy project)
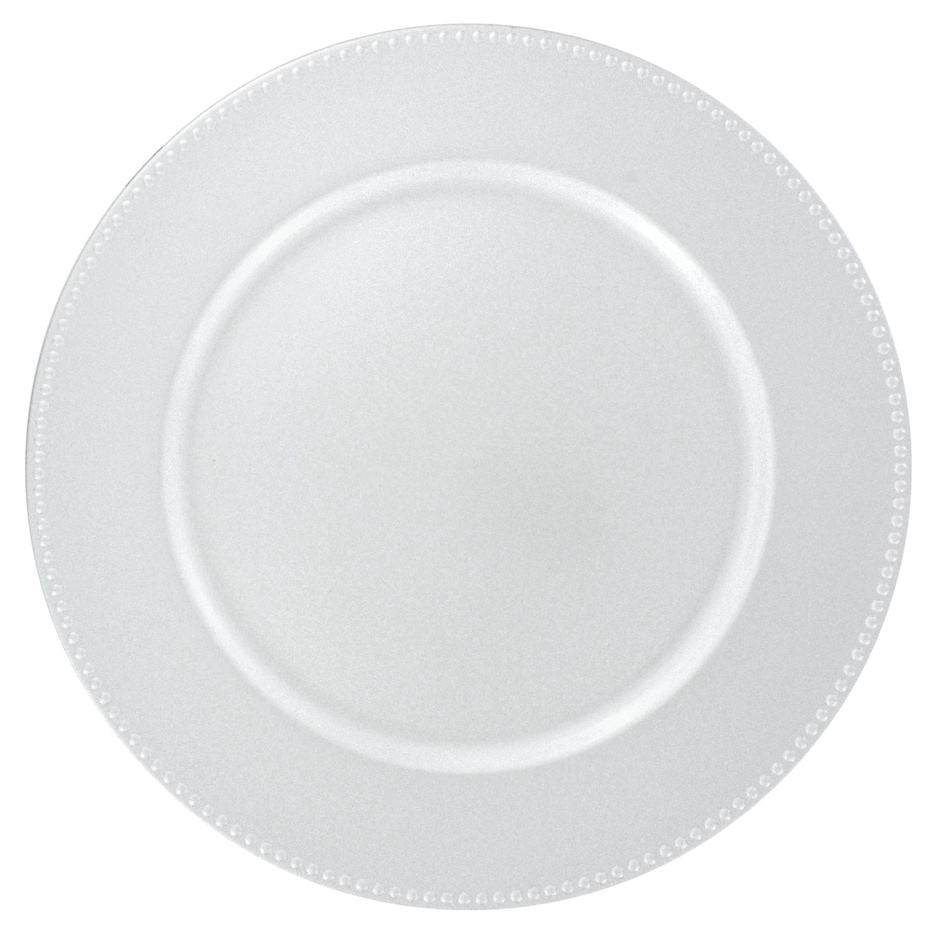
- Silver charger
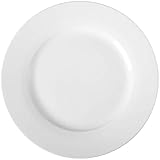
- White plates
- Ice blue salad plates
- White napkins (diy project)
- Easiest pinecone napkin rings (diy project)
- Flatware and glasses
How to Turn Your Dining Table into a Winter Wonderland
Step 1: Determine the foundation for your Winter Wonderland table setting
Do you know what I mean by “foundation” for your table setting? I asking if your tablescape is going to incorporate a tablecloth, placemats, table runner, or nothing at all.
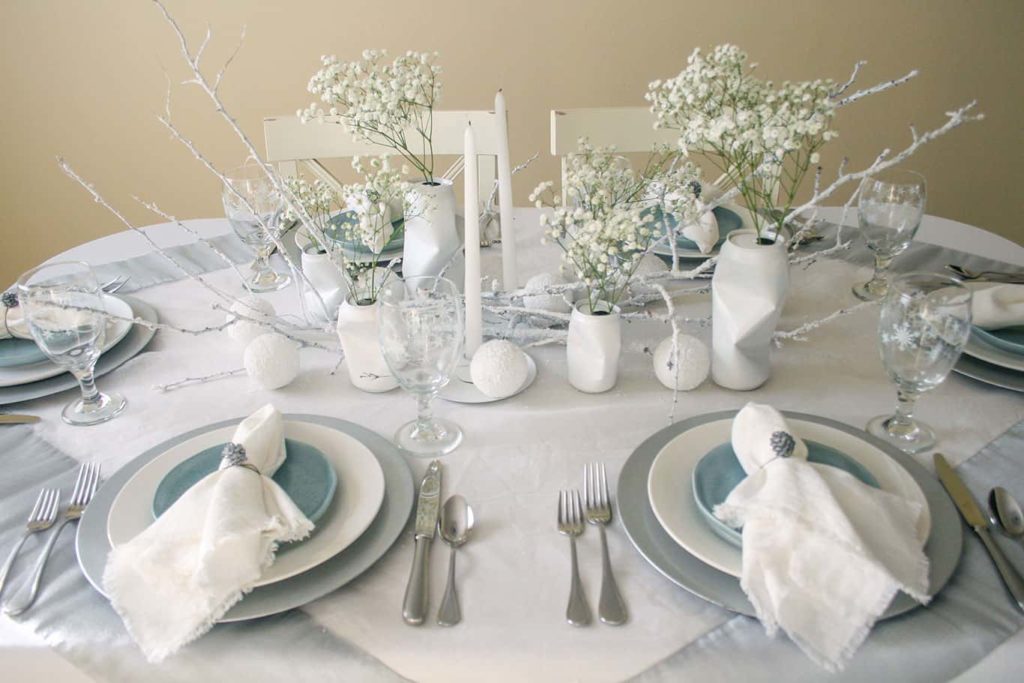
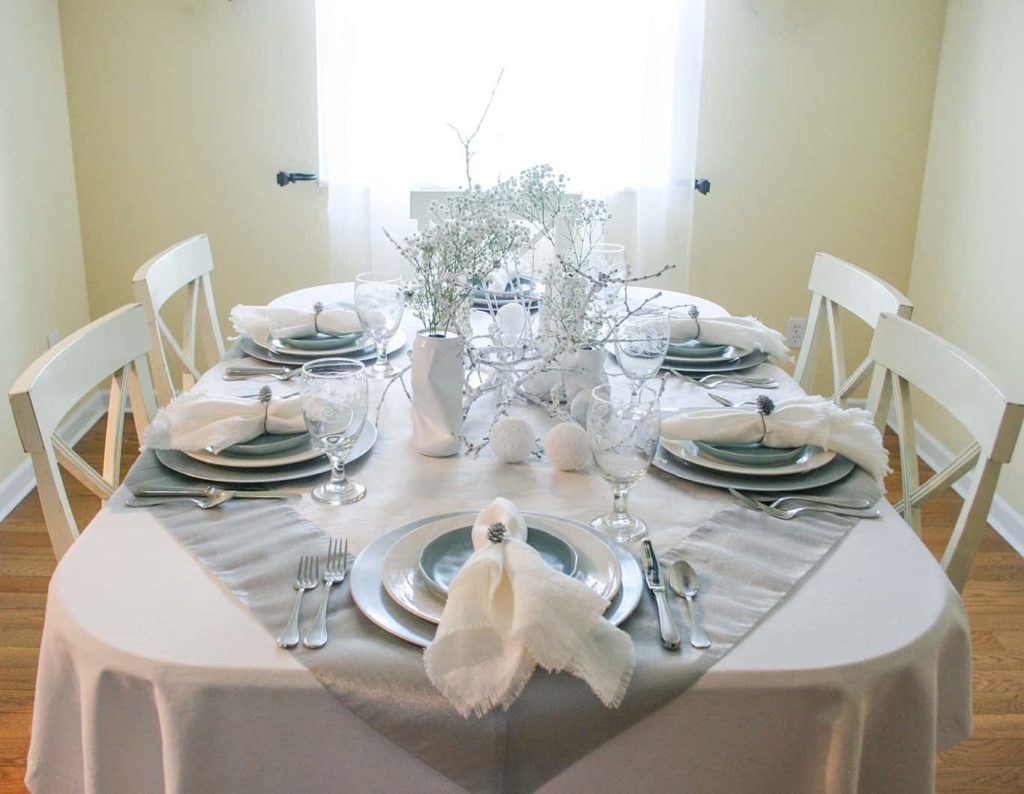
As I mentioned above, my vision was to have a “white-out” winter wonderland tablescape. So that meant I needed to use a white tablecloth. One that would completely cover my table and hide its wood color.
Easy-peasy! I’ve got a lot of those (haha).
But I also have a square sheer tablecloth that has a light silver band along the sides. I decided to lay it over my white tablecloth and put it on the diagonal.
I did this for two reasons: 1) it was too small to completely over my table (being a square tablecloth on a rectangular table) and 2) to provide visual interest on the table.
*Note: the overlay tablecloth is not necessary for this tablescape. I just found a great reason to use mine.
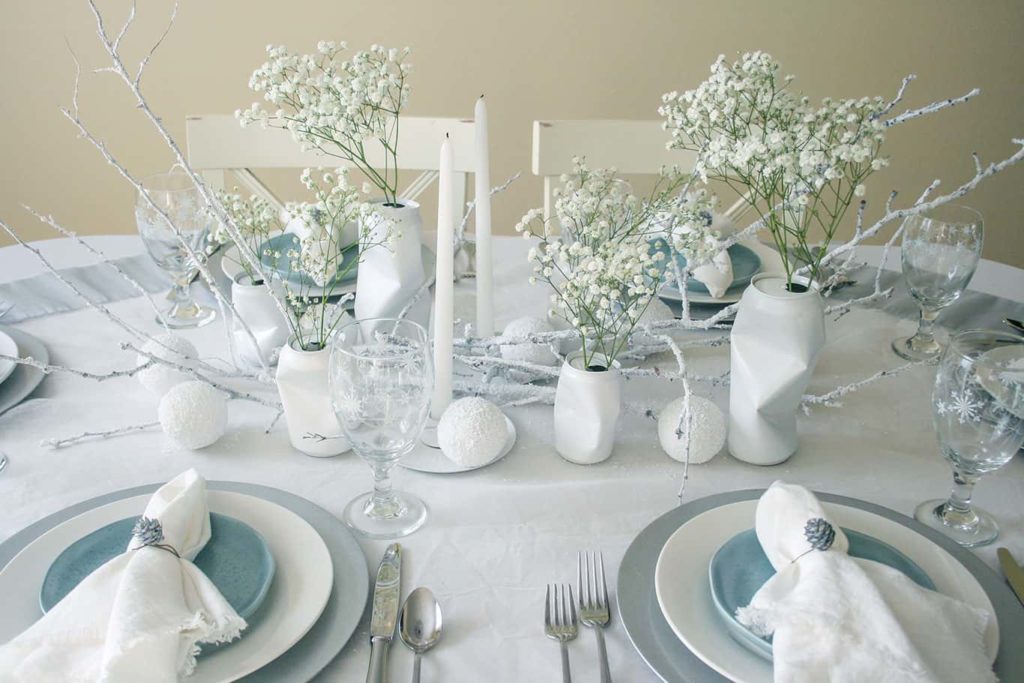
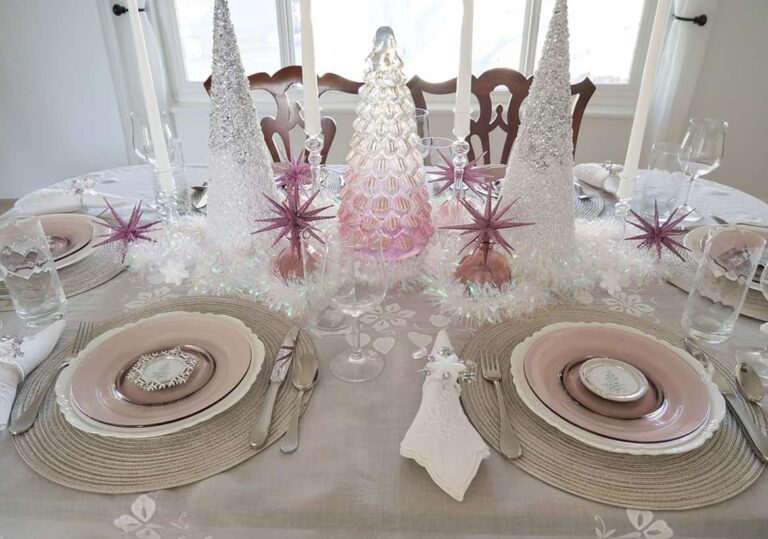
Step 2: Create your Winter Wonderland centerpiece
Once you have the foundation set for your tablescape, it’s time to create your winter wonderland centerpiece.
This centerpiece is 100% diy, recycled items. You’re not going to spend much, if anything, depending on what you already have around your house.
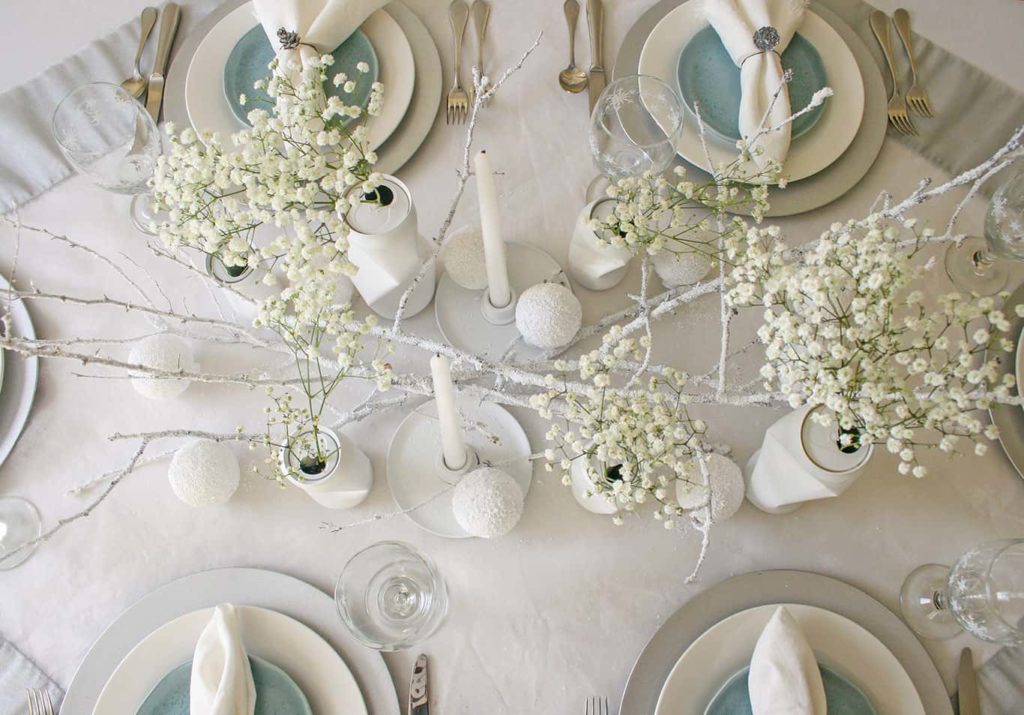
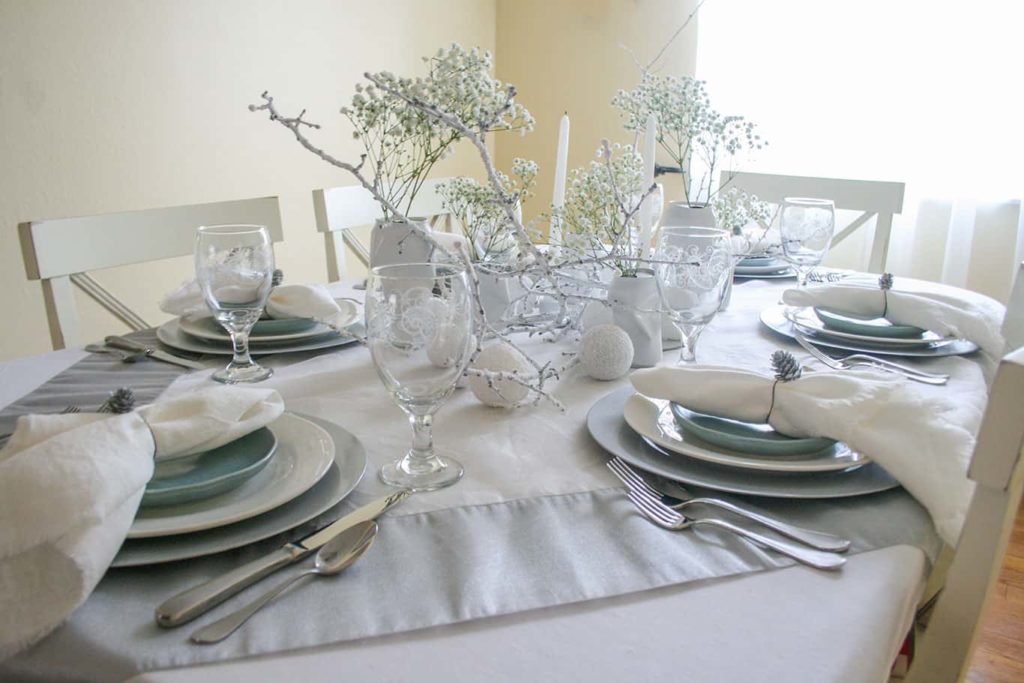
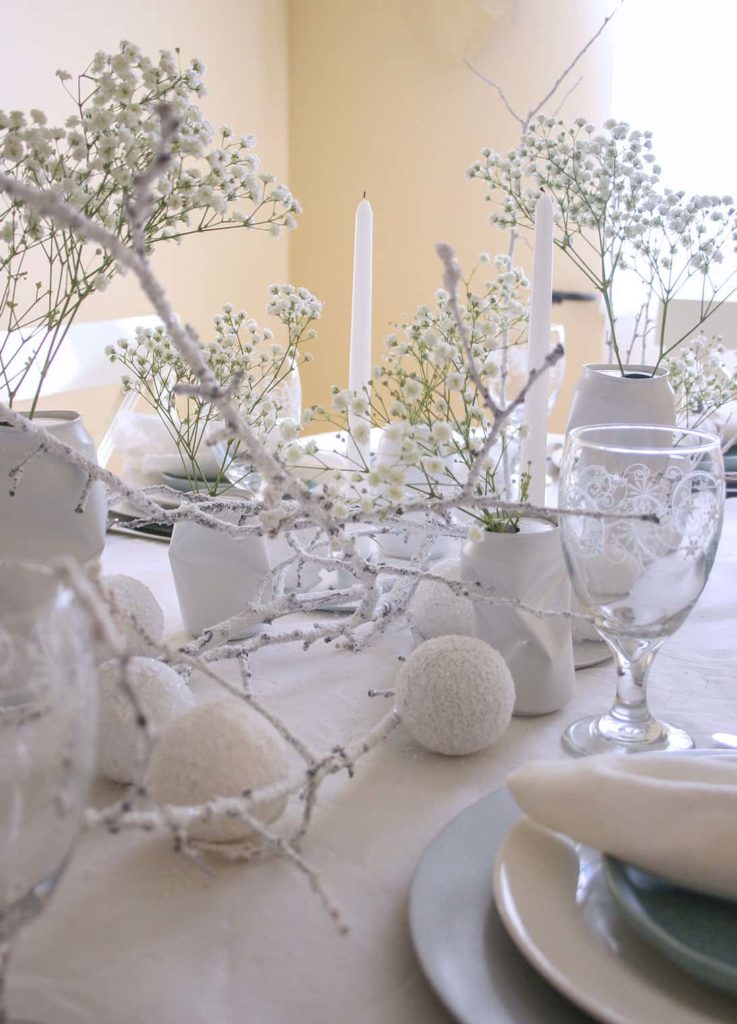
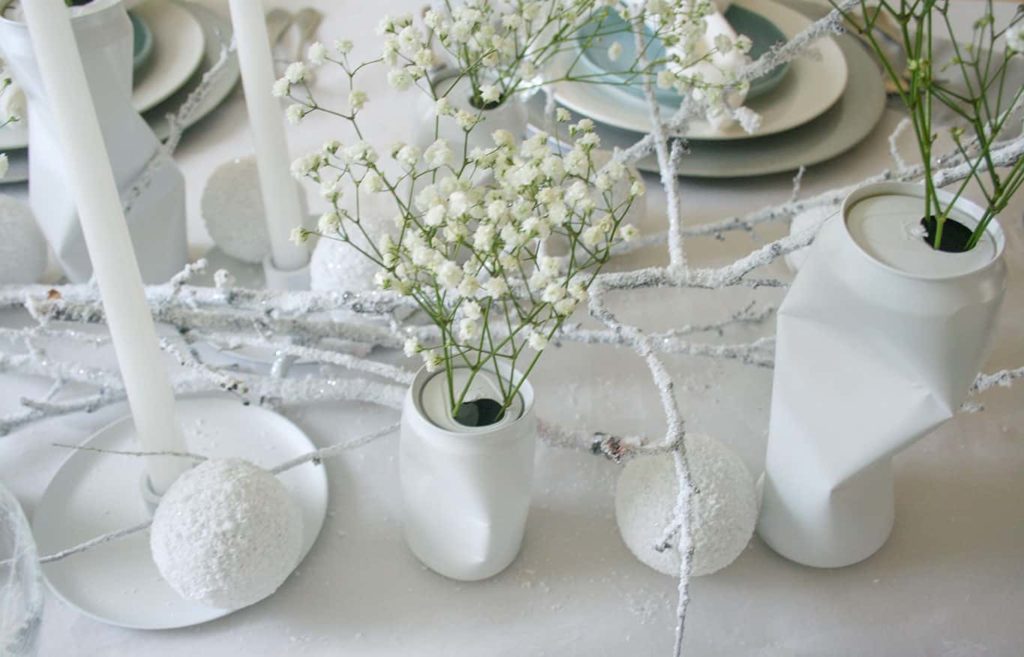
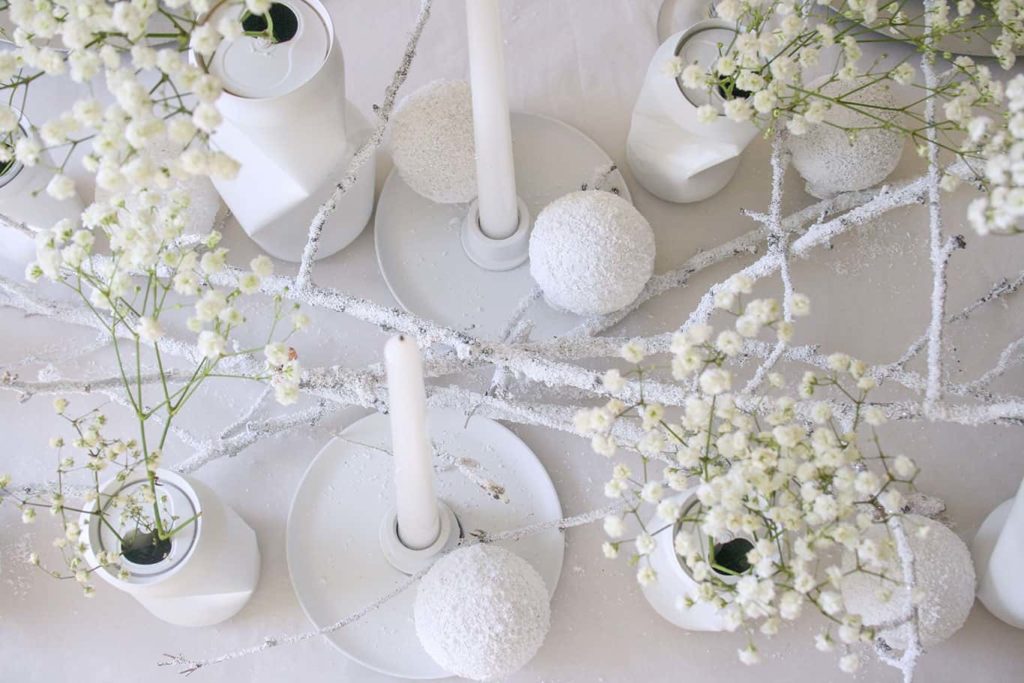
First I started with two of my diy tall candle holders, and spray painted them white to go with my winter wonderland theme. I then added tall white candles in them and placed them diagonally from each other in the middle of the table.
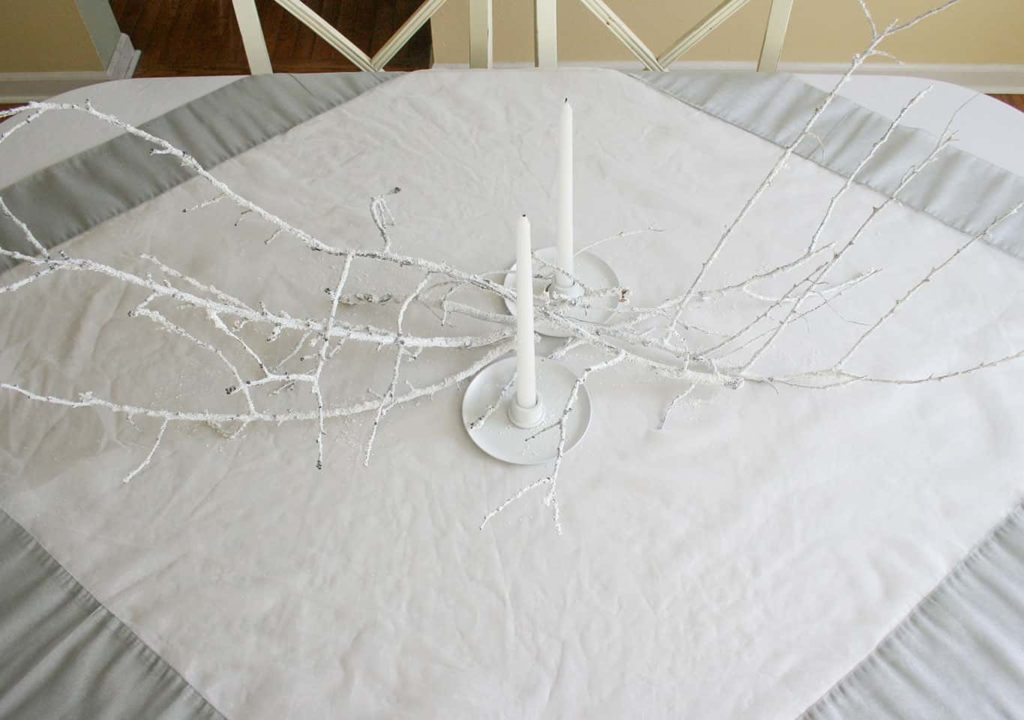
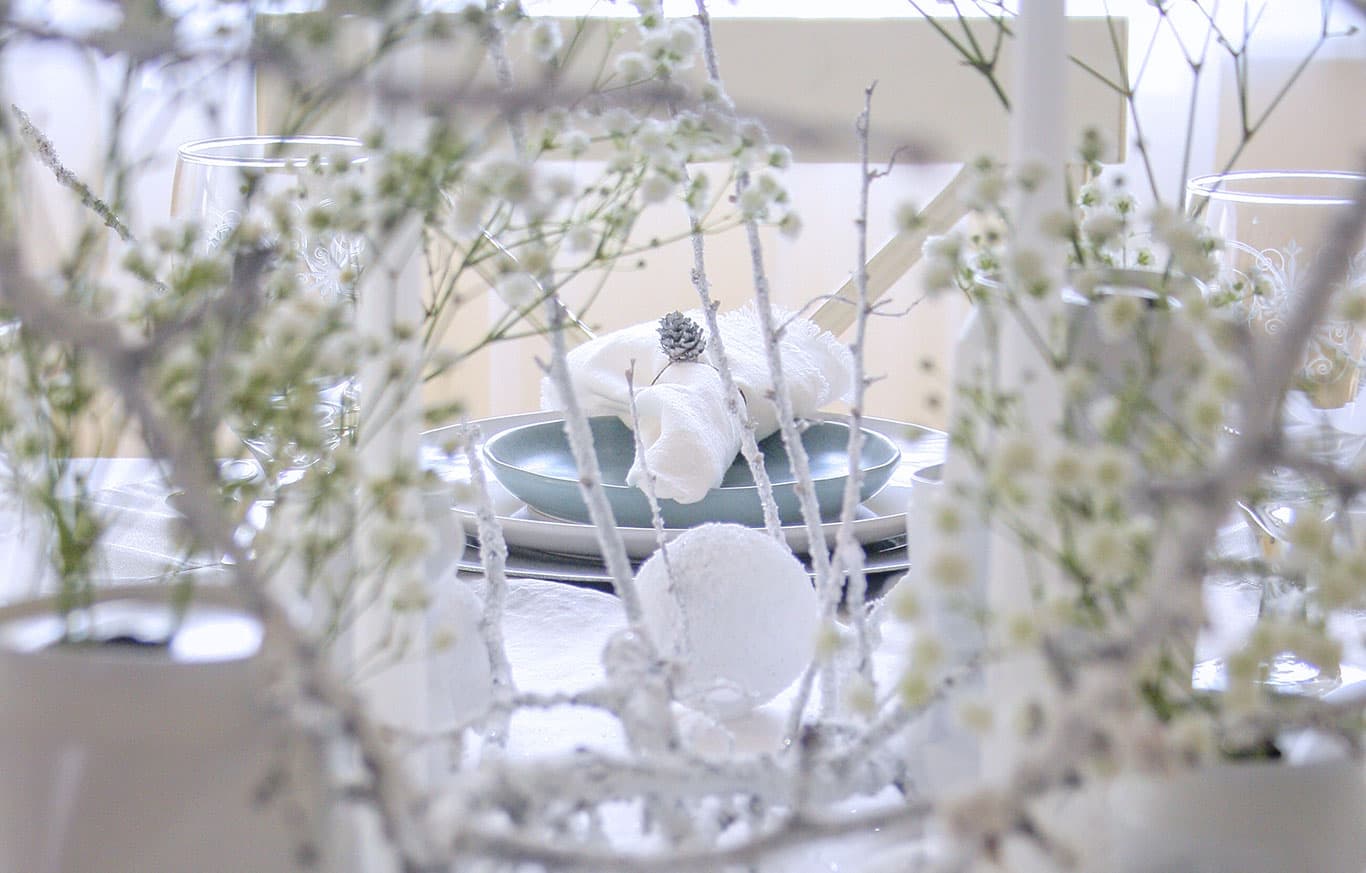
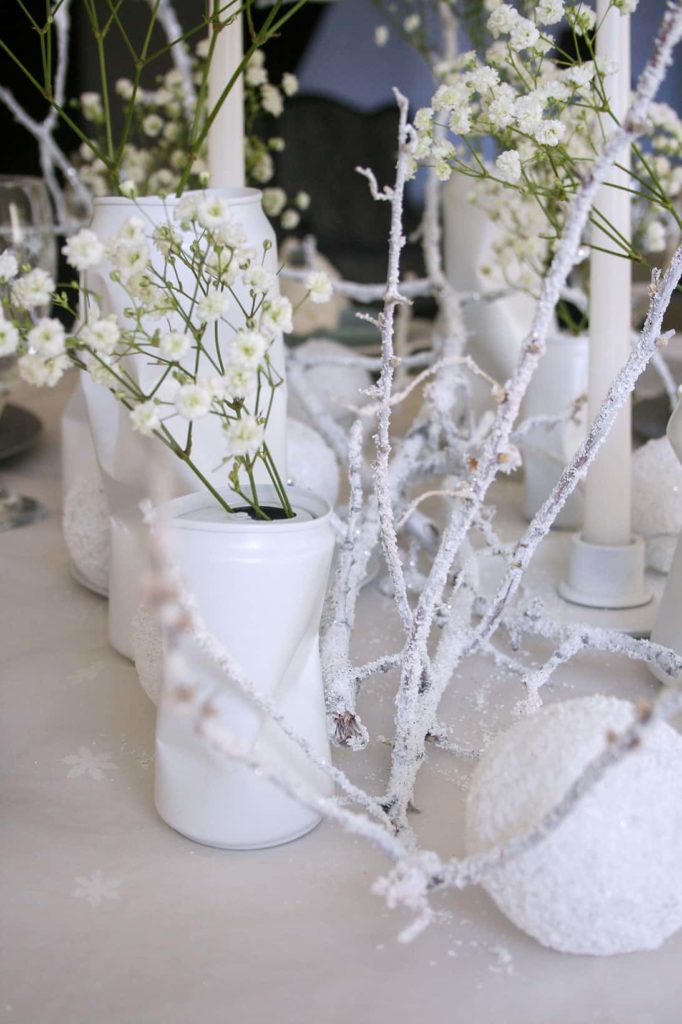
Next, I added my diy snow covered branches made from found or dead branches. This is a SUPER easy diy project, and I LOVE how the branches appear to have freshly fallen snow on them.
Don’t they sparkle!
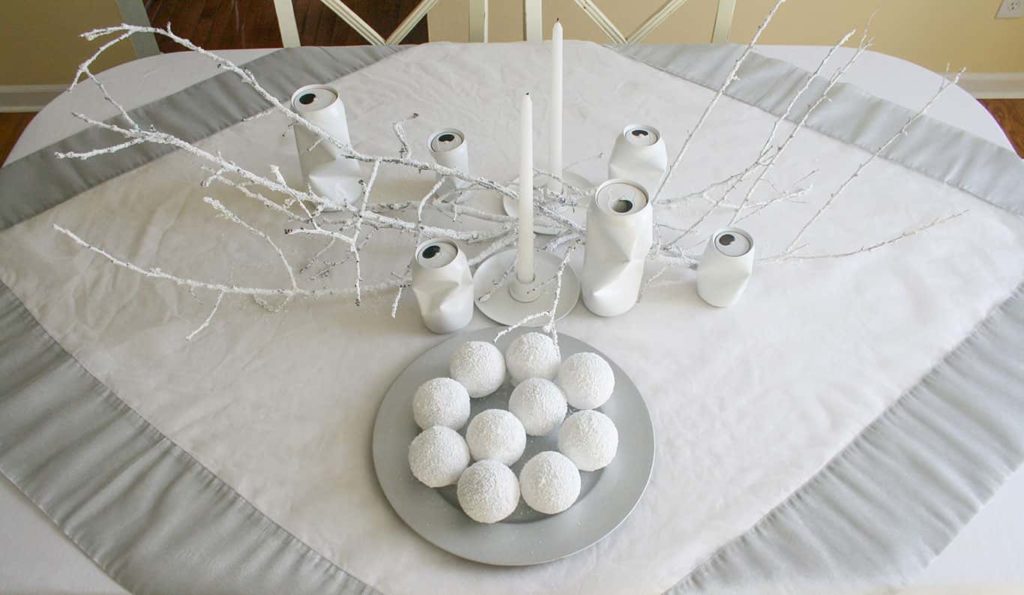
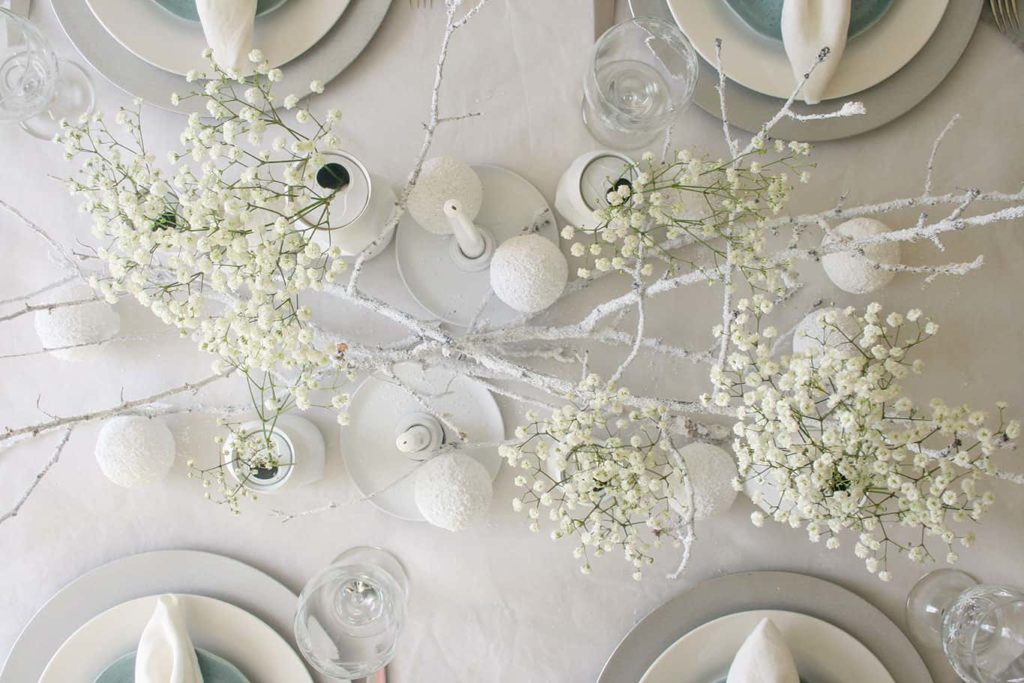
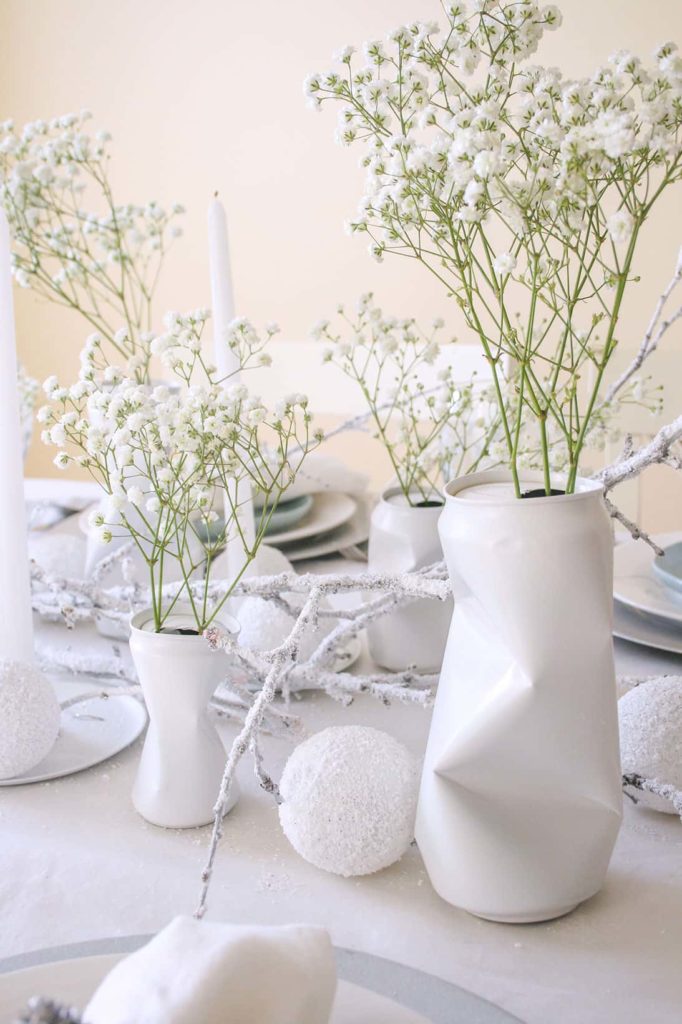
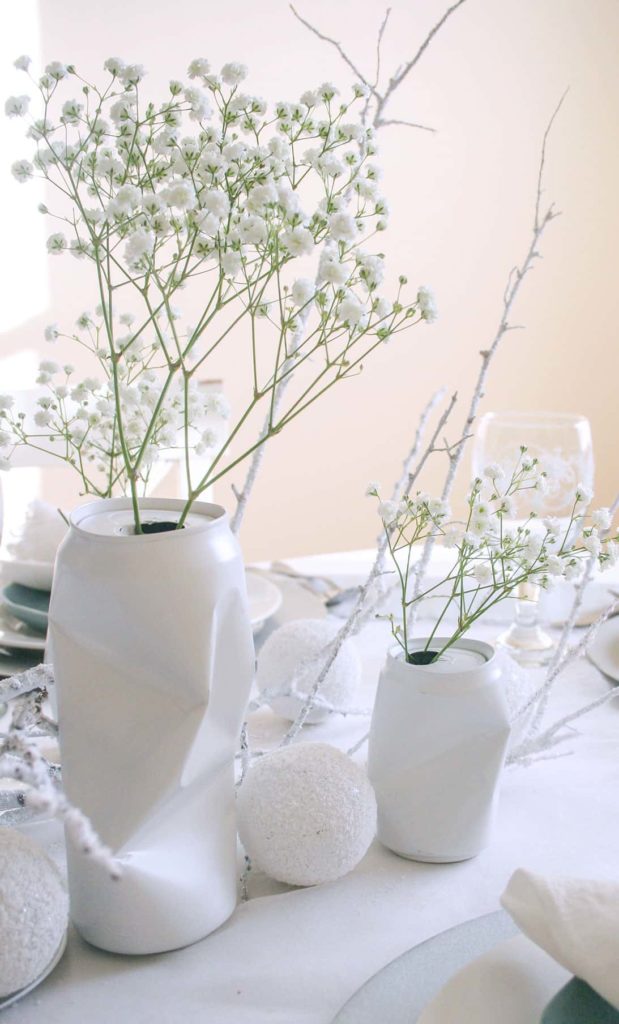
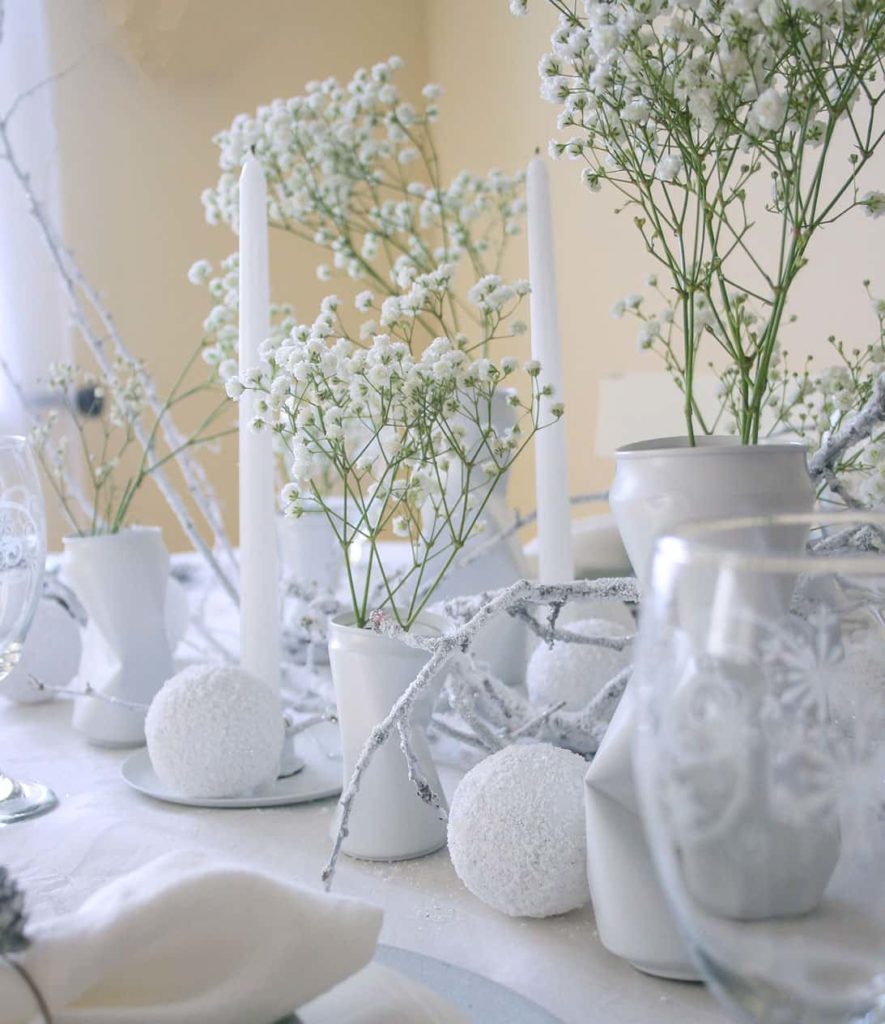
Then I interspersed soda can diy vases throughout the centerpiece. I used three different sized soda cans, which created a unique look on the table, and since I had painted them white, they really world with my winter wonderland themed table.

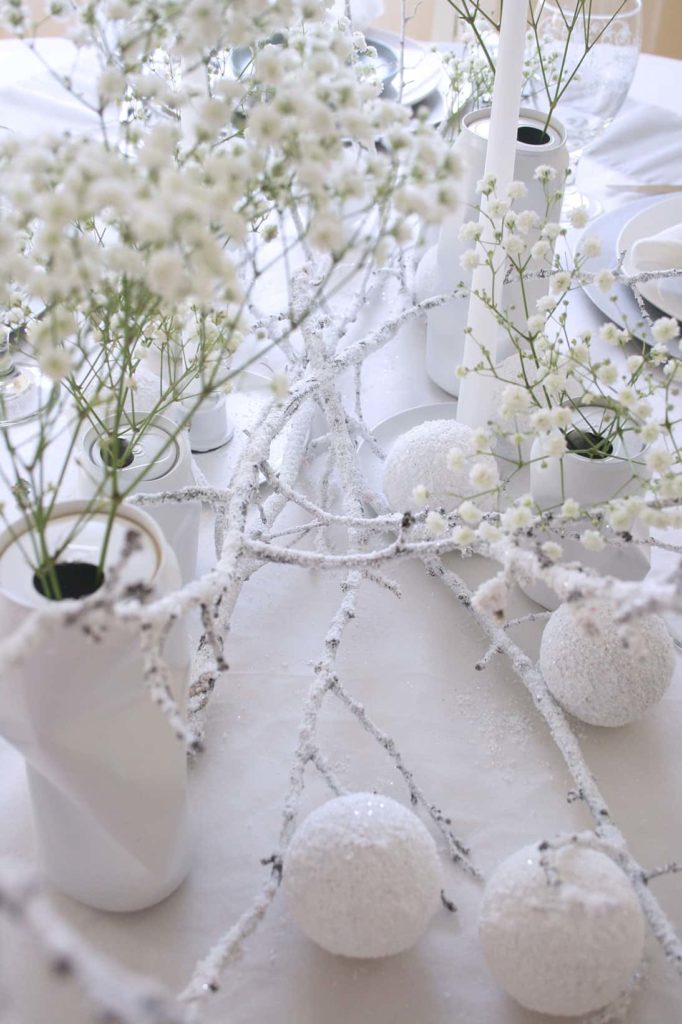
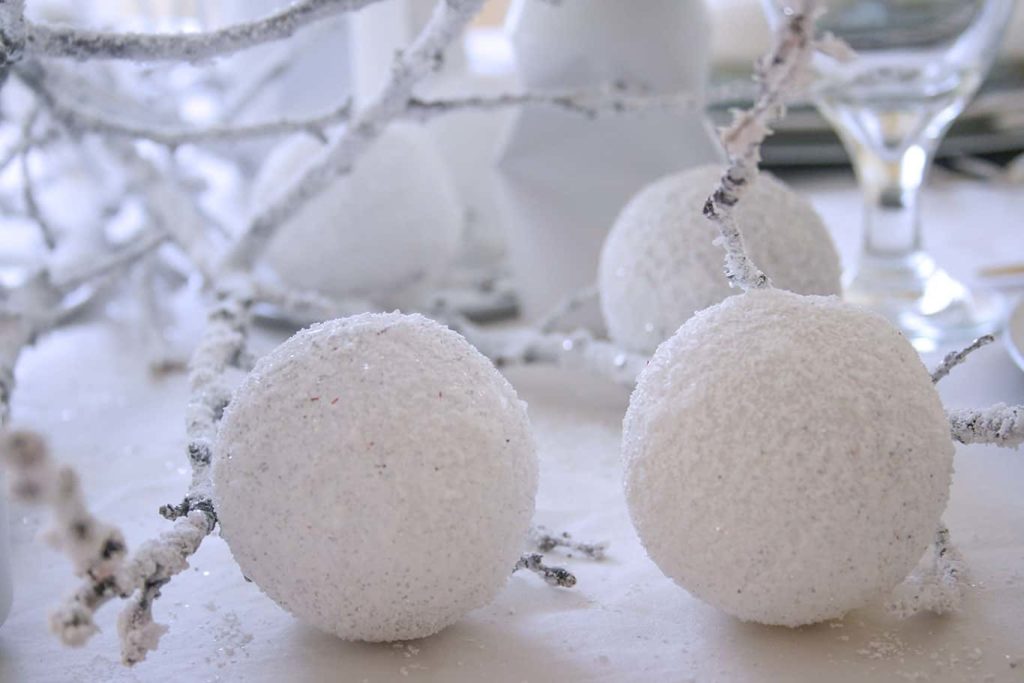
After the vases, I strategically placed faux diy snowballs around and inside the centerpiece. Check them out ~ they look like real snowballs!
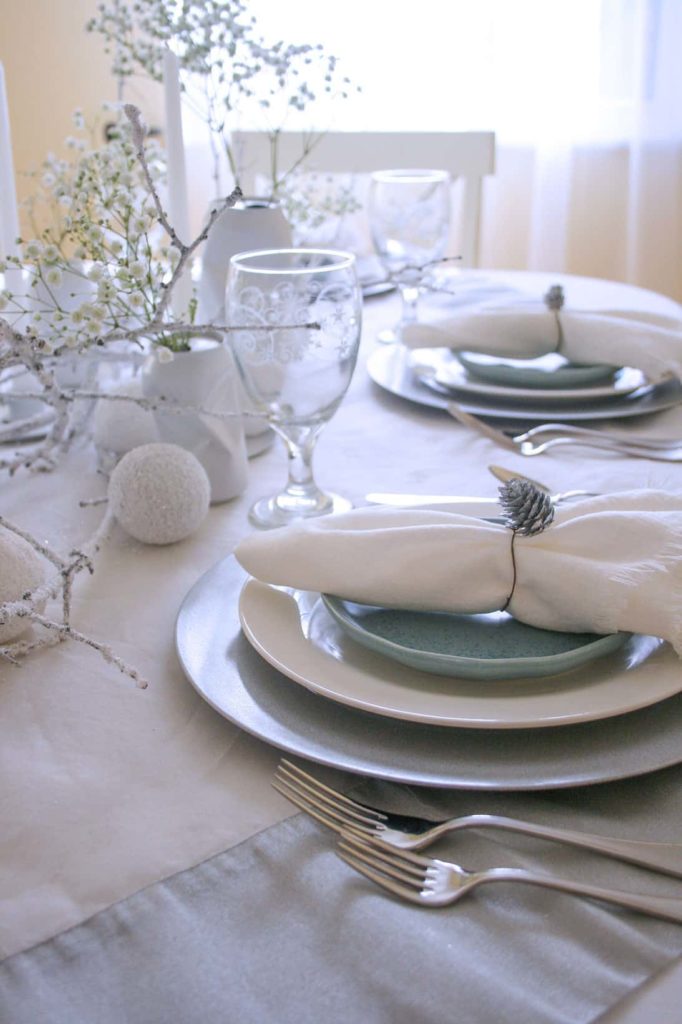
Lastly, I added Baby’s Breath flower stems in the vases, as they look like tiny snowballs, and really worked with the winter wonderland theme for the tablescape.
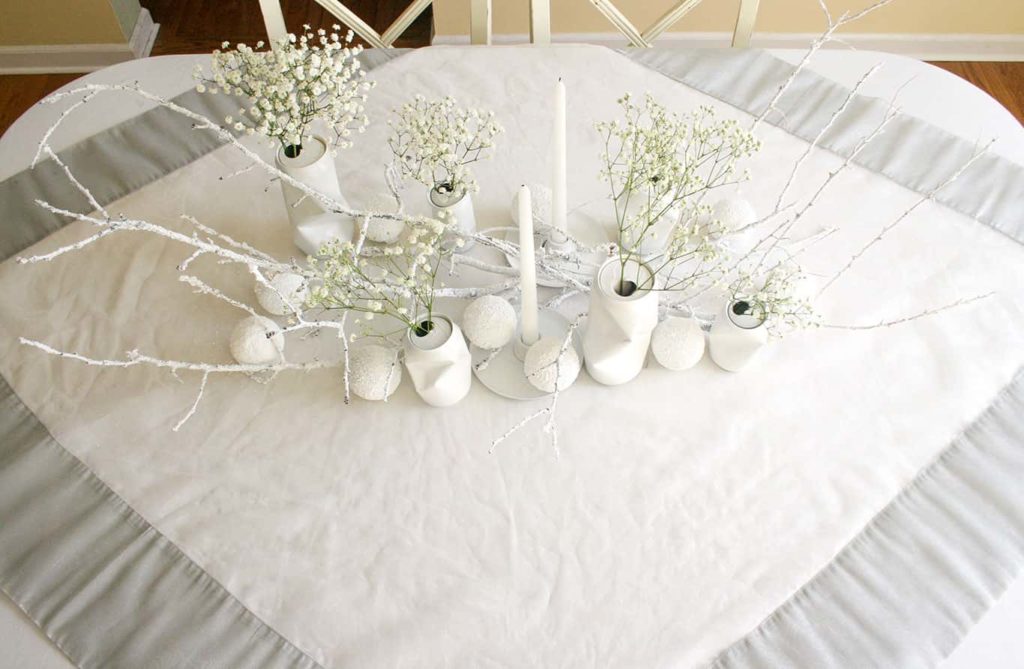
Can’t you imagine walking through snow-covered trees with mounds of snowdrifts?
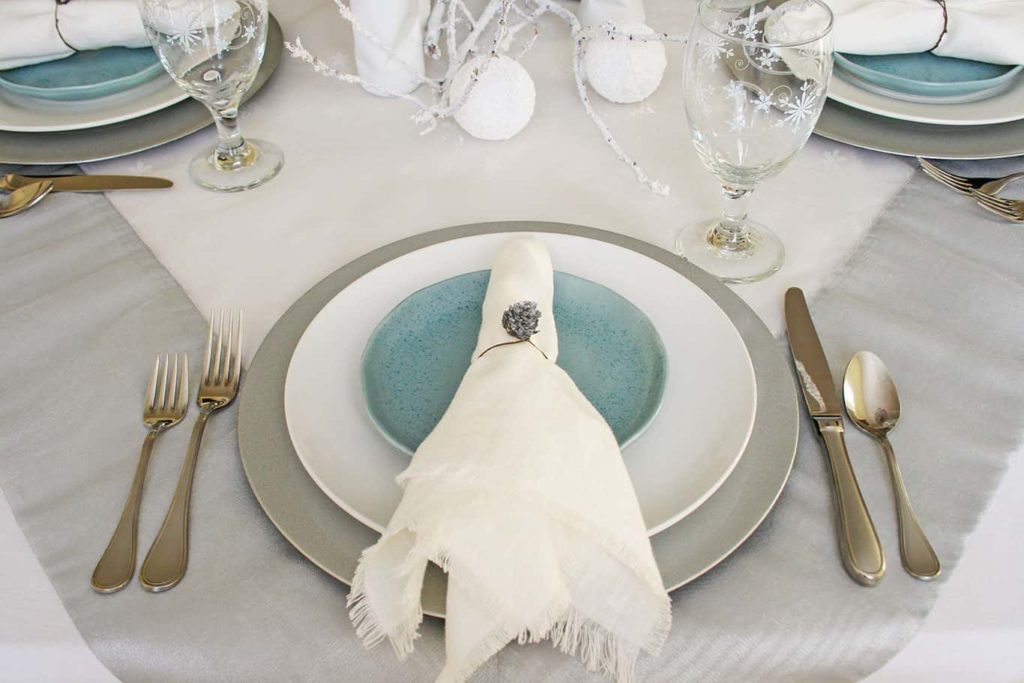
Step 3: Add Winter Wonderland themed place settings
After you have completed your Winter Wonderland centerpiece, it’s time to arrange your place settings.
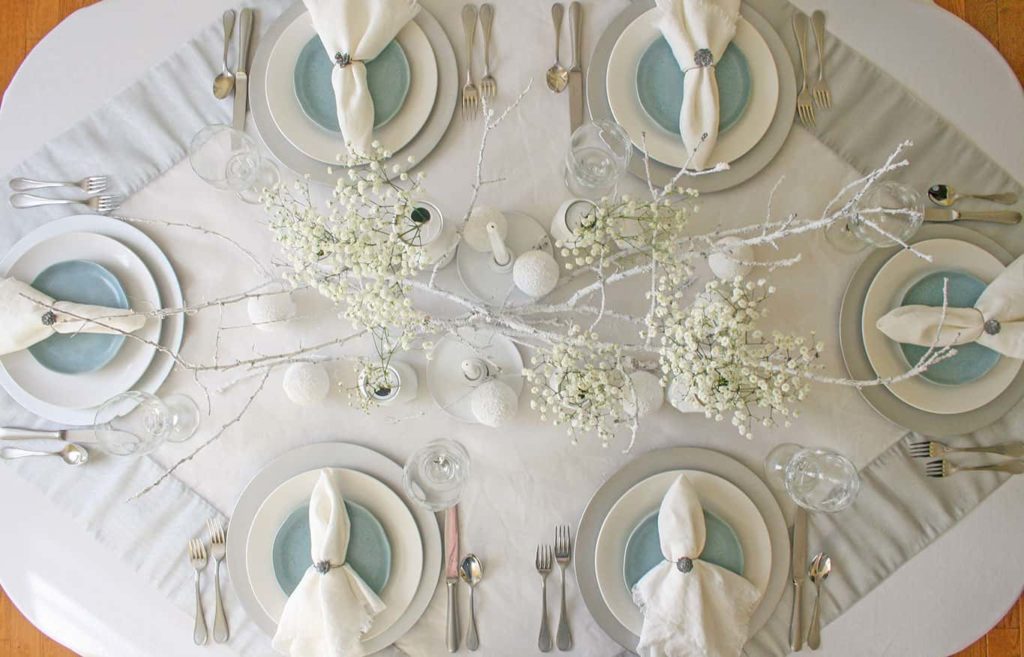
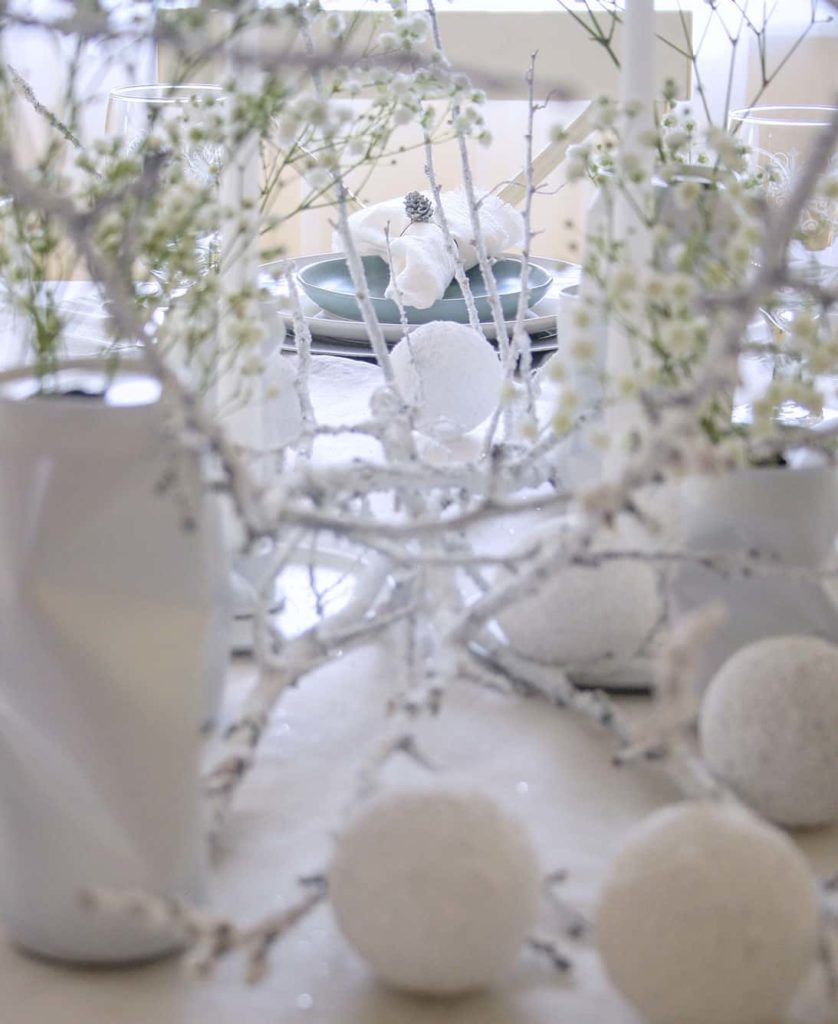
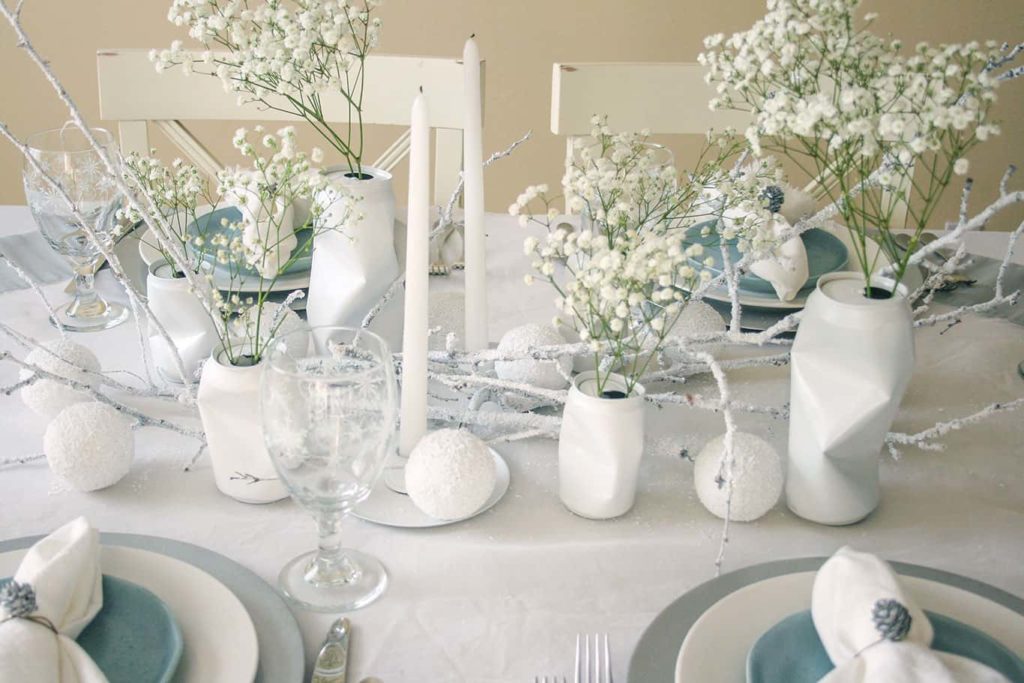
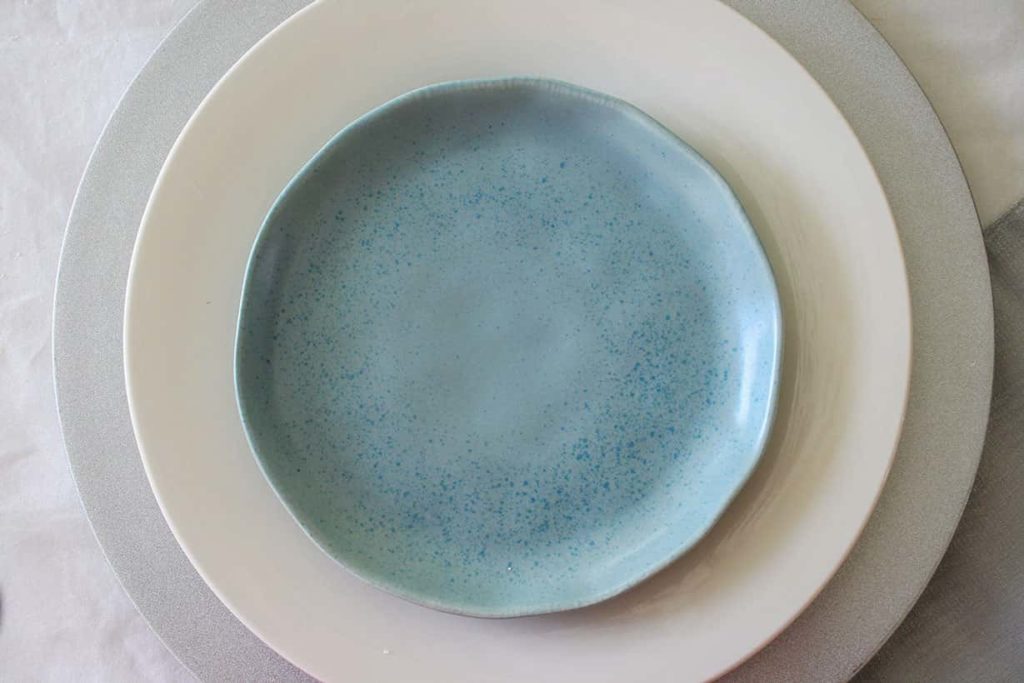
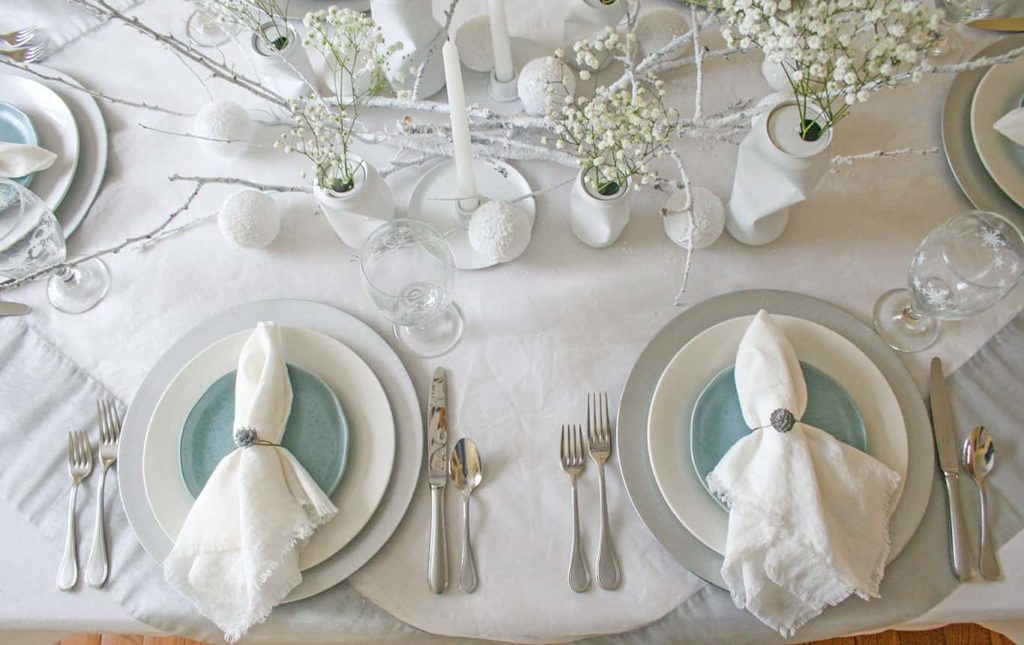
I started with silver charger plates that I’d gotten from Dollar Tree, and placed white dinner plates on them. Then I added ice-blue salad plates on top of the dinner plates.
I had found the ice-blue salad plates on clearance (like 70% off!) at JoAnn’s months ago and knew that I could use them for multiple occasions (I’m sure you will see them on future tablescapes, lol).
I decided to use the ice-blue plates, instead of white ones because they would add a pop of color and visual interest to the table. And they represented a bright blue sky after a snowfall.
Next was laying out the flatware and snowflake goblets. You’ll notice that I used these goblets on my Rustic Farmhouse Christmas tablescape too. (I’m all about reusing items!)
Then to complete the Winter Wonderland place settings, I used the easiest ever diy pinecone napkin rings and slipped them over my simple no-sew linen napkins.

Step 4: Enjoy your Winter Wonderland table setting with your friends and family
Didn’t this Winter Wonderland table setting turn out amazing!
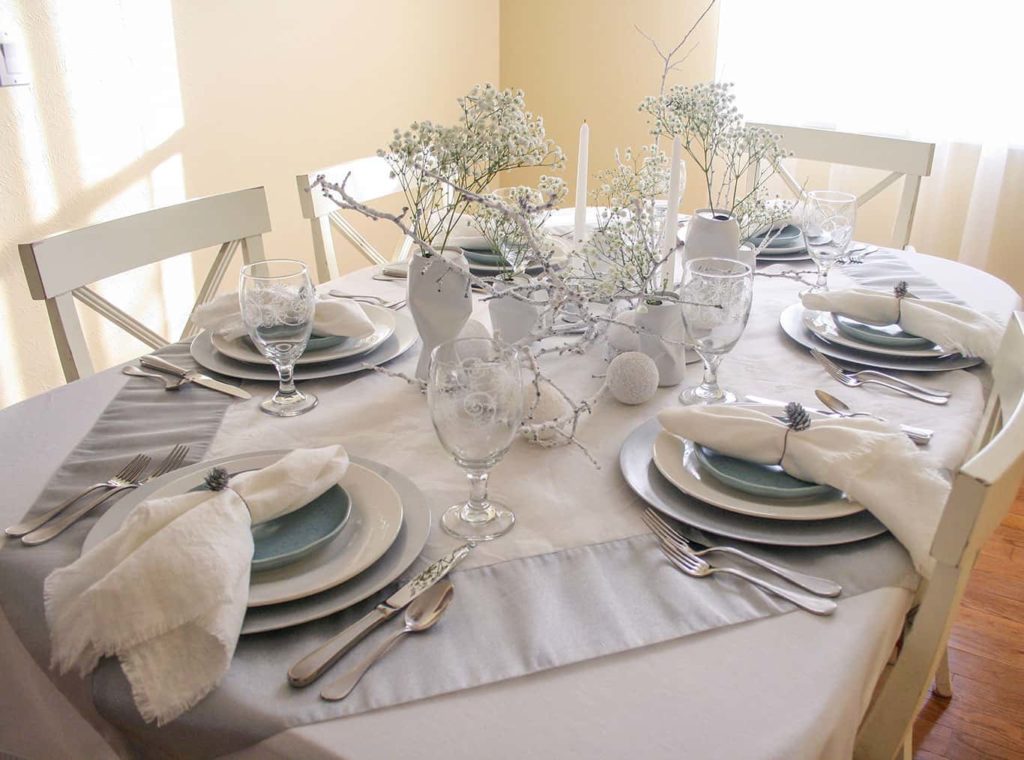
Can you believe I reused SO MANY past diy projects or created winter wonderland decor pieces from recycled items?
This tablescape cost me practically nothing.
Now that’s my kind of tablescape!
Are you thinking about turning your table into a winter wonderland, too? You should!
Now that you know how easy (and cheap!!) it is to create a cute Winter Wonderland-themed tablescape, it’s time to upcycle your used soda cans, salvage dead tree branches, and repurpose old Christmas ornaments.
Your friends and family won’t believe that it cost you pennies (or nothing at all) to make such a magical tablescape.
And just think how easily you can recreate this Winter Wonderland look yourself.
Check out the easy DIY projects used to decorate this tablescape:
- Tall Candle Holders
- Realistic Snow Covered Branches
- Recycled Soda Can Vases
- DIY Indoor Snowball Decor
- Easiest Ever Pine Cone Napkin Rings
- No Sew Linen Napkins
Shop the Table (if you don’t have time for a DIY)


I love the simplicity, cleverness, and elegance of this table setting.
Aww – thank you! So nice to hear that you like it.
Love white on white for winter loveliness
I do too! White on white is SO crisp and pretty.
Really pretty…I love those blue plates! I also LOVE to re-use what I already have on hand and not to spend any more money when decorating..it’s such a fun and creative process! Thanks for sharing!
Rachel ~ Sounds like we are kindred spirits. Thank you for your kind words. I really appreciate it!