Do you want to learn how to quickly create a fabulous Christmas diy centerpiece in 3 simple steps?
Do you profess to not have a single creative bone in your body? Does the idea of creating a centerpiece for your table stress you out, and make you throw your hands up in the air. Walk away and just forget it?
Well, I’m here to show you how quick and easy it is for you – you (self-appointed) non-creative – to create a fabulous Christmas diy centerpiece in three easy steps.
Seriously, you can do this.
You just need to follow the three simple steps and you will amaze yourself at the results. Plus, you will be able to brag and show it off to your friends! Won’t that impress them!!
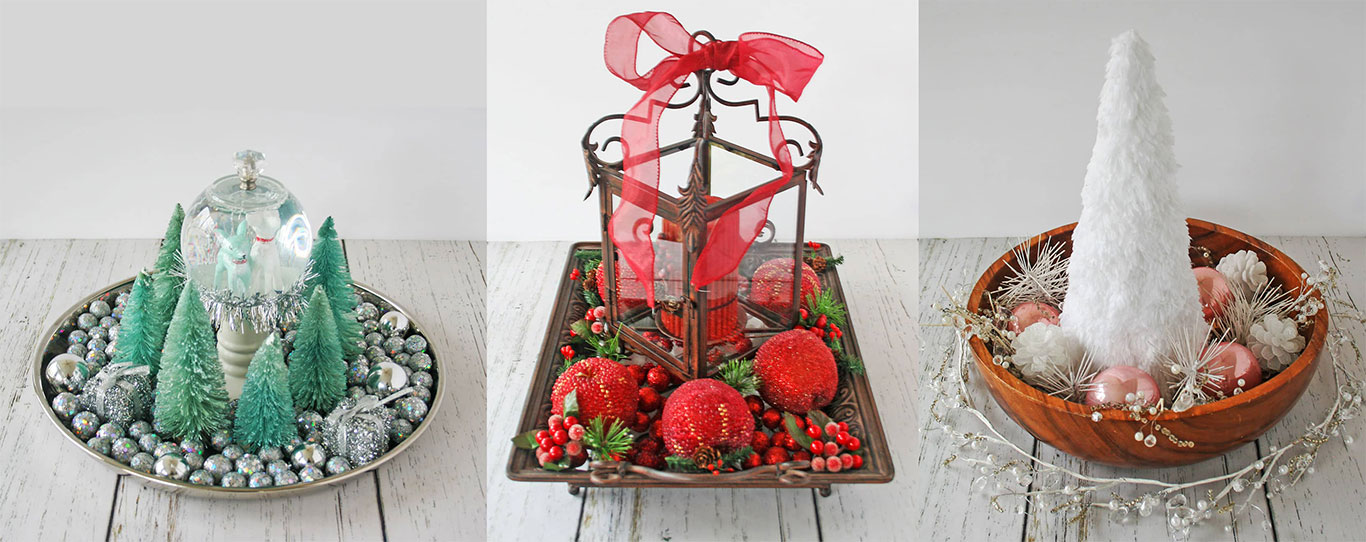
How to Create a Christmas diy Centerpiece in 3 Easy Steps
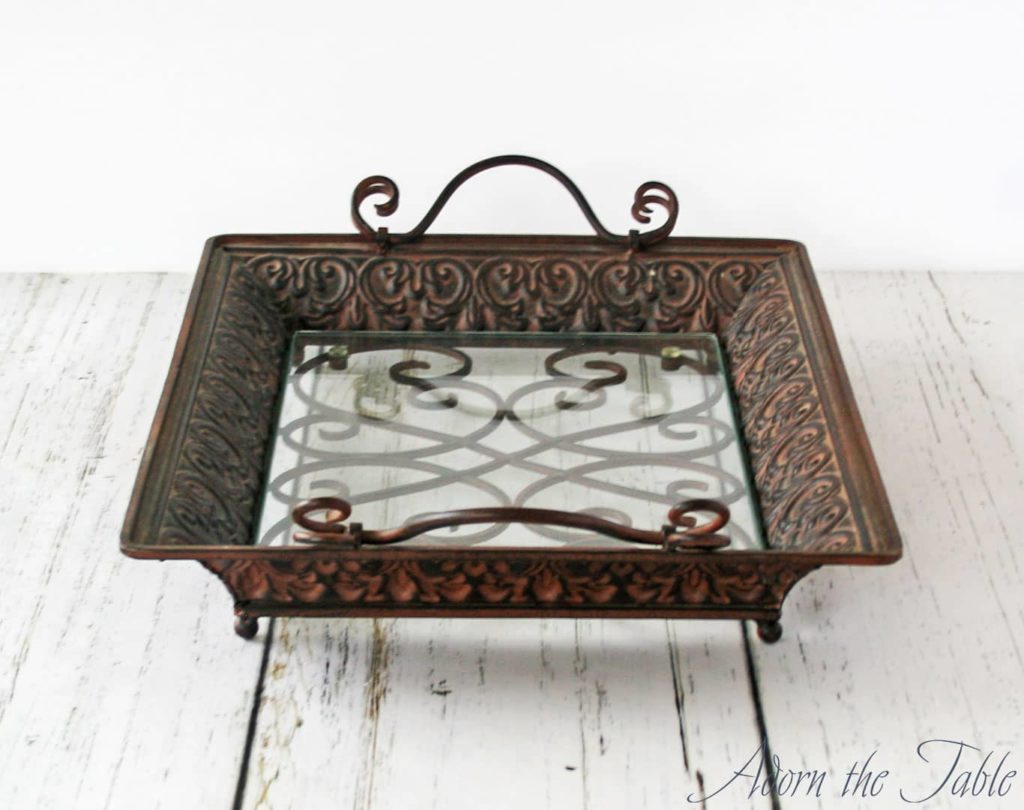
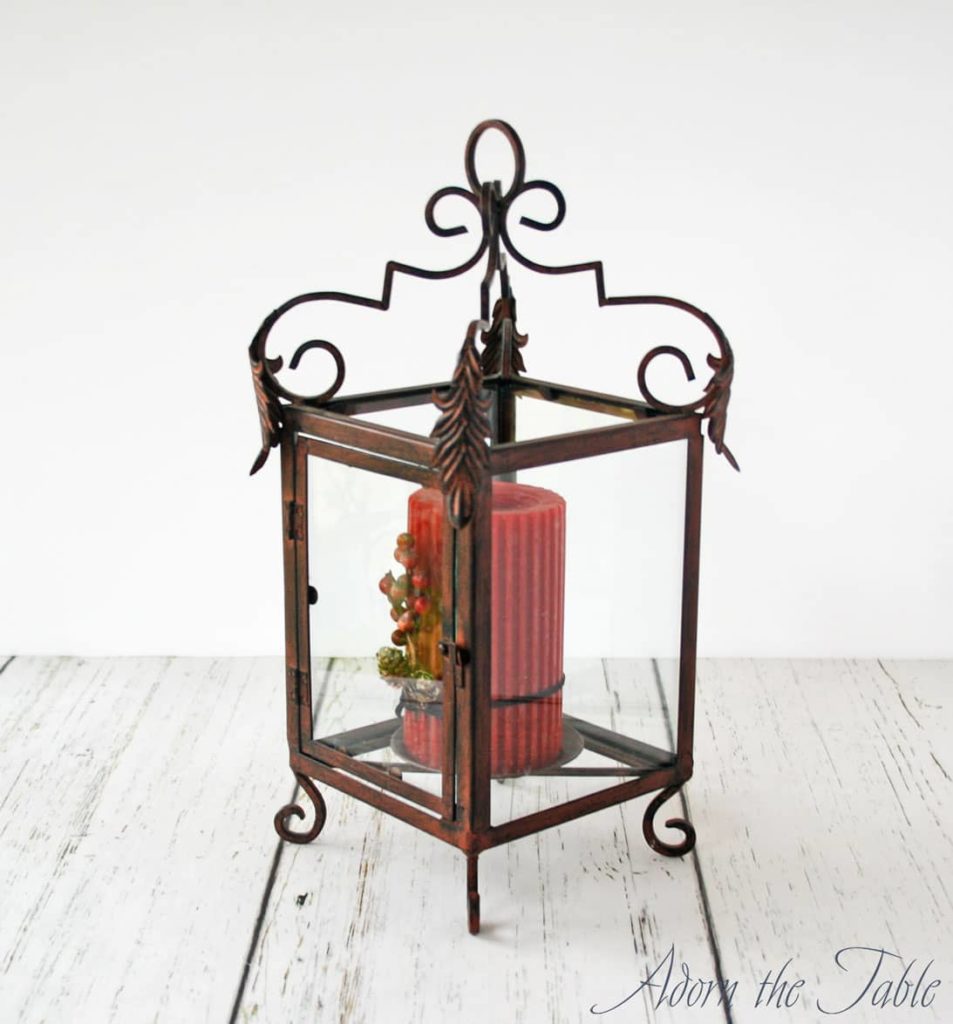
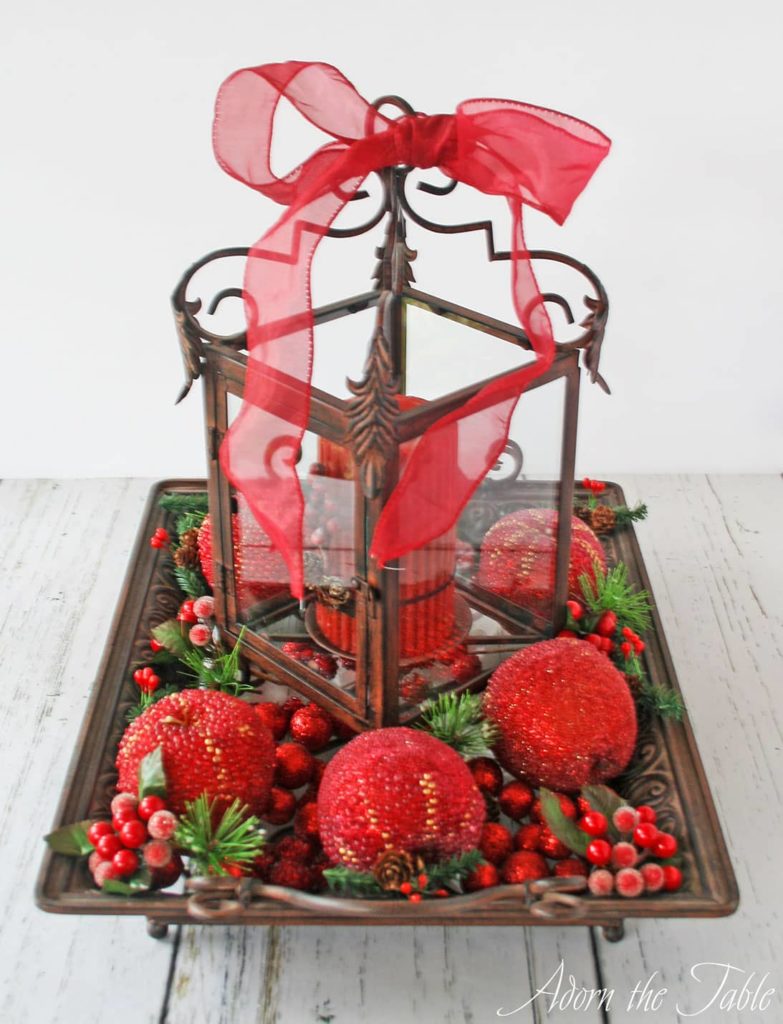
Step 1: Select your Christmas centerpiece’s base or container
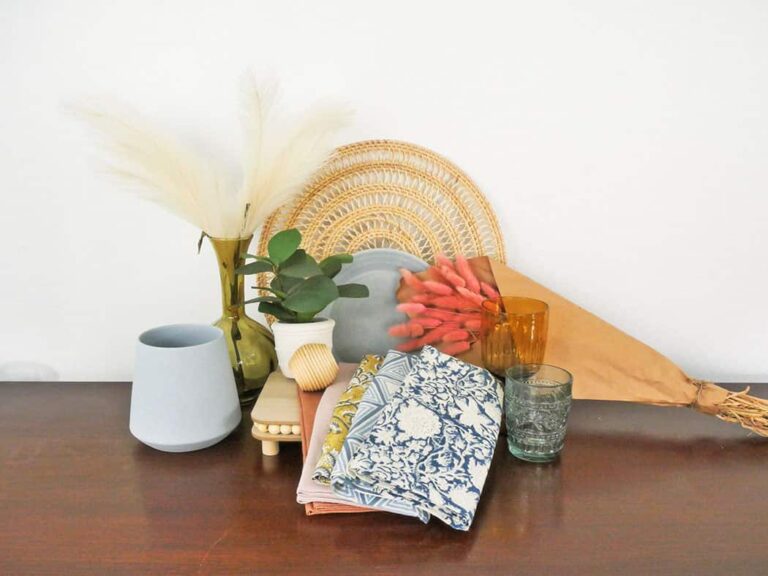
The first step to creating a fabulous centerpiece is choosing a tray or shallow bowl. I bet you already have one.
Take a look around your house and see what you can use. Don’t worry if your tray or bowl has a few scratches or scuffs. They will be hidden by the time you are done.
If you don’t have a tray or bowl that will work, check out your local thrift store. There are usually great finds for this type of project. Especially since you won’t be using it to serve food.
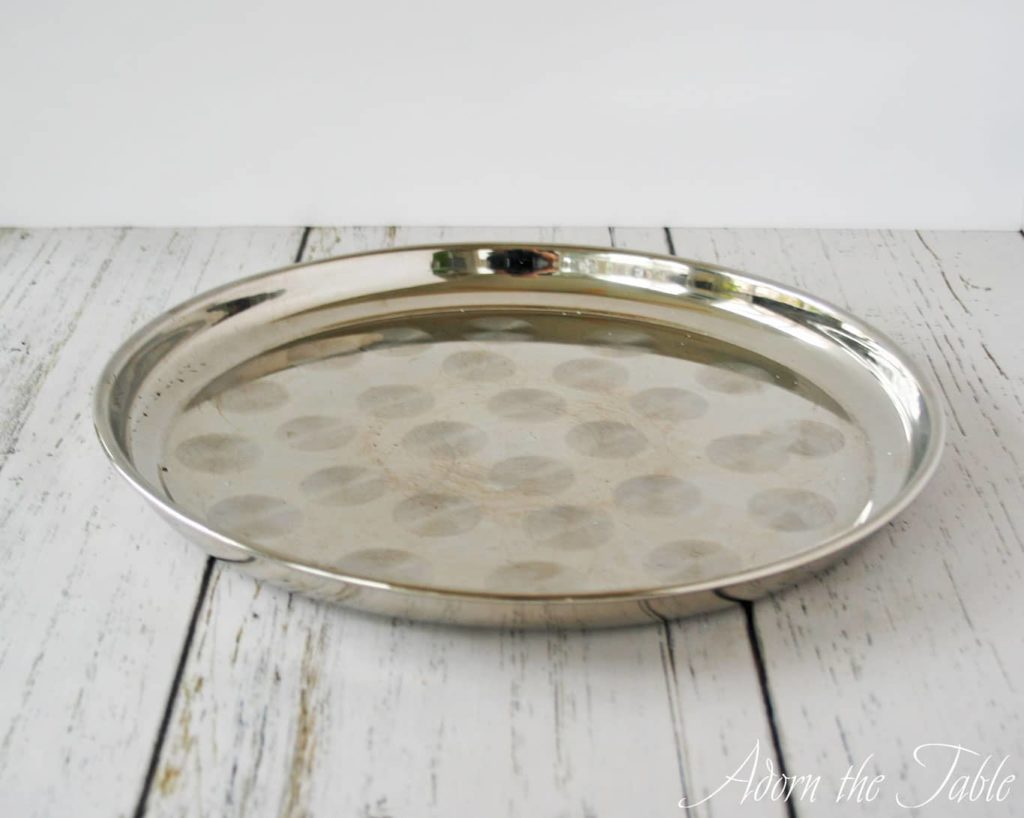
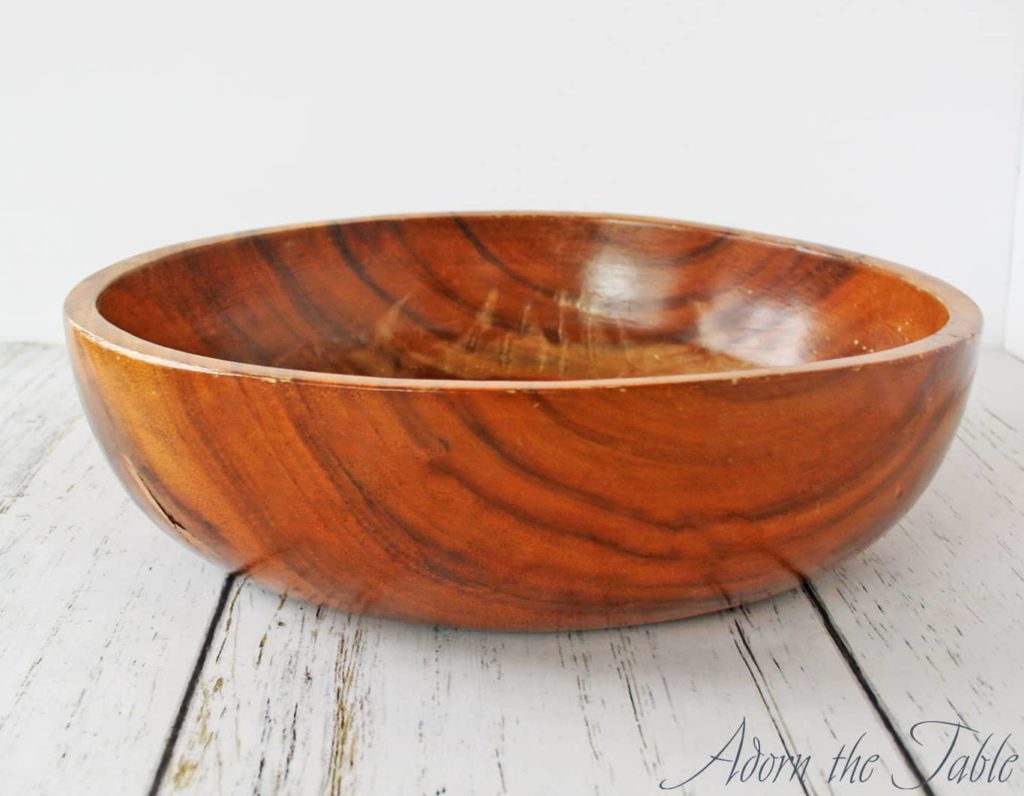
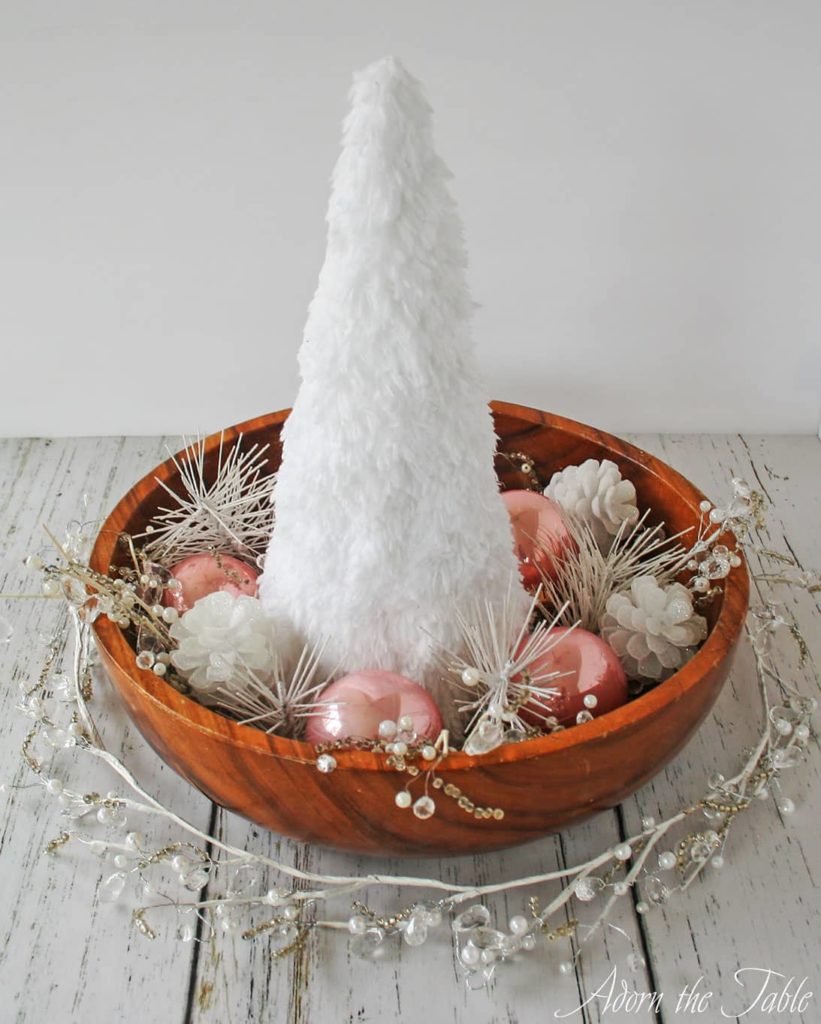
In fact, two of my examples (the wooden bowl and the silver tray) came from second-hand stores.
Just make sure you give your piece a good cleaning.
Step 2: Decide on a single focal piece for your centerpiece
Since this is an easy diy centerpiece, we aren’t going to get crazy with all the options you can use to create one.
Find a good statement piece for your centerpiece. Something that has a little height and visual interest. After all, it will be the primary focal point.

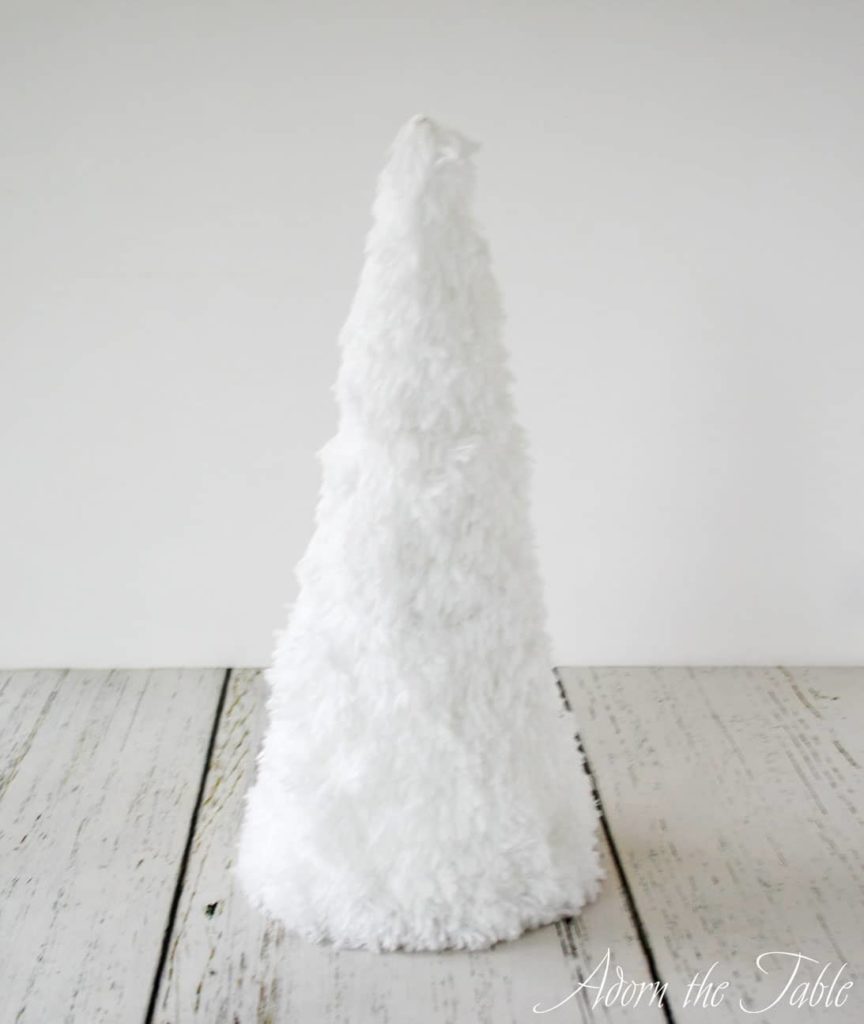
Maybe start with your favorite medium size holiday decor item.
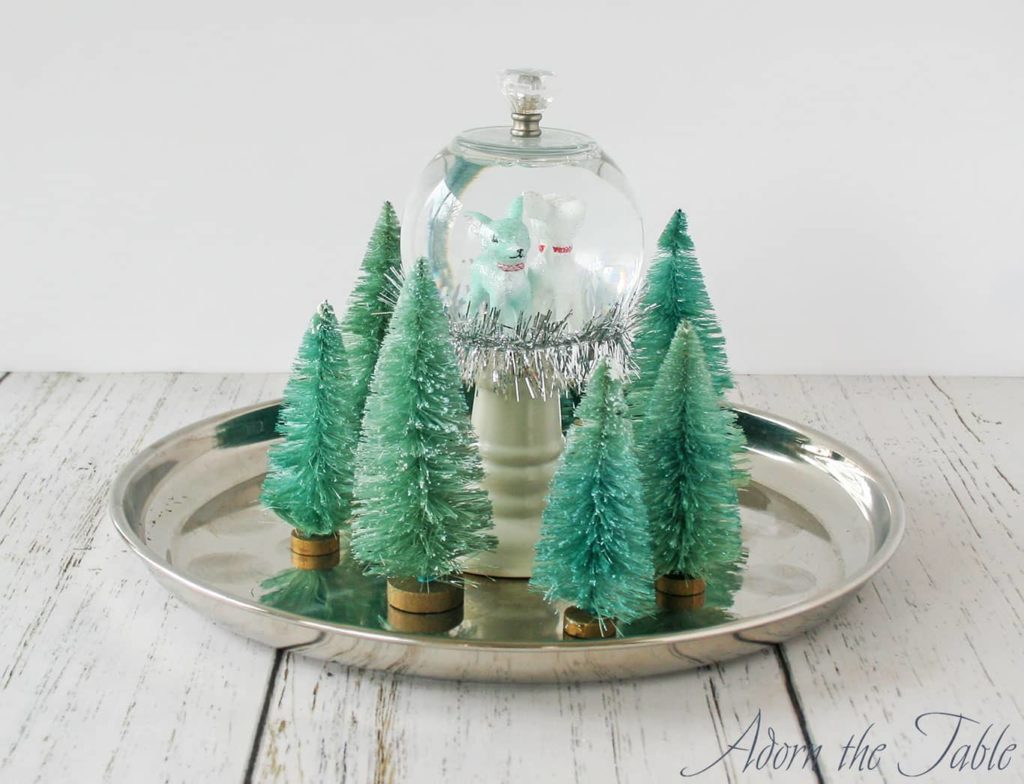
Now take that single focal piece and put it smack dab in the middle of your tray or shallow bowl.
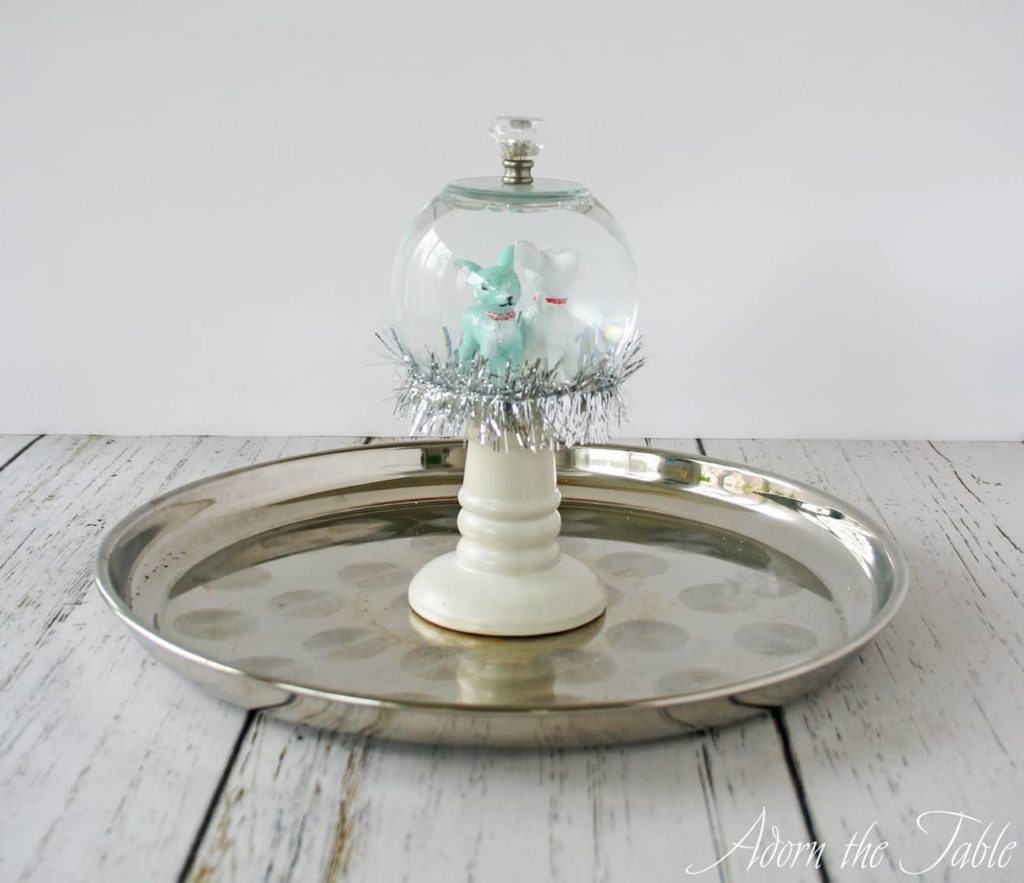
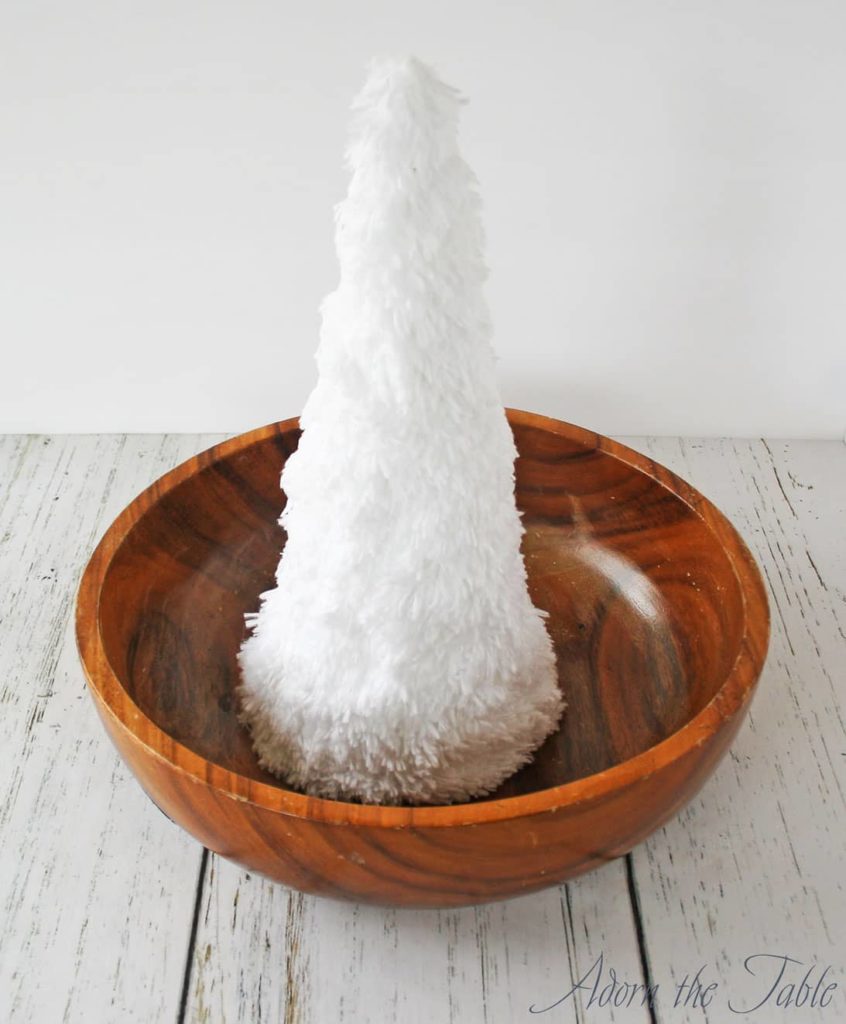
(Do you recognize the diy snow globe from my retro Christmas table setting?)
Your centerpiece looks a little anemic, doesn’t it? Not very impressive yet.
That’s okay. The magic happens next; in step three.
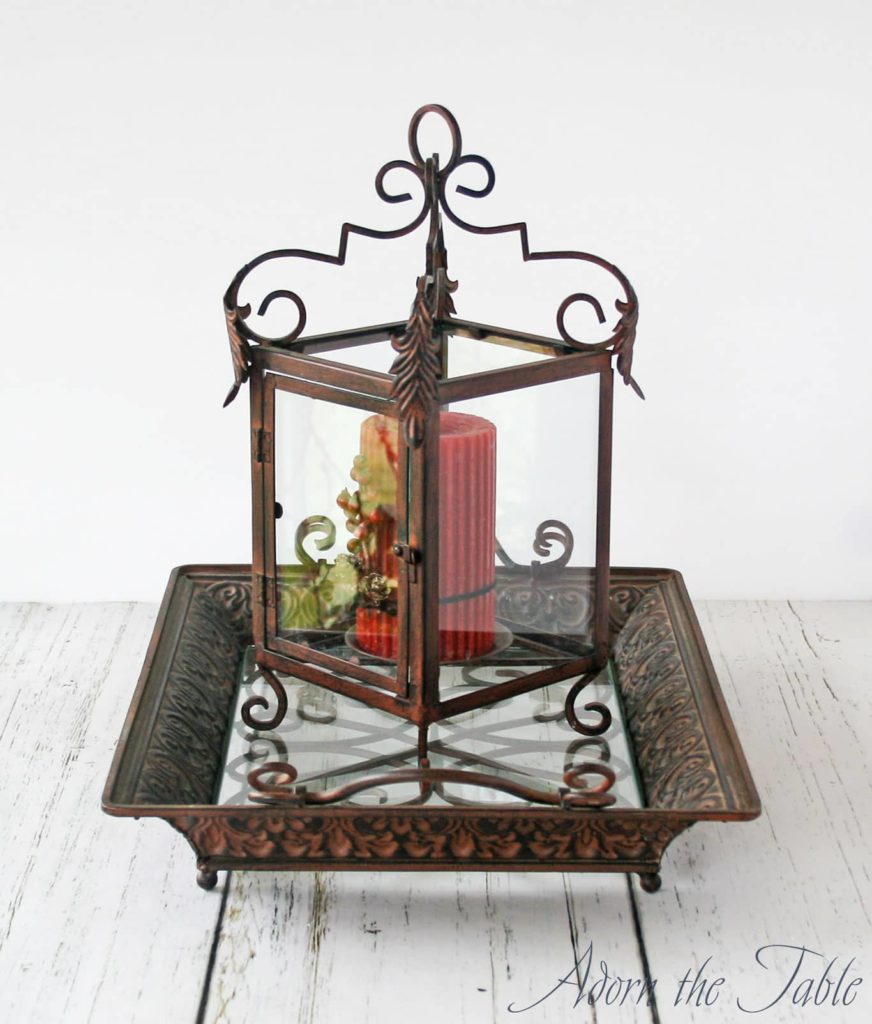
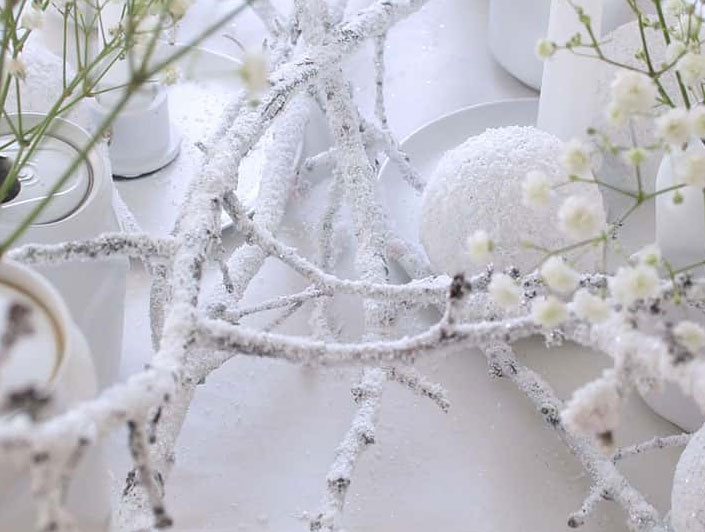
Step 3: Choose your centerpiece’s filler
You’re two-thirds of the way done with your fabulously easy 3-step diy centerpiece. The last step is to choose your filler.
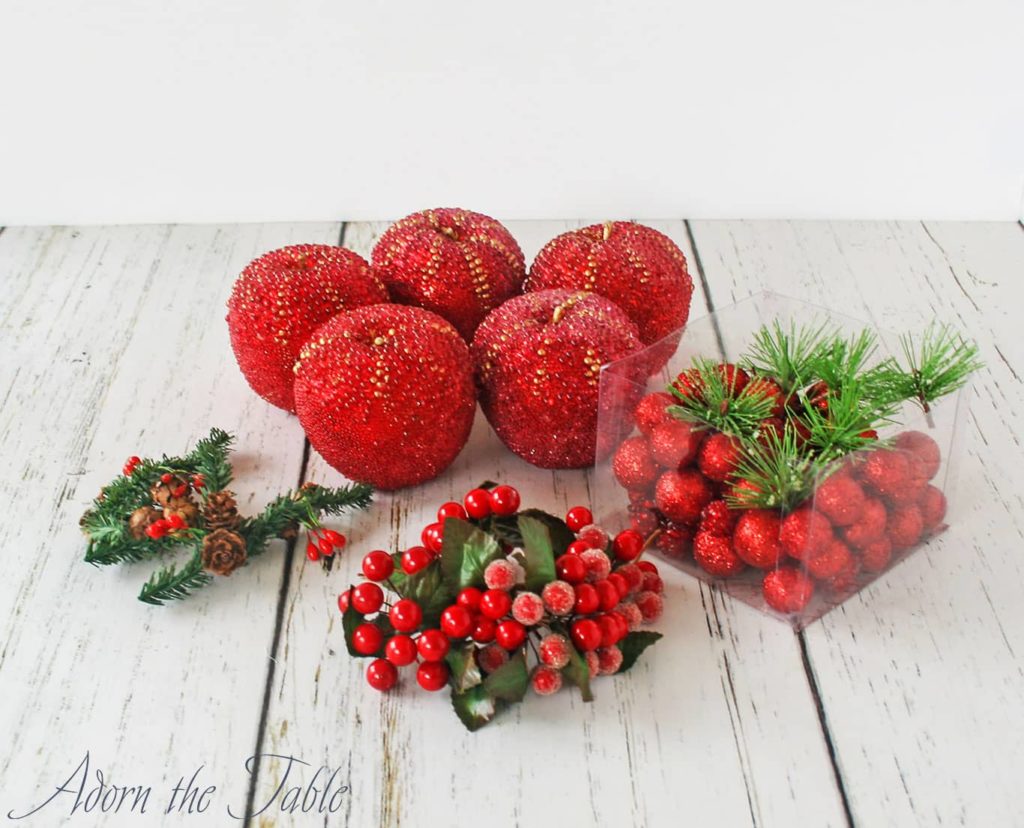
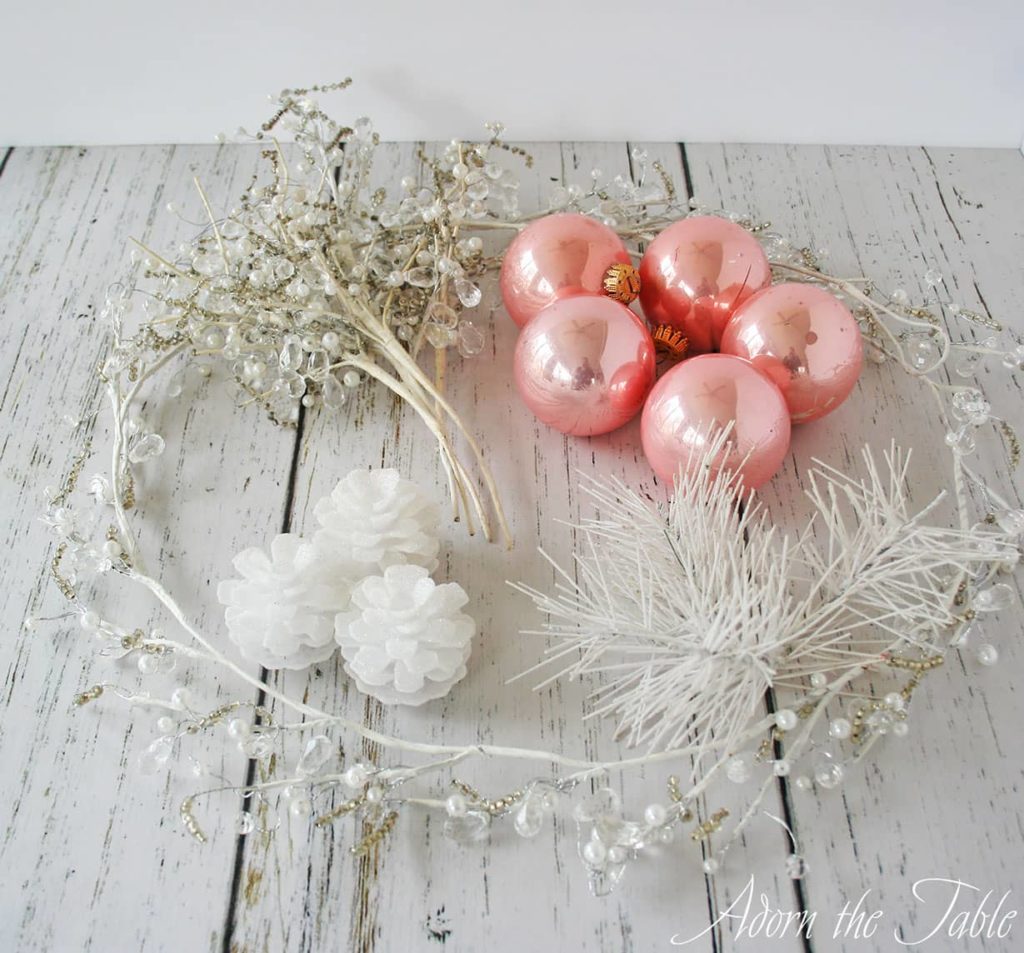
Filler is typically multiple small items. Either all the same color or coordinating colors.
Select something that will compliment your focal item. The filler will tie the base and the focal point together. So consider matching or complimenting colors.
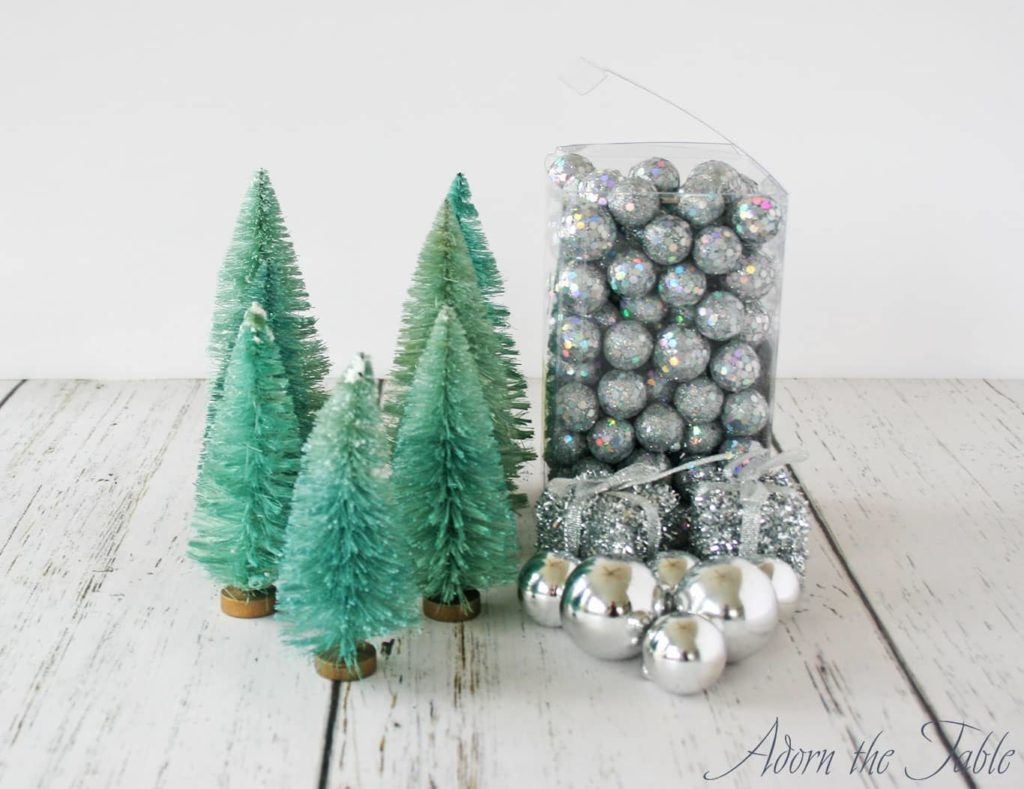
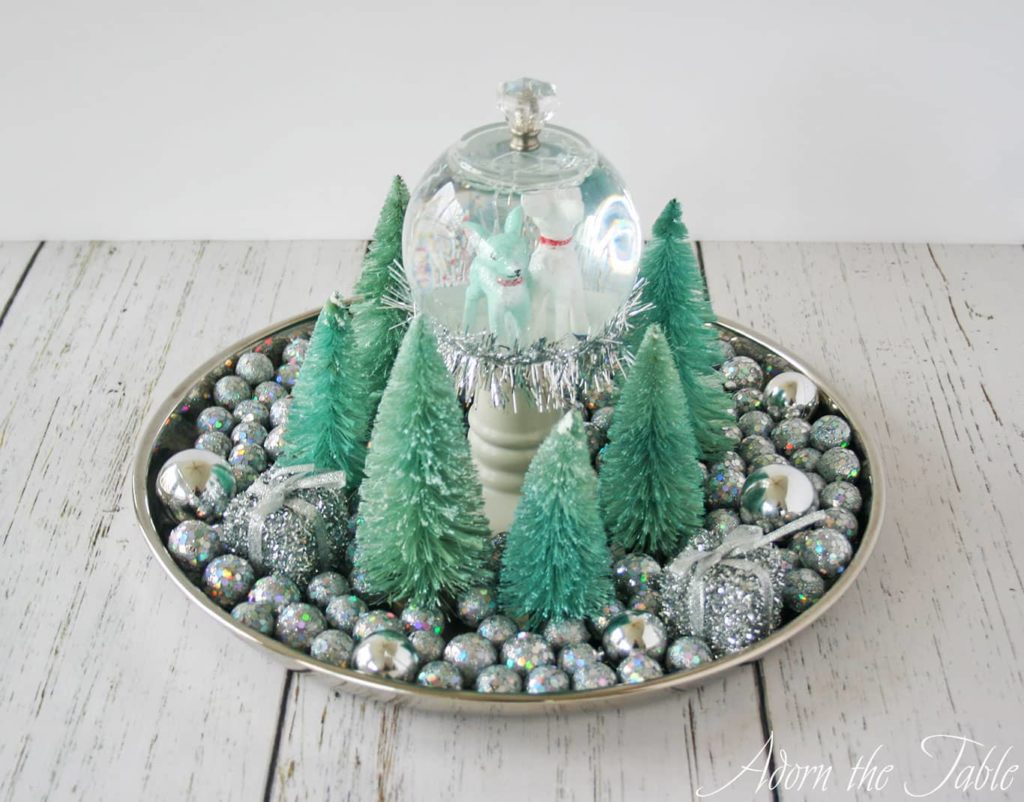
You will want to be sure that you have enough filler to cover or hide the bottom of your tray or bowl.
If your filler has different sizes, it tends to be more visually appealing. For example; a lot of tiny pieces and a few small pieces.
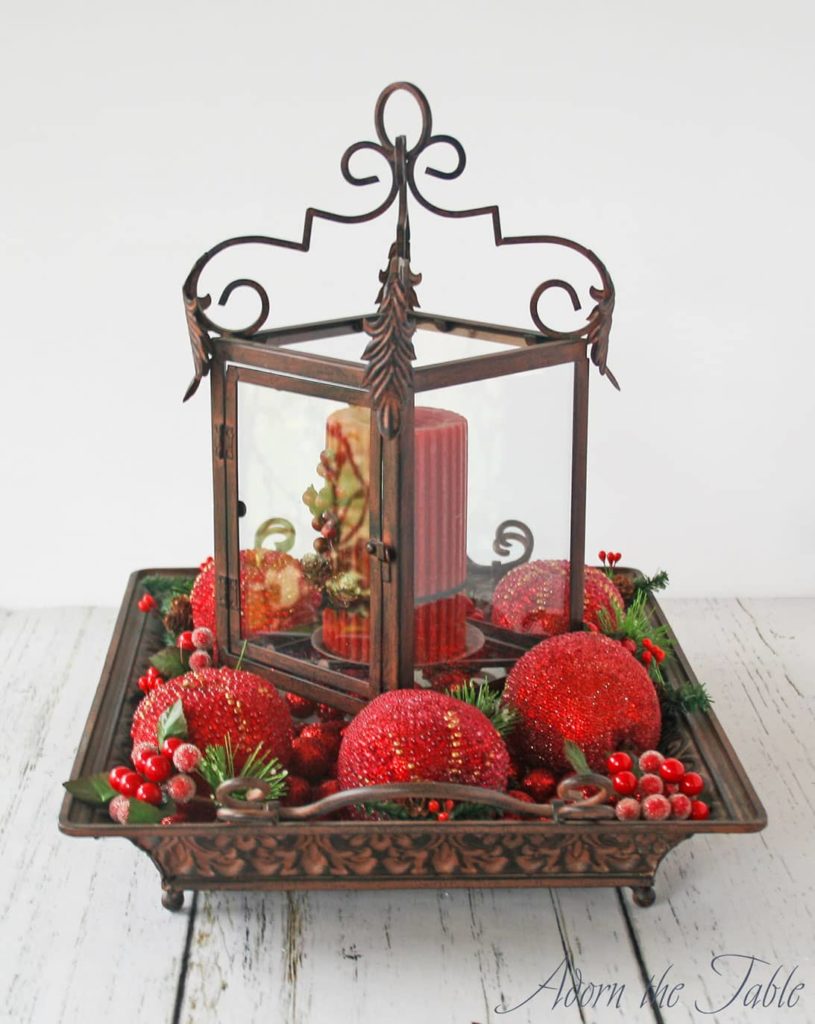
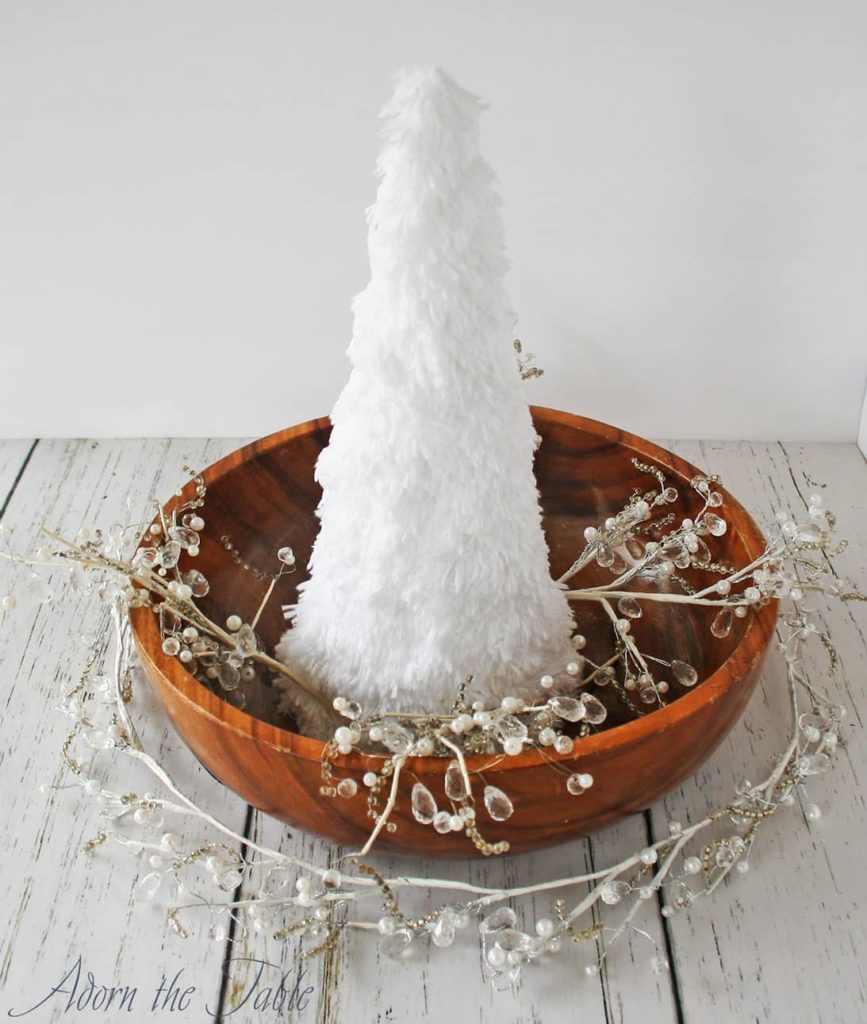
When you look at my examples you notice that there are at least two different size filler items. Those different sizes create visual interest and depth to the centerpiece.

Final Step: Display your fabulous Christmas 3-step diy centerpiece!
Now wasn’t that seriously easy-peasy. Can you believe that you created such an attractive Christmas diy centerpiece in 3 simple steps?
Step back and take a look at your centerpiece and pat yourself on the back. Pretty dang good – huh!
Think about all the places you can display it. You can place your centerpiece on your dining table, a coffee table, or even your kitchen island.
The best thing about this type of centerpiece is how easy it is to move!
Just pick it up off the table before you sit down to eat and then put it back when you are done. No need to dismantle or eat around it. In fact, you can easily move it from room to room!
Did you totally impress yourself? Just think how impressed your friends and family will be when they see your fabulous holiday diy centerpiece.
Let the bragging begin – lol!!
Other Similar Posts
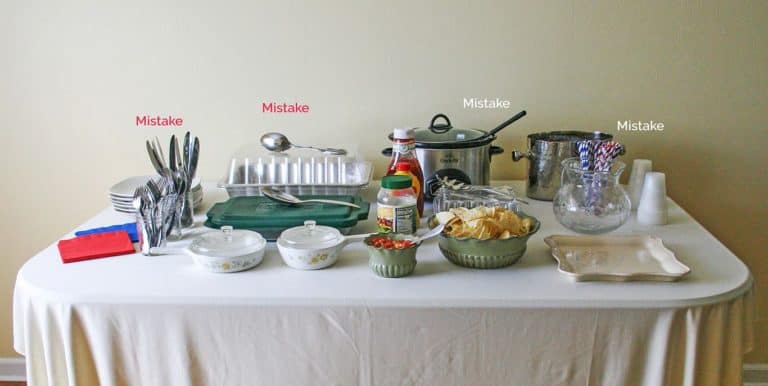
- Top 5 Reasons People Stress About Entertaining
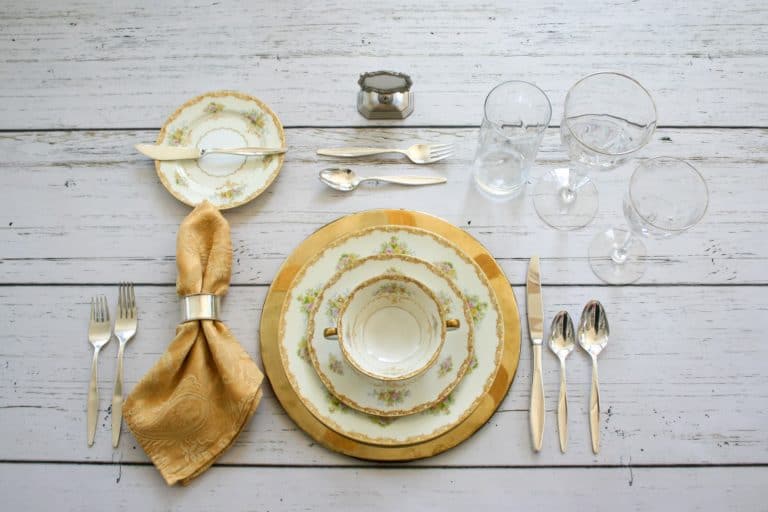
- List of 13 Must-Have Table Setting Pieces
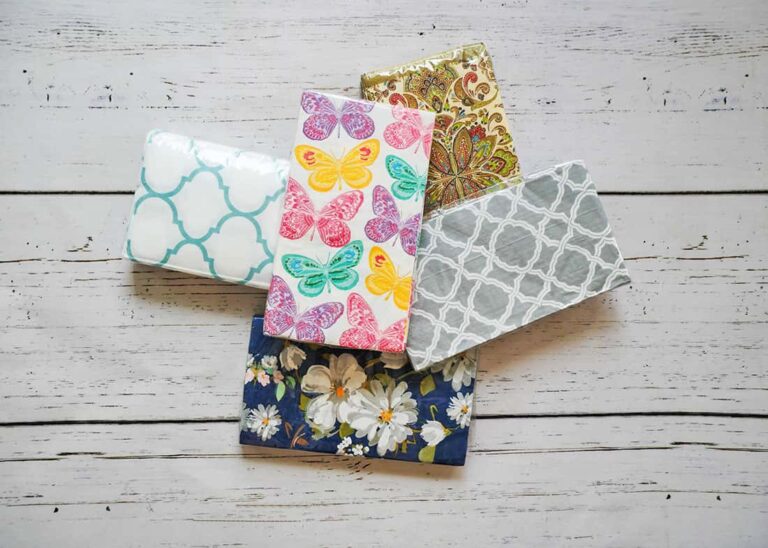
- 7 Reasons Why You Should Use Napkins Everyday
I love, love, love your 3 step center pieces. Nothing glued down, easy to disassemble and store, and remake for another season. Very festive and beautiful. I also love your website.
That is SO sweet! Thank you. I really appreciate hearing your wonderful comment!!