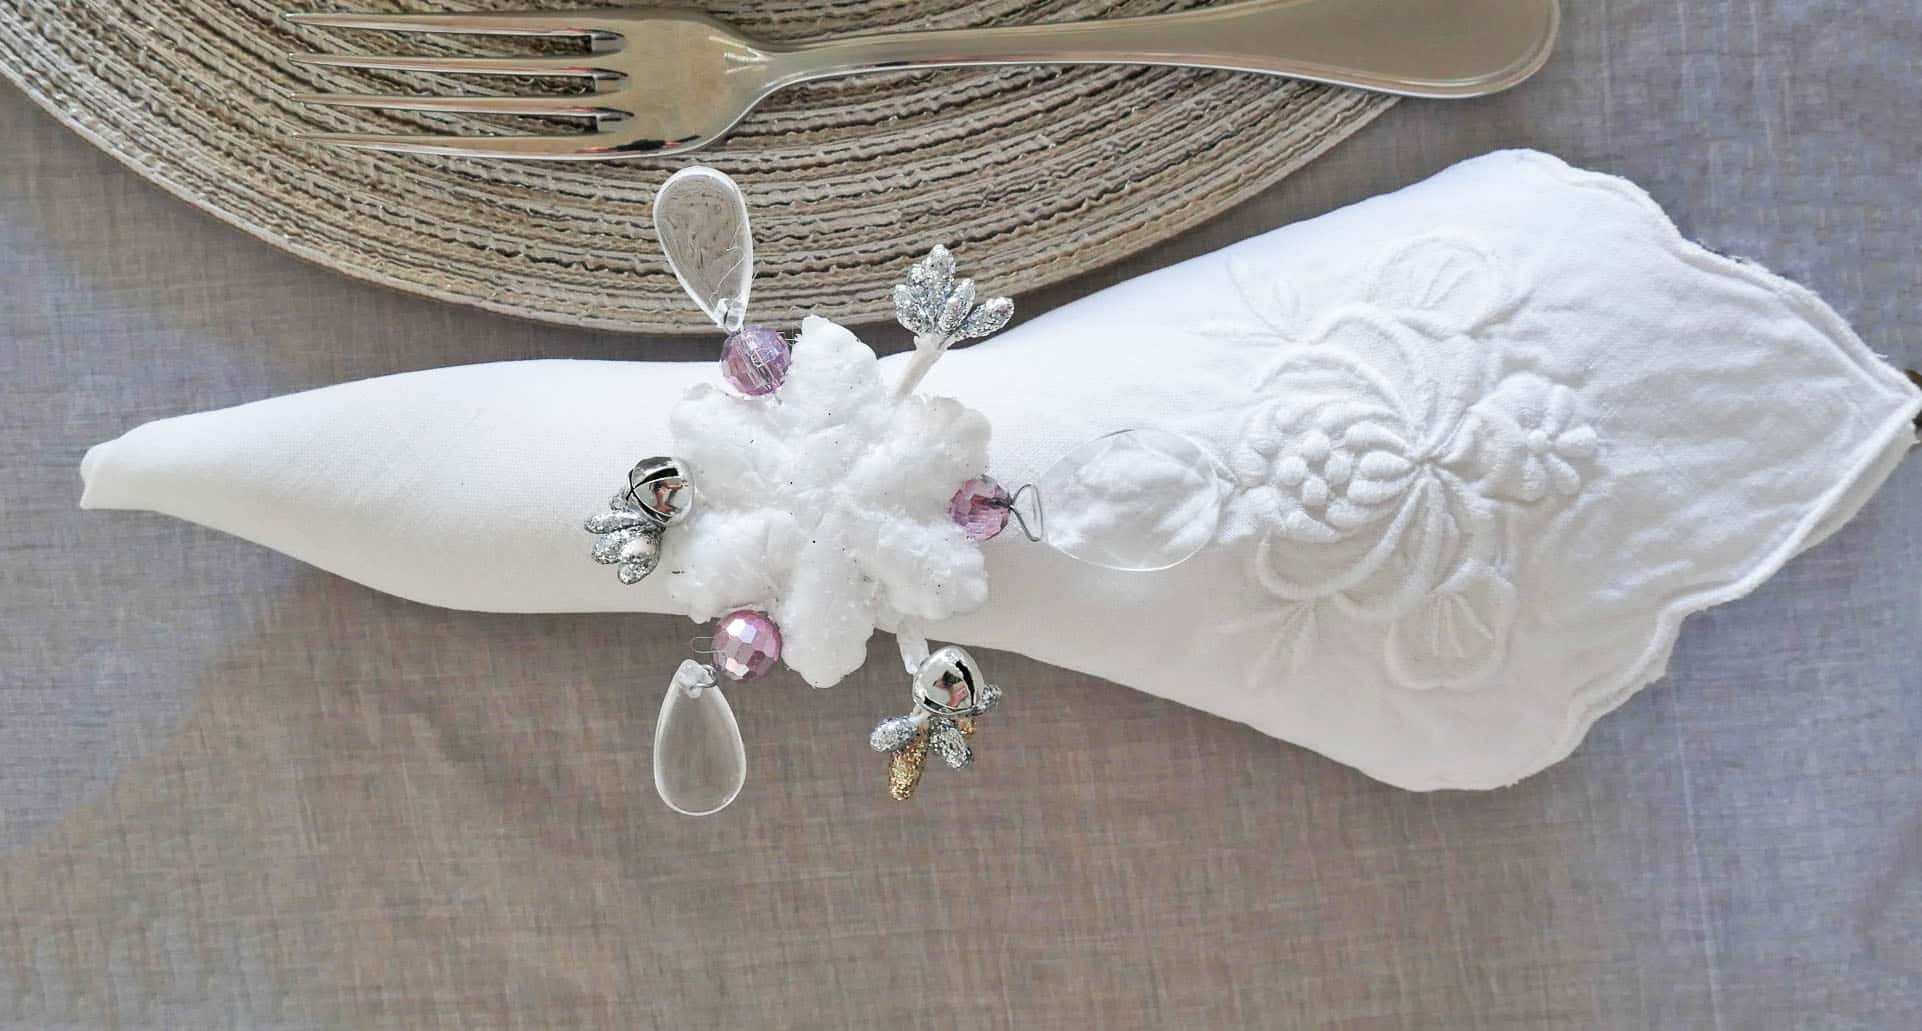
I absolutely LOVE how this cute snowflake napkin ring diy project turned out!
Sometimes I start a diy project and it just doesn’t look that good ~ it doesn’t look as good as in my head. Ya know what I mean?
But not this diy napkin ring. Nope.
I LOVE how it turned out!
I was working on a pretty table setting for Christmas and wanted to create a napkin ring that would look pretty and festive on the table. I also needed to make something that would match the unique colors I was using on the tablescape ~ lilac and white. Not your traditional Christmas table setting.
I thought making a snowflake napkin ring that had dangling crystals would be pretty. I was fortunate to find a branch containing only crystals, and beads that matched the lilac I was using.
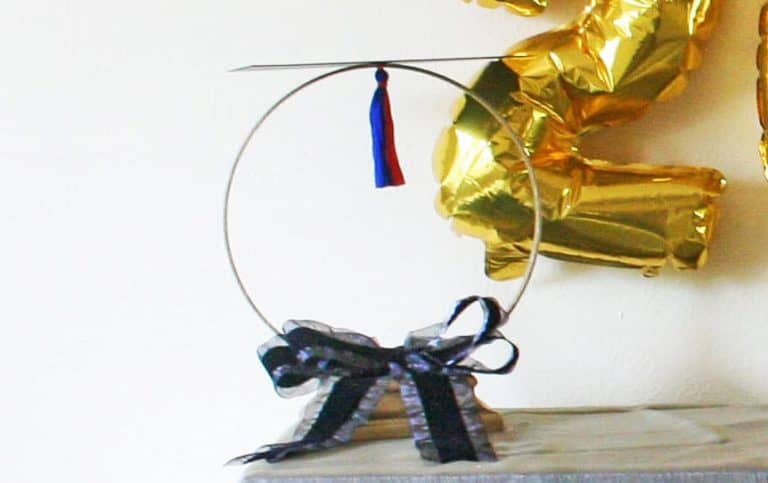
When creating napkin rings, you need a circular shape to go around the napkin. In the past, I’ve used shower curtain rings, PVC pieces, and toilet paper rolls. But this time I was trying something new ~ binder rings.
And you know what ~ they worked great!
I discovered that 1.5 inch binder rings are the perfect size for diy napkin rings.
Supplies for Cute Snowflake Napkin Ring DIY
Please note that this article may contain affiliate links. I may get commissions (at no cost to you) for purchases made through these links. You can read my full disclosure for more details.
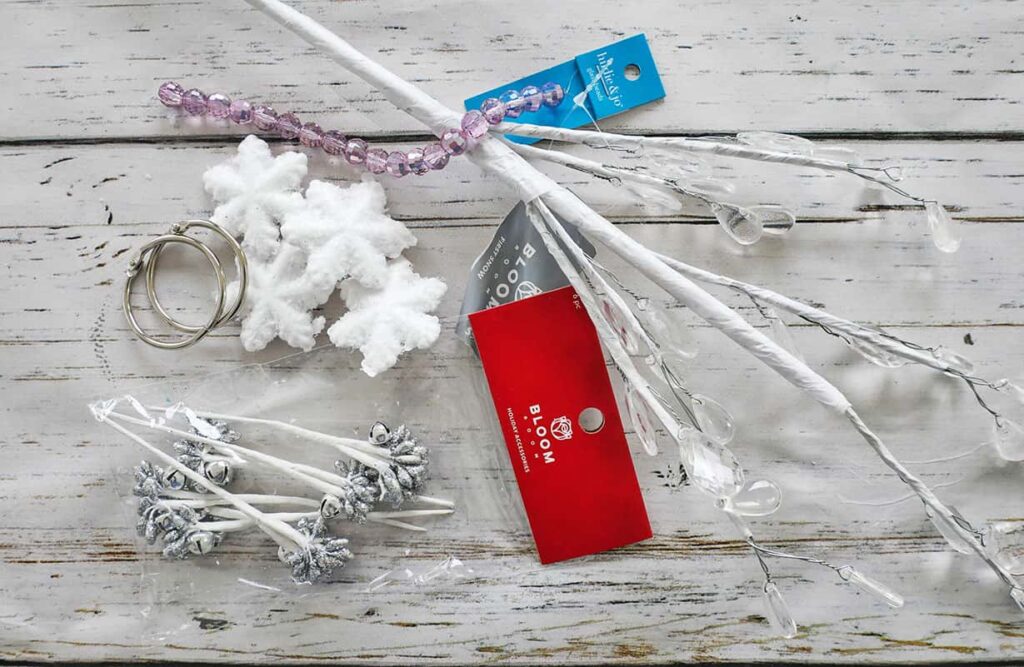
*Note: some of the items I found at Joanne’s and some I found at Michael’s.
How to DIY a Snowflake Napkin Ring Using a Binder Ring
1. Prepping snowflake pieces
You’re gonna need to prep the pieces of the snowflake before it can be assembled.
First, take the large branch with the crystals and remove each of the smaller branches. You will need to unwrap the paper covering, or carefully pull them off, to do this.
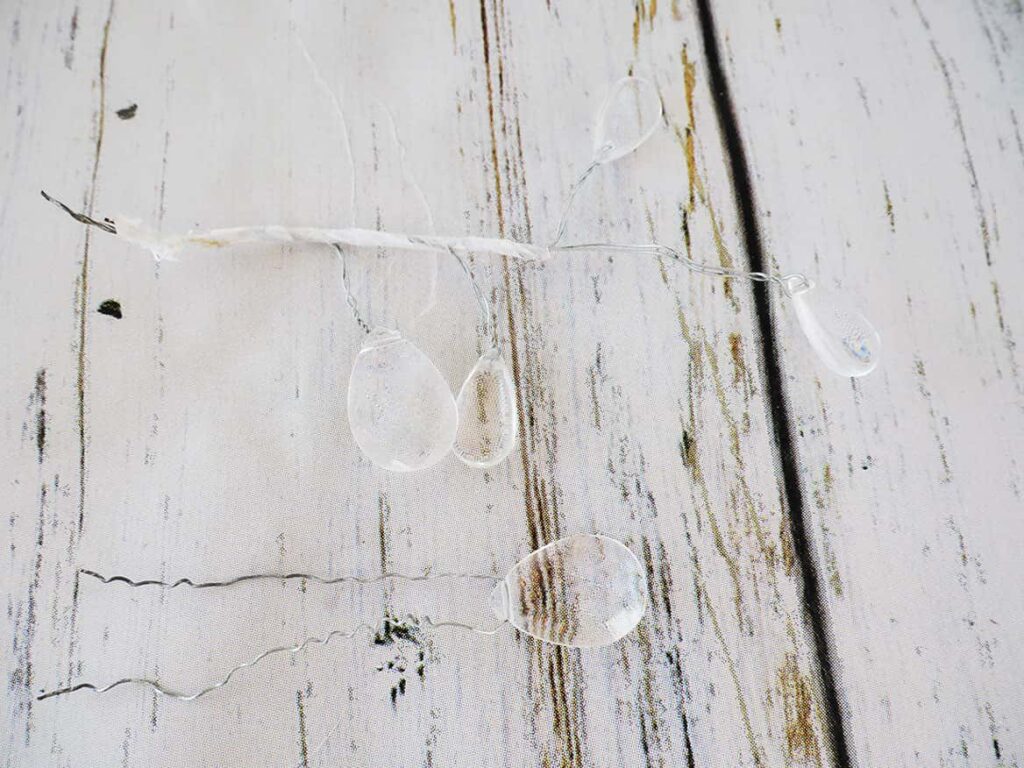
Then remove the paper covering from the wires that hold each of the dangling crystals. Be careful to not cut the wires as you will need them for attaching to the binder ring.
Each of my small branches had 6 crystals.
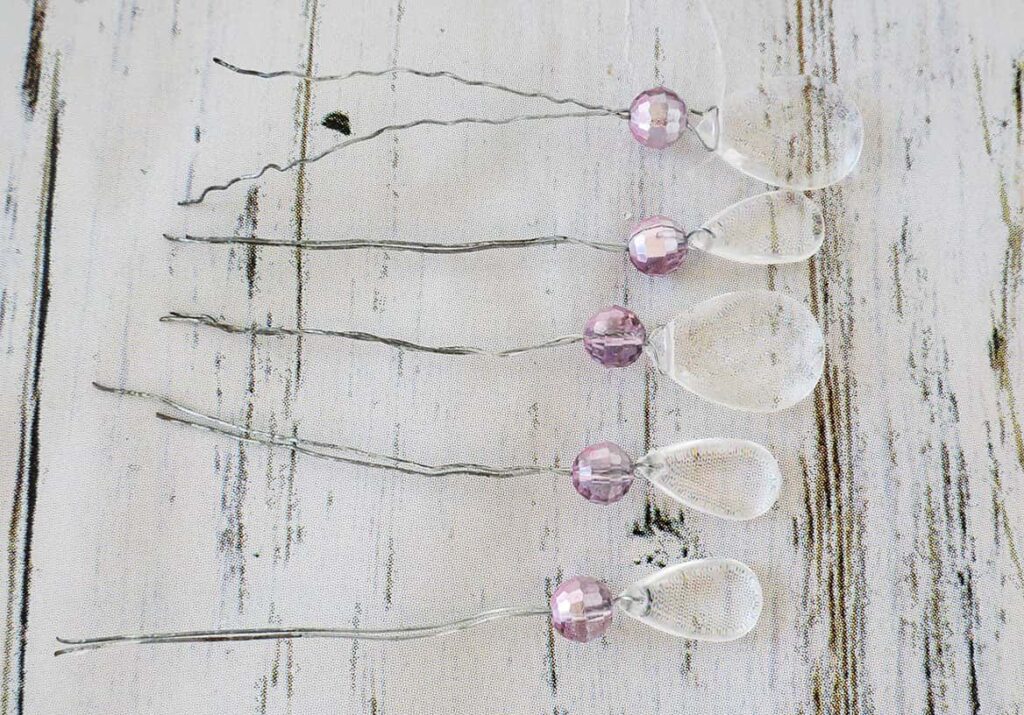
Taking the wire ends from one of the dangling crystals, slide one of your colored beads onto the wire and up to the end of the crystal.
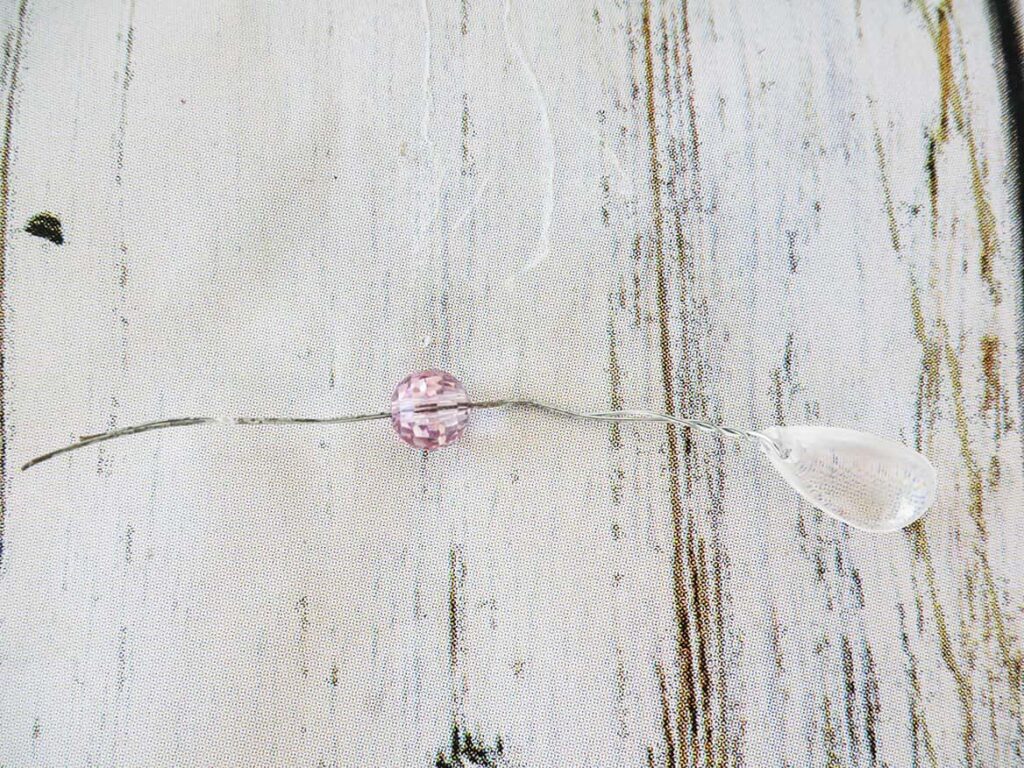
Do this with each crystal.
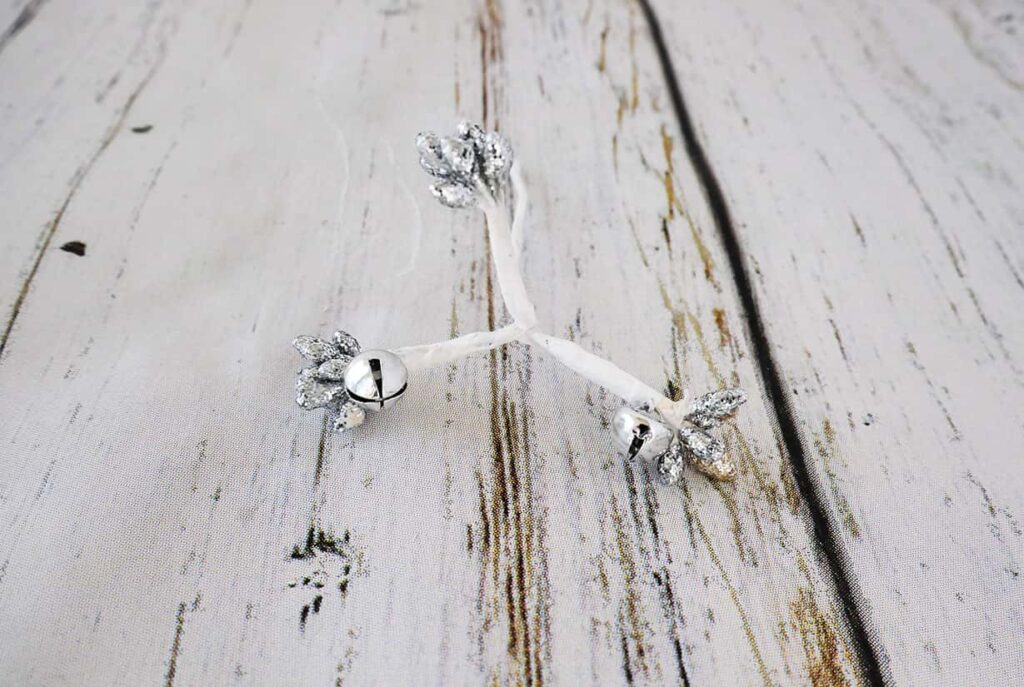
Next, take the flower centers and separate the three pieces. This is very easy, as each piece is wrapped separately.
2. Assembling the snowflake pieces
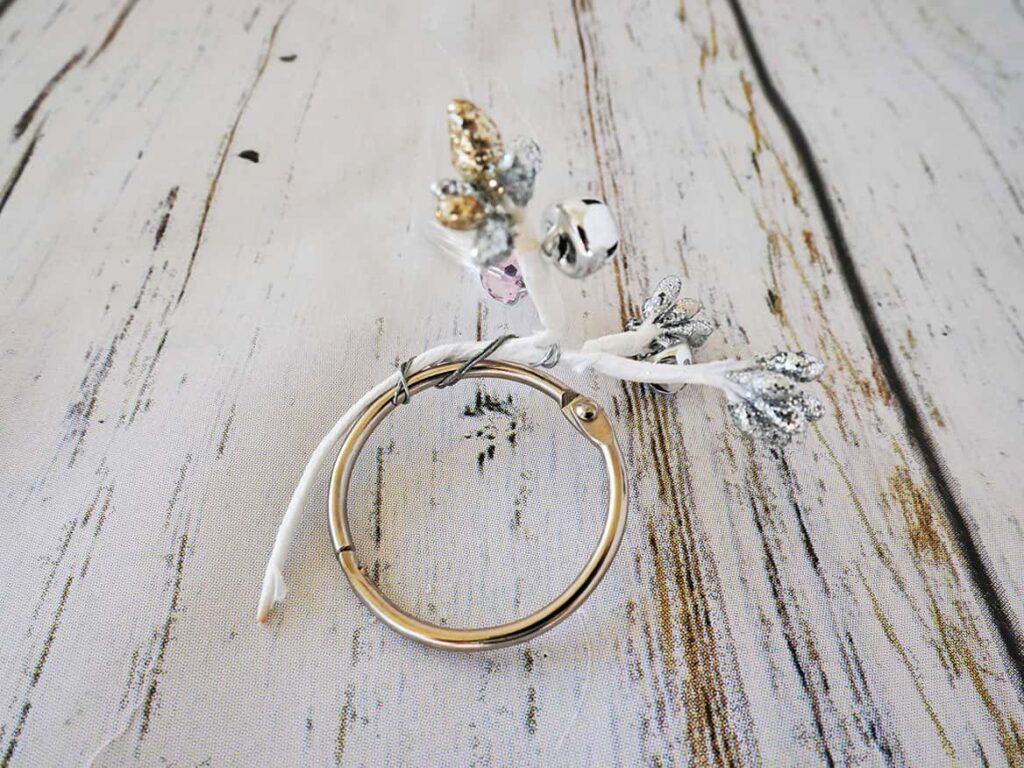
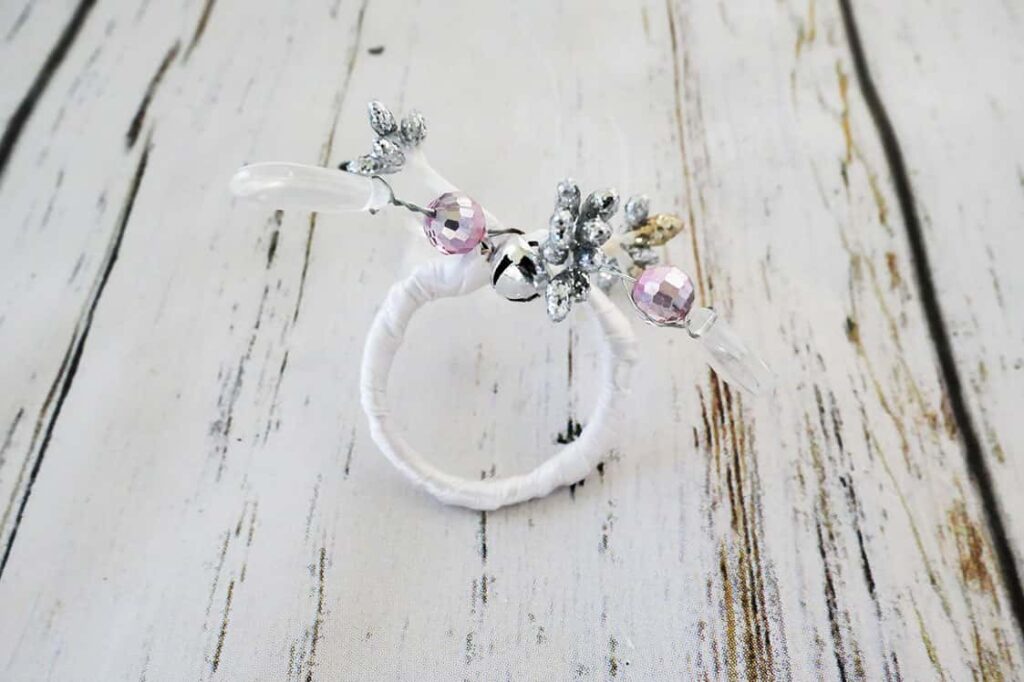
To assemble the snowflake pieces, start with the separated flower center and a binder ring.
Bend the wire to match the curve of the binder ring, and then bend the top of the flower center at a right angle, so it appears to be sitting on top of the ring.
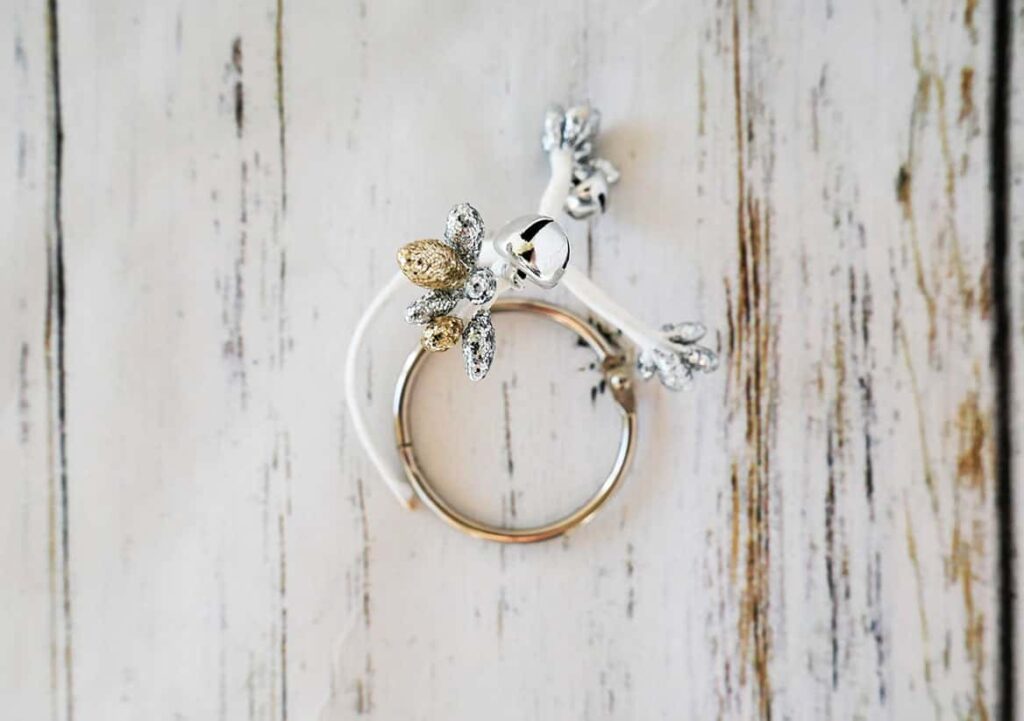
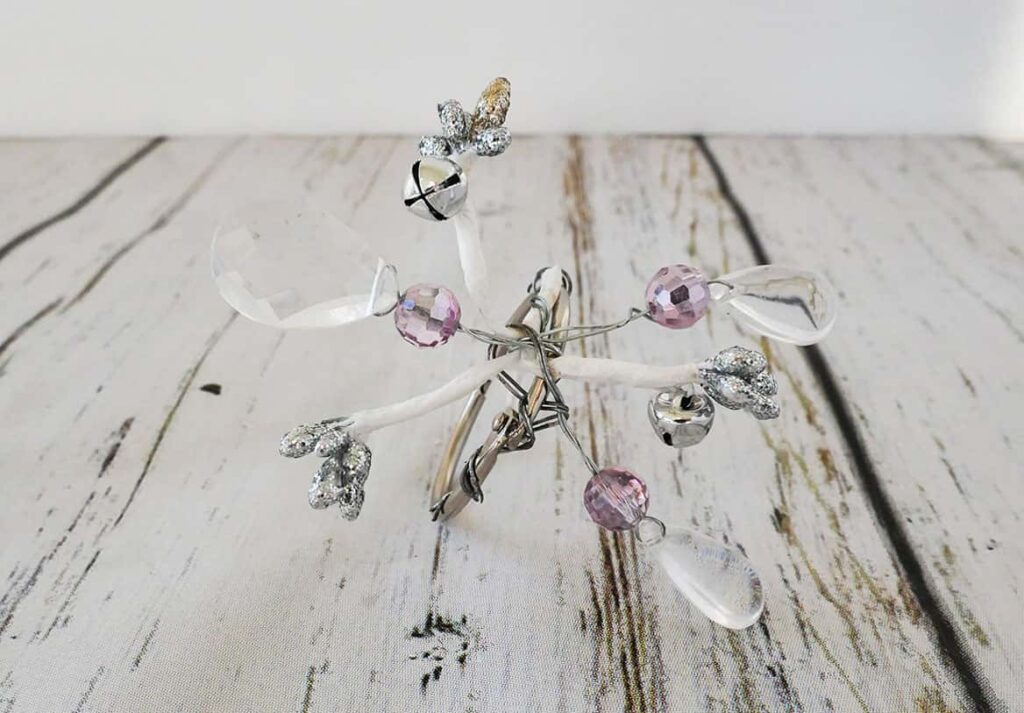
Now place the snowflake in the middle of the flower center, so each section is equally distant from the other.
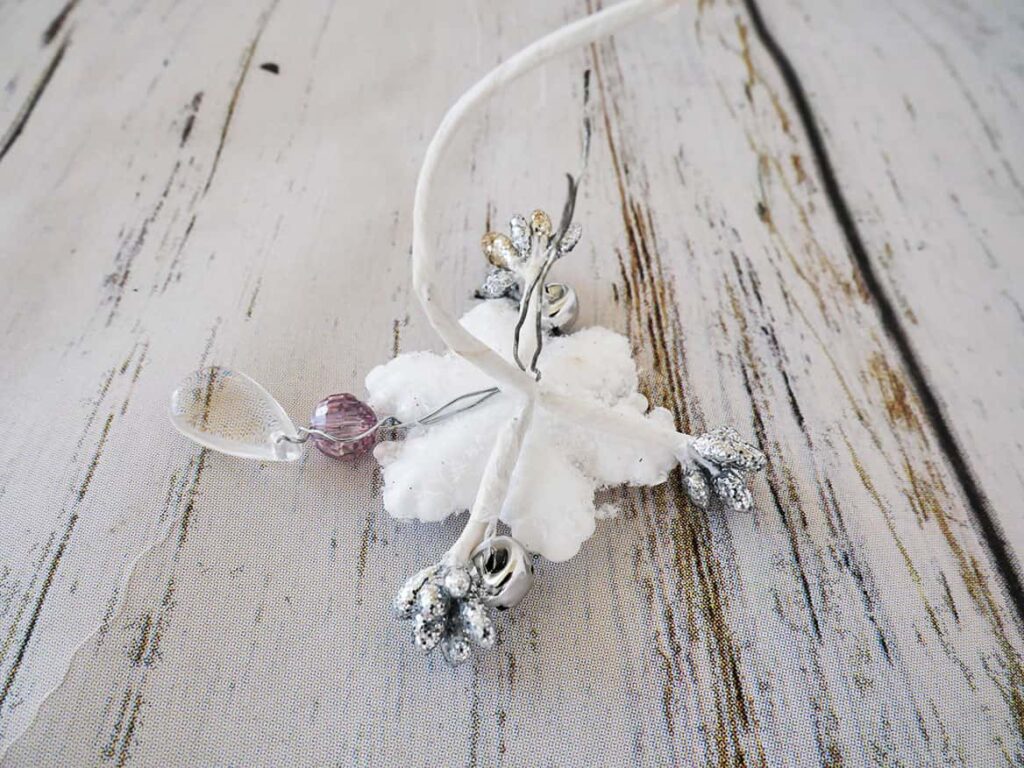
Next, take one of the crystal pieces and place it under the snowflake, between two of the flower centers. Take the wire from the crystal and wrap it around the stem of the flower center and the binder ring.
Continue to do this with two more of your crystal wires.
3. Completing your cute snowflake napkin ring diy project
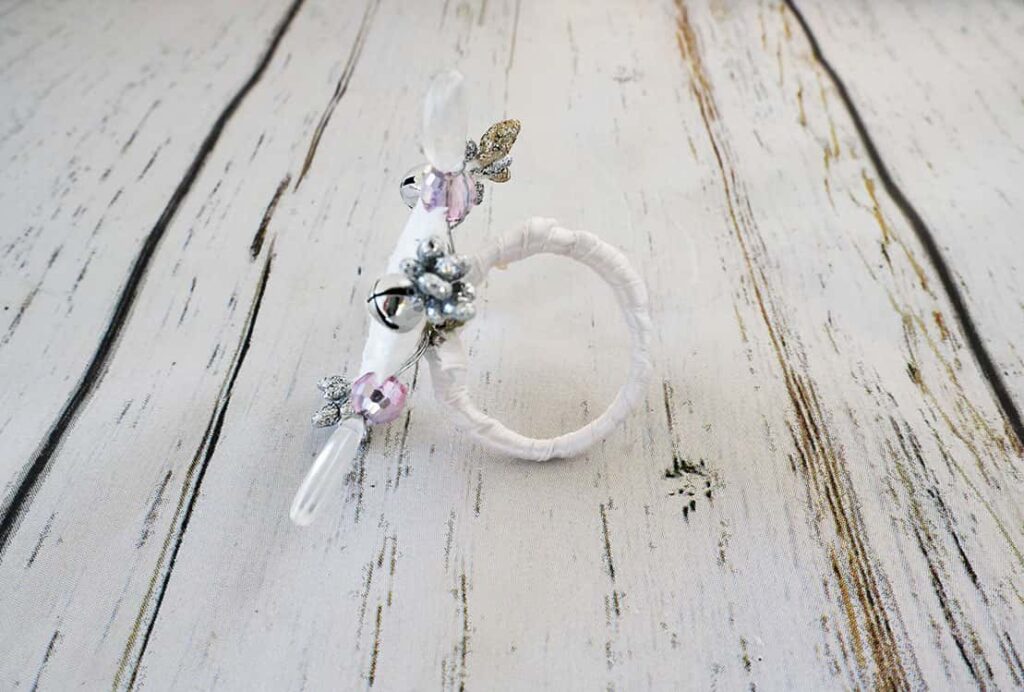
To hide the wires and complete your diy snowflake napkin ring, measure and cut an 18-inch piece of ribbon.
Starting directly under the center of the wires (and where the snowflake will go), add a dot of hot glue and adhere one end of the ribbon. Then wrap the ribbon around the ring, making sure to overlap it as you go, so none of the metal ring is visible.
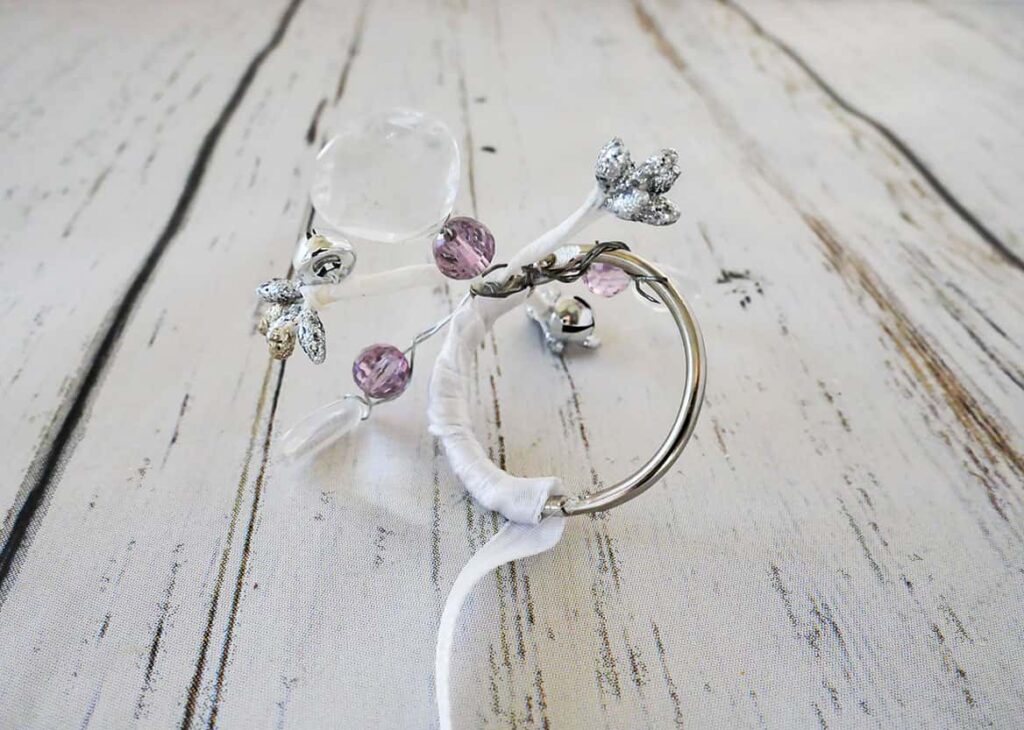
Once you get all the way around, add a second dot of hot glue to keep it in place. Cut off any remaining ribbon.
Now take your snowflake, add a dot of hot glue to the middle of it and adhere it to the center of the wires.
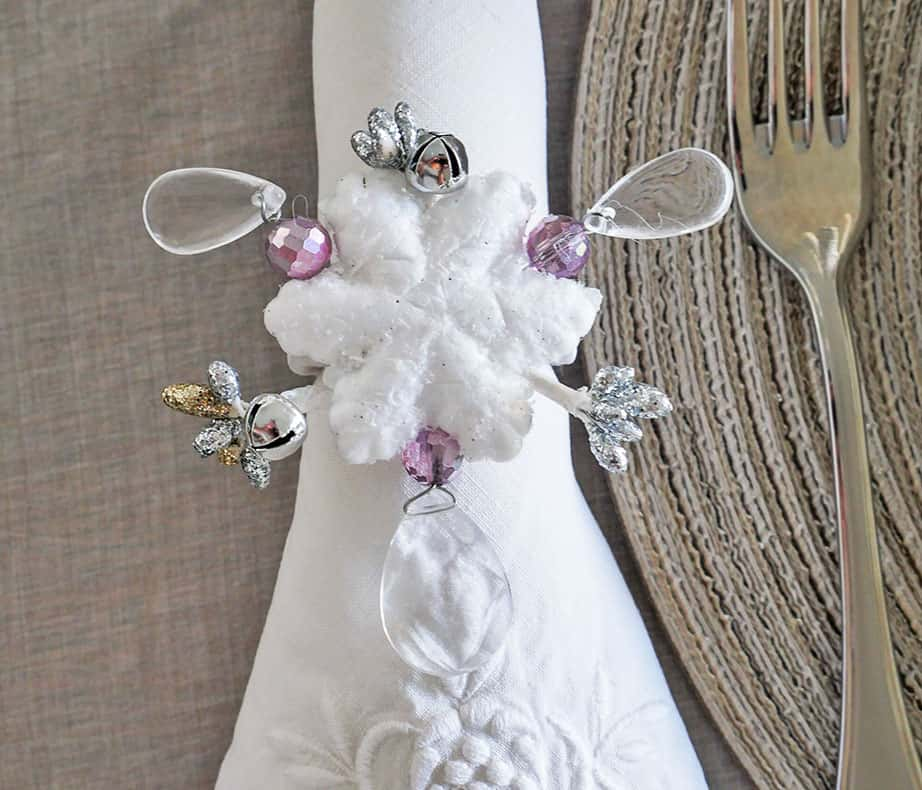
Ta Da! Your cute diy snowflake napkin ring is done.
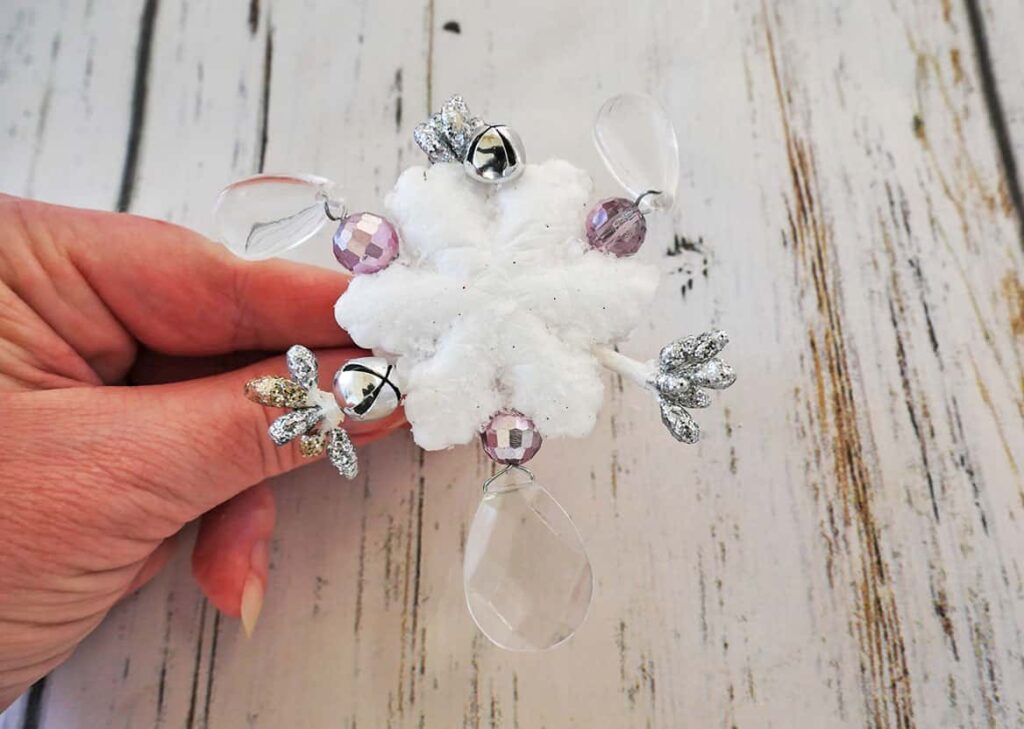
Isn’t it SO FREAK’N CUTE!!
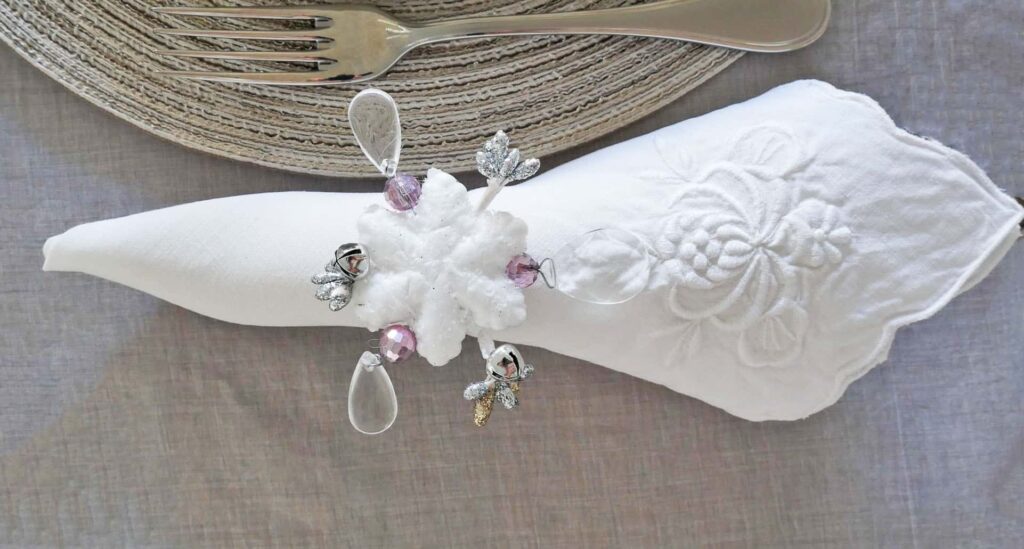
Now continue the process to make as many napkin rings as you need for your winter table setting.
Check out how pretty they look on my lilac and white tablescape.
Shop the diy supplies:


Check out other easy diy projects:
- DIY Indoor Snowball Decor
- Easy DIY Acorn Napkin Rings
- DIY Enamel Place Cards
- Realistic Snow-Covered Branches DIY
- Easy Styrofoam Christmas Tree DIY
- How to Dye White Fake Flowers
- How to Stencil Cloth Napkins: Easy DIY
- Easiest DIY Napkin Rings for Everyday
- DIY Unique Menu Holder
- Simple Moss Bowl Centerpiece DIY
Wow!! Your napkin ring is absolutely gorgeous and it looks like it was also fun to make! I hope you’ll consider linking up at the Whimsy Home Wednesday link party: https://thevixensden.com/whimsy-home-wednesday-no-6/
Awe! Thank you!! I was thrilled with how they turned out.